Introduction
This is a repost of the other workflow post I put on reddit. It's slightly more efficient compared to my first posting here. Conceptually speaking, both writeups are pretty similar but I posted some specifics on the my denoising strength choices here and some reasoning on model choices and a bit on prompt engineering workflow. It also contains some outdated speculations that I kept just to show my thought process at the time. I first wrote this when I reached 100 followers on pixiv, so here is my updated workflow post on Faruzan from Genshin Impact.
Preplanning
Model:
Made using a CustomMix with AniMix and AniReality-Mix created by the AutoMBW extension. This was an attempt to make a model that would work better with character LoRas and improve backgrounds, but I'm not honestly sure how it well it works. (Generally, speaking there a ton of different options to improve backgrounds, but I haven't been able to experiment with all them)
In this particular case, it ended up looking better than AniMix while generic prompts do not look as great (in my prior opinion, the truth is that I didn't get much room to thoroughly experiment). This model seems to produce thicker lines compared to AniMix and background quality unfortunately did not get better. I'm speculating if it would be a better idea to generate the character and background separately, and blend them in the end as I have found that character LoRas can have a negative impact on certain parts of the image (notably hands). Only thing particular amount this model that it is able to generate heart shaped hands slightly better compared to the mixed models but it's still very unreliable. A lot of inpainting, and some manual editing was involved.
LoRA:xiaowei
Textual Inversion: EasyNegative
Workflow:
disclaimer: I'm by no means an expert at art and I'm learning as I go ,and these are just the things that I noticed while playing around with the tools. Do correct me if I'm wrong or share helpful advice.
1)Prompt Engineering:
The Faruzan LoRA does not have any example prompts ready so it's a bit harder to work with. I did find out that there was another LoRa with an example prompt but by then I was already too invested. RIP. This information could help somebody if they're just starting out with LoRas and the author did not provide an example. (There are multiple LoRas now for this character, so I recommend using one with examples included to reduce the amount of prompt Engineering needed.
I generally work with [.6~.7] LoRA strength for custom outfits and [.9 ~ 1] for a look similar to the canon outfit. Ideally, try for a high weight as possible if you want more fidelity for the character's matching hairstyle, I have noticed that some LoRas do not capture the hairstyle very well at low weights. In a lot of cases, it depends so you'll need to experiment around.
1a.Finding a Base Prompt
The workflow I used to get a general prompt working with any LoRa without a prompt is to describe the [hair length,hair style,hair color] and the general keywords [1girl,solo,absurdres,masterpiece] in the positive prompt and [EasyNegative,((worst_quality,low_quality:1.4))] in the negative one.
I just copied the quality keywords from AniMix as that was what my mix was based from ,and I'm assuming descendent models would inherit similar properties from their parent models. "Dynamic Lighting" had a significant impact on this image so maybe it'll help someone else out.
1b.Finding Overfit/Sticky Patterns
Afterword, just start generating batch images to see any "sticky patterns" that the LoRa might be overfitted with. You'll probably need to use the LoRa at around [.6-.8] to have some level of flexibility, fidelity ,and prompting for a custom outfit to see these patterns. In the Faruzan LoRa's case, having a bracelet and some kind of clothing from the neck to the chest were the stickiest ones. Typically sticky patterns need to be inpainted out of the image as adding them into the negative prompt with emphasis might not get rid of them.
1c. DeepBooru Interrogate
Send interesting images (good or bad) to img2img and use DeepBooru interrogate to grab any keywords that might stand out to you. Add to positive and negative prompts and iterate as needed until you get the basic detail you want. Once you have some idea of how to manipulate the LoRa, you can use any set seed to help out with manipulating some of the finer details. Iterate until you have a prompt that you are satisfied with. I added 'hatsune miku' here since it was interfering with hair color. Occasionally, adding a specific character name to the negative prompt can help to avoid overfitting of base shapes or colors of said character. I have seen this happen a couple of times but it's probably optional. I generally prefer using a medium sized prompt as that helps with avoiding bias from a short prompt while avoiding the token normalization issue from a long prompt.
Final Prompt that I ended up using
Positive Prompt:masterpiece,4k,absurdres,best_quality,1girl,solo,green_hair,long_hair,lime eyes,twintails, triangle pupils,bangs,cell-shading,anime screencap, anime coloring,((maid))white_shirt,black_skirt,maid headdress, cafe shop,smiling,looking at viewer, dutch angle, <lora:genshinImpactFaruzan_10:.7>,hair_ornament,open mouth, :D,hair_ornament,heart_handsNegative Prompt: hatsune miku,teeth,lips,realistic,EasyNegative, badhandv4,((worst quality:1.4, low quality:1.4)),blurry2)Seed Experimenting
At this point, I have some kind of base prompt that I like but I would like to see some more variation. I set the CFG to 4 and start randomly generating images. After I find something that I like, I set the seed to that image and use Hi-RES fix with AnimeSharp4x with 2x scaling and 0.5 denoise.
2a) (For Anime Artstyles only). Do not enable face restoration since this will give your character bizarrely realistic lips. Adding realistic keywords into the negative prompt did not help me.
2b) Don't use latent upscaling, you'll get noticeably bad results. I personally don't recommend using latent upscaling but you'll need to play around with the denoising strength
2c)ControlNet Openpose
I did not use controlnet that much for this image but ControlNet does help a lot with controlling the overall pose. Normally what I would do is that I would create a basic pose that emphasizes a slightly larger head size. Anime proportions have notably larger heads compared to realistic models and this small tweak can really help bring out the cell-shading effect from the anime-screencap models. You do need to be careful with the head size or you'll always have topdown perspective views. You can lower the weight to avoid this issue. Close-up poses can give decent quality images at 512x512 without hi-res fix.
Image that I ended using after Hi-ResFix. Hands are a mess but that can solved via ton of different solutions. I just opted for a full inpaint fix for this workflow.
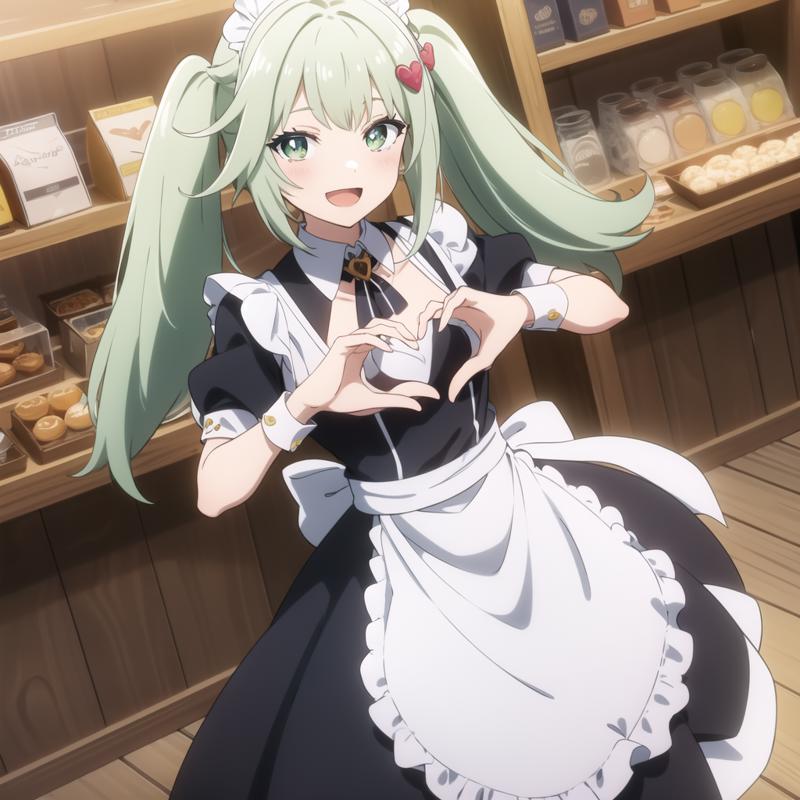
3) Outpainting
I started using openpainting to extend the image a bit. I extended the image to include the full headdress and to complete the length of the skirt. Unfortunately, I did not get the legs in a proper position so I just gave up there. In this step, I generally just aim for proper perspective layout of items and having a good viewpoint of the character.
I did mess up with outpainting with this piece and redid my outpainting again. (Ate up a lot of time, issue was that the outpainted head portion did not align properly and it was hard to fix via inpainting).
In this image, the head was leaning too far to the right side which made it very difficult to use inpainting to fix.
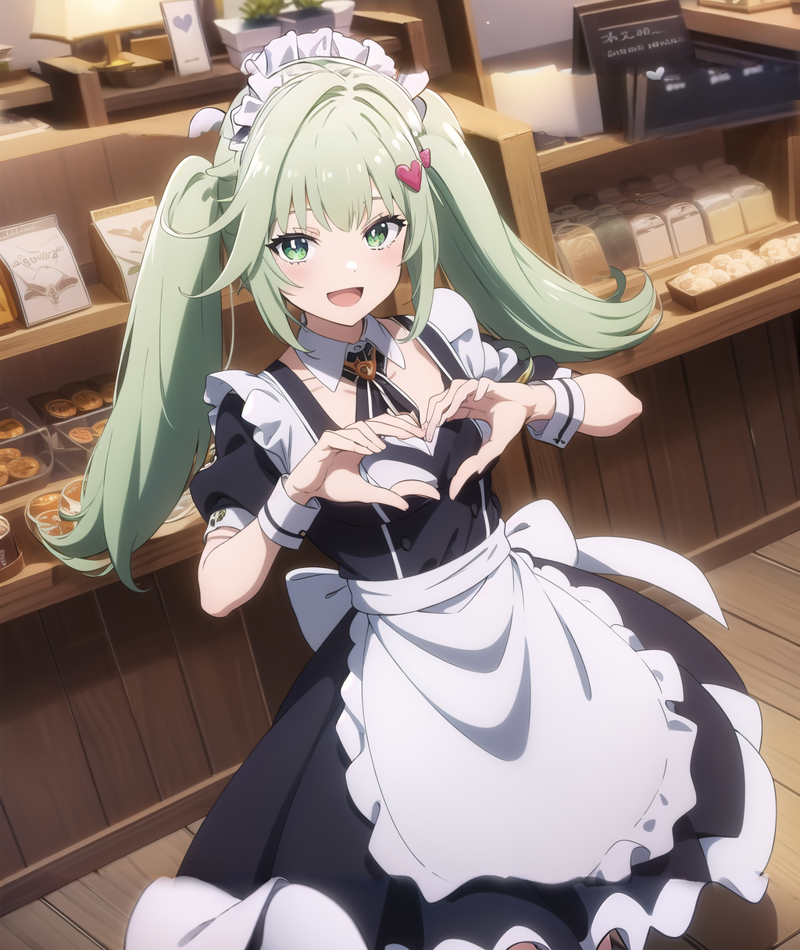
Then doing another outpainting again. The head size is a bit more balanced here.
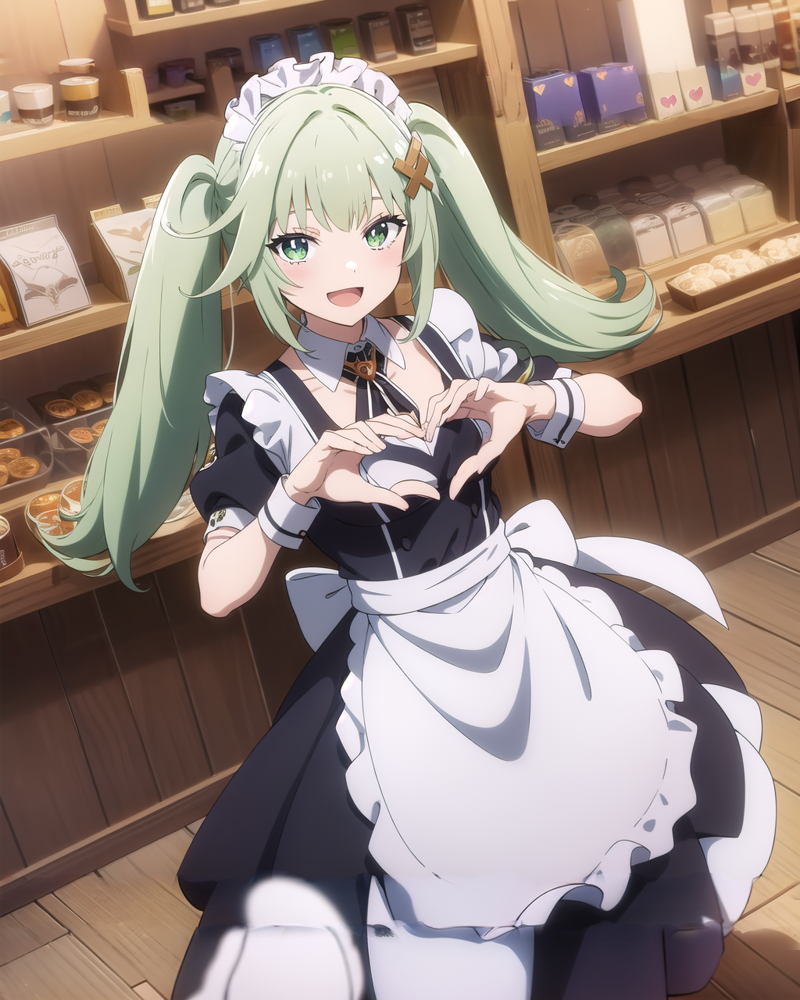
You could get rid of the Character LoRa from the prompt to help with outpainting but in my case, I didn't do so since I had to outpaint a portion of Faruzan's head and hairstyle.
4) Inpainting
I do my inpainting work in both Krita and auto1111. Krita has a better quality of life for fixing the smaller details while auto1111 is much better at refining smaller details. I like to keep the CFG to 4 to help create interesting ideas. Inpainting requires a lot of time and experimentation and these are things that I have discovered. I haven't exactly found a silver bullet for inpainting.
4a) Removing the Character LoRa from the prompt
Remove the character lora keyword for inpainting things that are not the head or hairstyle. I have found that character loras can interfere with results. I had a case in the past where a character LoRA treated the hand as an extension of the character's bracelet and messed up the coloring. (Although, this is very case by case depending on how the LoRA is trained).
4b) Moving keywords around
Moving keywords in front can help with producing proper results. Although, I haven't found it to be completely necessary. I personally found it that it's more useful for adding new things in to the image.
4c) Fixing outpainting edges
Usually after outpainting there are always sharp edge lines at the spots where the canvas is expanded. If you're feeling lucky, you could use img2img at around 0.5~0.7 denoise to fix all of the edges at once although this has a higher chance of destroying the finer details of the image. Normally, I inpaint around these edges at 0.4 denoise to blend the image together. In some rough cases, you might want to inpaint one edge at a time.
4d) Fixing hair strands
I use the eyedropper to select the color of the hair and then airbrush the color in the proper places. Quite often, stable diffusion does not produce properly connected hair and may have colorburn at the tips. Coloring burning usually occurs when there is not enough information within the prompt/settings or lack of pixel space to work with in a certain area. It typically appears in random spots as a minor discoloration but the most extreme example is when the image looks deep-fried with incredibly vivid colors. In my image, there were a lot of very minor orange and blue dotted pixels along the hairtips. You can typically find evidence of colorburning in the eyes or more specifically the lower eyelashes, Stable Diffusion generally struggles with rendering miniscule objects so you can often find things colored in orange as it attempts to render it.
I brush over the colorburn area and tried to avoid brushing over the hair lines. In some cases, the lines might not be properly drawn and I just use a brush to create a thin line. Afterwards, I denoise at around 0.2 to fix the strand. It's important to get rid of the areas that have colorburn since they'll noticeably show up if you upscale the image.
4e) Fixing portions of the outfit
Eyedrop to select the color of the area that you want to fix/extend, brush accordingly and then inpaint at 0.4 denoise. I did this for fixing shadows/lighting of the outfit although if you have a sense for shading then you probably do not need to do a follow-up inpaint. I usually just zoom out to see if the blur is too noticeable and if it is, then I just inpaint it. In some cases, you'll need to use a lower denoising strength. I used 0.2 in some cases.
4f) Removing objects that take away the focal point
Similar to 4e but I use a higher denoise at around 0.8 ~ 0.9. This depends on the artpiece but for this image there was a lot in the background that I believe distracted the viewer so I just got rid of it. Occasionally, I had to use the same technique from 4e to fix the background. Although it was mostly randomly blurry colors in the background for this artpiece.
4g) Fixing lines
Occasionally, some lines are not connected well and I had to redraw them. I drew a thin line with a color matching the line. Pure black tends to create thicker lines after denoising and can be rather noticeable. I used 0.2 denoise here and this process took a couple of tries. Stable Diffusion can fix crooked lines after multiple attempts. However, you will need to keep the inpaint mask focused on just the line but it give enough space so that SD can fix the line.
Inpainting this mid-away just before the hands. I would have posted more images of my in-betweens, but I didn't keep the file.
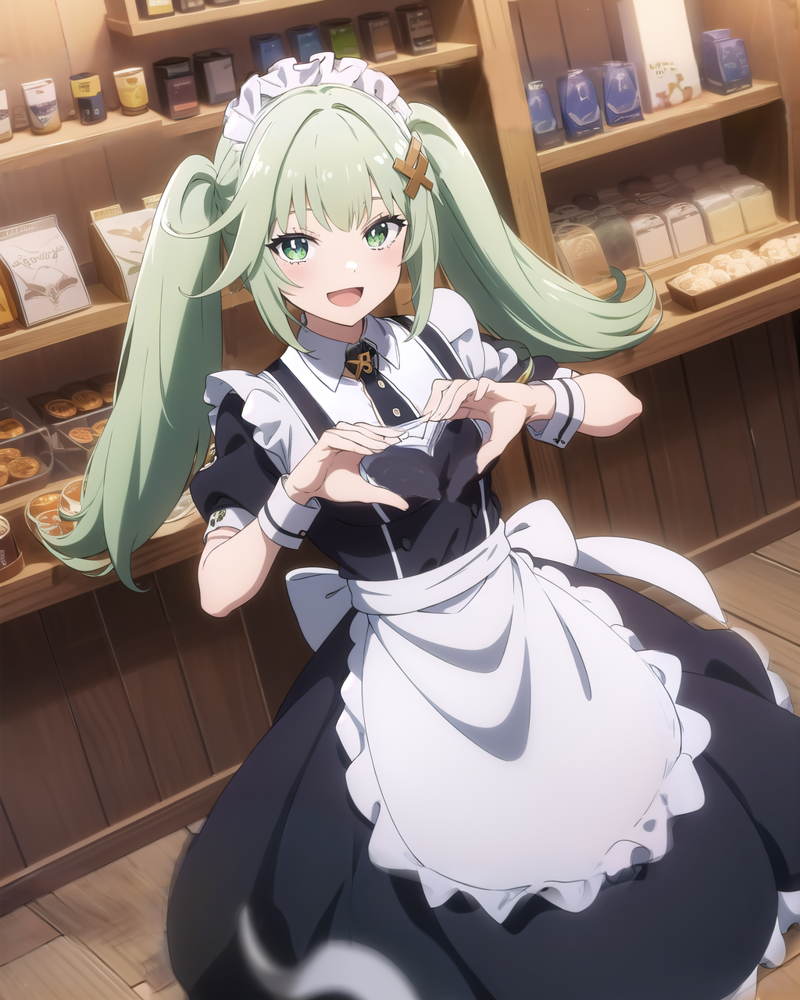
4h)Fixing hands
I kind of tortured myself here and did not use controlnet. Although it was more that I did not want to adjust the fingers in the 3D pose tool. I used a high denoise 0.95 to start from scratch and then slowly redrew portions of the hand and then used varying levels of denoising 0.2 ~ 0.4. I settled for something that doesn't look completely awful.
4i) Eyes
Faruzan has some unique eye pupils so I had to manually draw the pupils and highlights myself. (Plain Inpainting won't work here since character LoRAs and Stable Diffusion in general tends to always distort the pupils)
Afterwards, I used auto1111 to inpaint the eyes. I inpainted using 'mask only' at 768x768 with 0.35 denoise. You can choose a higher resolution if you want but that's not necessary. Unfortunately, I'm not sure how to get the same results as 'mask only' in auto1111 for krita.
4j) Heart
This was rather simple. I drew a simple heart shape, and added the heart keyword, and then inpainted at around 0.45 ~ 0.5 denoise. I also corrected the shape again a couple times and lowered the strength accordingly to around 0.35 ~ 0.4 to get the shape that I wanted.
After everything has been inpainted.
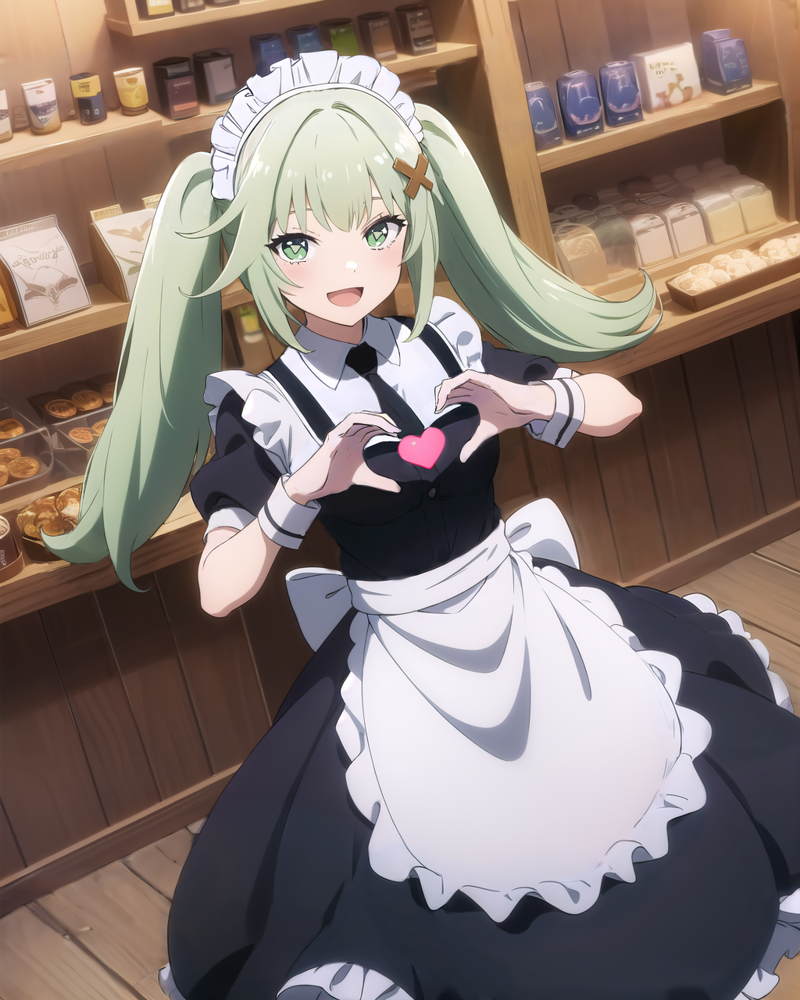
Summary)
0.99 - removing portions of the image that I dislike that are very sticky.
0.8 - what I typically use to get something completely different from the inpainted area
0.6 - 0.7 denoise - what I use to get something similar to the inpainted area but requires experimentation
0.4 - used for enhancing details.
0.35 - Inpainting eyes in Auto1111; only masked
0.2 - Line enhancement ,line correction,color blending
5) Upscaling
I used auto1111's extra tab to upscale using AnimeSharp4x at 2x scale. I normally use the ultimate sd upscale at around 0.15 to get rid of any lingering blurs that I might have forgotten about but this method kept on destroying the pupil shape. My pet theory right now is that upscaling has a better time at getting of blurs when since upscaling has greater amount of pixels to play with compared to a normal img2img.
6) Final Touches
6a)Fixing the Eyes
Upscaling always damages the eyes so I had to fix them carefully using the airbrush tool. I also had to manually blur the lines created from 'only masked'. Inpainting the blurs did not seem to work here.
6b)Fixing weird blurs
I did not fix everything but fixed things that caught my attention as I zoomed in and out. It's a easier to inpaint things at a higher image resoluton but that easily creates a massive file size for the final image.
Final Image. Converted to jpg in order to upload onto the article. The png file can be found on pixiv.
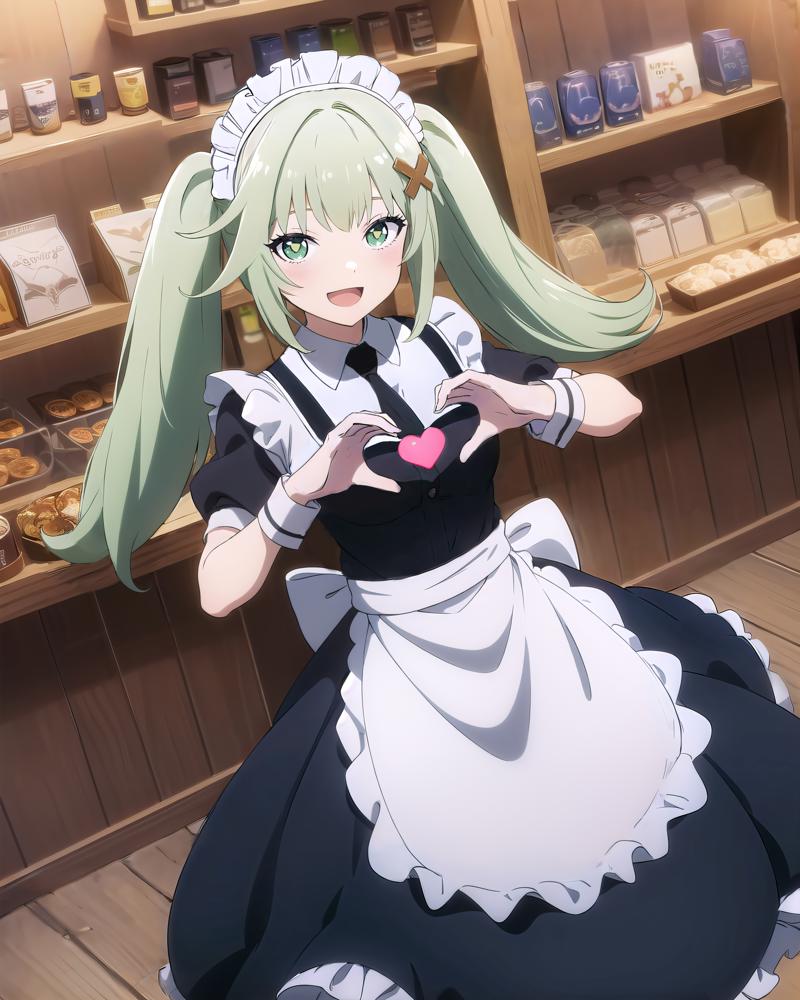
7)Final Thoughts
This took about 3 days of work which was about 12 hours. Messing up my outpainting did cost me 2 hours and prompt engineering took about 2 hours since I was not used to my model and the character LoRa. I'm pretty sure I could have finished this a lot sooner but I got distracted and wanted to experiment with customizing the outfit at random times. I'm pretty sure I'm missing kind of quality keyword for improving the background. Well, thanks for reading and hopefully this helped somebody out!

