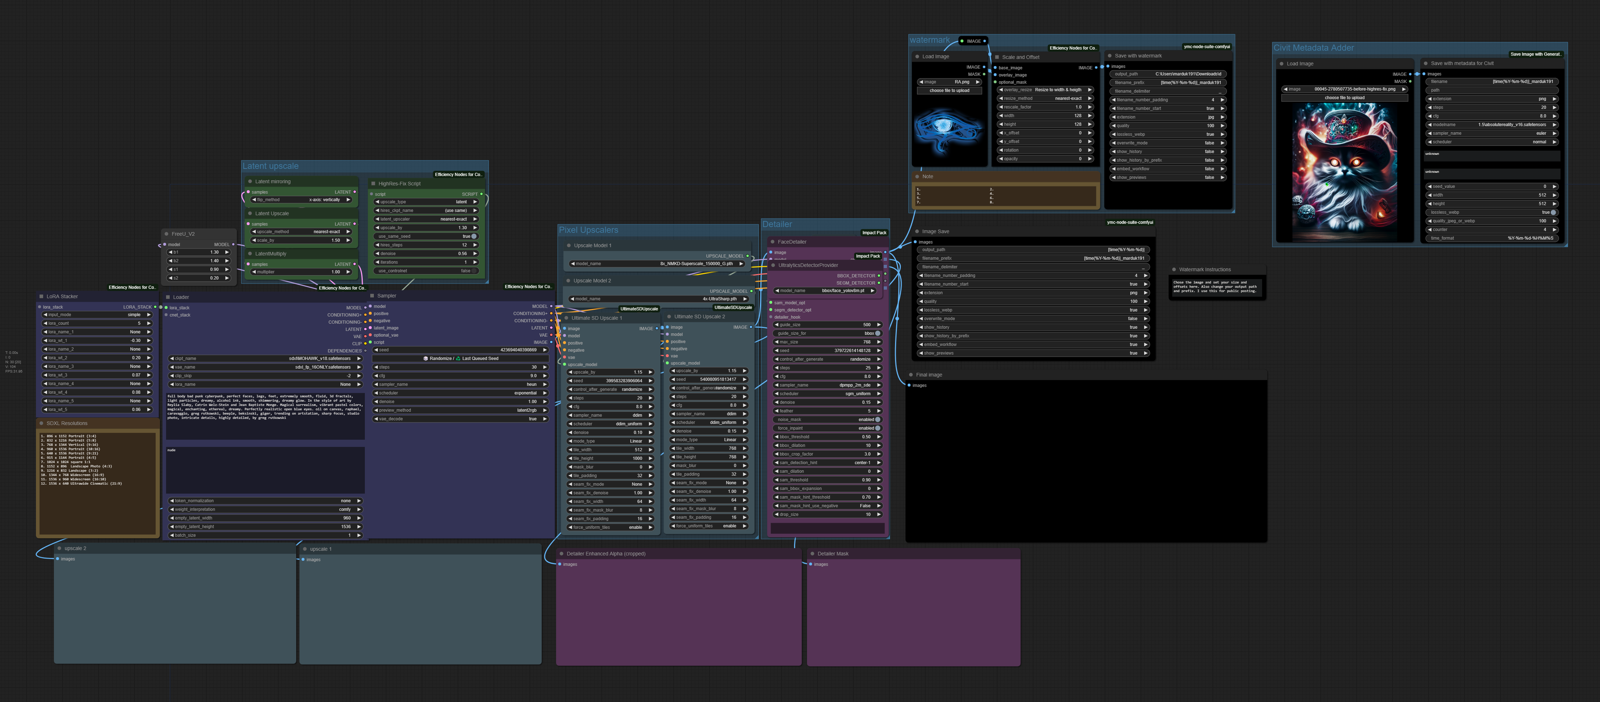
Documentation for my ultrawide workflow located HERE
If you are missing models and/or libraries, I've created a list HERE.
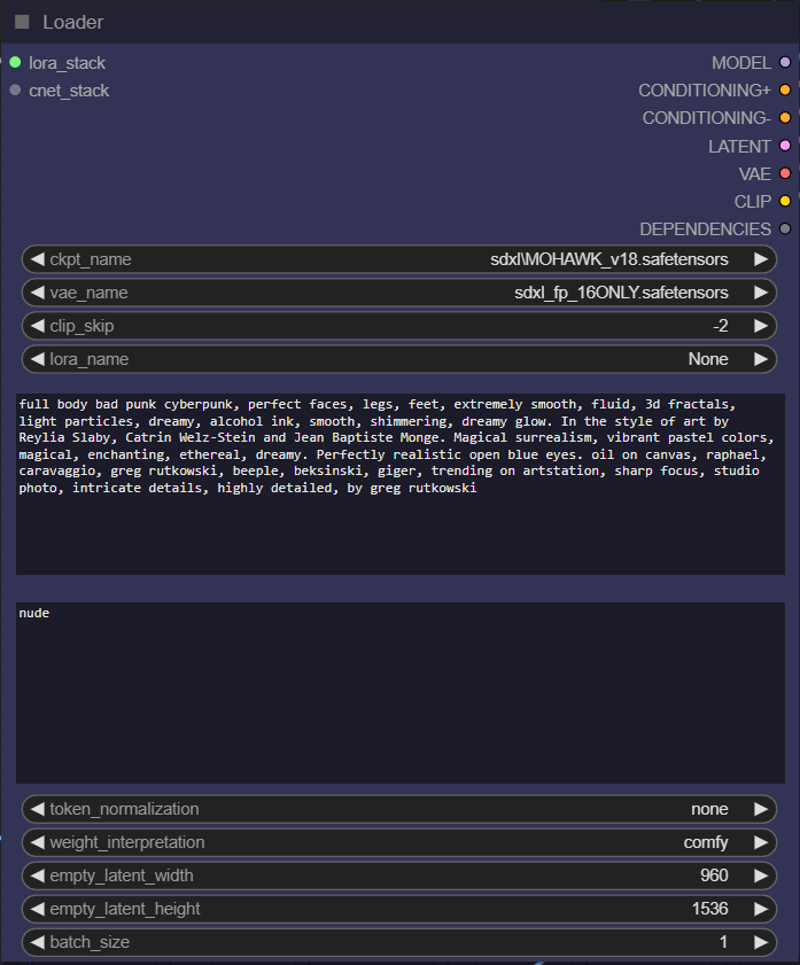
Loader:
Pretty standard efficiency loader. Just load your checkpoint and go with the baked VAE or a custom one if you like. Not super important in comfy since it loads the VAE in fp16 by default. I like the efficiency loaders because they combine clip positive and negative, weight settings, empty latent, and batch size all in an easy spot.
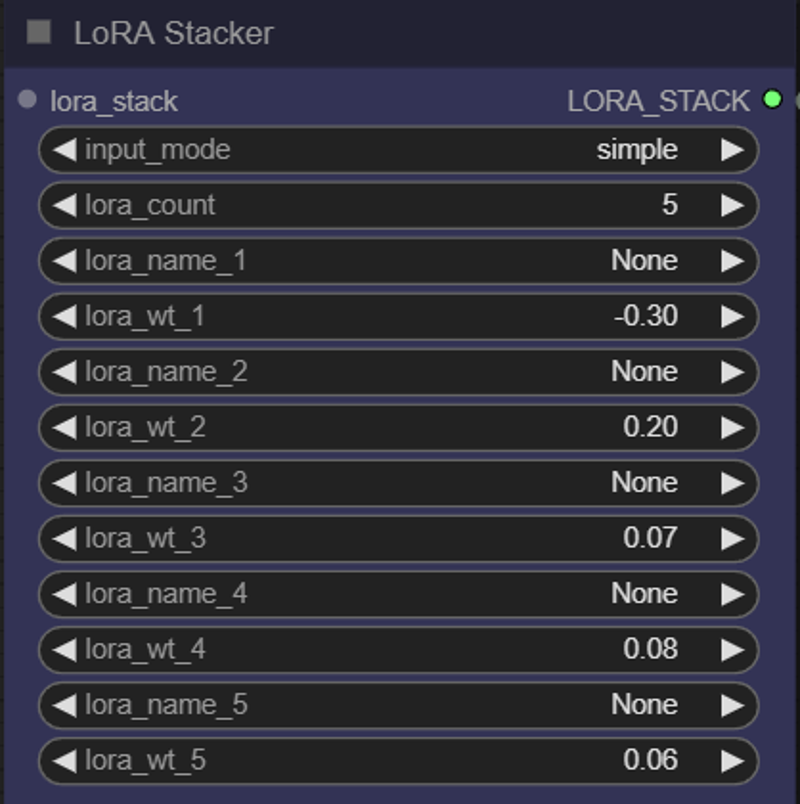
LoRA Stacker:
Pretty easy to follow, lora count tells the interface how big to be, I stick it on 5 and just set empty slots to none usually. Works out fine.
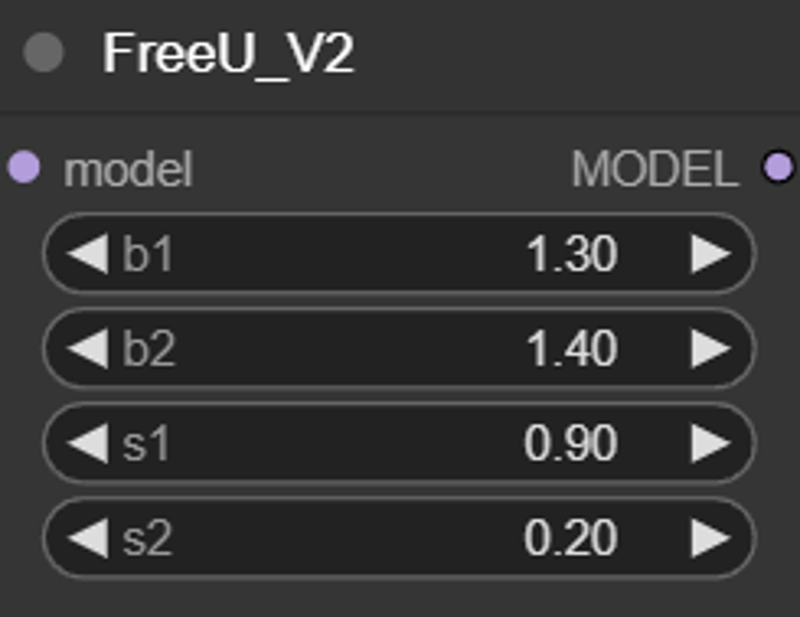
FreeU:
This is for Unet backbone adjustment weights. It's set up for XL, this is an advanced feature and you should do a little research before tinkering a lot. Most people will simply right click the node title and click "Bypass".
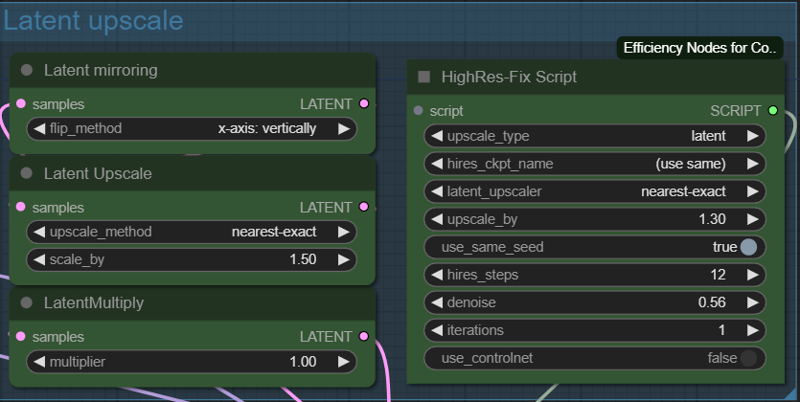
Latent Upscale (group):
Ok, I do a little latent scaling work so I included a group for it. You should bypass the left nodes while using Highres-Fix Script or optionally you can use the left section to manually do your latent upscaling and use the Highres-Fix section to do a pixel upscale. I recommend just using this for latent manipulation and use the Pixel upscaling group for pixel space operations. If you are not doing latent manipulations, you can simply right click the group title and click "Bypass Group Nodes".
HighRes-fix Script can do latent upscaling, or you can change it upscale_type to pixel and it will let you load GAN upscaler models here.
The left section is for basic latent upscaling.
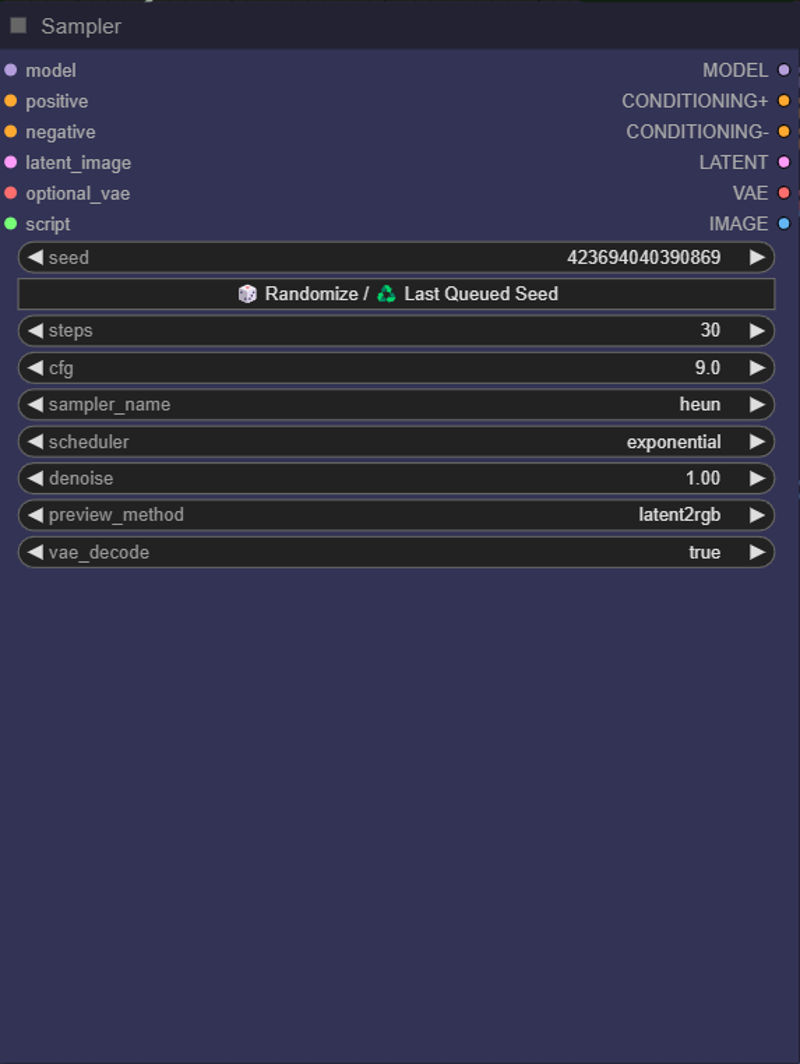
Sampler:
Efficiency nodes K-sampler. keeps everything sampler related all tidy. Your initial generation will show a preview below this in the empty space.
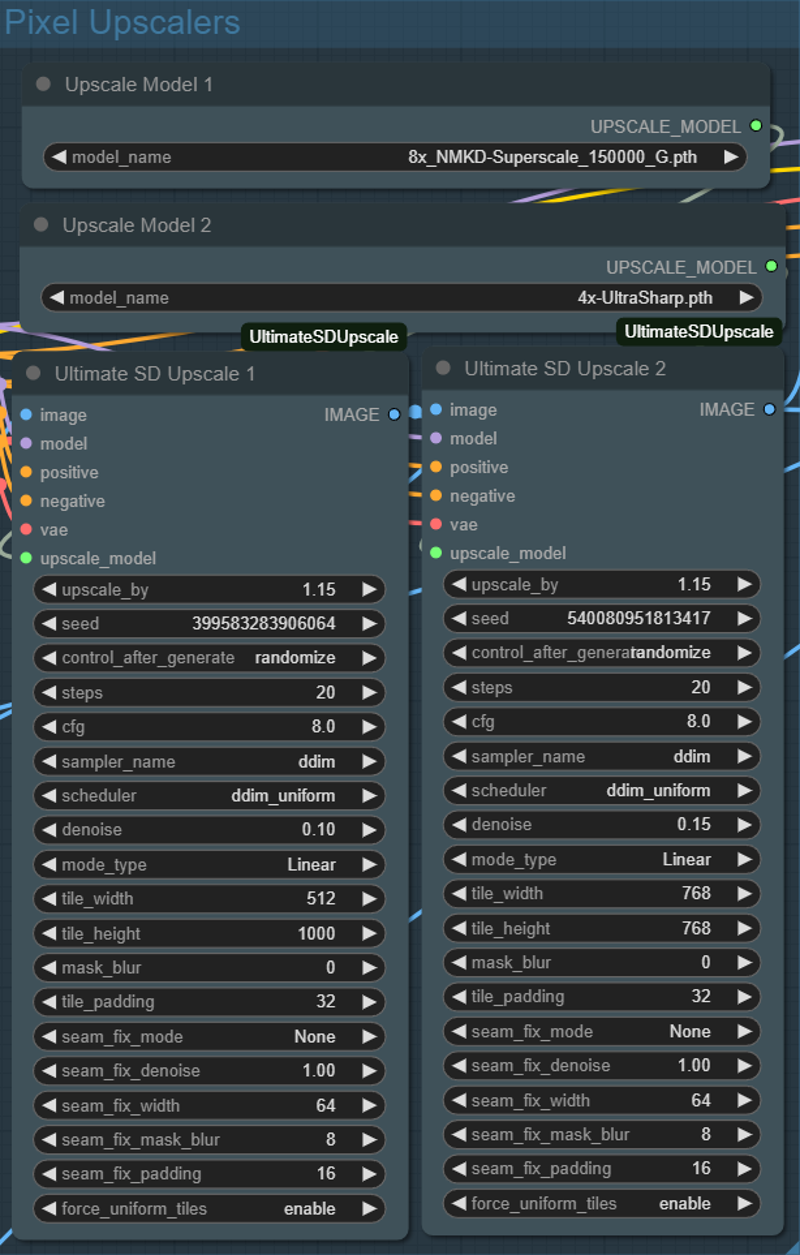
Pixel Upscalers (group):
This is the recommended section for doing pixel manipulations. I included 2 stages with seperate model loaders in case you are trying to pull more details. Each node is connected directly to the sampler output and chains the image loop. If you are not doing pixel upscaling you can simply right click the group title and click "Bypass Group Nodes".
Detailer (group):
Set up to work like Adetailer. Connected to the K-sampler and loops the second stage upscaler image to the input. bbox detector is hidden since you should not need to change models, and the ultralytics provider will load your Adetailer models for area or segment detection. If you are not doing detailer work, you can simply right click the group title and click "Bypass Group Nodes".
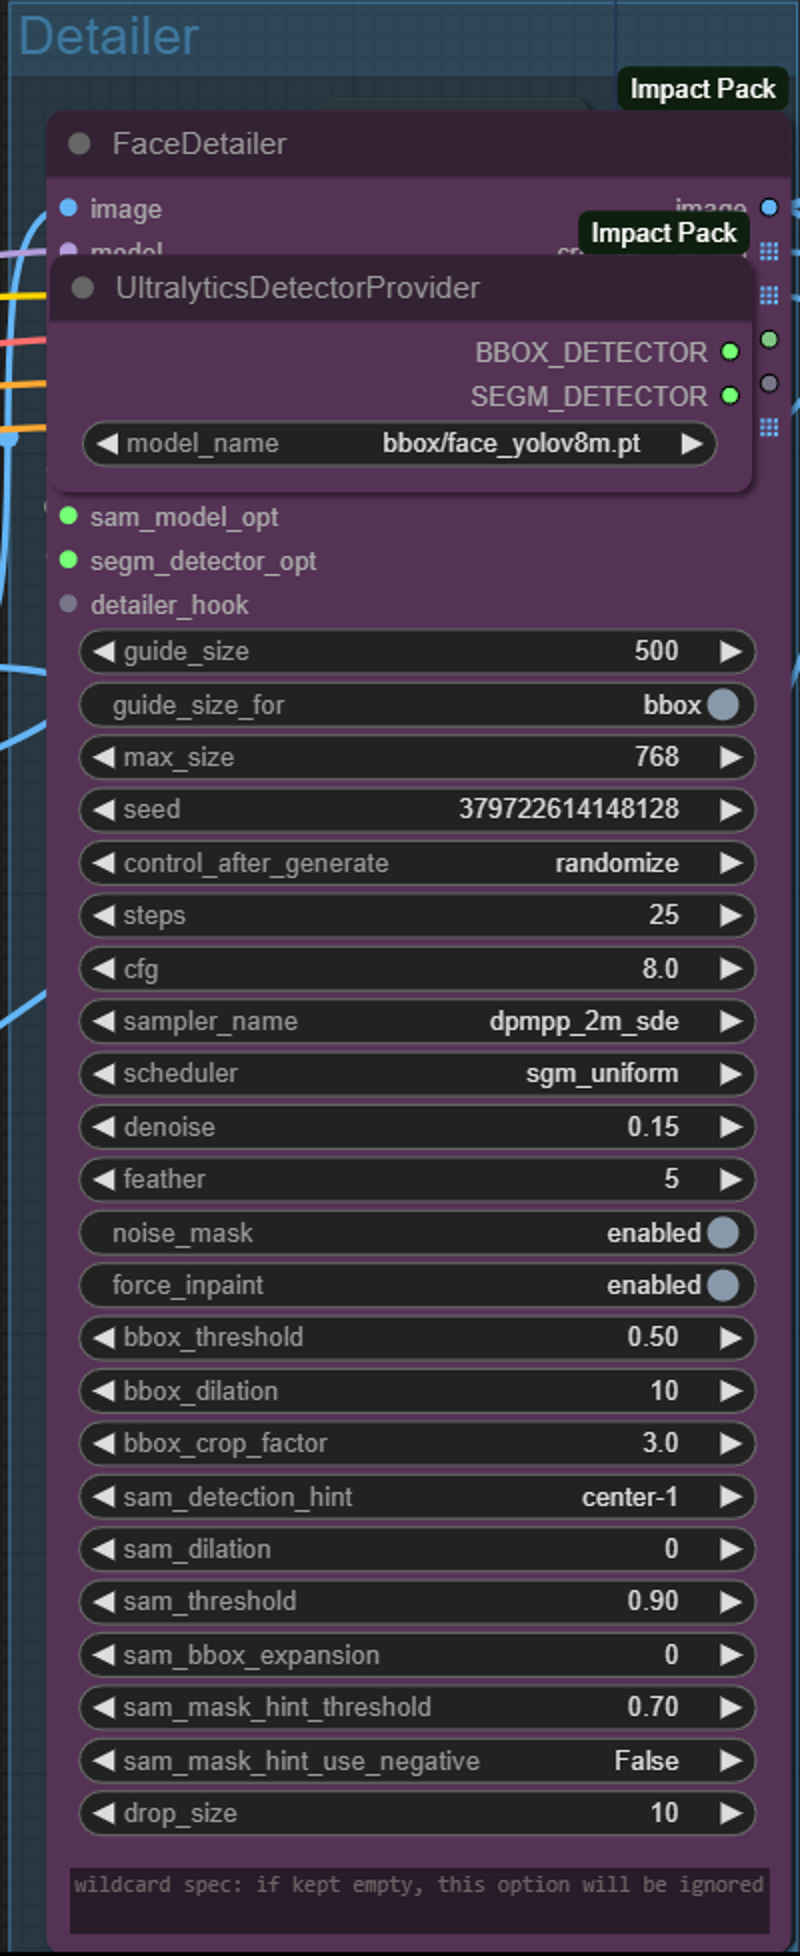
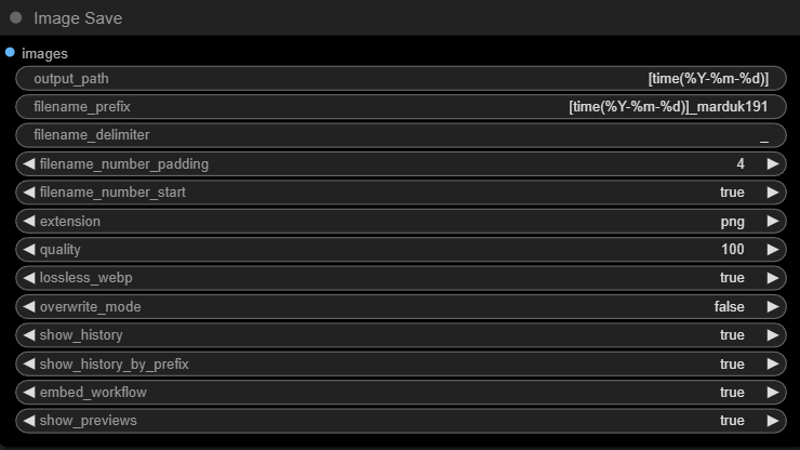
Image save:
This saves your image to the output folder. It is set up to use dated folders and save all your comfy workflows and history within the images. Change filename_prefix to your desired tags for image files.
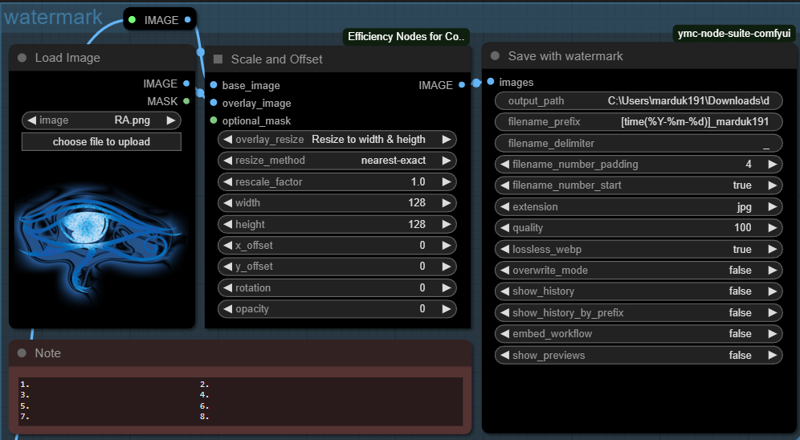
Watermark (group)
This is a section to save a separate image to another folder with a watermark. You can change image save formats and strip metadata. It is set up to save a watermarked image in my downloads/discord folder in jpg format with stripped metadata in the example. Adjust as needed. If you do not need a watermarked image, you can simply right click the group title and click "Bypass Group Nodes".
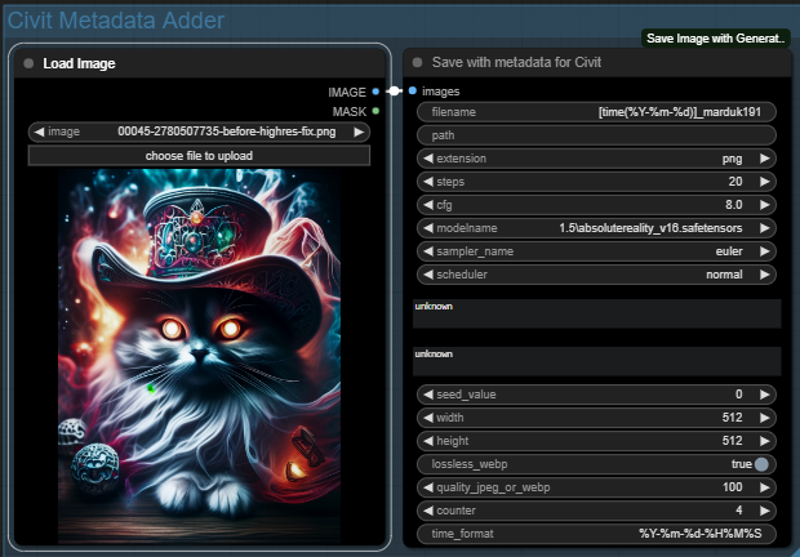
Civit Metadata Adder (group)
An example of how to add CivitAI metadata to an image manually, you can bypass the load image node and connect the Detailer image output directly to this for automation. There are easier ways to do this automatically, but they are not compatible with this workflow and would add a huge amount of complexity to this workflow. I try to keep it simple.
