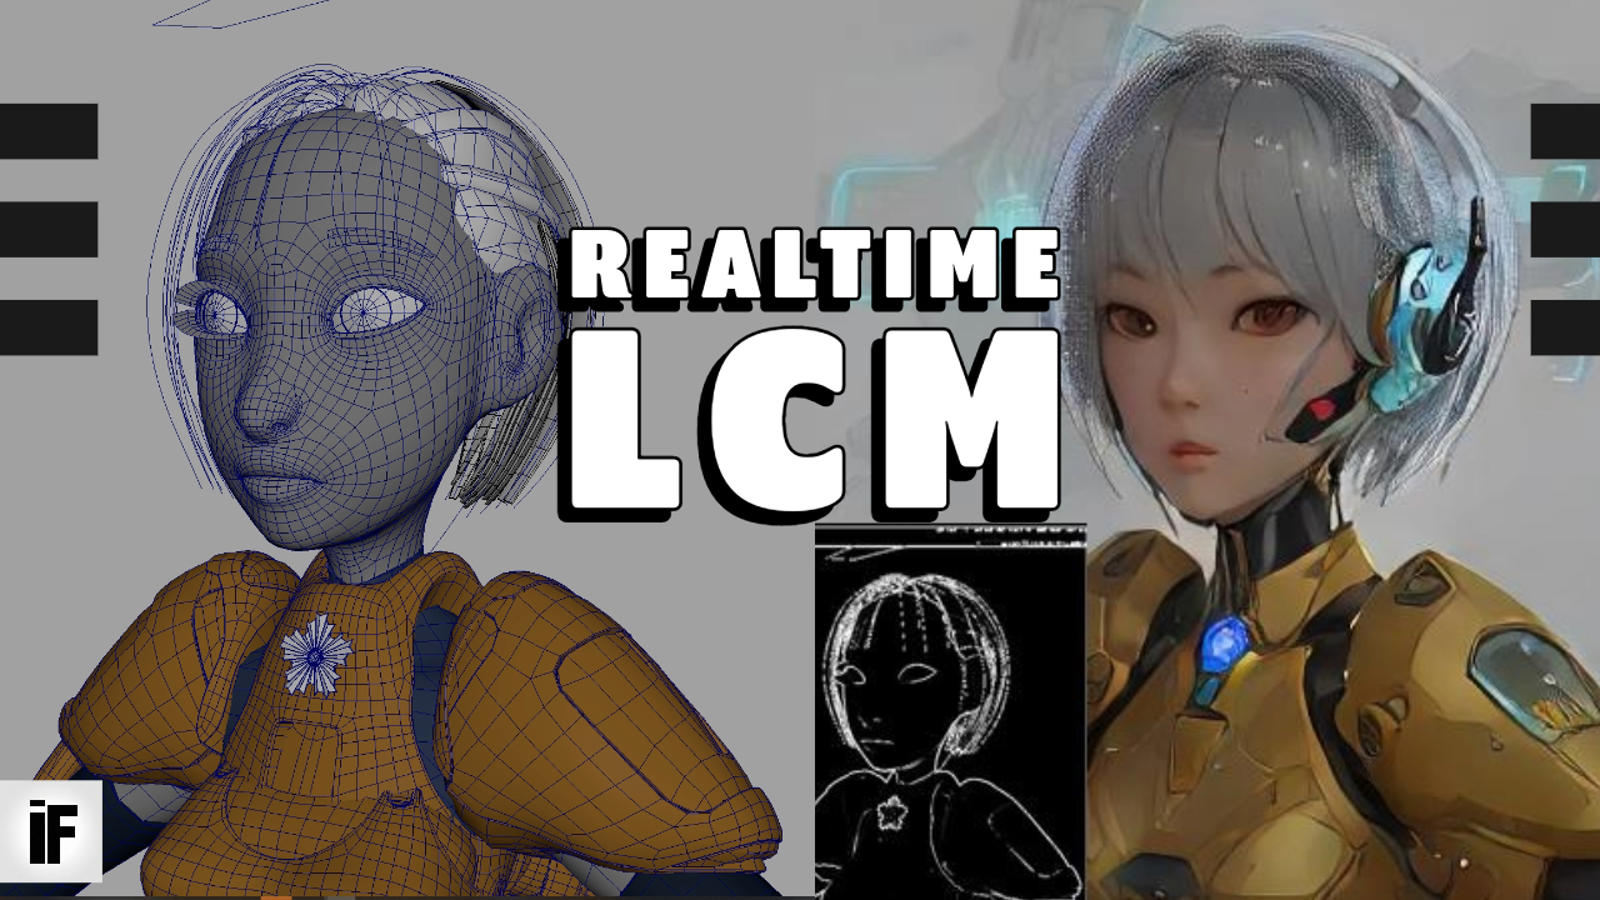
Hi I am ImpactFrames I put together this little guide to help you install live LCM a Realtime latent consistency repo to use stable diffusion interactively is a fun way to use SD like in the video
Notes:
I am on the latest Nvidia Gamaing drivers without any issues
--I only have Windows10 so I will focus on that but if you have mac or linux you can ask claude.ai, chatGPT or Bard to give you the translated commands if you need them--
be careful with the temperatures of your machine if you hear the fans go BRRRR stop close the program. I am not responsible for any damage cause, this is all bleeding edge experimental stuff and do it at your own risk, haven said that it works surprisingly stable
I will use command prompt if you use terminal the commands could be slighly different
I am using python 3.10.13 and works great
Pre requisites:
Okay first things first you are going to need a Nvidia GPU,
Intel Arc GPU or Apple M1/M2/M3 you can use this on Linux, Windows and Mac
a webcam
You Need Python 3.10 you can get it here https://www.python.org/downloads/
you need git https://git-scm.com/downloads
install firefox
https://www.mozilla.org/en-GB/firefox/new/
install OBS
Now lets start :
The live LCM repo
https://github.com/radames/Real-Time-Latent-Consistency-Model
Go to a location on your hard drive where you like to install it
You can create a folder
inside your hard drive C:\ and name it AI

something like C:\AI\
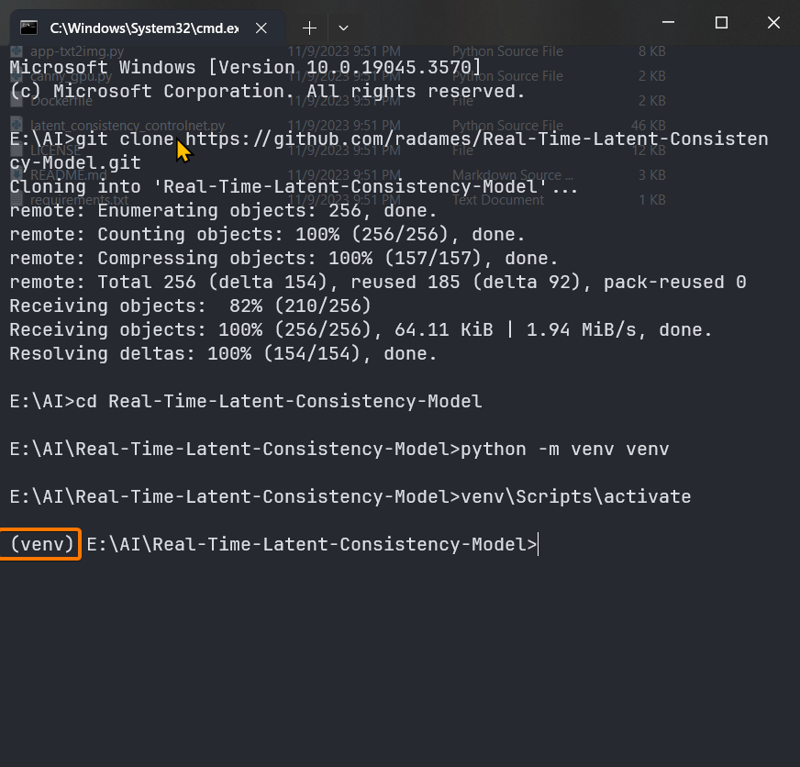
on the address bar type CMD to open command prompt
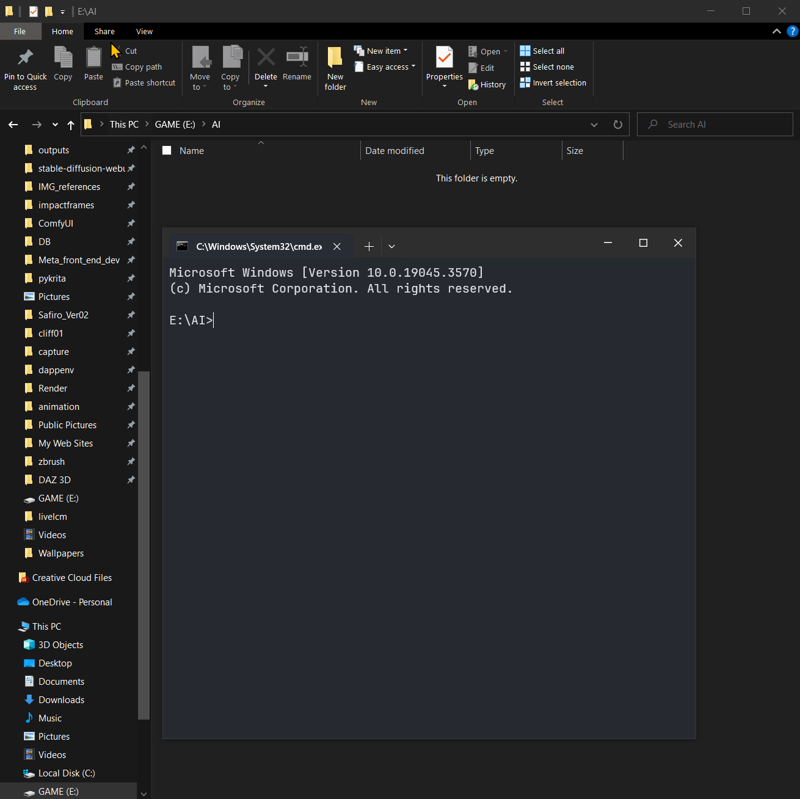
next copy and paste this into the command prompt and press enter
git clone https://github.com/radames/Real-Time-Latent-Consistency-Model.git
Now you should have a folder with the repo on the AI location on your computer
now we change directory inside Real-Time-Latent-Consistency-Model folder
type
cd Real-Time-Latent-Consistency-Model
you should see
C:\AI\Real-Time-Latent-Consistency-Model>
type
python -m venv venv
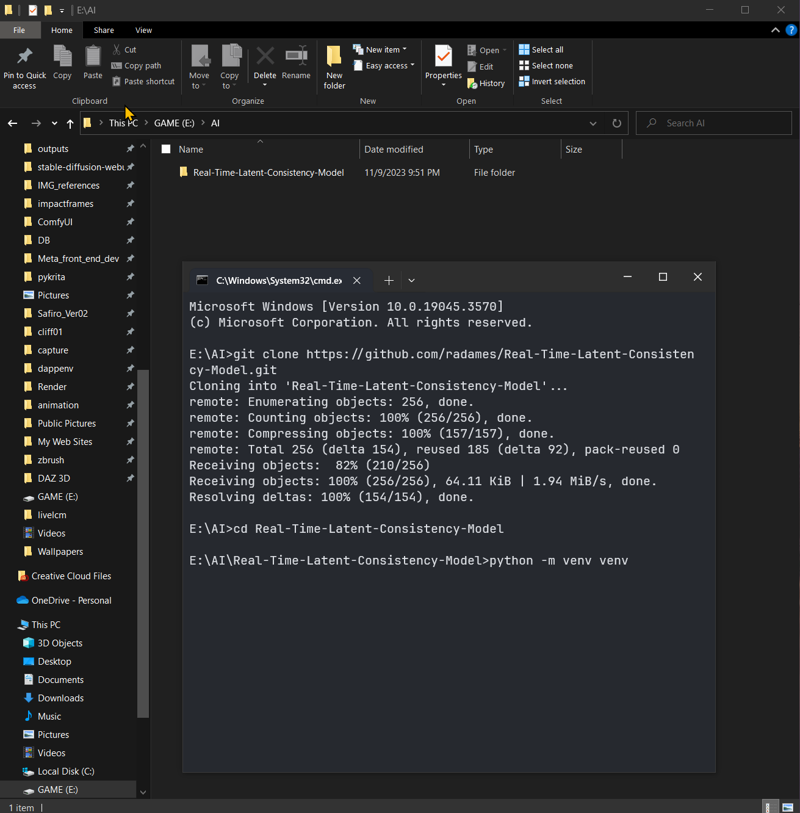
to create a separate environment where all the dependencies will get installed
You should see the new folder venv was created inside the Real-Time-Latent-Consistency-Model directory
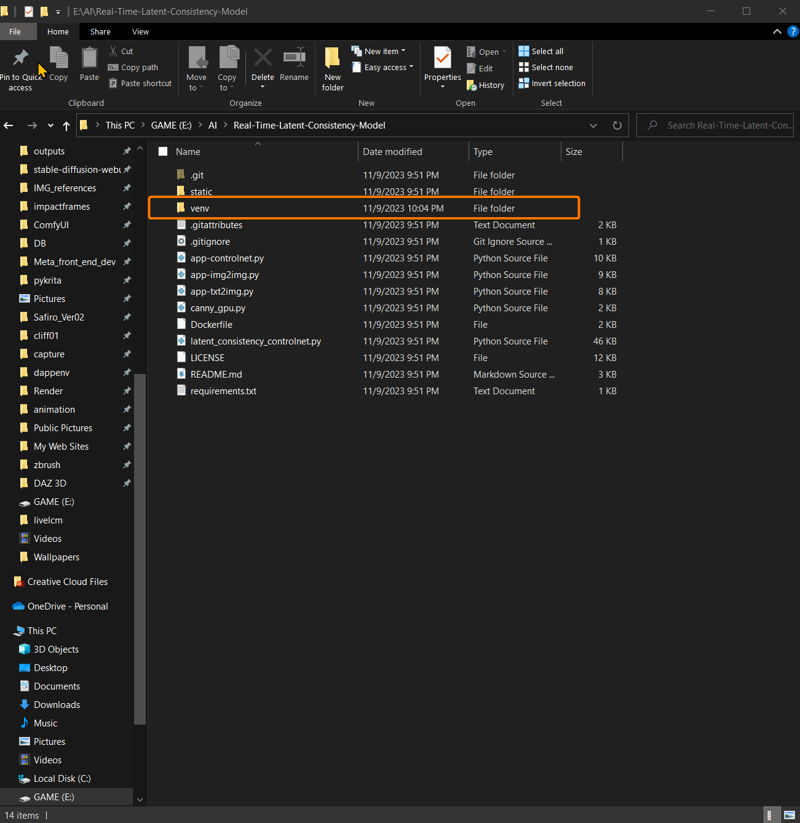
Now Type
venv\Scripts\activatethis will activate the venv and you can see the new line start with (venv) indicating the venv is now active
now type pip install -r requirements.txt
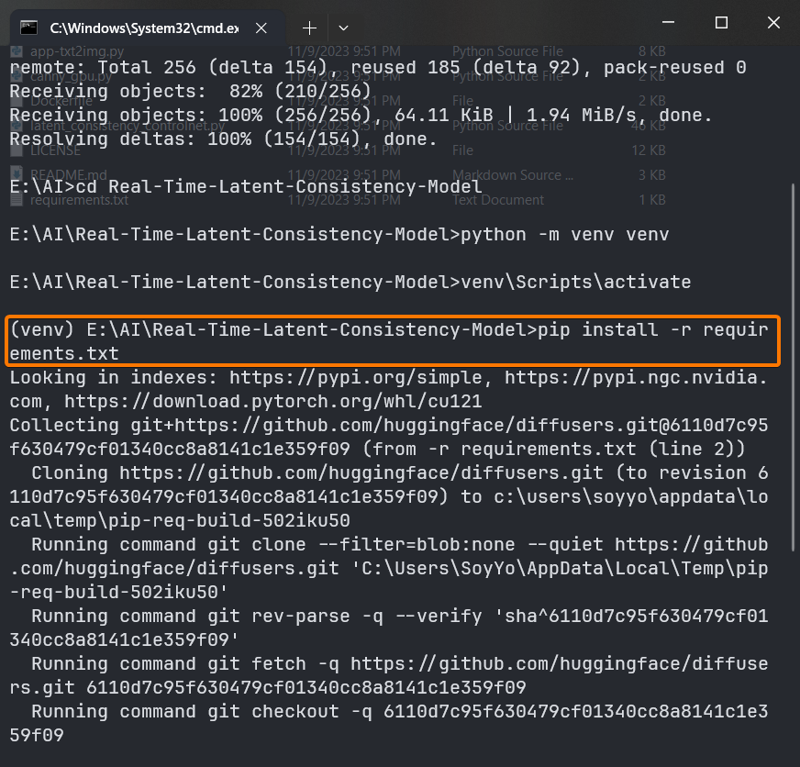
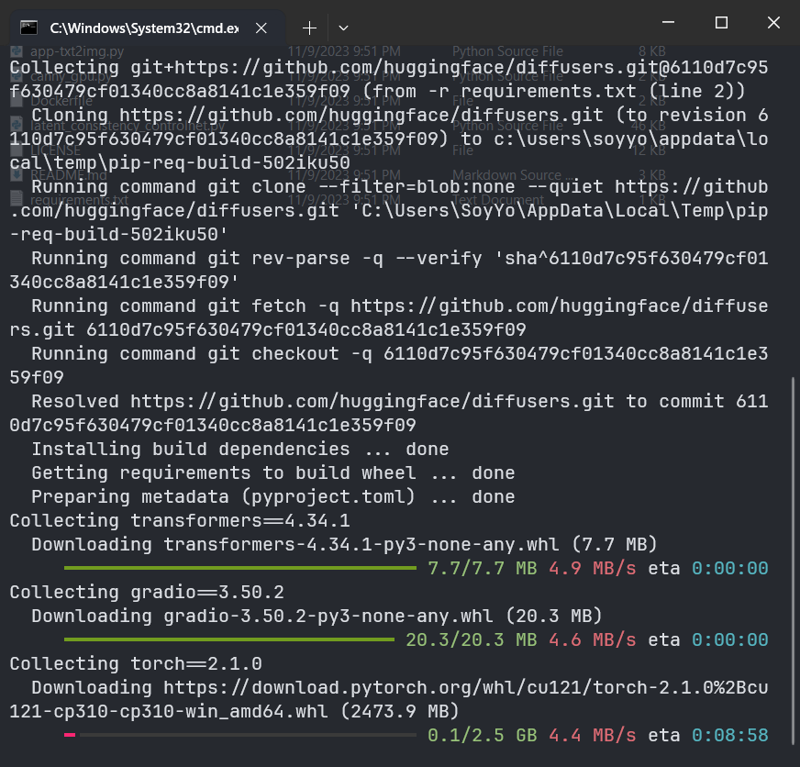
this will install all the dependencies needed for the repo to work
including downloads for the models etc.. should take around 5 or 10 minutes depending on your internet speed
okay we can run it by typing uvicorn "app-img2img:app" --host 0.0.0.0 --port 7862 --reload
instead of 0.0.0.0 I will use 127.0.0.1
and you can use app-controlnet:app to get controlnet running too in addition there is app-txt2img
but it might add a little overhead
you can use the variables as needed
TIMEOUT=120 TORCH_COMPILE=True SAFETY_CHECKER=False uvicorn "app-img2img:app" --host 127.0.0.1 --port 7860 --reload
TIMEOUT: limit user session timeoutSAFETY_CHECKER: disabled if you want NSFW filter offMAX_QUEUE_SIZE: limit number of users on current app instanceTORCH_COMPILE: enable if you want to use torch compile for faster inference
type:
uvicorn "app-controlnet:app" --host 127.0.0.1 --port 7862 --reload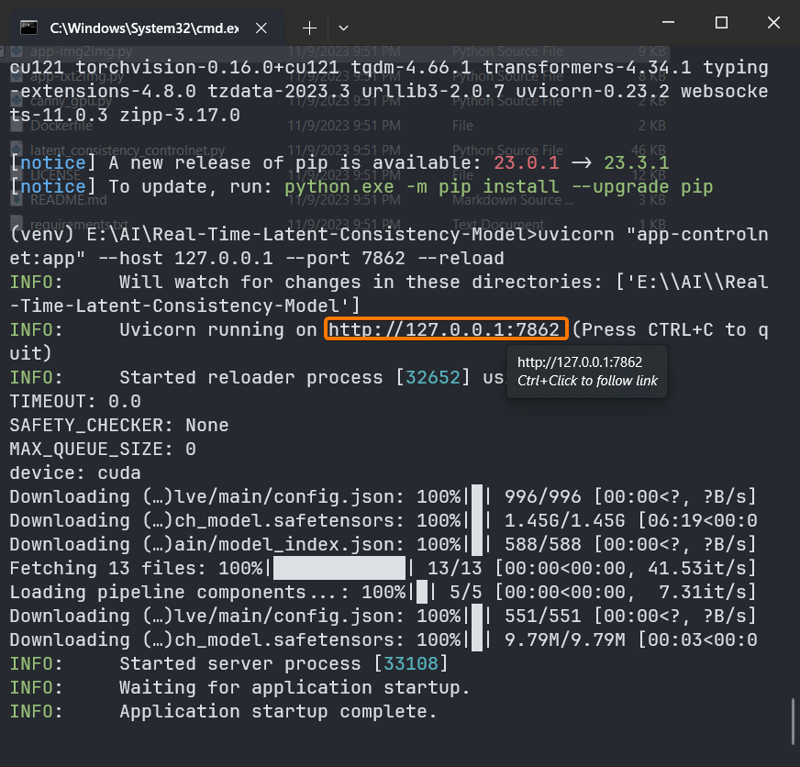
it will download some controlnet related models
now
hold ctrl and click on the link or type http://127.0.0.1:7862 in your firefox address bar
okay here we are on realtime lcm you can press the advanced button to play with the settings, change the prompt
lets click start
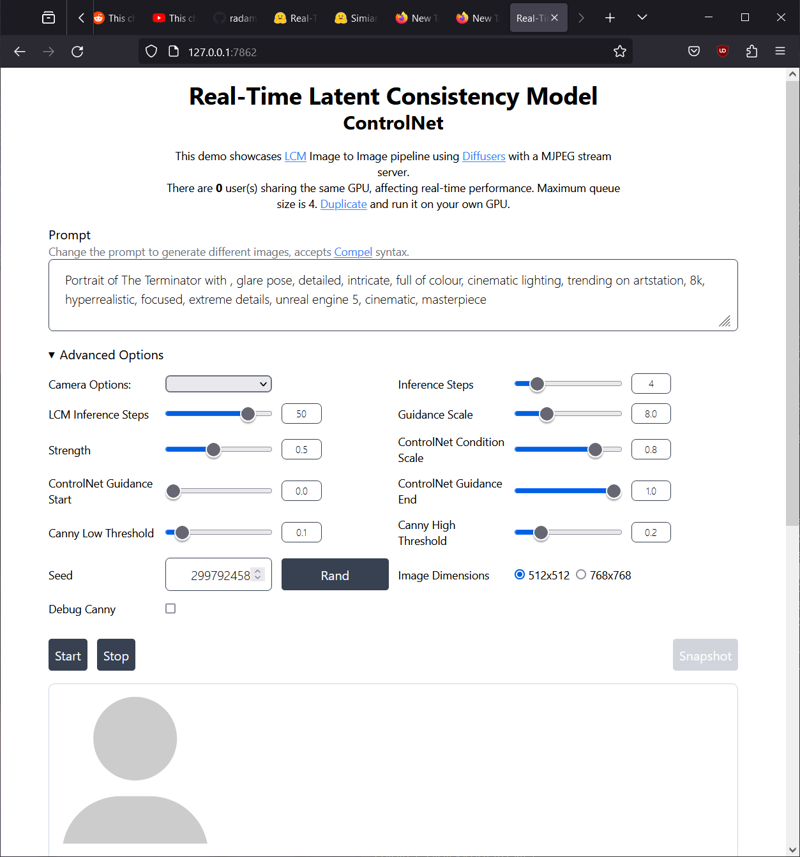
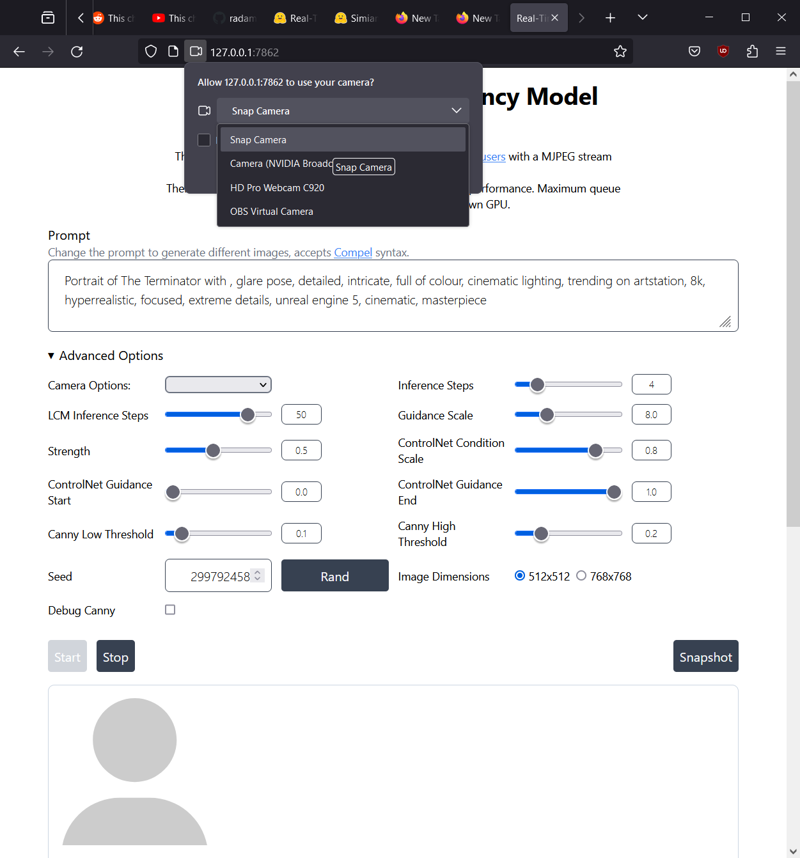
select the camera I use snapcamera
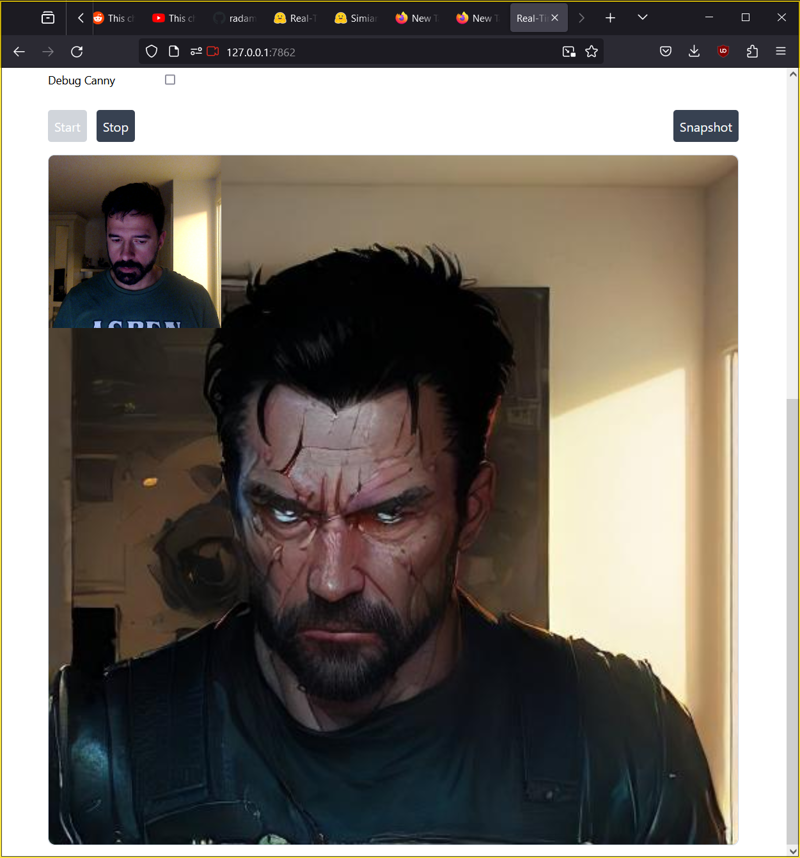
okay the camera was lagging for some reason maybe because I used snapcamera instead of the webcam directly which adds more resource intensiveness to the mix but I have used it with almost no lag before
Let's do a little optimization
talking about it lets use img2img only withot the canny controlnet and optimize a little for the next test
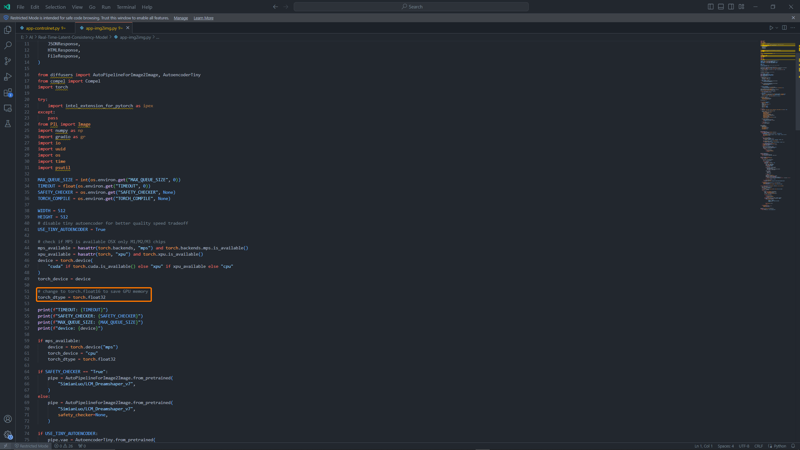
open the python file app-img2img.py and change line 52 to torch_dtype = torch.float16 instead of 32 to save a litle vram
I would recommend using this
TIMEOUT=120 TORCH_COMPILE=True SAFETY_CHECKER=False uvicorn "app-controlnet:app" --host 127.0.0.1 --port 7862 --reload okay now lets move to using OBS virtual camera now
close the command prompt
open OBS
select the cog wheel beside start virtual camera button
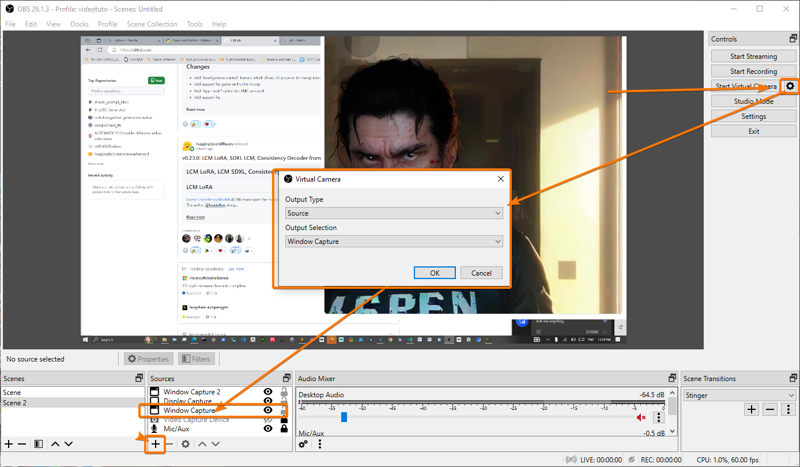
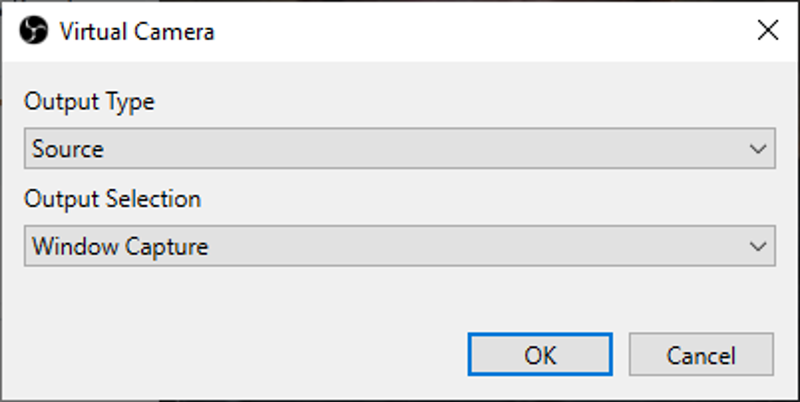
select output type: source and outpute selection: Window Capture
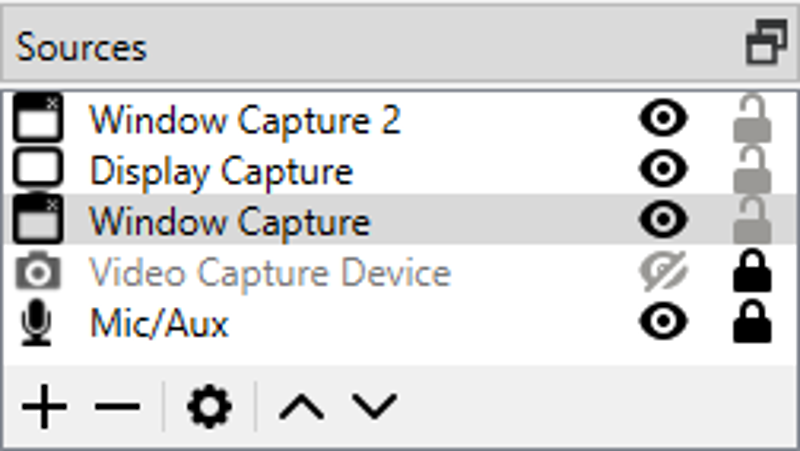
on the sources select plus to create a window capture
and on the window select the program you want to use in my case I am using Maya but it works with any program even videogames. I open Maya and loaded one of my many unfinished 3d Models it will be a good use case for RTLCM to see how they would look if I ever finish it.
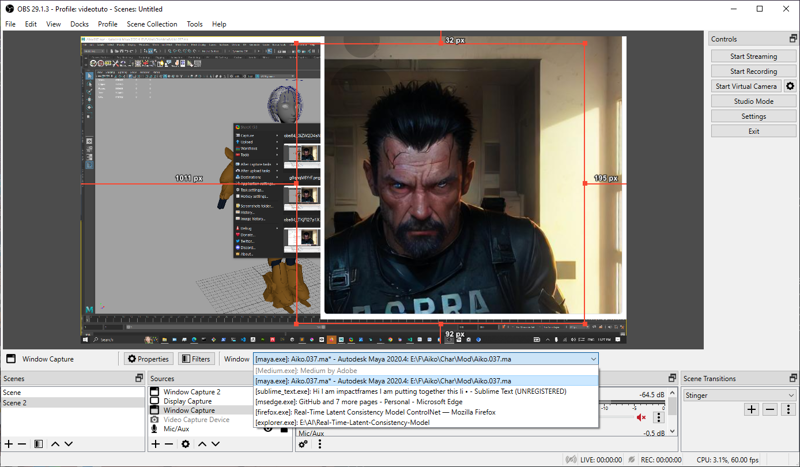
You can add a crop filter to manipulate the screen capture better
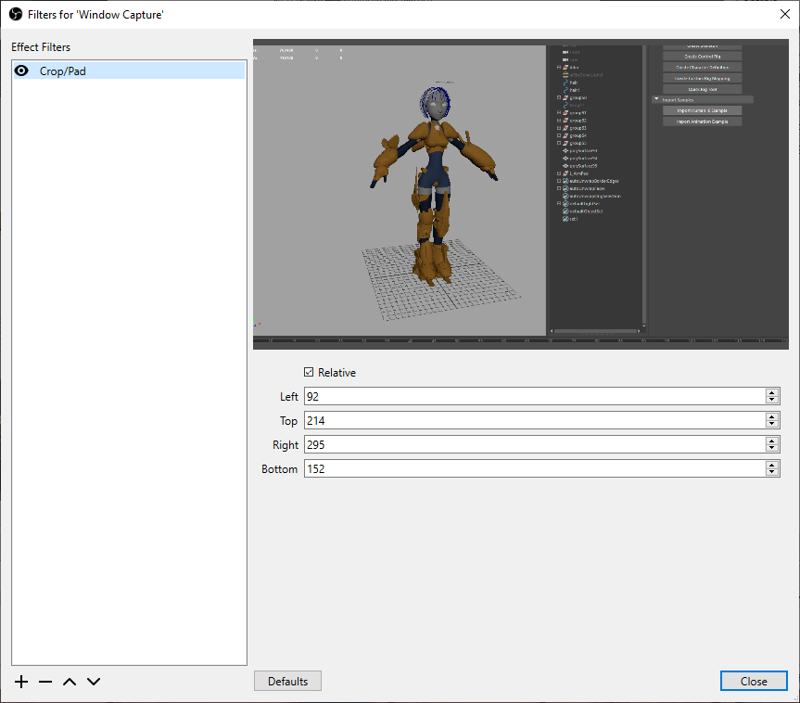
now let's go to the Real-Time-Latent-Consistency-Model directory and type CMD in the address bar
activate the venv
venv\Scripts\activateand type
TIMEOUT=120 TORCH_COMPILE=True SAFETY_CHECKER=False uvicorn "app-controlnet:app" --host 127.0.0.1 --port 7862 --reload it should start streamming
now in obs click start virtual camera and go back to firefox and reload the page or type http://127.0.0.1:7862 on the address bar again click start
select obs virtal camera and allow
I decided to go back to control net so I stoped it with ctrl + c
and started again with
TIMEOUT=120 TORCH_COMPILE=True SAFETY_CHECKER=False uvicorn "app-controlnet:app" --host 127.0.0.1 --port 7862 --reload 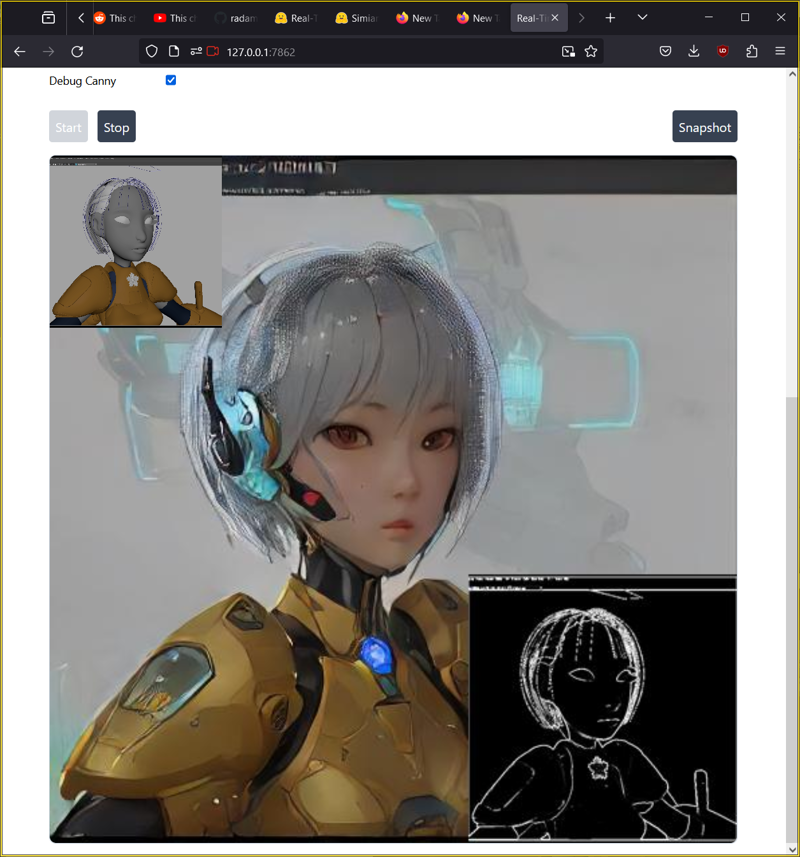
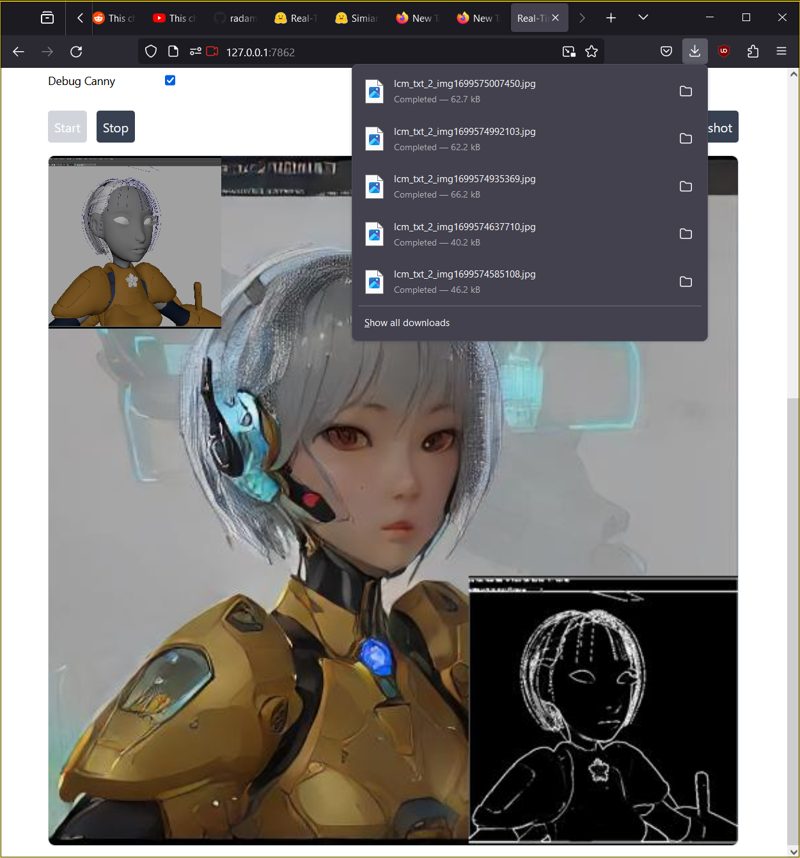
if we see something we like we can also take an snapshot
and that's it hope you like this guide check my YT for more
diffuser 0.23.0 just came out and has support for LCM so we will ee similar functionality on A1111 and comfy I have a video on how to install the custom nodes for LCM in ComfyUI and also the LCM extension for A1111 so please look in my YT channel for more


