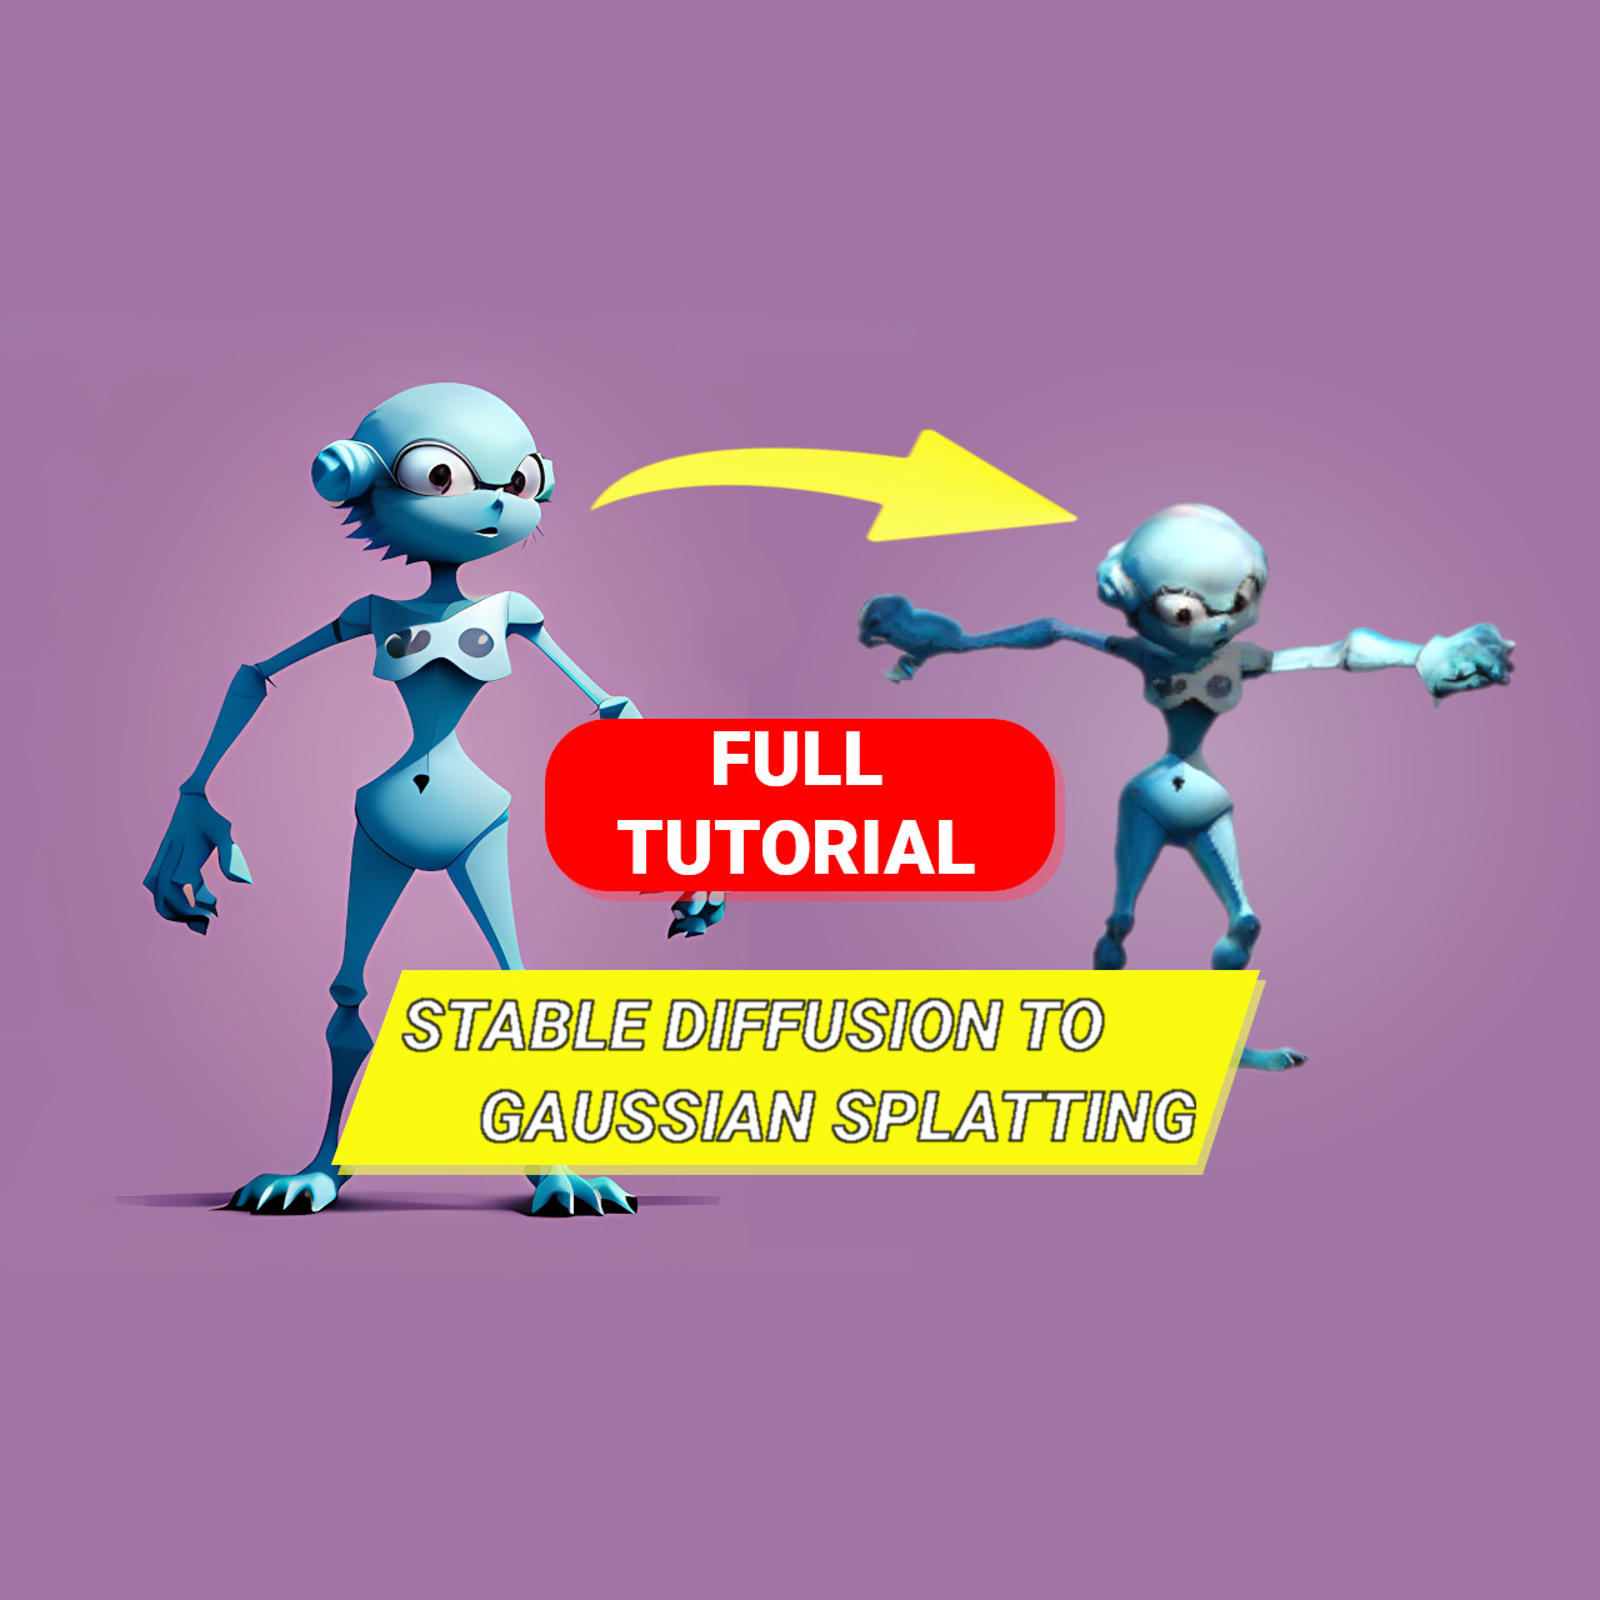
In this video I am going to show a fast and fun way to generate a 3D model starting from Stable Diffusion using Gaussian Splatting (Dreamgaussian)
1) STABLE DIFFUSION
First, we are going to create our alien in Stable Diffusion.
I used the rev'animated model with the prompt on the screen, but you can use any combination as long as it gives you an image not too detailed and with recognizable features.
Remember to use an image with an aspect ratio of 1:1. I used 512 x 512 since it is easy to do math with it.
After checking that the image output is fine, we go ahead and generate a bunch of images.

We check the results, keep in mind that even if cute, a character without a neck may give us nightmarish results when rigged later,so something like the pink background one should work fine.

We then upscale the image using the extra tab, I found out that a resolution of 2048 x 2048 works fine with the 3d generation, too low and the details may come out fused together or without enough detail.
2) DREAMGAUSSIAN
We are then going to use dreamgaussian, which allows image to 3d and even text to 3d, even though the results are still to be improved.
・Dreamgaussian Repo: github.com/dreamgaussian/dreamgaussian
・Dreamgaussian commands:
1)python process.py data/filename.jpg--size 2048
2)python main.py --config configs/image.yaml input=data/filename.png save_path=filename
3)python main2.py --config configs/image.yaml input=data/filename.png save_path=filename
Once installed we are going to place our upscaled image in the dreamgaussian /data folder, change the extension to jpg and with the terminal run the command python process.py with our image.
Since we have a 2048 for 2048 image we need to specify the size by adding size 2048 after the command, or it will be rescaled to 256 for 256. This will generate a png with blank background and rgba profile.

Then we need to run dreamgaussian using the main.py with the config yaml file on the png without background thate we created and name the output.
This will create in the logs folder a gaussian splatting trained in 500 epochs.
I tried with more like 1000 or 5000 but the results were inconsistent.
Based on that gaussian splatting, a mesh and an uv wrap are generated.

We are going to train the mesh using the command similar to the one before but running main2.py this time.
This will create a more detailed mesh that can be used in nearly any 3D software.

BLENDER/MIXAMO/UNREAL ENGINE/UNITY etc.
The resulting OBJ file can be used in any 3D software. Please check the video embedded to this article to see more.

