1- Video
Find and download a video from the Internet
2- Create folders
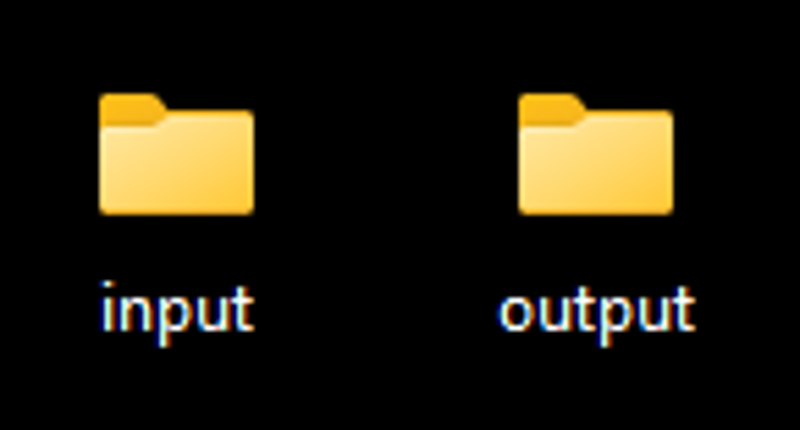
Create 1 input and 1 output folder.
3- Convert the video to jpeg format
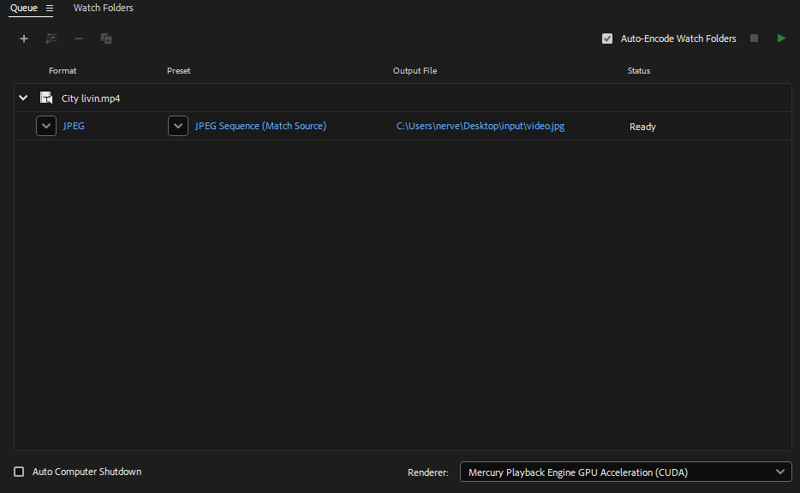
Save it in the input folder (I used Adobe Media Encoder, you can use any program you like).
4- ControlNet
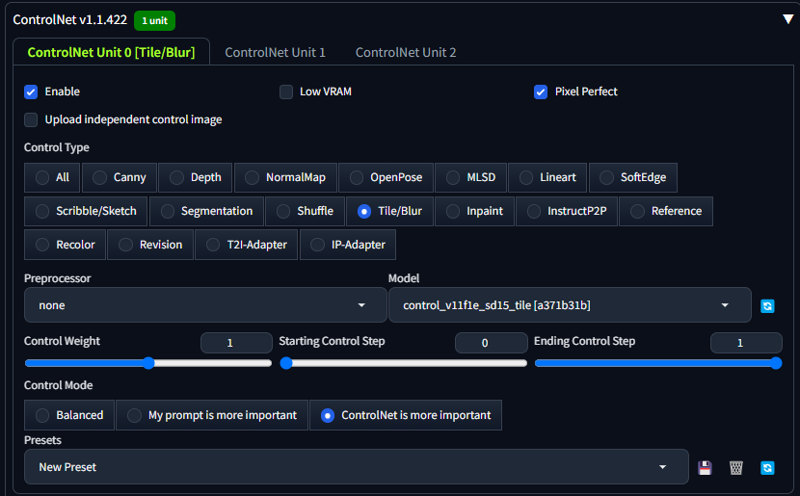
First unit: Tile/Blur -> None Preprocessor, Control Wight 1, ControlNet more important
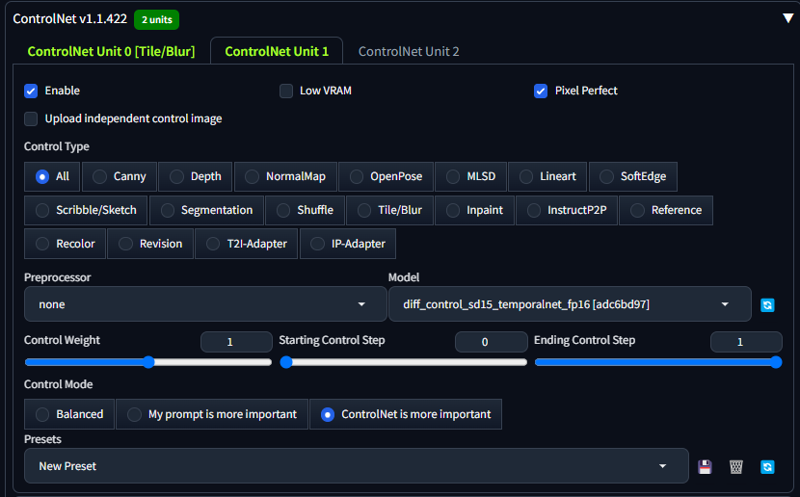
Second unit: TemporalNet -> None Preprocessor, Control Wight 1, ControlNet more important
You can use Softedge or LineArt as an extra.
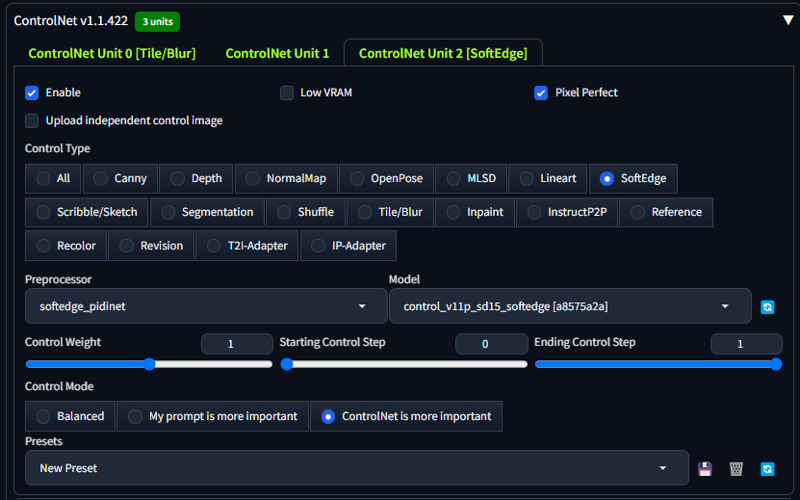
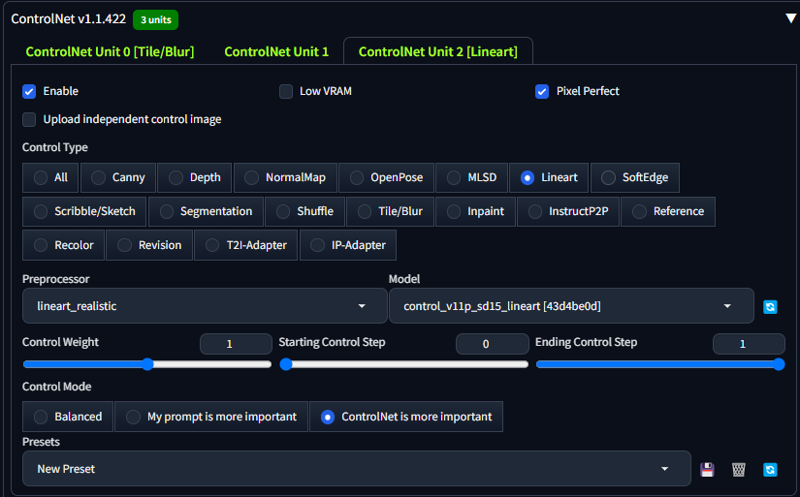
(Sampling method: Euler a, Sampling steps:20, CFG Scale: 3-4, Denoising strength: 1)

5- Batch
img2img -> Batch -> Specify input directory, output directory and start generation. (Test to see if the "controlnet" works before you start).

6- Convert jpeg to video format
Your output folder will contain the images you have created. We are going to do the opposite of what we did at the beginning. Convert jpeg to video (H.264) using Media Encoder. That's it.
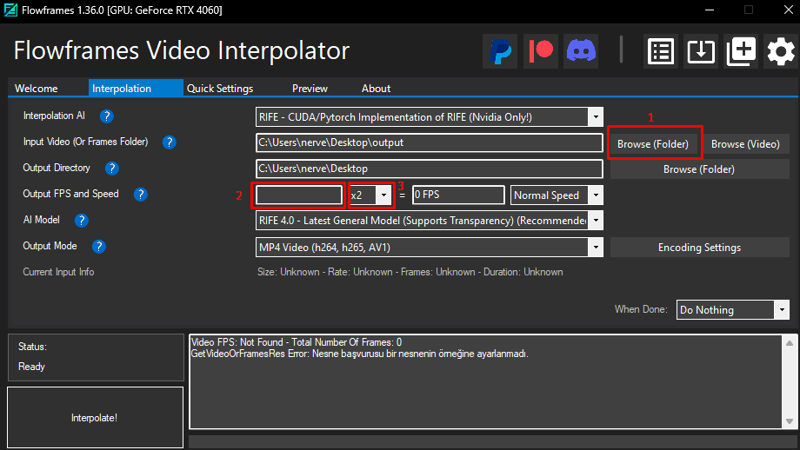
(You can do the "Convert jpeg to video" process with Flowframes)
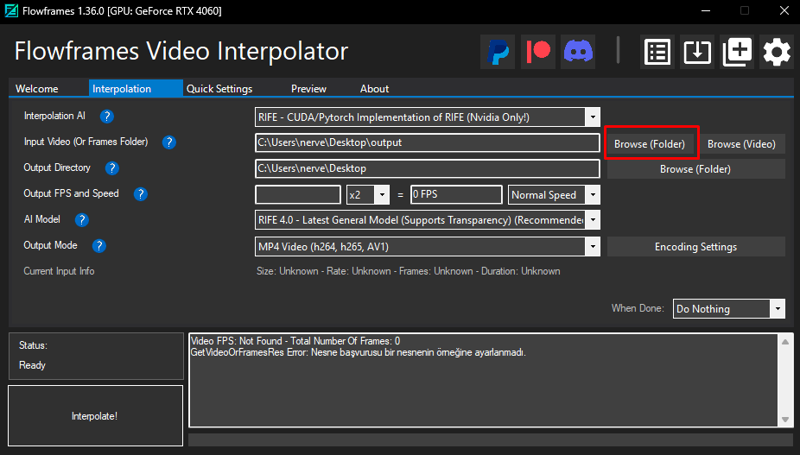
7- Flowframes
With this software we can increase the low fps video we have to 60 fps.
If you use ADetailer, you will create much more beautiful faces, but your processing time will double.
There may be things I forgot to add to the list, I will update as I remember.
If you have any queries, please don't hesitate to ask. Discord: nerveos


