Intro
IPAdapters are incredibly versatile and can be used for a wide range of creative tasks. They're great for blending styles, transforming sketches into lifelike photos, or combining various subjects from input images.

Updated with latest IPAdapter nodes.
Made by combining four images: a mountain, a tiger, autumn leaves and a wooden house
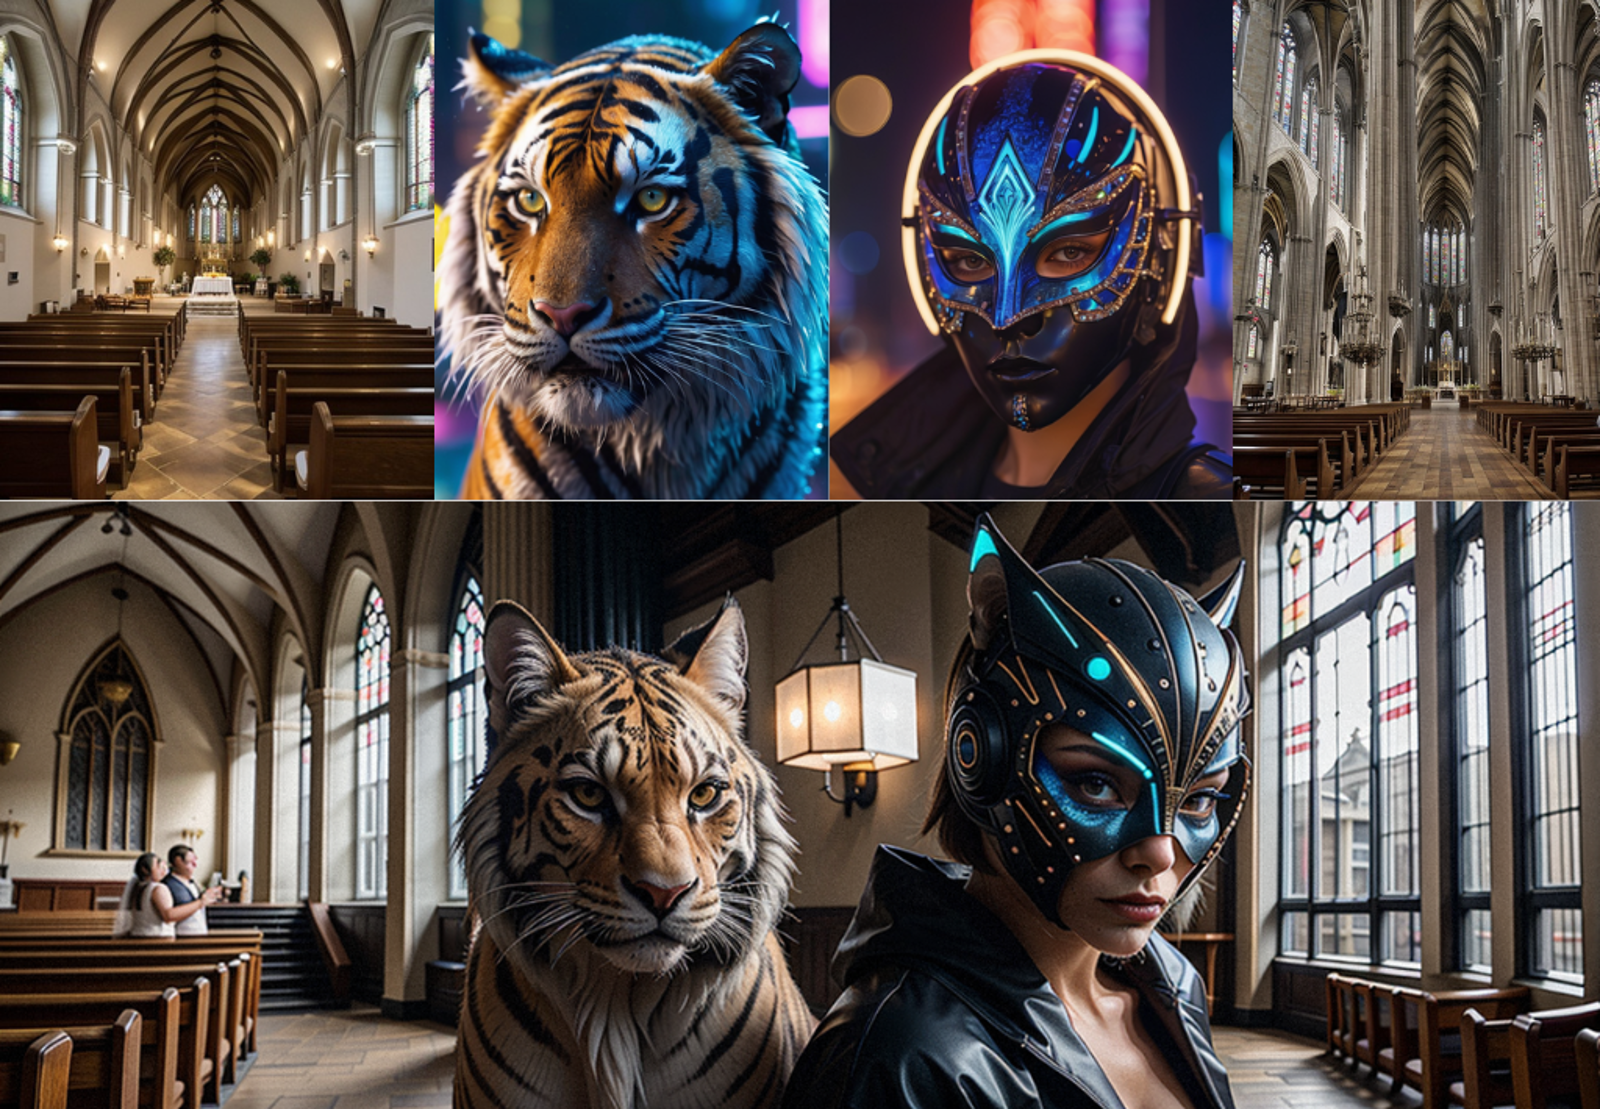
By combining masking and IPAdapters, we can obtain compositions based on four input images, affecting the main subjects of the photo and the backgrounds. In particular, we can tell the model where we want to place each image in the final composition. So, if I want a transition between a mountain landscape, a tiger in the front, an autumn landscape, and a wooden house, I can input these four "concepts" as images, and the final output will contain each element, mostly in the area of the mask that we specified.
The workflow will make this idea clearer, so let's see how you can create these images in ComfyUI. If you don't know what ComfyUI is, check out this introduction to this powerful UI.
Workflow
I made this using the following workflow with two images as a starting point from the ComfyUI IPAdapter node repository.
Then I created two more sets of nodes, from Load Images to the IPAdapters, and adjusted the masks so that they would be part of a specific section in the whole image. If you want to know more about understanding IPAdapters, you can check out this article.
Here you can download my ComfyUI workflow with 4 inputs. It's a bit messy, but if you want to use it as a reference, it might help you. Let's break down the main parts of this workflow so that you can understand it better. We have four main sections: Masks, IPAdapters, Prompts, and Outputs.
Masks

In this group, we create a set of masks to specify which part of the final image should fit the input images. We also include a feather mask to make the transition between images smooth. You can increase and decrease the width and the position of each mask. Also, note that the first SolidMask above should have the height and width of the final image. Then you can divide by 4 the width to have an initial starting point for all the SolidMask nodes below. The height can also be adjusted; it will push the black area up or down.
Input Images and IPAdapter

In this section, you can set how the input images are captured. The most important values are weight and noise. The higher the weight, the more importance the input image will have. The noise, instead, is more subtle. That's how it is explained in the repository of the IPAdapter node:
Basically the IPAdapter sends two pictures for the conditioning, one is the reference the other --that you don't see-- is an empty image that could be considered like a negative conditioning.
The noise parameter determines the amount of noise that is added. A value of 0.01 adds a lot of noise; a value of 1.0 removes most of noise so the generated image gets conditioned more.
You can change these value to experiment, what's best for you, to balance the strength of the input images.
Prompt

This is basically the standard ComfyUI workflow, where we load the model, set the prompt, negative prompt, and adjust seed, steps, and parameters. For this workflow, the prompt doesn’t affect too much the input. You can use it to guide the model, but the input images have more strength in the generation, that's why my prompts in this case have been very short, without many keywords.
Outputs

I added a node to give a slightly grainy effect to make it more realistic and less plastic vibes. From here, images can be further postprocessed, by upscaling or fixing any unwanted artifacts. But these results are already nice and entertaining as they came!
More examples

Prompt: A couple in a church

Prompt: Two warriors

Prompt: Two geckos in a supermarket
Not all the results were perfect while generating these images: sometimes I saw artifacts or merged subjects; if the images are too diverse, the transitions in the final images might appear too sharp. But there is still room for experimenting, especially playing with the weight, nodes, and position of the masks. Maybe adding a ControlNet flow would give images more consistent with the inputs!
Resources
IPAdapter for ComfyUI: https://github.com/cubiq/ComfyUI_IPAdapter_plus
IPAdapters: https://github.com/tencent-ailab/IP-Adapter/

