0. Introduction
I don't want to learn, just give me workflows!!!!
東方 AI (touhou ai) server > guides-and-resources > ComfyUI workflow / nodes dump
What is this for?
This guide serves as a tool for learning how to use ComfyUI and how SD works.
How do I install it?
I recommend my own guide for installation steps (lol)
If you need more info/help, join the 東方 AI (touhou ai) server and ask me (yoinked)
also read the rules, no nudity, no lewdies, if you want to be lewd; go to artificial indulgence.
1. Starting Steps
(clear the grid if it has things)
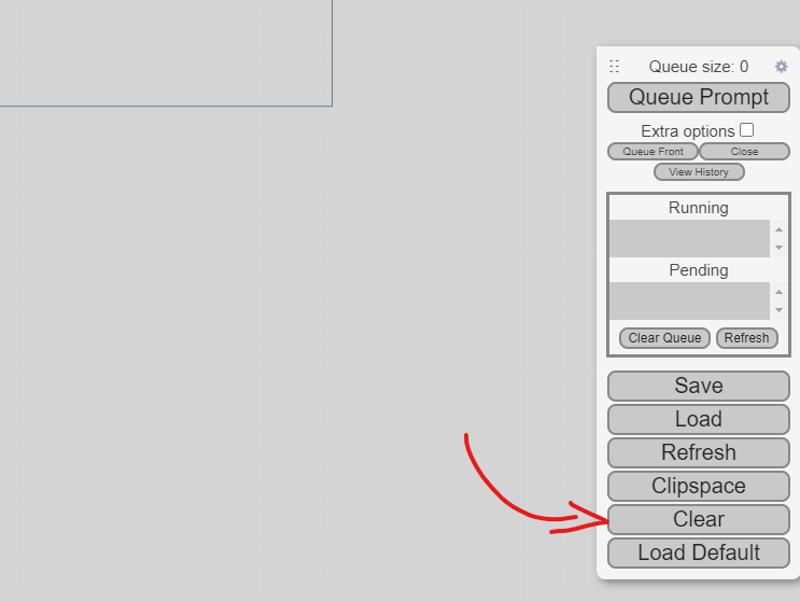
Before we get into the more complex workflows, lets start off with a simple generation.
To add nodes, double click the grid and type in the node name, then click the node name:

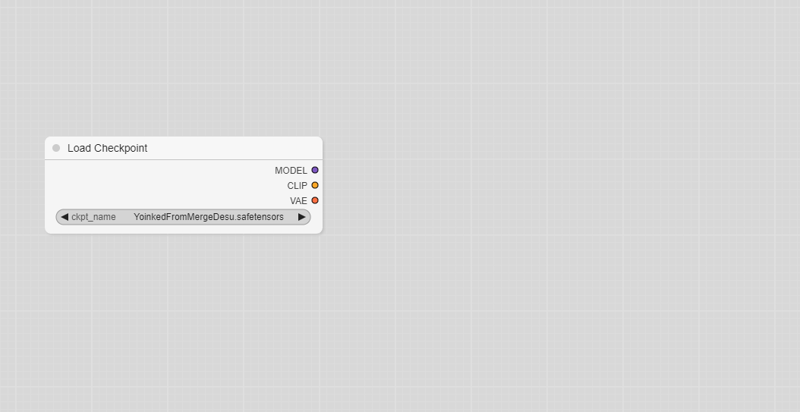
Lets start off with a checkpoint loader, you can change the checkpoint file if you have multiple.
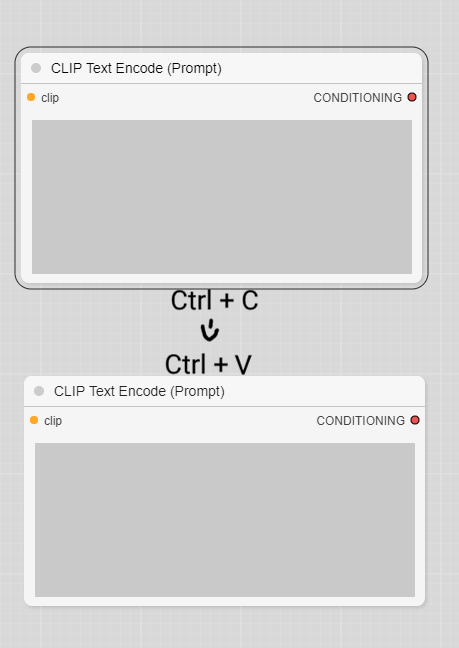
After that, add a CLIPTextEncode, then copy and paste another (positive and negative prompts)
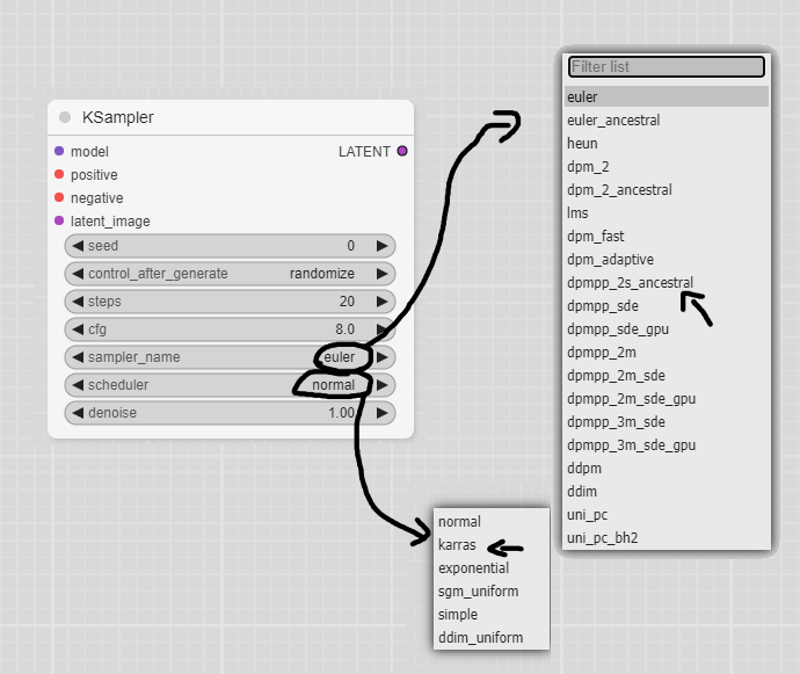
In the top one, write what you want! (if you cant think of something, just use cirno ), while on the bottom one, write your negative prompt (or use the best one, (low-quality worst-quality:1.4) (bad-anatomy) (inaccurate-limb:1.2) bad-composition inaccurate-eyes extra-digit fewer-digits (extra-arms:1.2)). After that, add a KSampler, this is the main sampling node. If you want to change the sampler, (e.g. DPM++ 2M Karras / PLMS), you have to change the parameters by clicking on them
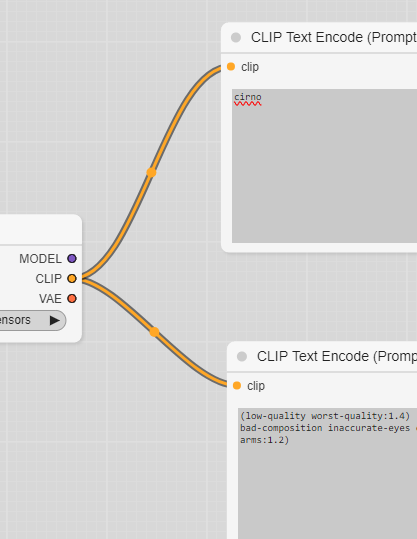
Now, we have to connect the nodes. Connect the CLIP output from the checkpoint into the prompt nodes.
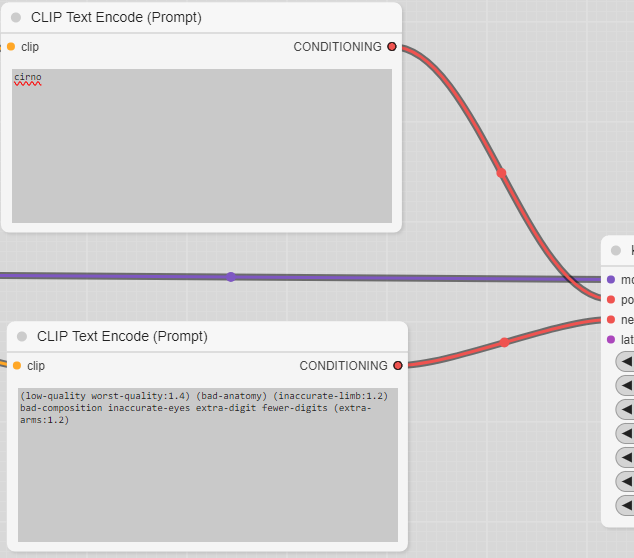
Then, connect the conditioning outputs and model output into the KSampler.
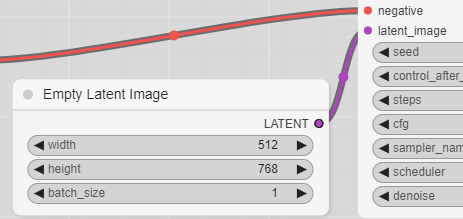
Now we add an EmptyLatentImage node, this defines the resolution of the image that will be made; set it to what you'd want.
After that, we need to decode the outputs of the KSampler, this is VAEDecoder's job, so make that node and connect it to the KSampler and CheckpointLoader.
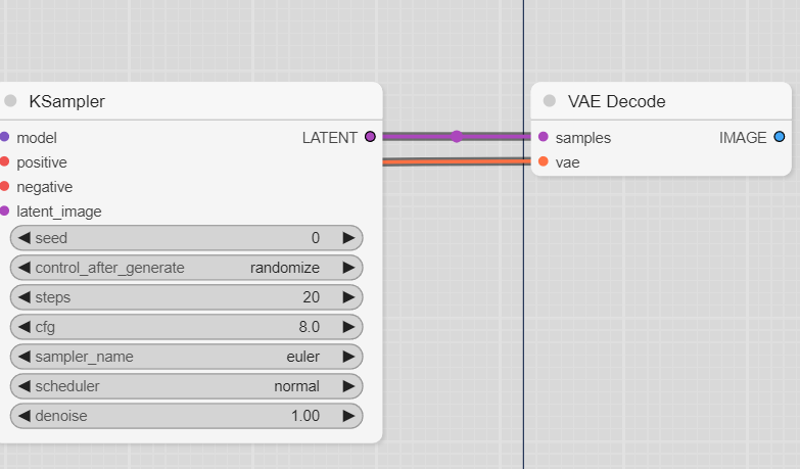
After that, pipe the image into a SaveImage node. Once its all connected, click the "Queue Prompt" button and wait for your image to generate!
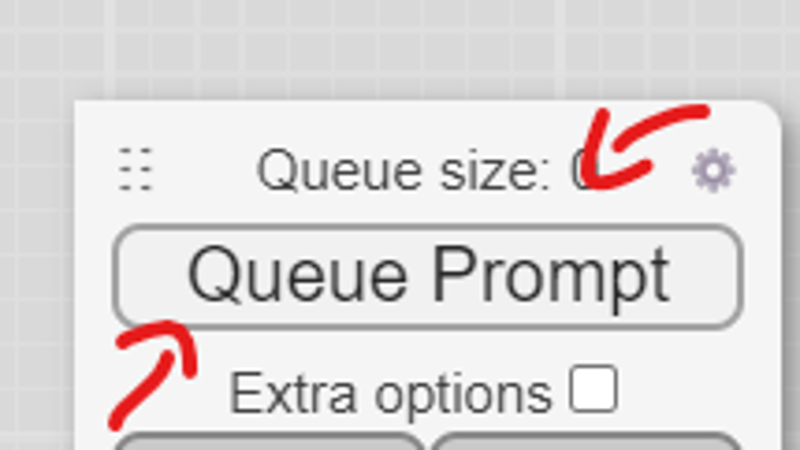
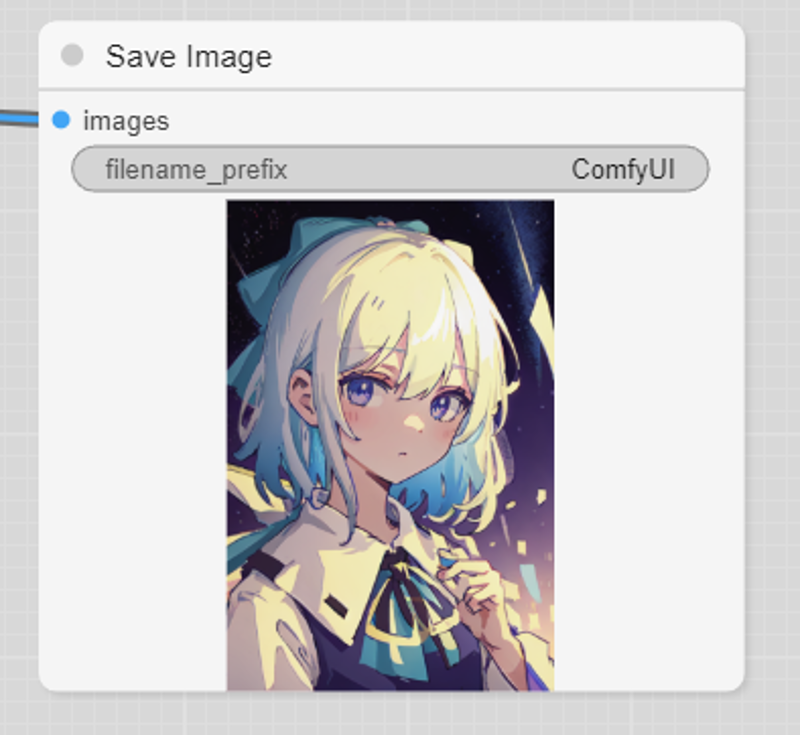
And with that, you get a simple workflow for images! (step1.json)
you want more, dont you?
2. Lora, ControlNet Oh My!
(make sure to have a lora model and controlnet model!)
Starting off the step one base, lets add a LoraLoader Node and pass the model and clip, like so:
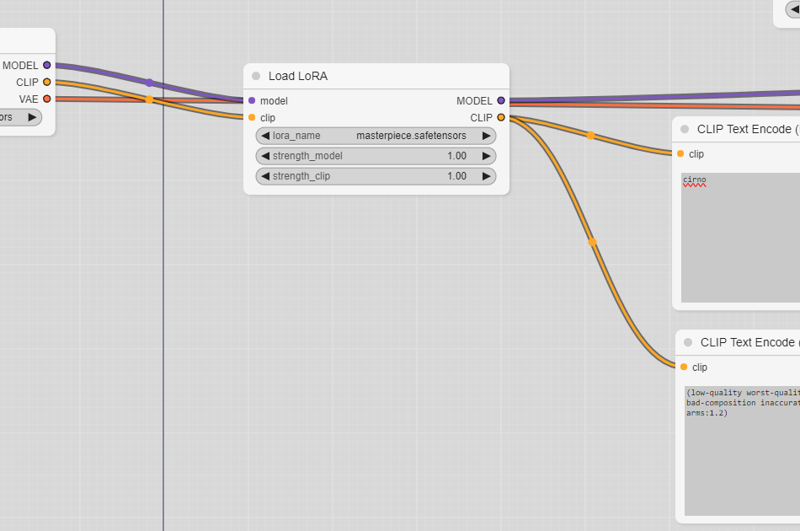
You can change the LoRA by clicking the name, and the strength can be changed by holding click on them and moving left and right. [strength_clip is for the text encoder, and the other is for the model]
Now, lets run it again:
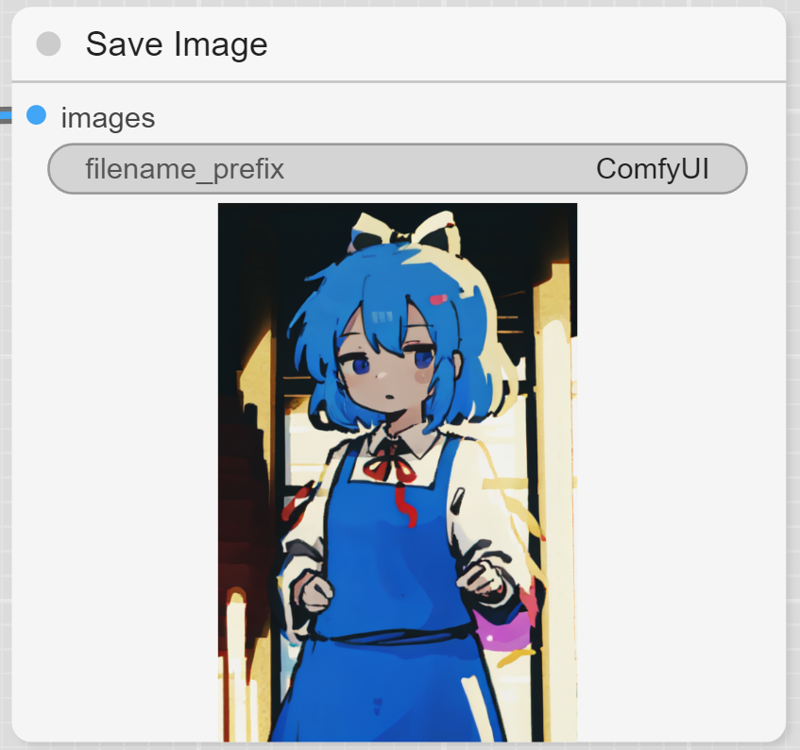
Nice, lets add a ControlNet step now. First, lets make an image (i recommend this site, though photoshop/other editors work), copy the image and paste it onto ComfyUI and bam! The image appears!
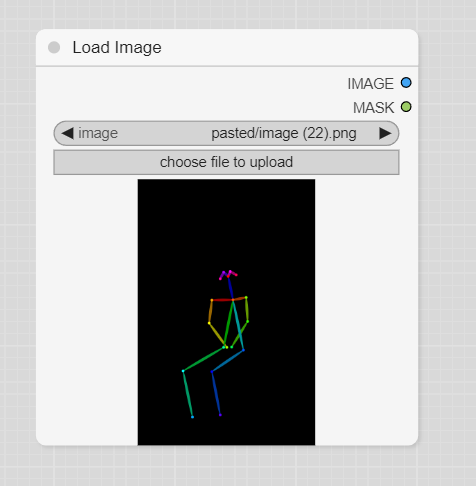
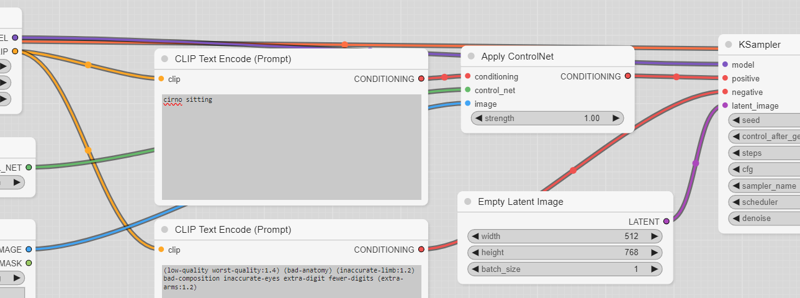
Then, we need to load the ControlNet model and process the image, make a ControlNetLoader and a ControlNetApply node, then connect the ControlNetApply to the model, image and positive conditioning, like so:
And once we generate the image, we get....
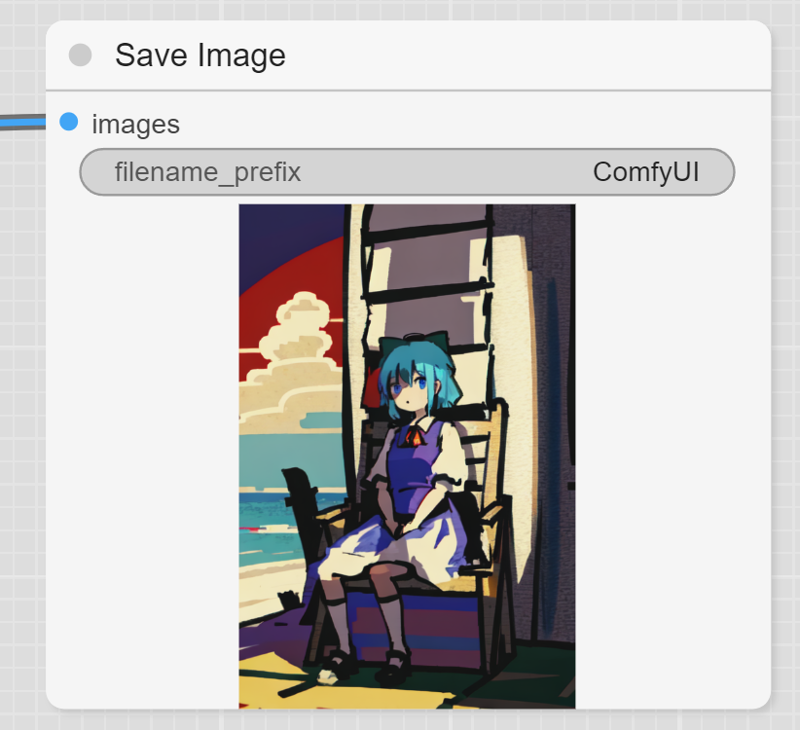
a poorly drawn baka sitting down. (step2.json)
3. Welcome to the latent space! + ydetailer
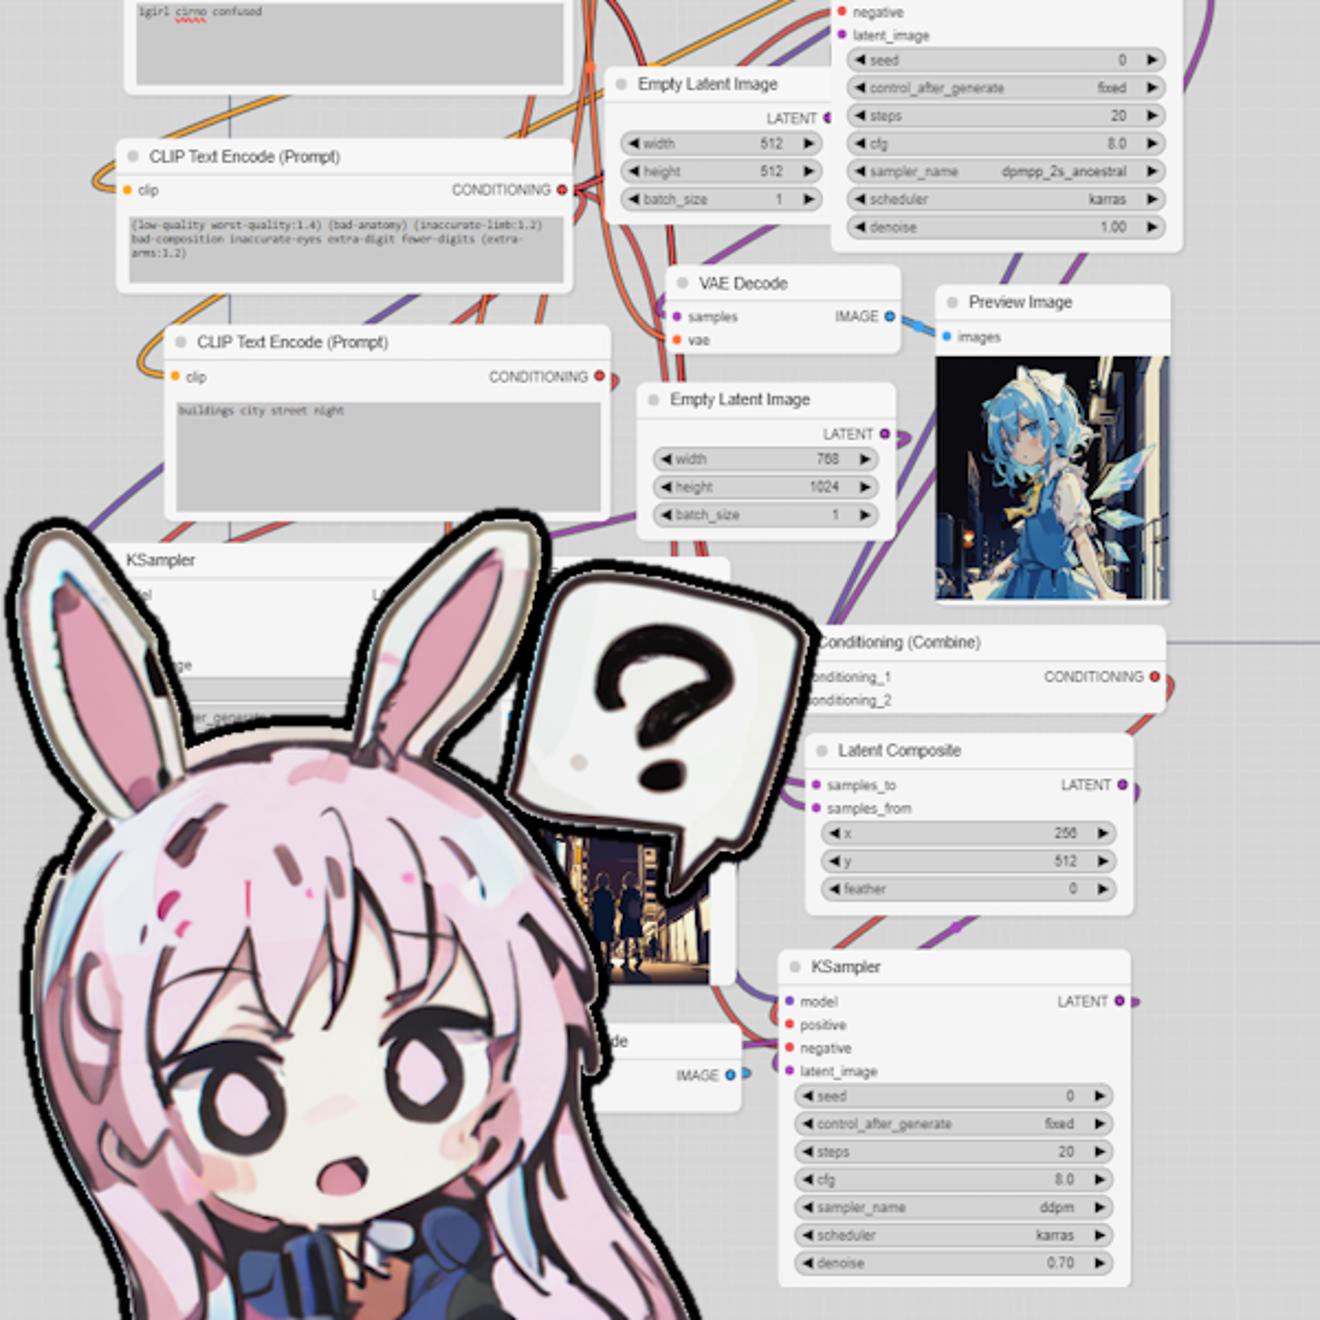
Now we're entering into the real part, we are going to combine 2 latent images into one; that means we take 2 prompts, LoRAs, models, whatever and combine them (but good).
If you don't know what a latent is, here is a brief explanation: a latent is basically the way the model can process images with numbers and in a smaller form, e.g. the language the model speaks
Lets start off with an empty grid, and add a: checkpoint loader, 4 clip text encoders (2 positives, 2 negatives) and 2 ksamplers
For the first prompt, lets make a background (in my case, I wrote night sky (fireworks:0.8) no-humans), now for the second prompt we make the focus of the image. (again, i put something like hieda-no-akyuu sitting looking-up) After that, make latent images for each (make the background have a larger size) connect the model nodes and clip nodes (and add LoRAs if you want).
Then, add 2 vae decode nodes, one for each ksampler. After decoding, send the image into a ImagePreview node, so we can see the status without saving the full file, the workflow should look something like this:
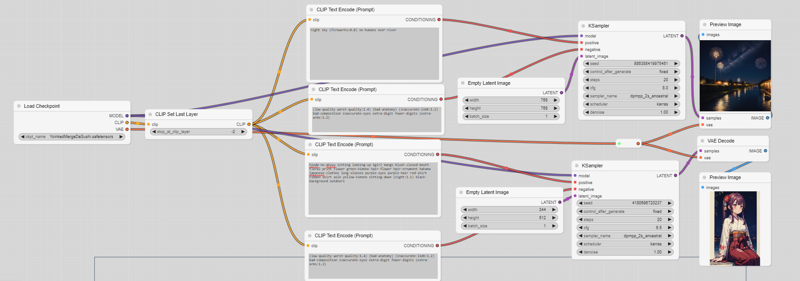
Once we have that working, we are going to start using one of ComfyUI's best nodes:
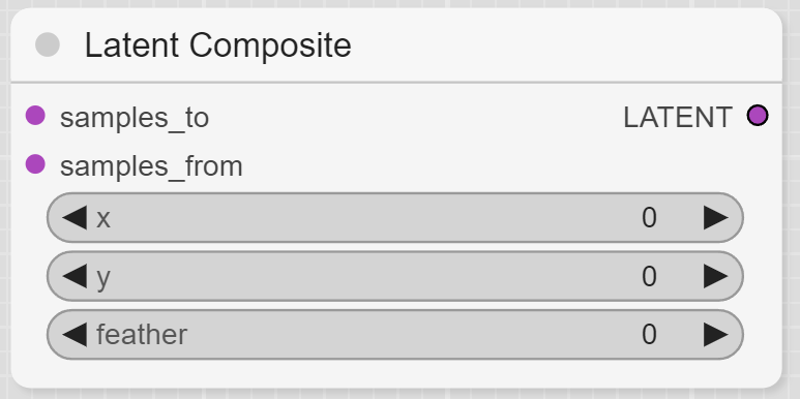
This node (in simple terms) combines 2 latent images (like combining 2 pngs, but with latents), after that, you can decode it (just returns the 2 images overlapped) or do some sampling (to make it more coherent)
samples_to can be called the "base", with samples_from being the overlay, the coordinates specify where the top left corner should be (this is in pixels). So in my case, i should put it on the bottom left, which is x=0, y=base.y-overlay.y. Feather can be kept at 0.
After combining the latent images, we can pass them through a ksampler with low denoise, usually 0.4 to 0.6, and with a special sampler, usually ddpm; for the positive conditioning, create a ConditioningCombine node and pass both positive prompts into it, then output is for the ksampler. After the Ksampler, we can vae decode and done!..
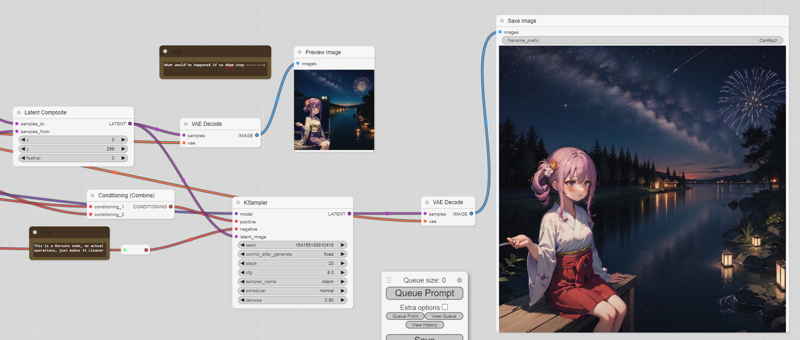
But wait, while our image does have the original composition, the hands and face aren't good! Good thing we have custom nodes, and one node I've made is called YDetailer, this effectively does ADetailer, but in ComfyUI (and without impact pack). To install, download the .py file in the ComfyUI workflow / nodes dump (touhouai) and put it in the custom_nodes/ folder, after that, restart comfyui (it launches in 20 seconds dont worry). Once you refresh your page, you should be able to make 2 new nodes, YDetailerLoader and YDetailer, make 2 of each. Make one YDetailerLoader have the face_medium model and the other have the hand model, these detect the face and hands, once that has been selected, connect things! It should end like this:
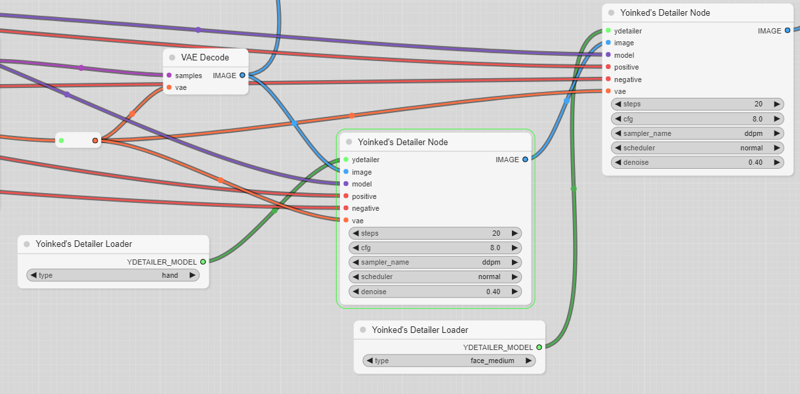
After that, run it again and you should see that the image improves!
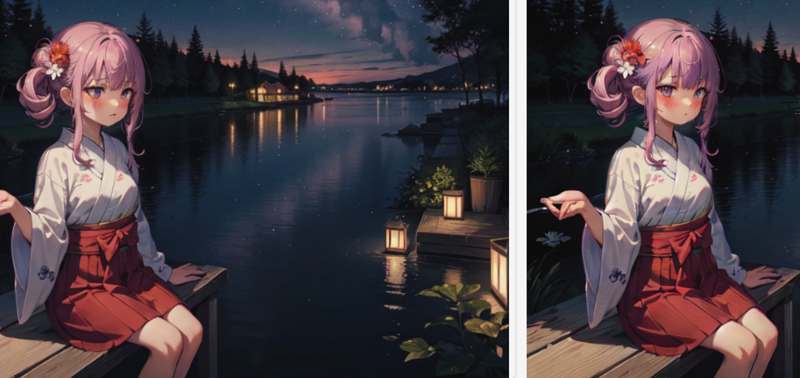
(sure some hands are still bad but what else can you do) step3.json

