


#ComfyUI安裝中文教學
如何安裝ComfyUI
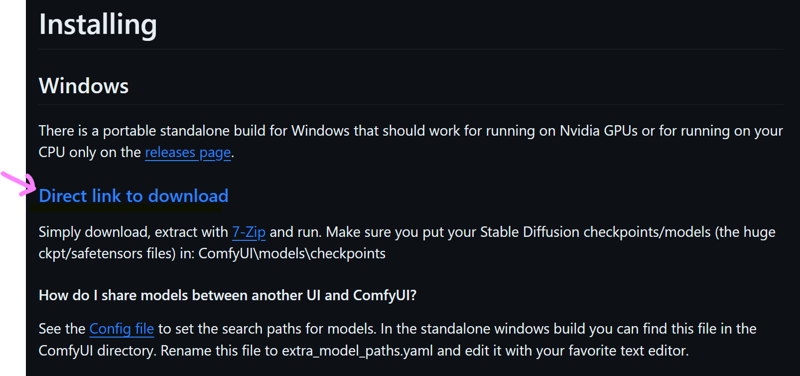
1. 下載
https://github.com/comfyanonymous/ComfyUI#installingng
點擊 [Direct link to download]
2. 下載完成後, 解壓縮檔案
3. 用管理員打開ComfyUI_windows_portable\ComfyUI, 複製下面的文字貼上並運行
pip install -r requirements.txt
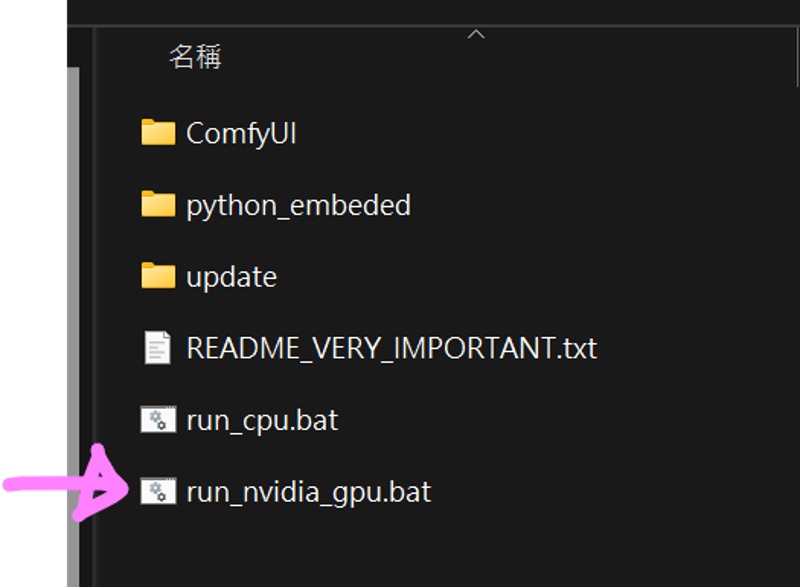
4. 打開ComfyUI方法
ComfyUI_windows_portable\ [run_nvidia_gpu.bat]
讓ComfyUI 讀取Stable Diffusion WebUI 的模型
找到 ComfyUI_windows_portable\ ComfyUI\ [extra_model_paths.yaml.example]
使用記事本打開extra_model_paths.yaml.example
找到base_path: (改成你的webui路徑)
a111:
base_path: C:\Users\heiume\Documents\GitHub\stable-diffusion-webui重新命名為extra_model_paths.yaml(刪除.example)
更新ComfyUI
點擊ComfyUI_windows_portable\ update\ [update_comfyui]
安裝ComfyUI-Manager
到ComfyUI_windows_portable\ComfyUII\custom_nodes
右鍵, 選在終端開啟, 複製下面的文字貼上並運行
git clone https://github.com/ltdrdata/ComfyUI-Manager.git重新開啟ComfyUI:
ComfyUI_windows_portable\ run_nvidia_gpu.bat
-
如果遇到問題需要幫忙和想了解更多ComfyUI資訊歡迎加入我的Discord群組
heiume studio Discord:
Twitter: