Introduction
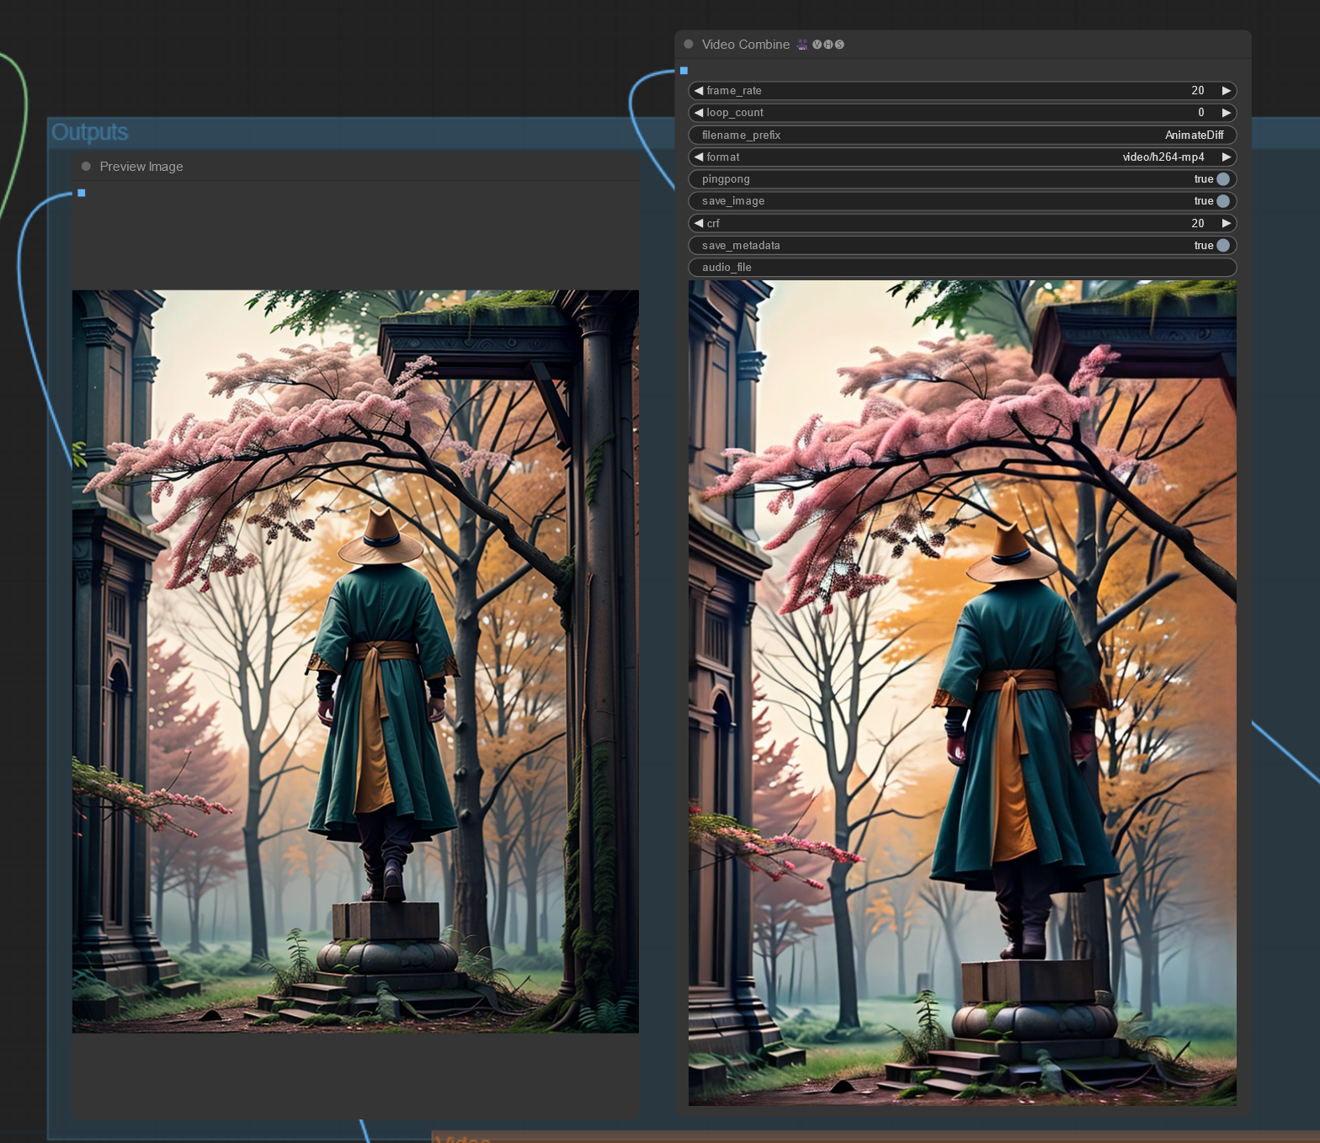
In this tutorial I will guide you through a workflow for creating an image with a depth perspective effect using IPAdapters. This image can later be animated using Stable Video Diffusion to produce a ping pong video with a 3D or volumetric appearance. All of this in a single ComfyUI workflow.
Workflow
The workflow combines two main processes: one utilizes IPAdapters to generate the base image from three source images, while the other employs SVD to transform the static image into a video with a ping pong effect.
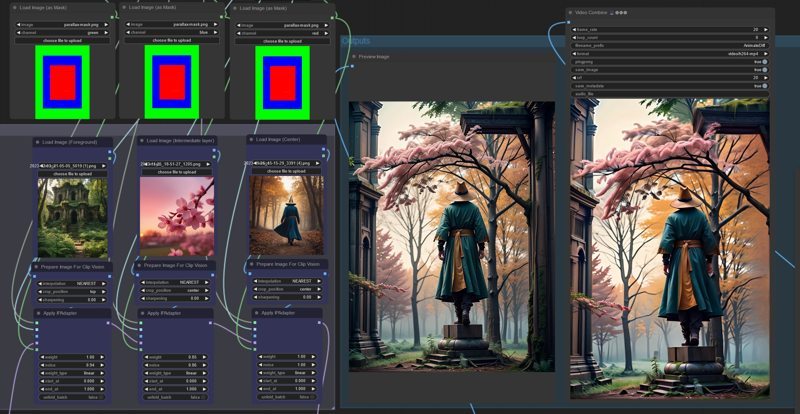
Be sure to have the latest version of ComfyUI and the ComfyUI Manager to install the custom nodes. You will also need several models, especially the IPAdapters, a base Stable Diffusion 15 checkpoint, Stable Video Diffusion and CLIP vision.
IPAdapters
This is where we create the foundational image, which will be animated with Stable Video Diffusion. It's important to create an image with a convincing depth perspective, as the quality of the final video depends on it. If elements appear too flat or lack uniformity with the background and foreground, the resulting movements will appear less natural.
To create the layers for the final composition, we use a mask to determine which part of the image each layer should affect. The mask consists of stacked rectangles in red, green, and blue. You can download it here.
This approach allows us to control where the input images will appear in the final composition. In other words, the green area will represent the foreground, the blue area will occupy the middle part, and the red area will be the central focus. These layers will blend seamlessly thanks to the IPAdapters. You can experiment with the color selection for each mask to create different compositions and perspectives.
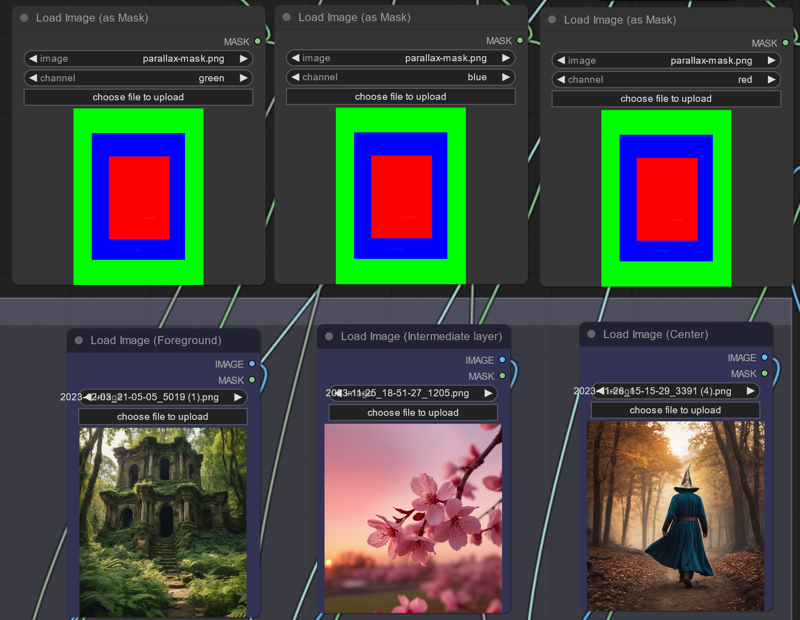
For the foreground image (green), I recommend using an image with a ground-level perspective. This will make it easier to create a video with smooth transitions through the layers, rather than using a flat image. If you want to incorporate a frame or include more details or abstract elements, consider using images with generic leaves, smoke, clouds, and so on.
The red region is where the main subject will appear. Keep in mind that not all input images will yield coherent results in the final composition. This can happen if an input image has a perspective that significantly differs from the other images.
You can adjust the weight of each input image to emphasize a specific image if needed. Maintaining a noise value close to 1 tends to produce better results. The subject should appear surrounded by its environment, with a smooth transition between the background and foreground.
I am using photon_v1 as base model, but you can experiment with any model based on stable diffusion 1.5. I like to use realistic models like the already mentioned photon_v1, or epicphotogasm.
Animation
The second part of the workflow consist in animating the image created in the previous section. A good video will depend on the composition of the input image. The workflow then will simply animate the video and it should pick up the proper camera pan.
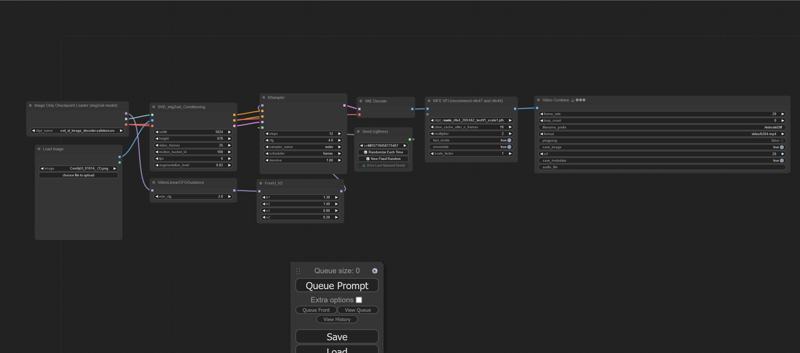
Depending on the depth of the image you create, you may need to fine-tune the motion_bucket and animation seed. Sometimes, Stable Video Diffusion may struggle to interpret the depth composition, resulting in a static background or minimal movement. In such cases, try increasing the motion_bucket_id if there's a lack of movement. Conversely, if the movement is too fast or distorted, you can reduce it. Additionally, leave the prompt with a random value (-1) until you find a camera pan that suits your preferences, then you can set the one that you like with your next images. The ping pong effect is simply achieved through the Video Combine node.
Results

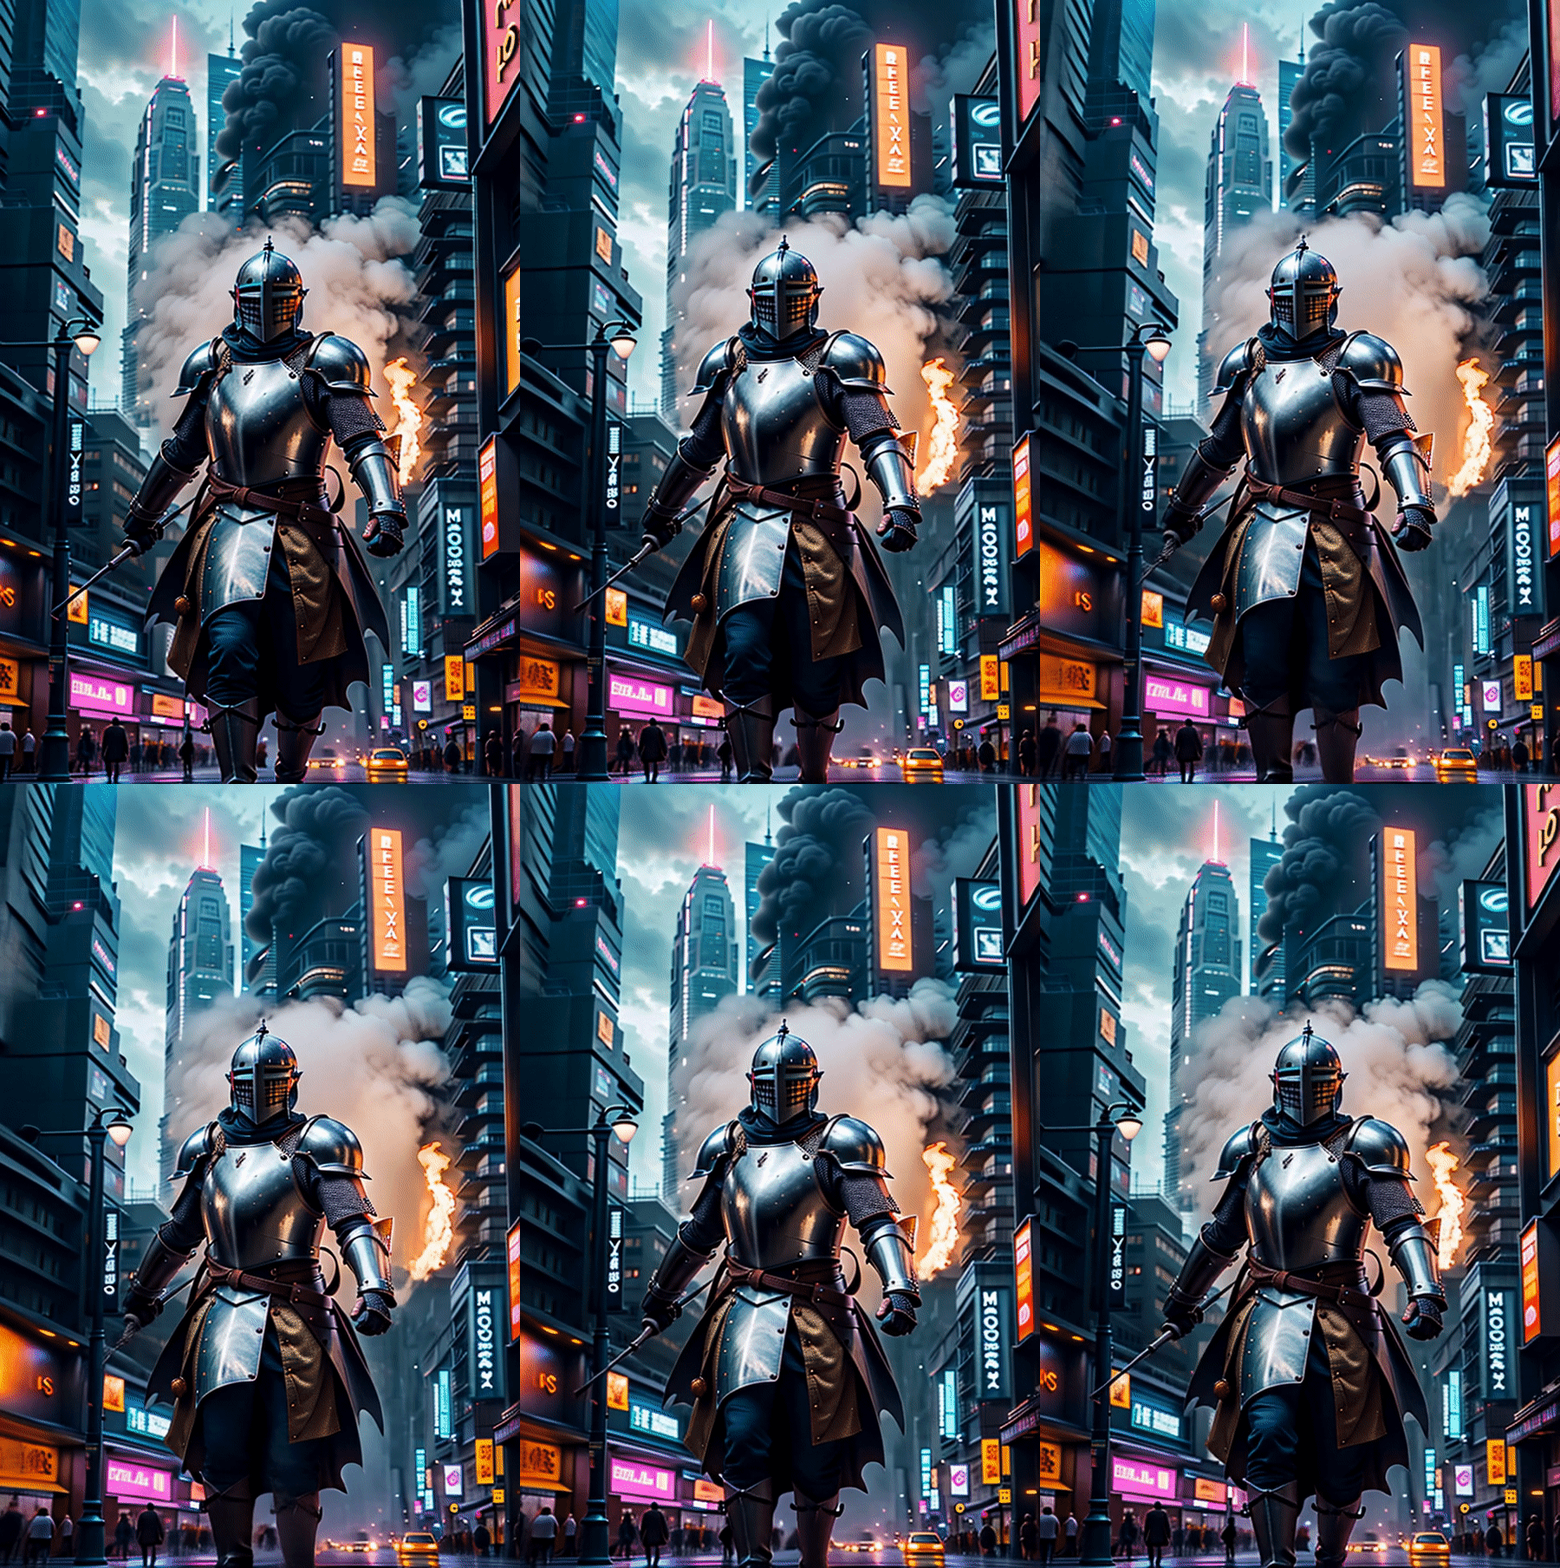

Let me know if you are able to replicate the results!

