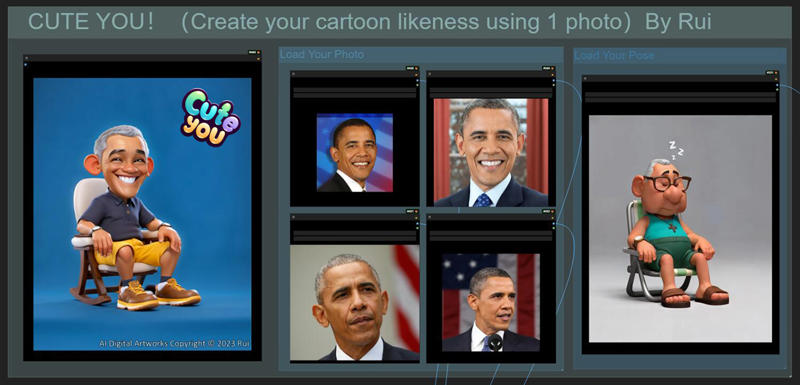
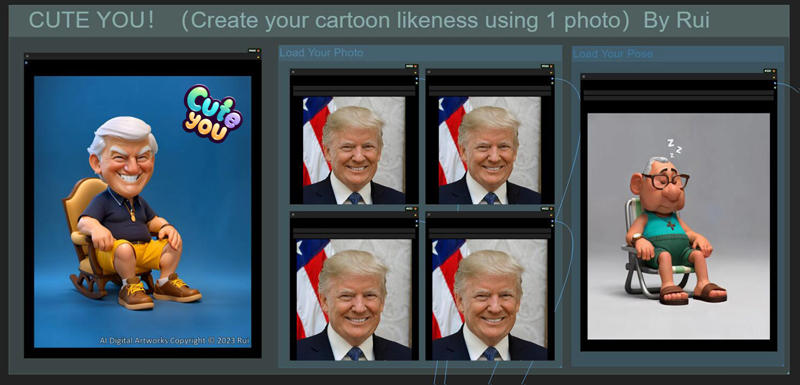
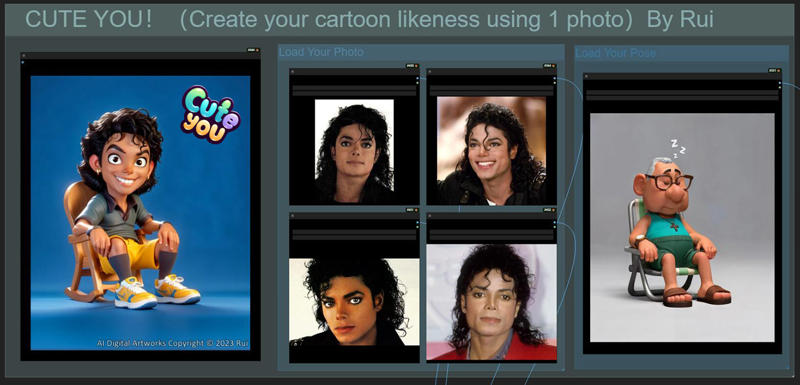
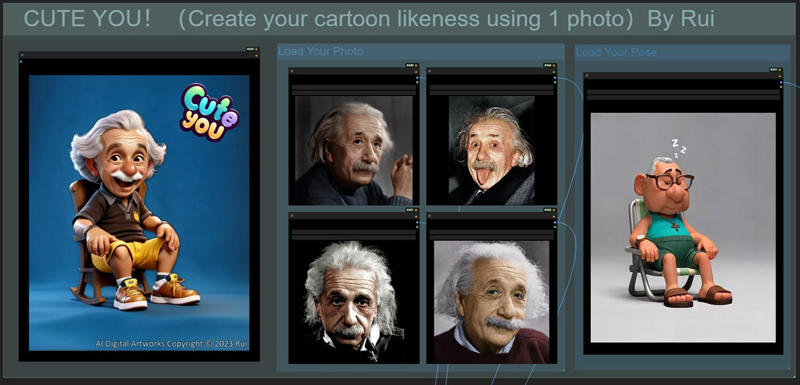
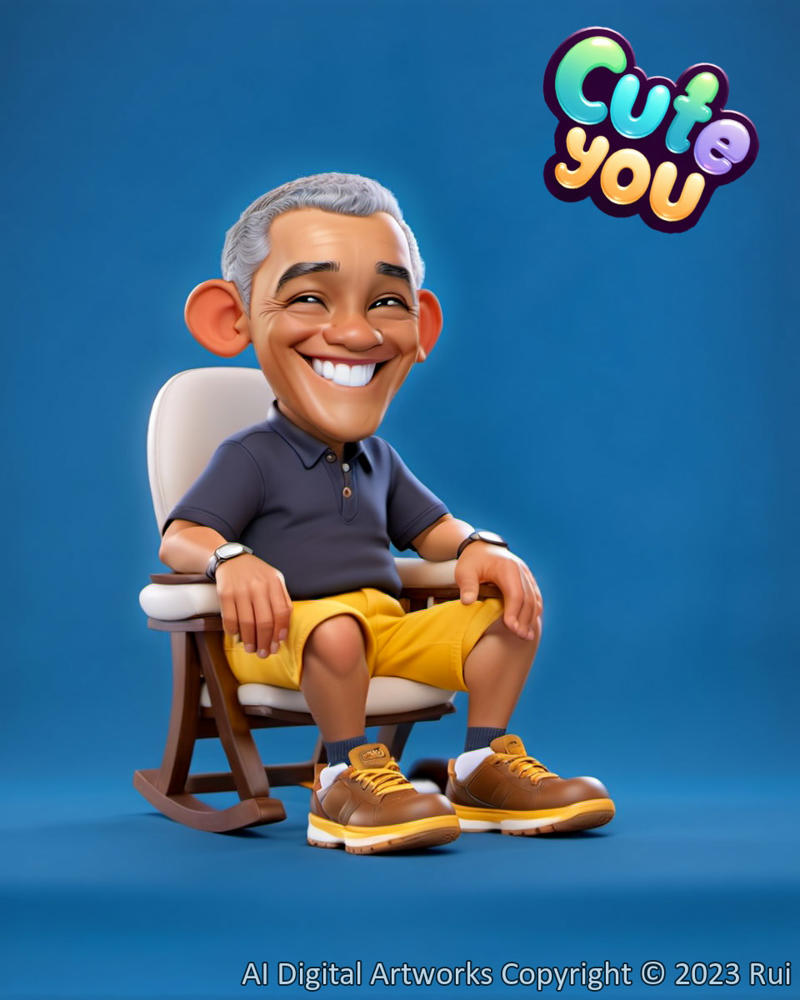
Easily create a corresponding cartoon character
with just one photo!
Demo Video Link!
兄弟们,B站链接看这里:https://www.bilibili.com/video/BV1Kj411s7Rc/




Workflow Link:
https://openart.ai/workflows/rui400/cute-youcreate-your-cartoon-likeness-using-1-photo/2vwb81MasZTJWU7Zko6L
This workflow includes 15 modules:
1. CKPT+VAE
This workflow uses the SDXL model and recommends: Samaritan 3d Cartoon.
You can download it from [here](https://civitai.com/models/81270).
I use Pysss‘s loader, which supports preview images and displays by folder. It's highly recommended to replace the original loader. You can download it from [here](https://github.com/pythongosssss/ComfyUI-Custom-Scripts).
The Everywhere node is also used for global input, enabling wireless transmission.
You can find it [here](https://github.com/chrisgoringe/cg-use-everywhere).
2. Lora (sliders)
Here is the Lora loading area. I use the slider sets specific to XL,
which allows you to adjust parameters like eye size, smile intensity, and hair length.
You can find the official document [here](https://sliders.baulab.info/)
and download it from [here](https://sliders.baulab.info/weights/xl_sliders/).
The files are .pt suffix, which is another kind of Lora model.
3. IPA
IPA is used to acquire the facial features from your photo.
Plugin available [here](https://github.com/cubiq/ComfyUI_IPAdapter_plus).
Here, an input Node allows you to input four images and adjust the weight of each image.
Models are divided into IPA models and Clip visual models.
- IPA Models: You can download them from [here](https://huggingface.co/h94/IP-Adapter/tree/main).
The downloaded models should be placed in the 'Model' directory under the plugin: ComfyUI_windows_portable\ComfyUI\custom_nodes\ComfyUI_IPAdapter_plus\models
- Clip Visual Models: You can download them [here](https://huggingface.co/h94/IP-Adapter/resolve/main/sdxl_models/image_encoder/model.safetensors).
The downloaded model files should be placed in the 'clip_vision' directory in the system: ComfyUI_windows_portable\ComfyUI\models\clip_vision
4. Prompt
Write descriptions for your character, which ideally should not contradict the image loaded in Module 5. Some StylePrompts are also used here, adjusting them can generate interesting results. You can find the node for this [here](https://github.com/twri/sdxl_prompt_styler).
5. CN-Openpose
Openpose is used here to transfer character poses.
The module requires the node available [here](https://github.com/Fannovel16/comfyui_controlnet_aux).
The used Openpose model is thibaud_xl_openpose_256lora.safetensors,
which can be found along with all other XL version Controlnet models [here](https://huggingface.co/lllyasviel/sd_control_collection/tree/main).
6. CN-Canny
Canny is used to further convey style details. The image that determines the character's pose and proportion is loaded in modules 5 and 6.
7. Ksampler
The first image generation occurs in this module, with the image size coming from the image imported in CN.
8. Removing Background
The SegmentAnything model is utilized to remove the background.
The node is available [here](https://github.com/storyicon/comfyui_segment_anything).
Two models, SAM and Grounding-dino, are used for image recognition and separation.
9. BG-Color
The background is overlayed with pure blue. You can change this to any color you like.
10. FaceSwap
FaceSwap is used for local redrawing of the face to strengthen the facial modeling information inherited from IPA.
11. HiresFix
HiresFix is used for high-definition repair of the overall image.
12. FaceDetailer
FaceDetailer aims to fix any potential errors on the face by executing a final round of face modification.
The Impact Pack node used here can be found [here](https://github.com/ltdrdata/ComfyUI-Impact-Pack).
The face detection loader uses two algorithms for face recognition, namely BBox and SEGM.
Both can be downloaded from [here](https://huggingface.co/Bingsu/adetailer/tree/main).
13. WaterMarks
Watermarks are added to the image to include copyright information. The text generation node used here can be found [here](https://github.com/ZHO-ZHO-ZHO/ComfyUI-Text_Image-Composite).
14. CuteYou-Logo
A logo of this workflow is added just for fun.
You can replace or remove it.
The original image link can be found [here](https://drive.google.com/file/d/1hN3NTScapY3pz5rk3m5RBj9-bYWd6Ngu/view?usp=sharing).
15. SaveImage
The final image is saved with the filename format: CuteYou/%date:yyyy-MM-dd%.
It will create a folder named 'CuteYou' in the 'Out' directory.
The filename will be prefixed with the current date.
Feel free to modify according to your needs
