
As you all know, originally training needed the images in the dataset to have 1:1 ratio and that was a tough requirement given that the images you find online rarely are square. Although later the resolution bucketing partially solved the problem, personally I'm skeptical about leaving it up to automation to do the task, just like you probably shouldn't leave the tagging up to image recognition without at least tuning the results by hand.
So I'm still spending a lot of time on making my datasets' images square and I thought I'd share some of my approaches at it.
When I have tall/wide images I found the following pipeline to be useful for making them square.
There are several ways to change the image aspect ratio, and neither is perfect: cropping loses data, letterboxing introduces bars, resizing distorts contents. One could also try to fix the bars issue by outpainting the image to the bars area, but that introduces ghosting and weird artifacts.
So what I found is that while using any one of those methods to do all the work affects the image too much, if you split the aspect change between all of them, each one only distorts the image slightly and in different ways, so the result looks better. I'll be using 512x512 resolution as an example, yours can be anything as long as it's 1:1.
I’m doing the following manually when preparing the dataset:
Find the pixel difference between width and height: D=|W-H|. Divide D by amount of the ratio changing methods (e.g. 4).
Then I crop by D/4, resize (squeeze) by D/4, apply seam carving/content-aware scale by D/4, and finally add bars and outpaint them by the same amount, which finally brings the image to 1:1 ratio. Since the last two operations are computationally heavy it’s better to do them at the end when the image is already smaller from cropping/resizing. To further reduce cost, it’s better to resize big images before last step to target resolution by the larger side (so they will be 512x(H-D/4) and outpainting doesn’t have a lot of pixels to process).
Out of these operations only initial crop requires human input, or you can just use center-crop, since the loss will be negligible (D/4).
Possible improvements to my method (feedback needed):
As you might know, there are smart-crop algos that try to preserve faces (or generally more complex parts of the scene, sacrificing simple areas such as sky), so they can be used instead of requiring human input.
While seam-carving algo can only reduce the size, content-aware scale can also stretch it, which increases the amount of steps to 5, further reducing the impact of every step. Although I’m not sure if it reduces the distortions of those two methods together.
Instead of a naive approach of using the absolute D/steps value for change each step, it might be better to calculate the change every step so it remains a constant fraction of image size rather than a constant number of pixels (since as the image gets smaller, the constant D/4 becomes a larger change with each step in relation to it). I believe the formula would be M =(W/H)^(1/STEPS), where M is the multiplier below 1 to get the new size each step from the previous one.
If you have a particularly tall/wide image that would still require too much distortion to make square, you can add a fifth step (or use only it): Rotating a pic 45 degrees would fit it into the square's diagonal, allowing you to store 1.4 times more pixels than just fitting it horizontally/vertically. I guess it only works with persons though, not sure how well a landscape look at that angle.
One should also consider the cases where the source images are already close to 512×512 or even smaller than that by one side.
Of course, if you have more ideas about the ways of image resizing, you can add them into this pipeline, more steps = less distortion.
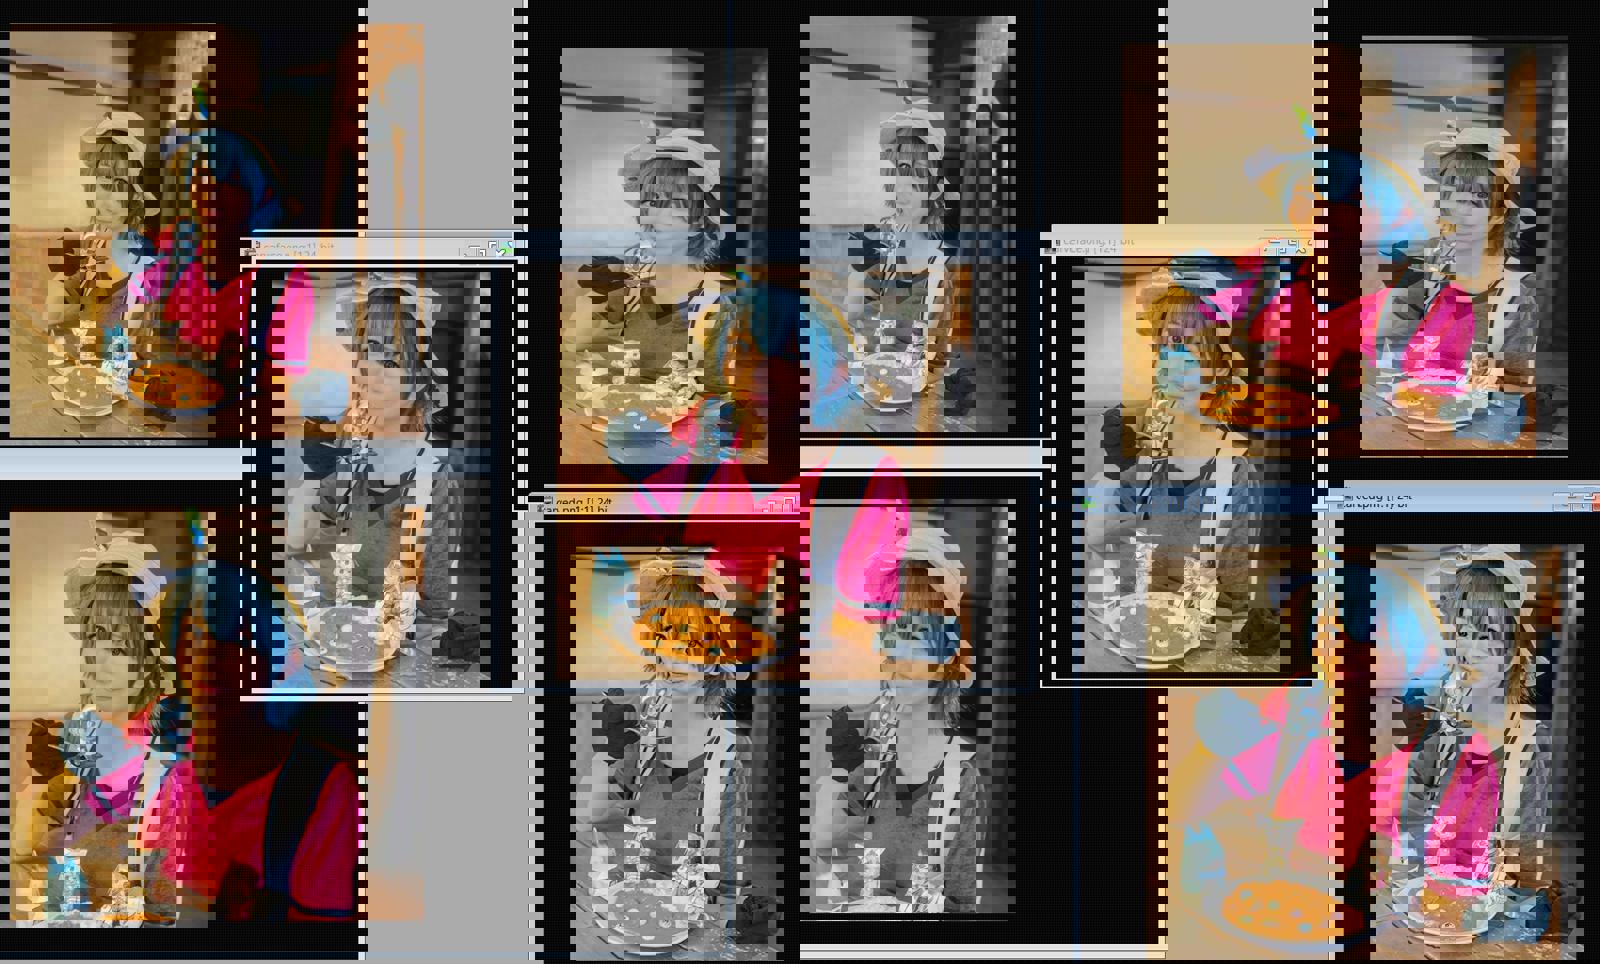
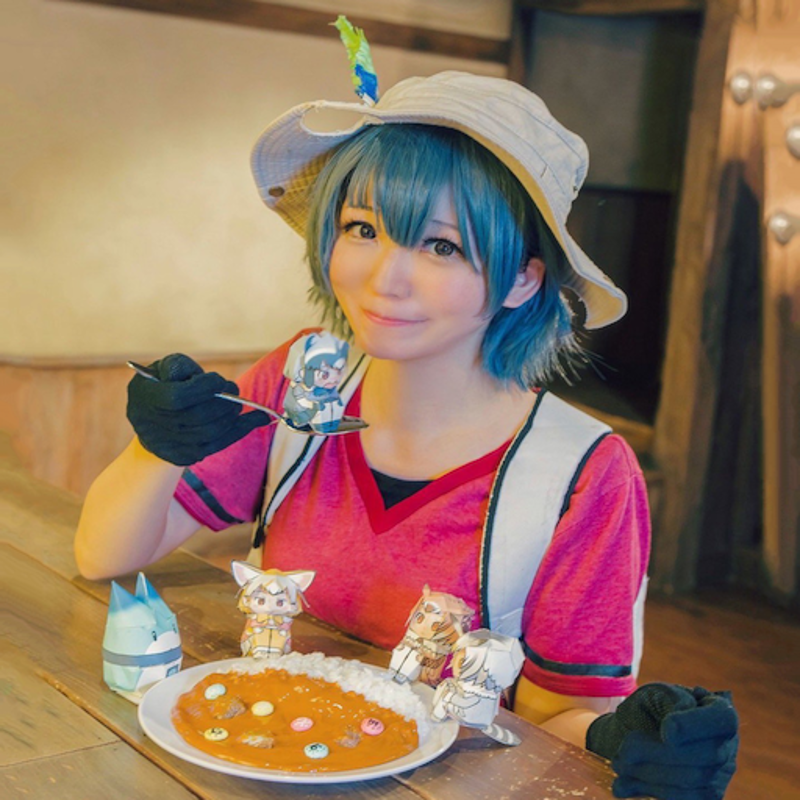
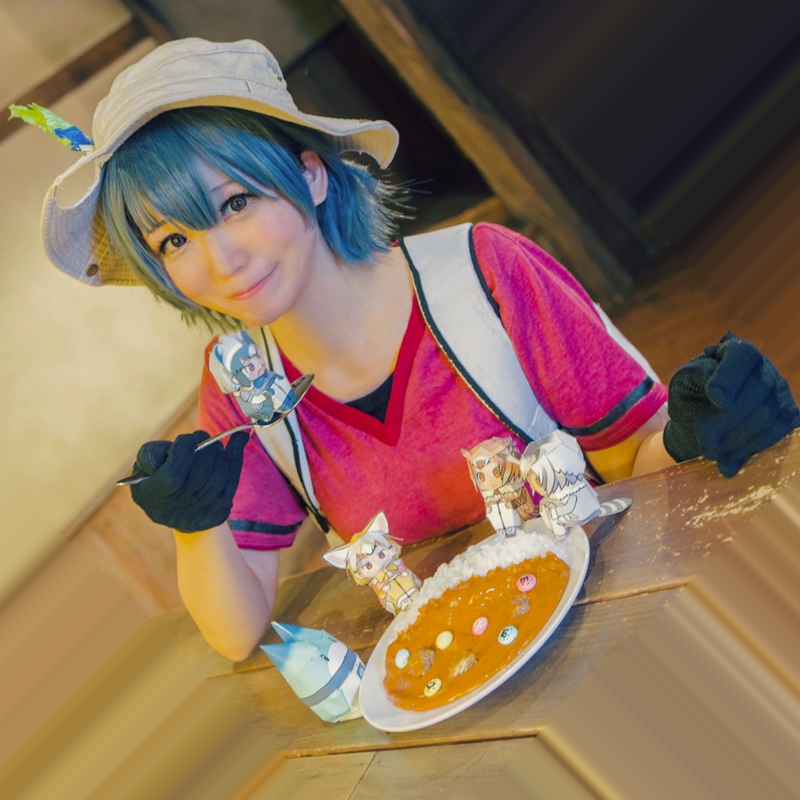
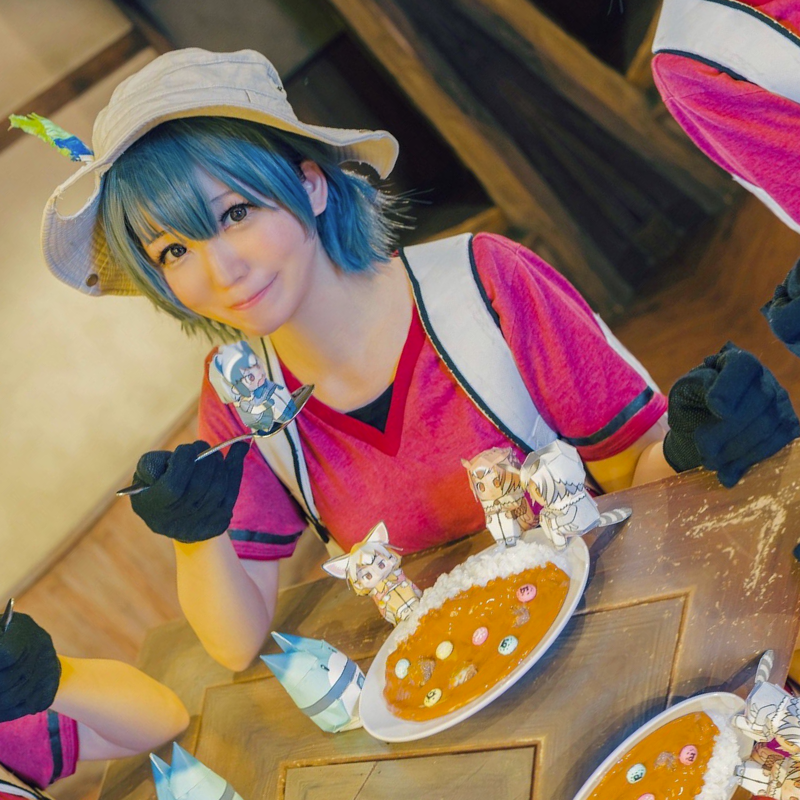
To illustrate, here are examples of a 3:2 vertical photo being brought to 1:1 by each single method separately as well as by the combination:

That’s ↖ outpaint, ↗ squeeze (simple resize by one side), ↙ center crop, ↘ seam carving.
In the middle is seam carving with manual face preservation, so it’s kinda cheating.
And here’s the combination-processed image using steps 1-4 from above:
That’s for the photo content, here’s how well it fares with anime:
Two-direction content-aware scale
I have to admit though that I also blurred the background and remove sharp signs and text, which affected content-aware scale that much in its solo example, as well as in outpainting. If your background removal method is good enough, you can stick it before those two stages to make it easier for them.
As a side note, it might be beneficial to apply Erosion (expansion of dark areas, such as the “Minimum” effect in Photoshop) to high-res drawn content before any major downsizing, since without proper gamma treatment naive downscaling sometimes tends to lose lineart (depends on your image editor) and I have a feeling that training with thicker lines gives better results.
My editor of choice is Image Analyzer and it provides two special modes for filling the extra space that appears when you rotate an image: edge repeat and mirroring.
If your image has empty background it doesn't matter, but for pics with realistic b/g it might make sense to use mirroring if you can crop the results well enough so that there are no extra faces/hands remaining. Gives a more natural look.