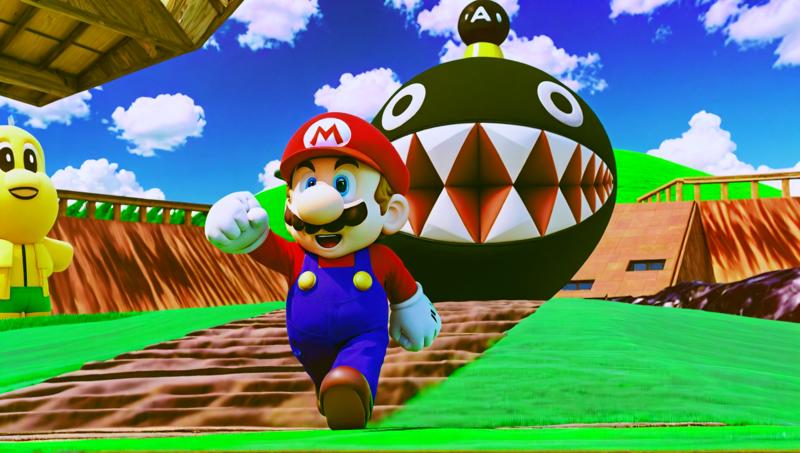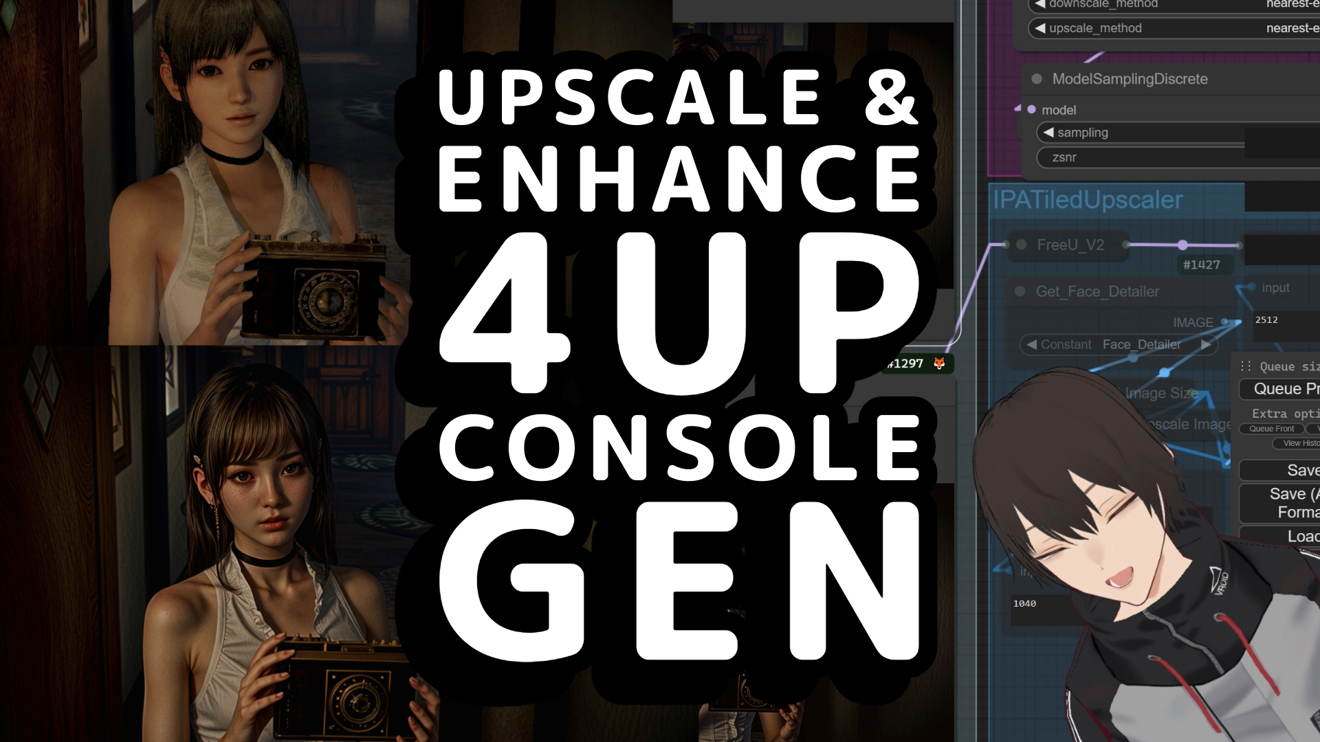
IF 4Up Console Gen Upscaler Enhancer
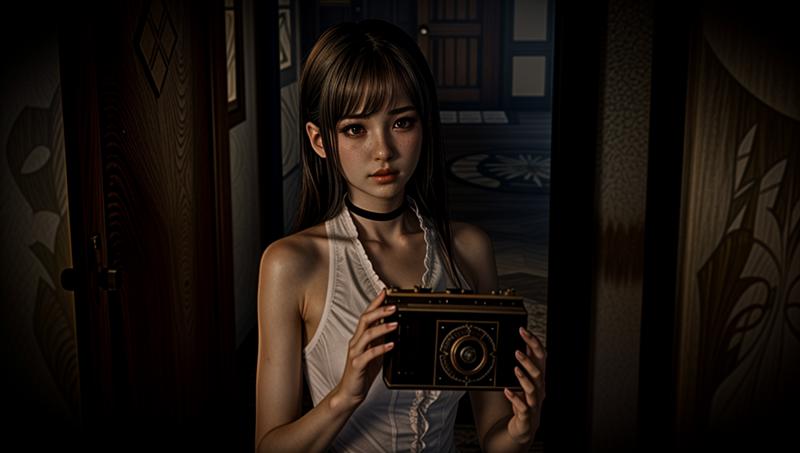
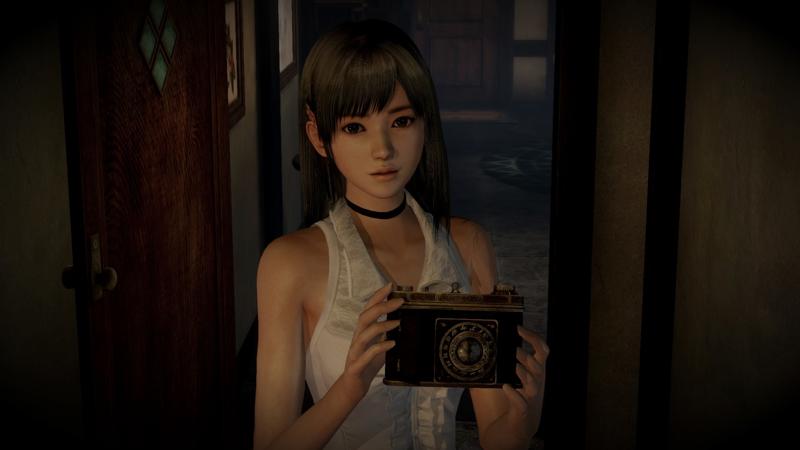
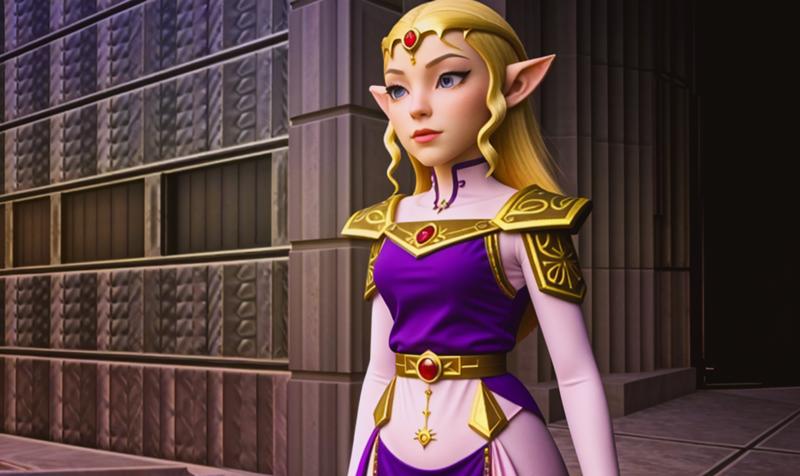
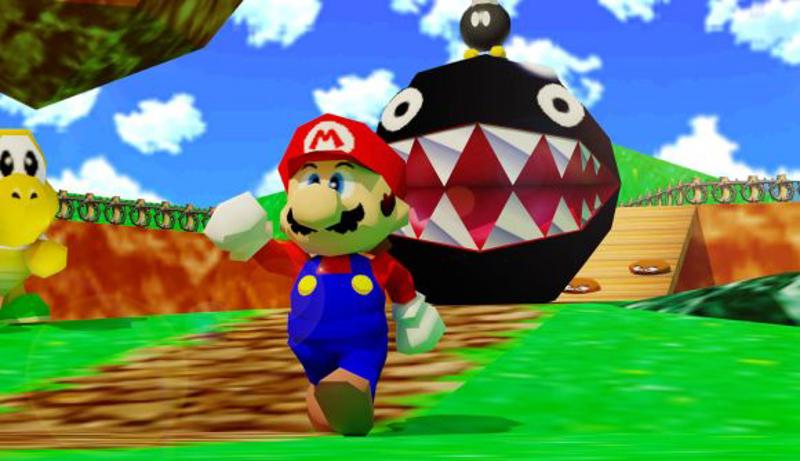
Hey there, digital artist and nostalgia lover! 🎨🕹️ Let's Dive into the IF 4Up Console Gen Upscaler for a retro revamp! ComfyUI brings your classic characters into the sharp, snazzy now. It's easy, it's fun, and it's your ticket to stunning visuals. Let's kickstart this high-res adventure and make those old-school pixels shine anew!
Workflow Overview
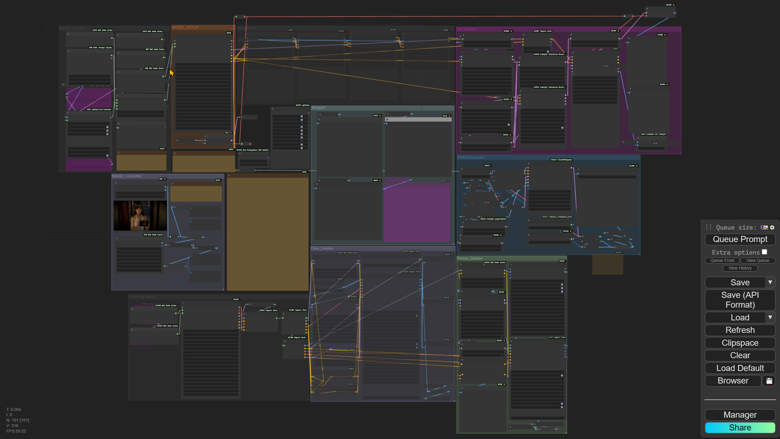
As you can see in the overview, our workflow is an interconnected system where each module plays a role in transforming your images. It's designed to be intuitive, yet powerful, ensuring both beginners and advanced users can achieve remarkable results.
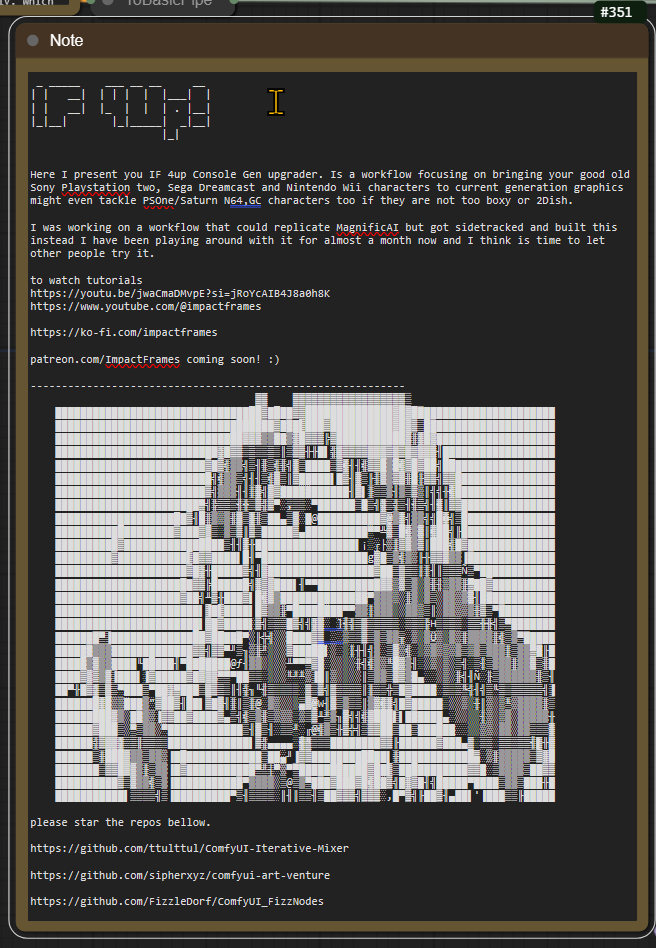
Accessing Useful ResourcesWithin the workflow, you'll find nodes that serve as gateways to helpful resources. These include links to tutorials that will guide you through the ins and outs of the process, ensuring you make the most out of the available tools.
Primary Control Nodes
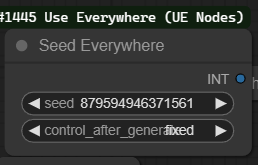
Seed Control Node: This node is pivotal in generating unique enhancements for your images. By adjusting the seed value, you can explore a vast array of visual outputs.
To use it, simply enter a numerical value or use the slider to randomize the seed.
Different seeds can lead to significantly different results, so don't hesitate to experiment.
Module Muter Node: This node allows you to manage the active modules within the workflow.
Turning a module off can help you isolate the effects of specific enhancements or streamline the workflow for speed.

Image_Loading Module
The first module is the "Image Loading" module. Let's break down what it does and how to use it.
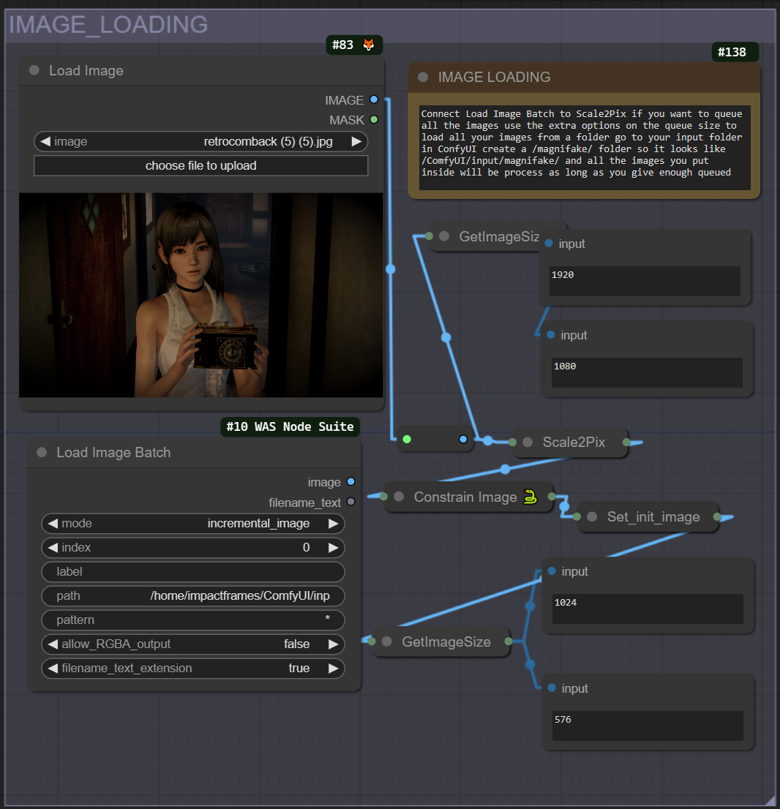
Load Image: This is the initial step in the workflow where you load the image you want to enhance and upscale. You can upload a single image file directly through this interface.
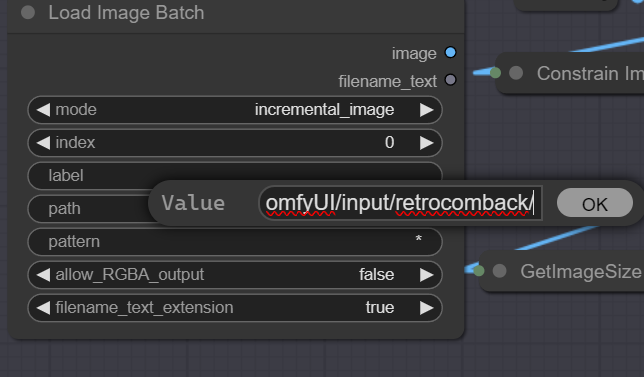
Load Image Batch: This function allows for batch processing. Instead of loading images one by one, you can load multiple images from a specified folder on your system. This is particularly useful when working with numerous files, as it streamlines the process. Create a folder inside the confyui input directory, you also need to use this in conjunction with the queue prompt menu extra options like in the pic below.

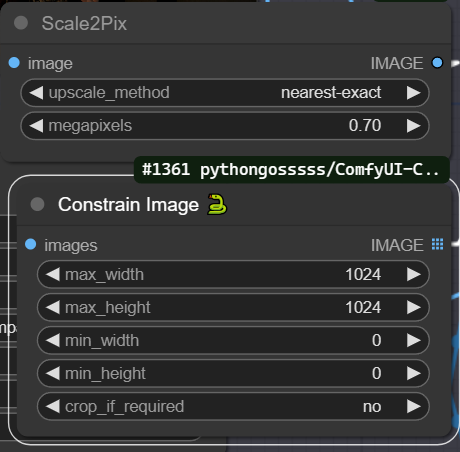
The image will be downsized by default to keep details during the upscaling process. So if your image is too small you can set the "Scale2Pix" node to one, by clicking near the gray dot on the node. The constraint size node will try to keep the image below 1024 as more than that will break the upscaler effect and will also be intensive on the GPU. You can also keep an eye on the size display values to debug the process.
Prompt_Analisis Module
These nodes, when used together, provide detailed textual guidance to SD, which can dramatically affect the outcome of the image upscaling and enhancement process.
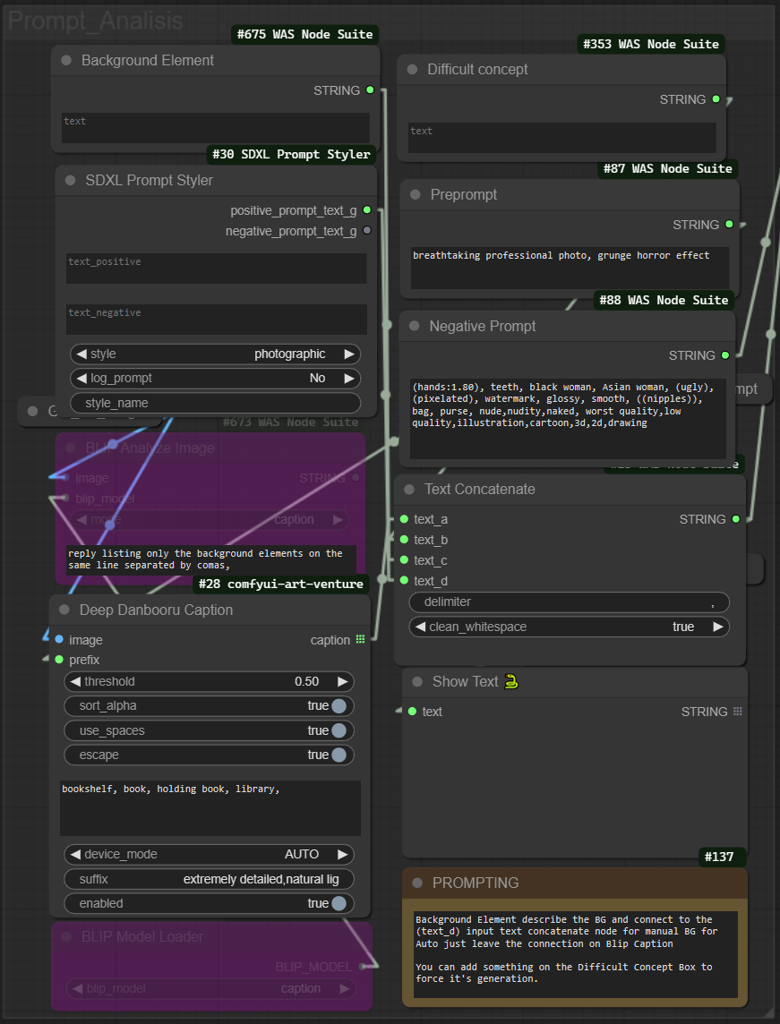
Background Element Node (#675): Provide textual input that describes the background of the upscaled image should include or look like.
SDXL Prompt Styler Node (#30): You can select a quick template prompt to replicate the syle of the image from the dropdown menu. is set to photographic by default.
Difficult Concept Node (#353): Here, you can add text about concepts that might be difficult for the AI to understand or generate accurately. This helps in refining the generation process by focusing the AI on areas that need more attention.
Text Concatenate Node: This function combine all textual inputs into a single, coherent prompt. the 'text_a' input should connct to either the Blip or Danbooru automatic caption as you prefer.
Deep Danbooru Caption Node (#28): This node is used for adding automatic captions that describe the image in more detail. It includes settings for threshold (for the confidence level for text generation), you can add a negative prompt to delete words from the automatic caption and prevent them from appearing in the final prompt.
BLIP Model Loader Node: will load the language model (BLIP) that assists with generating captions or text based on the image content. Ensure the BLIP Model Loader Node is set to 'enabled' with CTRL+B if you wish to use the model's capabilities for generating text and connect the output to Text Concatenate Node input 'text_a'.
Model Setup Module
This module is central to the configuration of the AI models that will be used for image enhancement and upscaling.
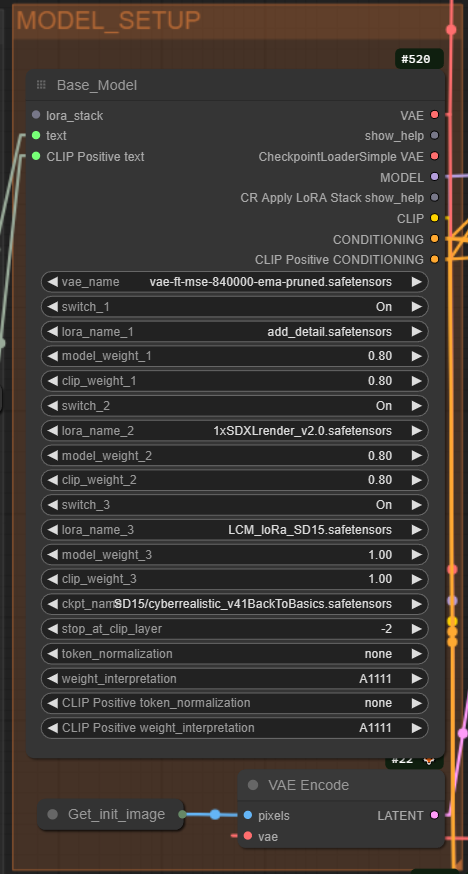
The default setting uses a separate VAE which you can load in the first input but you can connect the line to the CheckpointLoaderSimple VAE if your model has baked VAE
You can load up to three LoRAs and a main model for the Configure the model weights and switches by:
Turning switch_1, switch_2, switch_3 on or off based on whether you want to use those specific layers or components of the model.
Assigning lora_name_1, lora_name_2, lora_name_3 to specify which LoRA parameters to apply.
Adjusting model_weight_1, model_weight_2, model_weight_3 to control the influence of each model component on the final image.
Setting clip_weight_1, clip_weight_2, clip_weight_3 to balance the influence of the text prompt versus the image content.
Finaly, select the appropriate model checkpoint with ckpt_name, and decide at which layer to stop CLIP's influence using stop_at_clip_layer.
Prepare the image for processing by encoding it with a VAE, by connecting the Get_init_image node to the VAE Encode setting, We get the initial Latent to be used by the denoise function on the Iterative Mixer Ksampler.
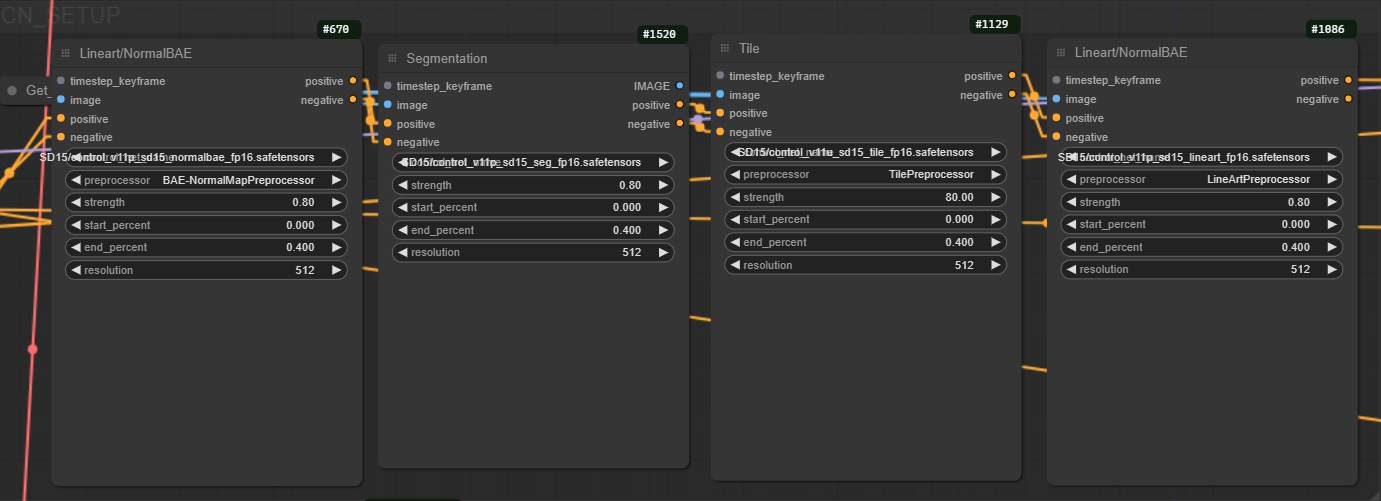
CN ControlNet Module
On this section you can provide extra control if you encounter difficulties reproducing an image, so far the Workflow works well without it but I left it up as an extra option.
All modules have a model select feature, weight percentage, an start and End percentage for the guidance influence and a size resolution that you can change. You can also convert the node back to separate nodes by right clicking and select a differnt preprocessor.
Make sure to connect the conditioning to the iterative mixer Ksampler advance and the Foocus sampler if you wish to use them.

1st_Sampler Module
Here is where the initial Upscale happens and we also set the first result image for the subsequent transformations

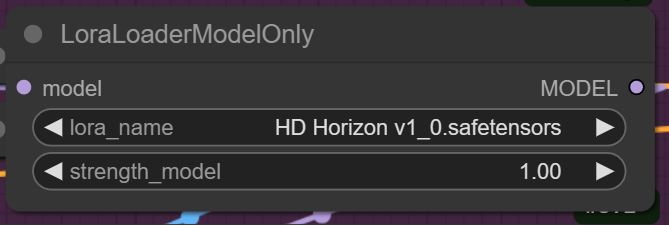
You can add aditional Lora model This one makes the SD1.5 work with upsampled resolution or multy resolution
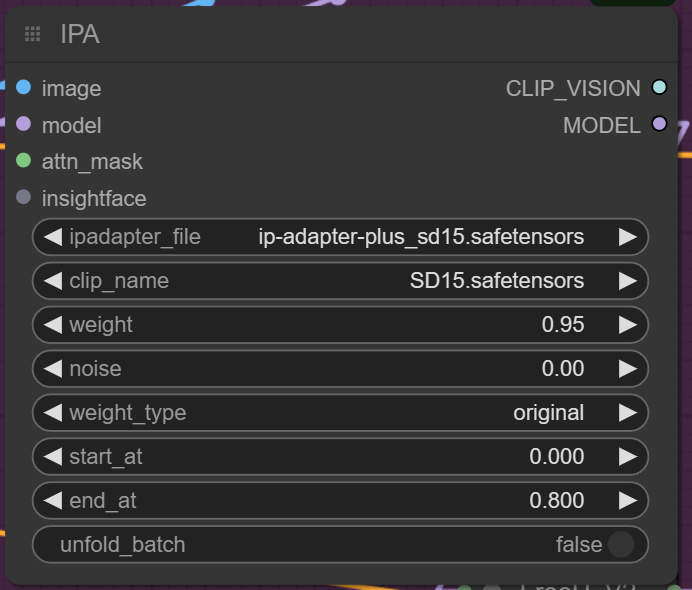
The next is The IPA IPAdater to reference the source image
The Kohya's Deep Shrink Method downscale by the same factor our NNlatent upsacale the model to compensate the resampling and help reduce halucinations. You can mess with this two to get more upscale factor on the first step if you like.

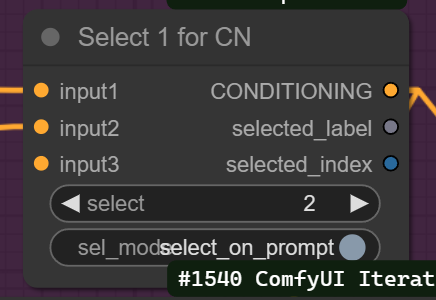
The Next important node is the "Select1forCN" this node is important to change to one if you like to use ControlNet.
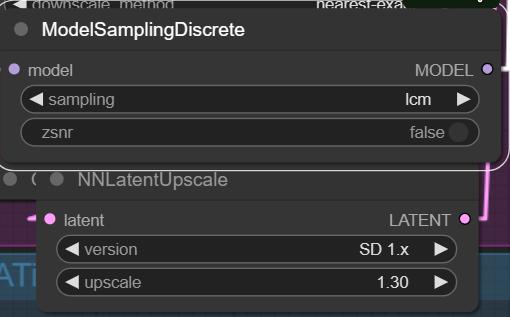
The NNLantentUpscale is hidden under the ModelSamplingDiscrete and you can change the settings there
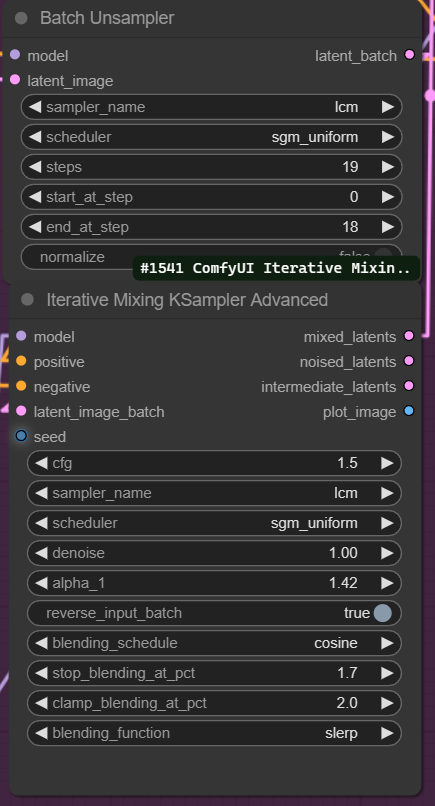
The Batch Unsampler and the iterative Mixing Ksampler are the main ingridient of this Ramen and the settings are explained on the original repo ttulttul/ComfyUI-Iterative-Mixer: Nodes that implement iterative mixing of samples to help with upscaling quality (github.com)
But to put it simply the Batch unsampler calculates the noise that would generate the image given the model and the prompt on the amount of steps given Then the Noise gets mix using the fuction selected (Slerp is recommended) because the Iterative mixer depends on the values of the Batch Unsampler any modification on the steps will require modifying the Ksampler settings too.
Then a second Ksampler with low denoise to fix some of the noise and error on the shapes.

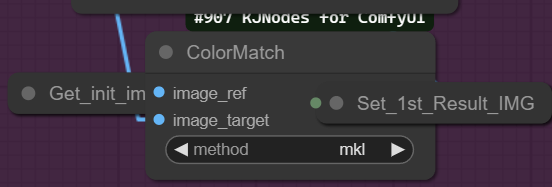
Finally a cloror matching Node to get colors more like the source picture
Inpainting_Model Module
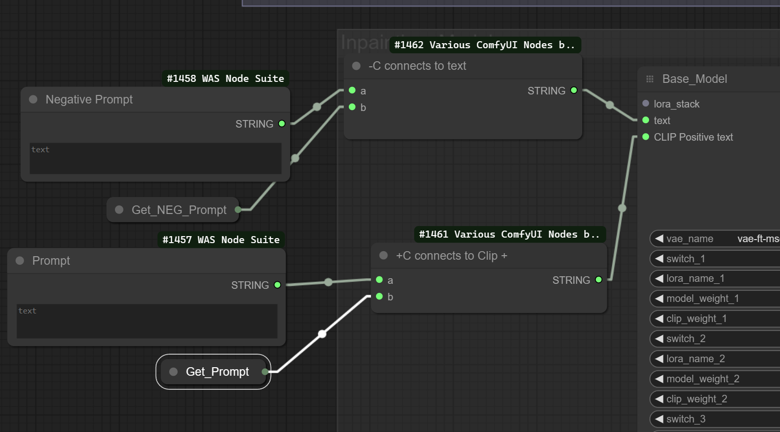
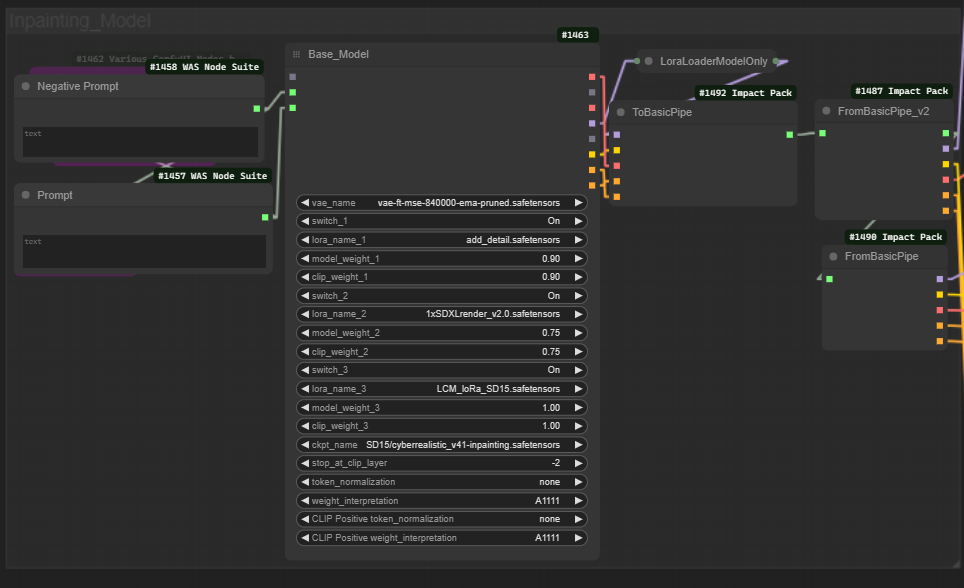
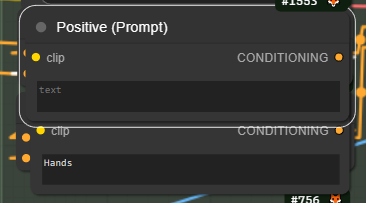
Here we load an inpainting model to carry out Face_detailer and Person_detailer fixes of the Image everything is almost the same as the last model loader but we have a text option to enter any new conditioning characteristic we might need you can also chose to conect the conditioning instead of the actual text directly or a combination just now the text input is the negative prompt and the positive promt has the word positive on it.
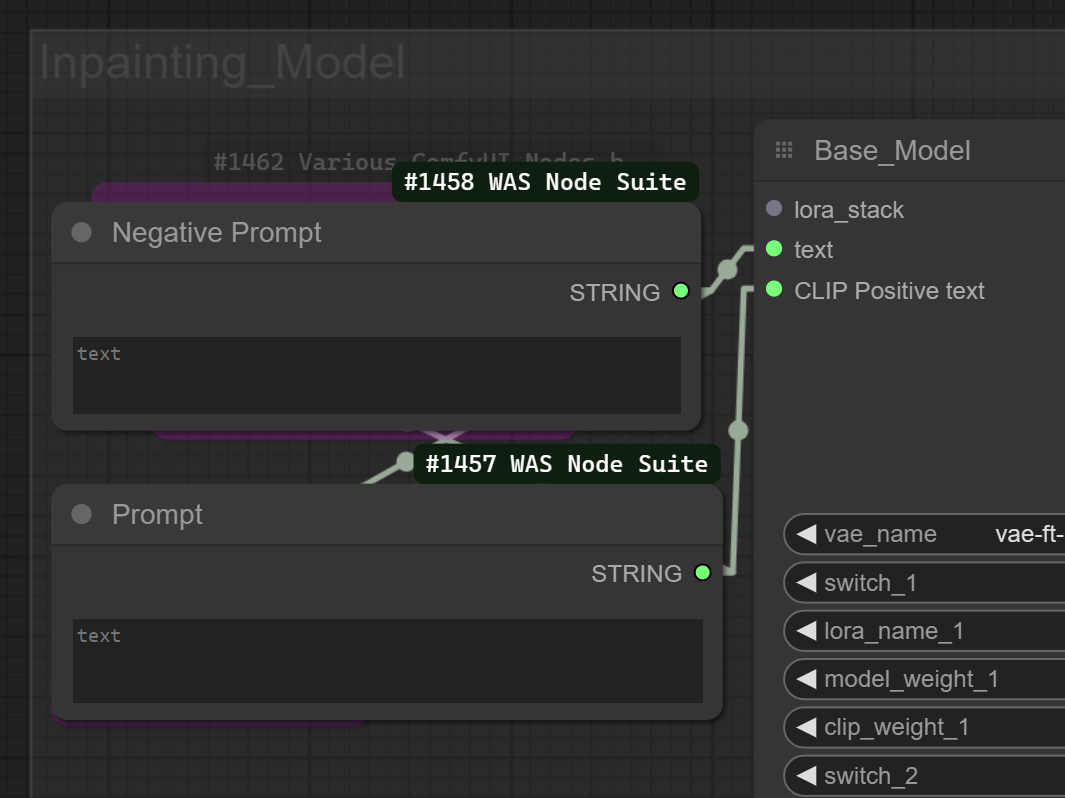
CTRL+B and connect the conditioning combiner string output to Clip positive and the negative to text is you want to use it combined with the initial prompt
Here is the overview of the Module
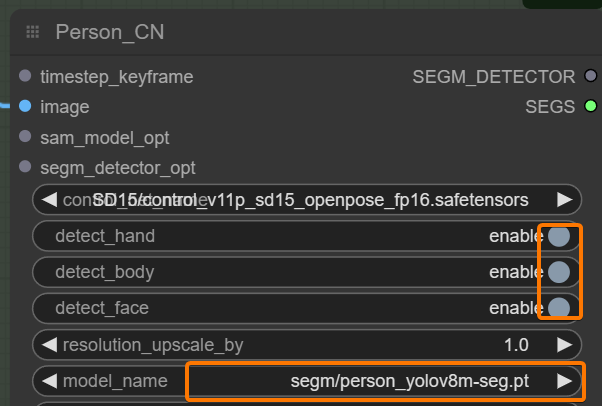
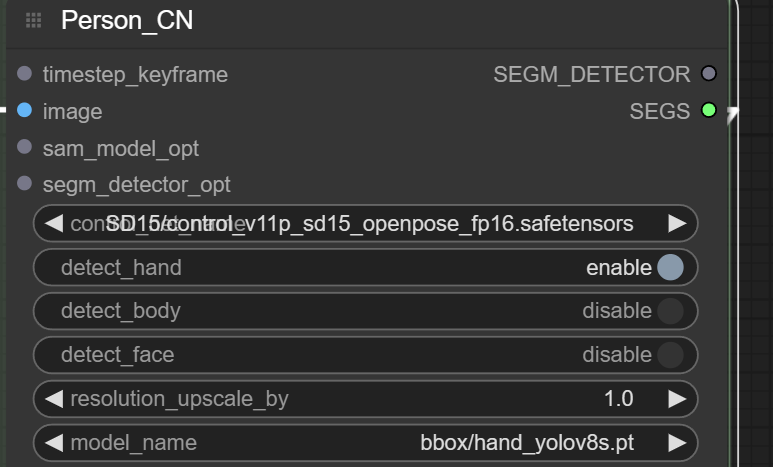
Person_Detailer Module
This module will attempt to fix issues with the hands and face of the first resulting image before upscaling again
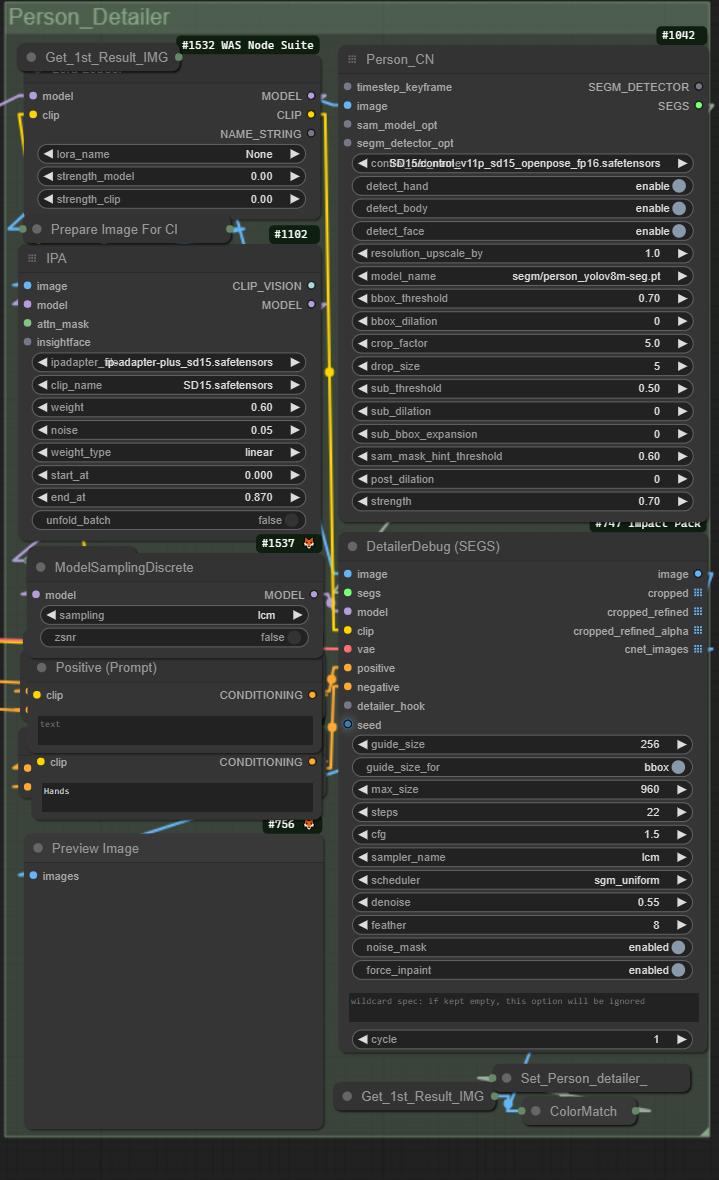
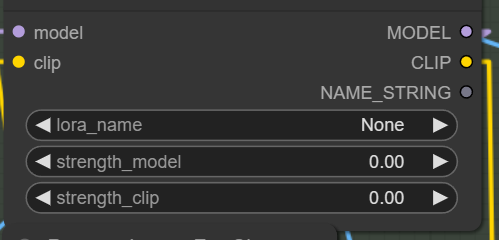
You can add another lora model here independent from face or inpainting downstream flow and also a text prompt
You can also change the behaviour to only attempt fixing the hands or face for example
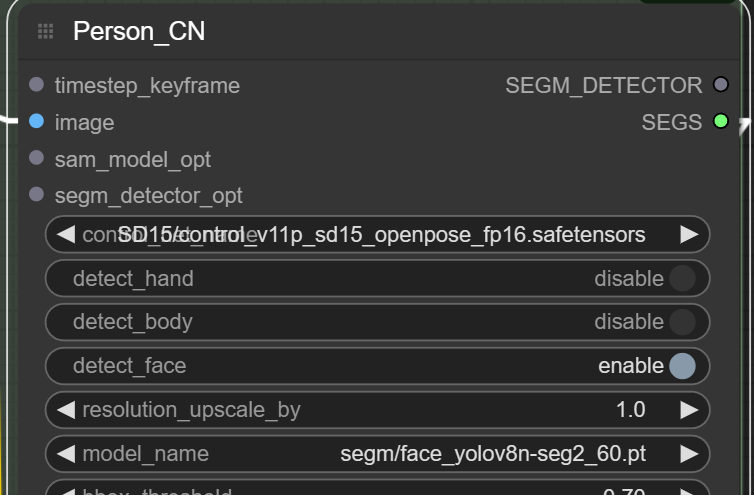
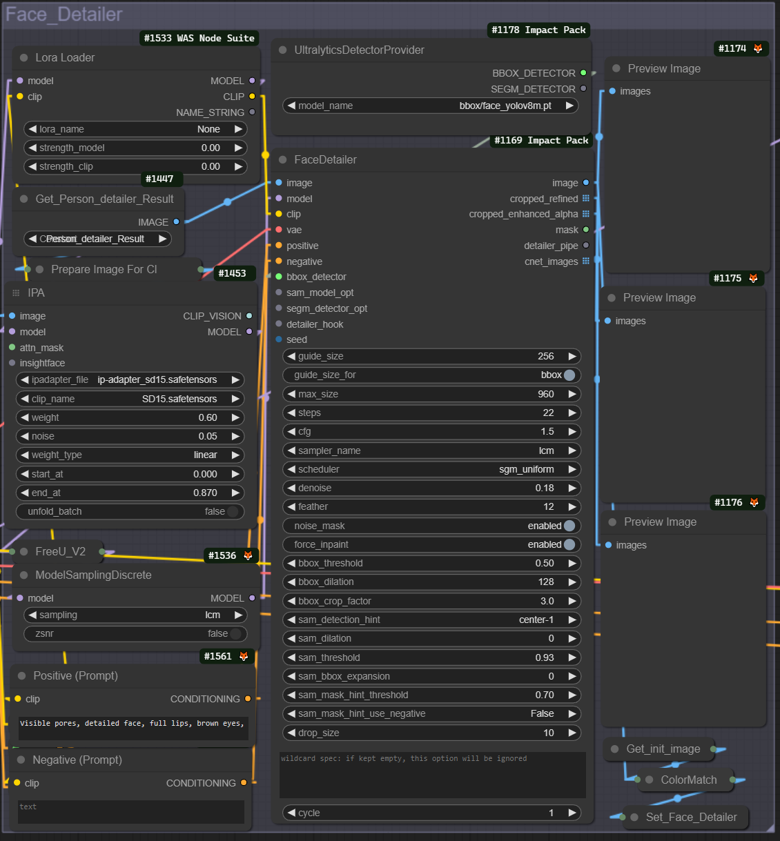
Face_Detailer Module
This is very similar to the last but and have similar features like independent lora and prompt but I want to explain that you can change the input image from person_detailer result to the 1st Result IMG if you want to dissable peron detailer and only use this
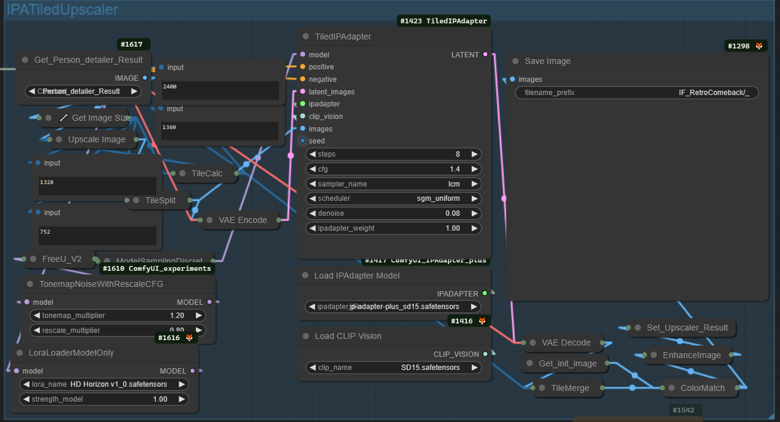
IPATiledUpscaler Module
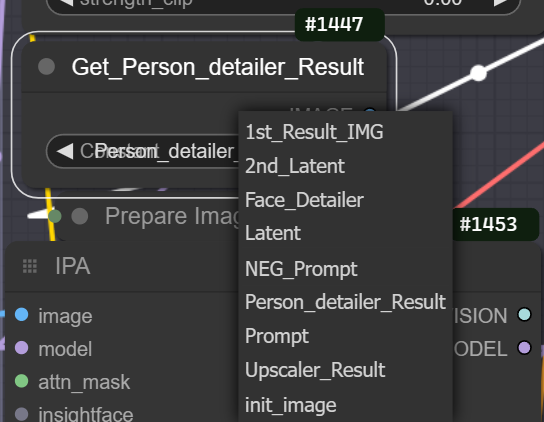
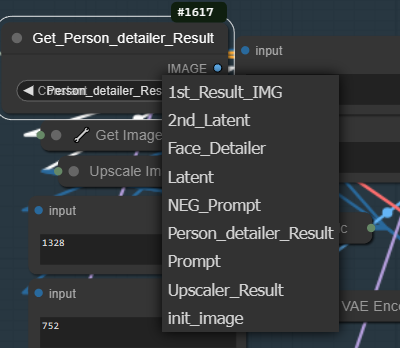
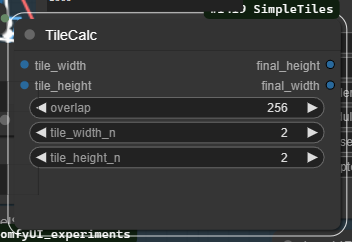
This is the final Upscale will take an image as reference the default provided is the initial image to the Get_Person_detailer_Result node result but you can change it to the the Face_Detailer_Result or 1st_Result_IMG, if you don't want to fix the image prior to upscale on the "TileCalc" you can up this to 3 for even greater upscale resolution and you can lower the denoise for closer result to the source.
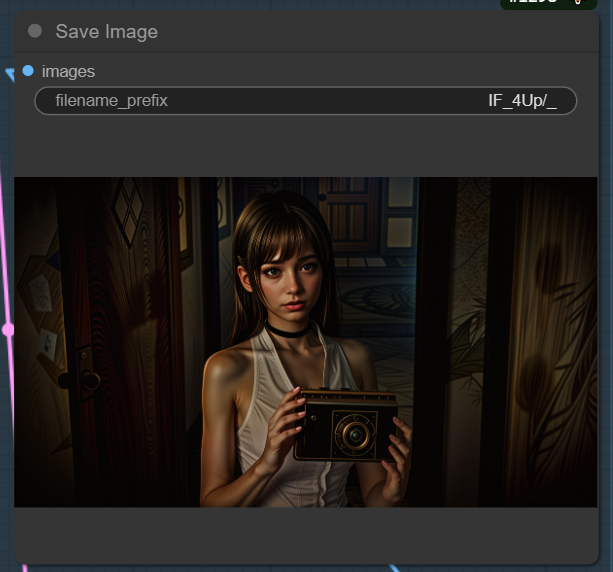
Finally you can save the image There must be a folder named IF_4UP inside your output folder inside the ComfyUI Directory
You can also drag this node to an epmty space on the workspace and connect another of the results to it to save that result if you prefer

Result
This Module provides previews for the Modules

Conclusion
Creating this workflow was a tough but fun journey, as always. My goal is to keep it simple yet potent, harnessing the full might of ComfyUI to the max while incorporating the latest, most powerful nodes available for both newbies and seasoned users.
So come on in, have a blast, and let’s make those pixels pop, breathing new life into your favorite retro characters with their most stunning looks yet. Your support and masterpieces fuel this thrilling adventure forward! 🌟
The workflow is available here on the shop