Objective
Installation of Stable Diffusion with Automatic A1111.
Component that you need
You need to install some components to accomplish this :
Python 3.10.6 => This is used to compile the code of Stable Diffusion that is written in Python language. You can download from the python website https://www.python.org/downloads/
Git => This is used to clone the code of stable diffusione and update it in the future. You can download from https://git-scm.com/downloads
On https://github.com/AUTOMATIC1111/stable-diffusion-webui.git the is the code of Stable Diffusion.. We will take this code using GIT.
On https://civitai.com/ you can find: Checkpoints => These are file of 2GB or more that contains the model to generate the images. Some are for generating realistic picture, other to generate cartoons, manga, etc. Lora => These are additional files that you can use together with a checkpoint and you need to specify a specific code to use them, some lora are used with a specific checkpoint.
Also is recommended to have an GitHub Account , Hugging face account and civitai account. There are all free.
Installation
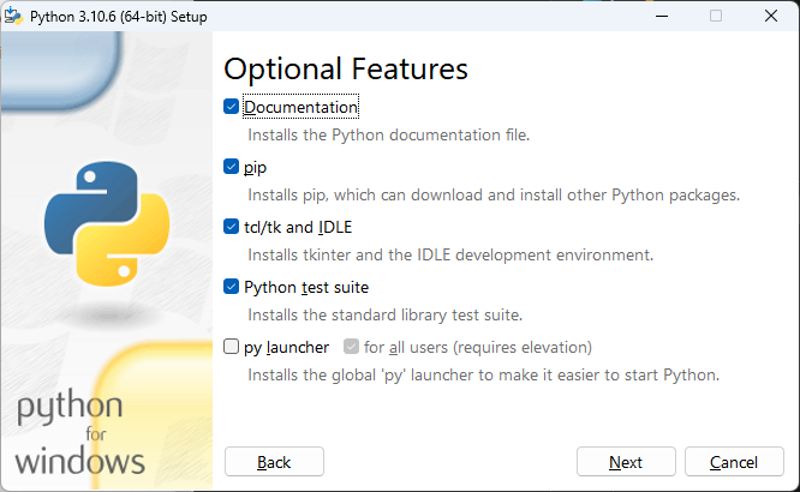
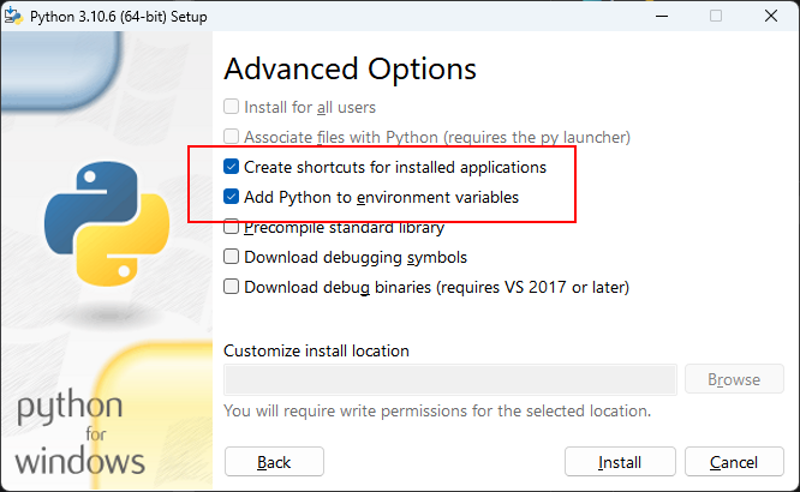
Installing Python (Set the Window Path). You can find many information about this on the internet.
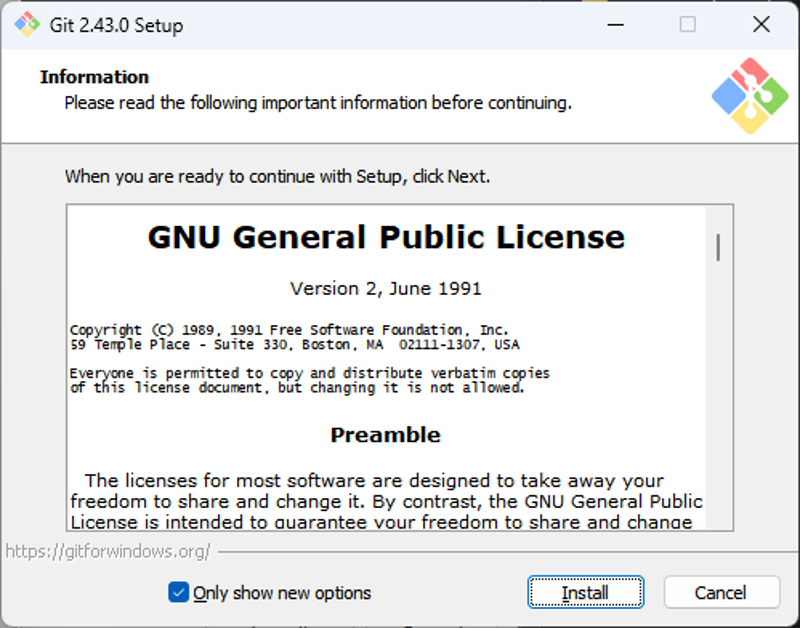
Install GIT following the default settings (restart the computer after install).
Now you can run GIT CMD,

It is a windows command prompt.
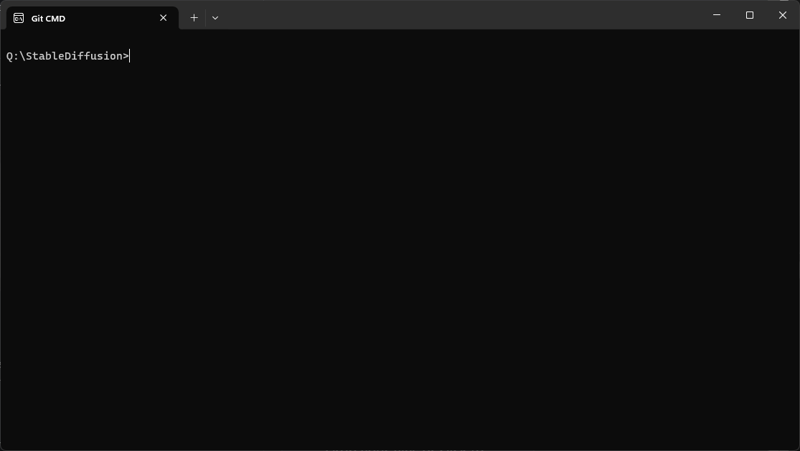
Now we have to write some commands to install Stable Diffusion.
Select the drive.
Your default drive si C:, you you wanna use this drive stay there if not write the write letter like this Q: and press enter.
In my article I will use the folder Q:\StableDif
Now start to write the instructions (press enter after each instruction)
cd\
and press Enter Create the Stable Diffusion folder
mkdir StableDif
and press enter Enter in the folder
cd StableDif
and press enter
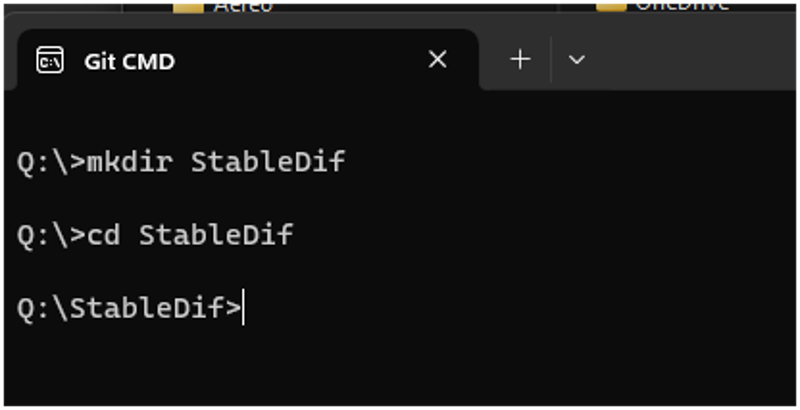
Clone the Stable Diffusion code, write this line
git clone https://github.com/AUTOMATIC1111/stable-diffusion-webui.git
and press enter This will download part of the code,
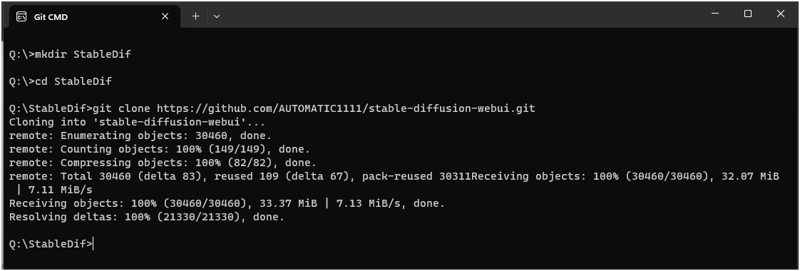
you will have a new folder Enter in the folder with
cd stable-diffusion-webui
and press enter (Leave this windows open)
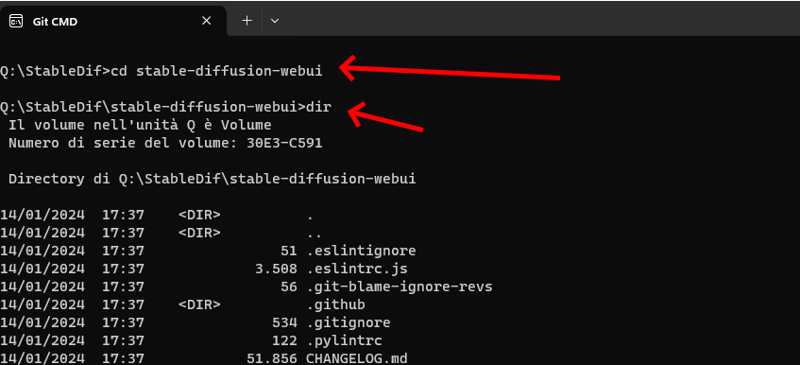
(write dir and press enter to check the files in the folder)
Now you are ready to run Stable Diffusion Return to the GIT CMD windows and run the command.
webui-user.bat

The first time you run it will take long because it will install all the components.

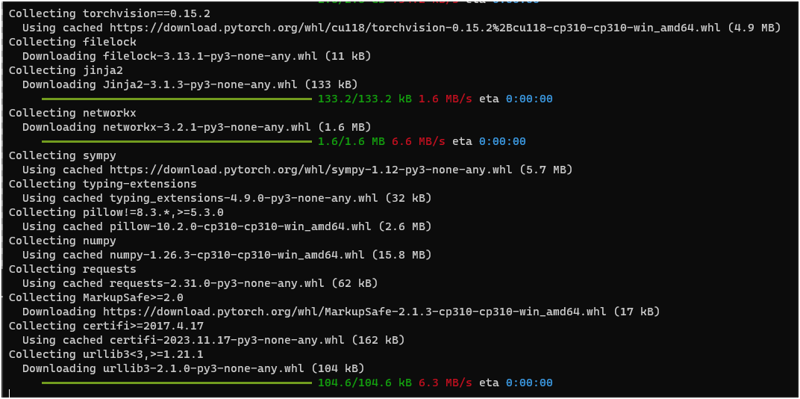
etc...
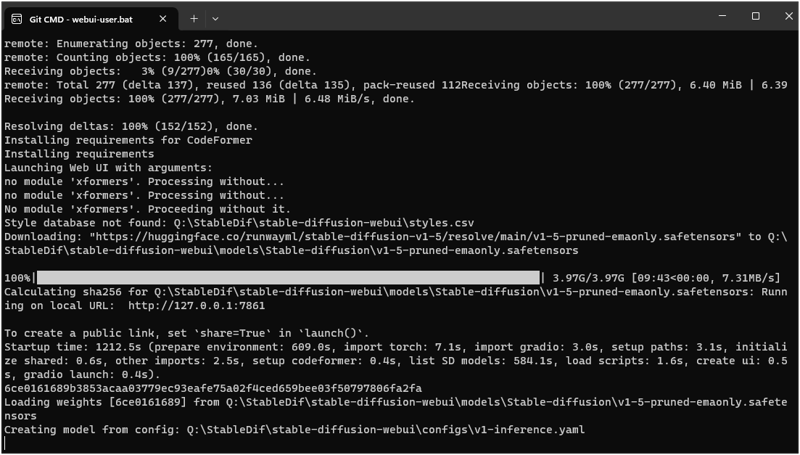
A certain point he will start to download a 3.97GB of file , this is the default SD15 checkpoint from https://huggingface.co/runwayml/stable-diffusion-v1-5/resolve/main/v1-5-pruned-emaonly.safetensors

At the end of the process you will see that Stable Diffusion is running when opens a Browser windows on http://127.0.0.1:7860
Run Stable Diffusion
To run Stable diffusion you have to execute the webui-user.bat file inside
<drive>:\StableDif\stable-diffusion-webui
As a suggestion you can create a link on your desktop.
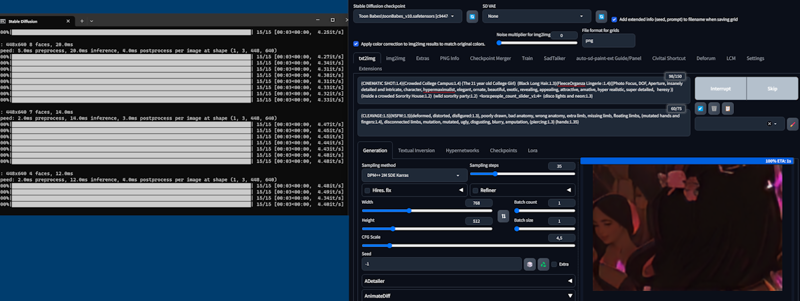
When you run the .bat file you will always have 2 windows, a command windows where you can see the progress , what stable Diffusion is doing and eventually some errors .
On the browser you can use it to generate your images.
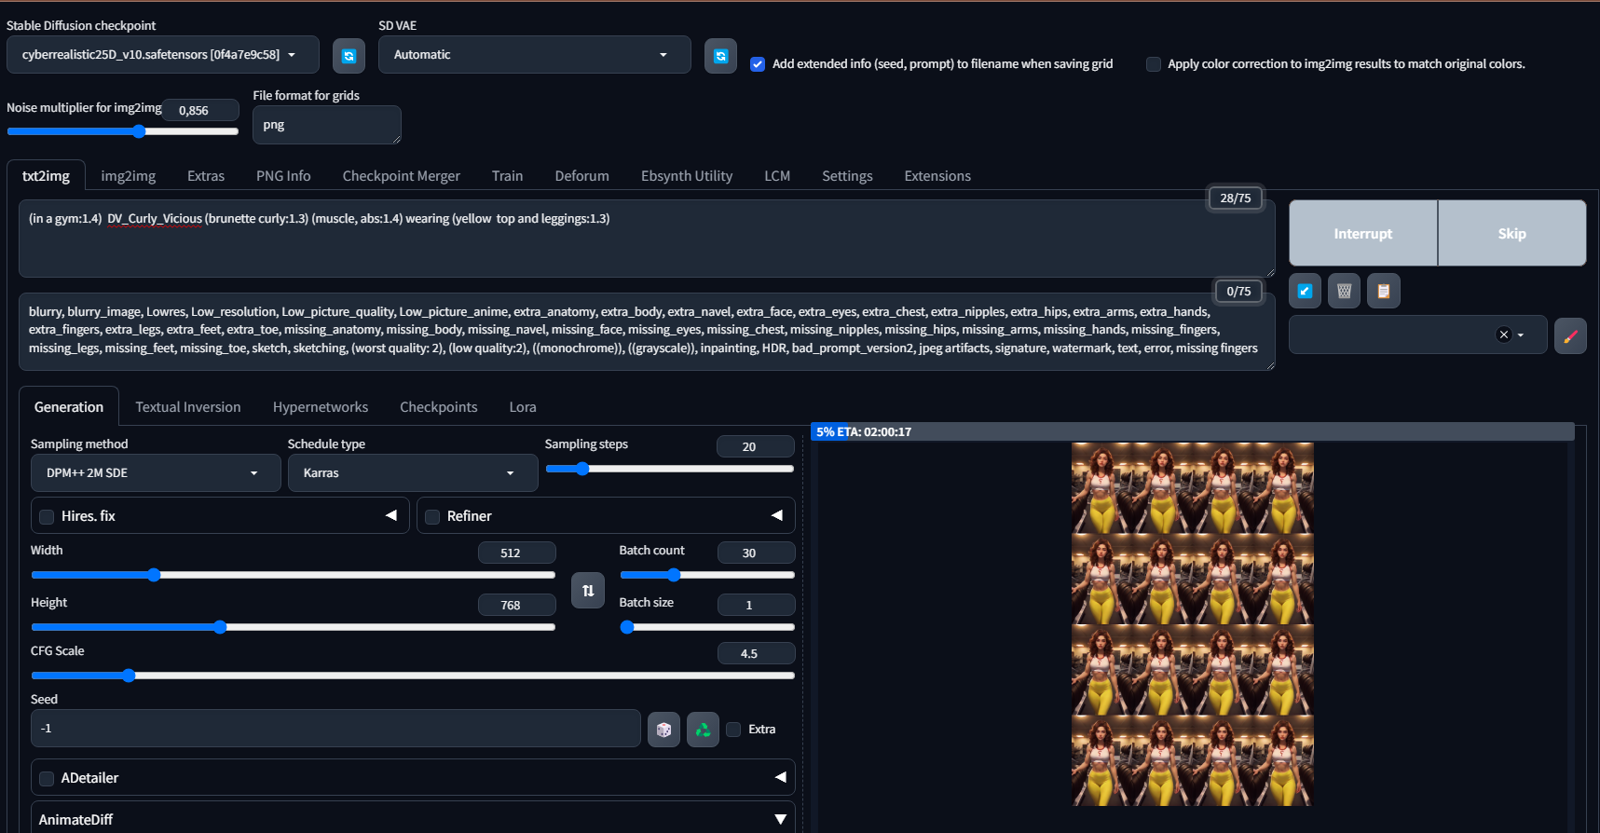
Default interface
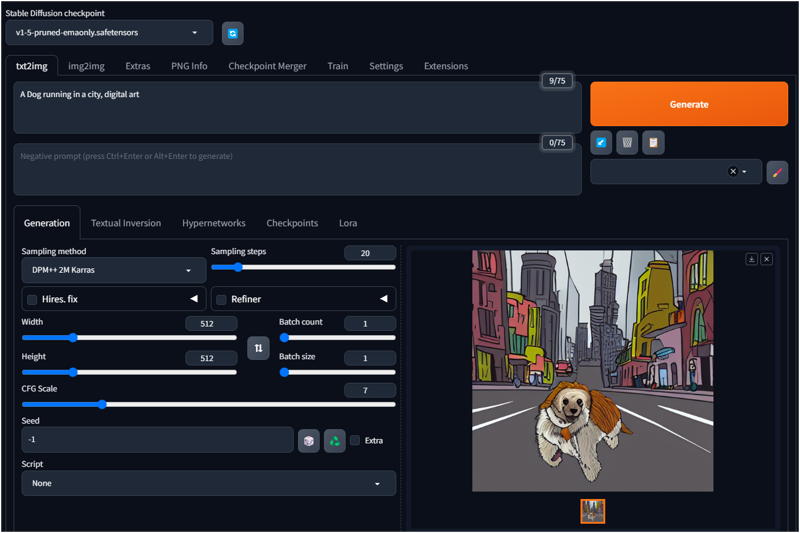
On top you can select the only checkpoint installed.
Write your prompt positive e negative and clic generate.
Default image size is 512x512 with 20 steps
Adding other checkpoint
Depending on the disk you will have a folder like this:
Q:\StableDiff\stable-diffusion-webui\models\Stable-diffusion
Inside this folder you can add as many Checkpoint you want, search in civitai.com for the files.
Add an extensions
The default Stable diffusion is missing a lot of cool features, to improve it we can install some extensions.
Let's start adding the Civitai.com extension that permits to add Checkpoint, lora, embedding ,etc.
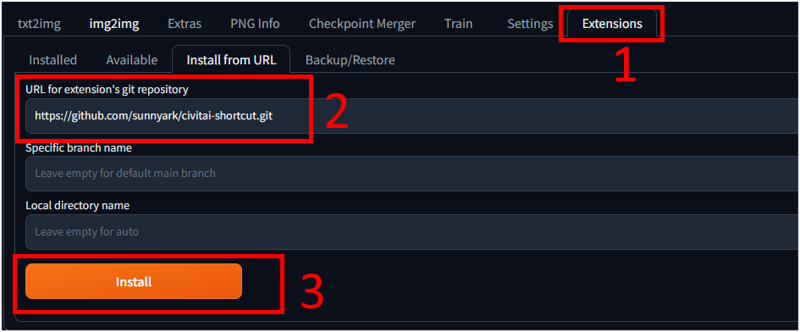
Go to Extension, select install from URL, paste the code
https://github.com/sunnyark/civitai-shortcut.git
and install it.
When you have installed the extension press :
1) Press Installed tab
2) Clic on Apply and Restart UI
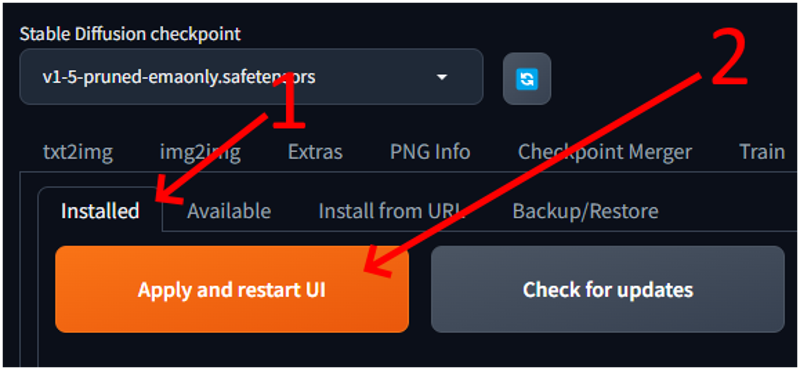
Stable Diffusion will restart with the new extension.
How to use the extension
1) Copy the url of a checkpoint from civitai
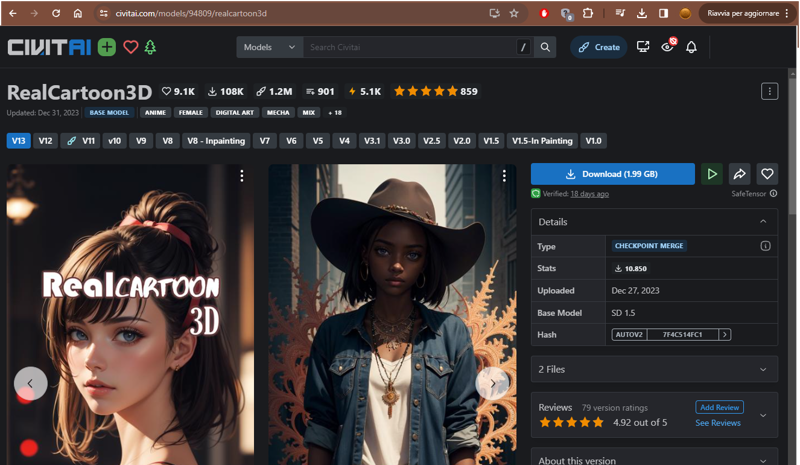
2) Goto to the "Civitai Shortcut"
Paste the link (example : https://civitai.com/models/94809/realcartoon3d)
and go to download, there clic another time download to download your checkpoint.
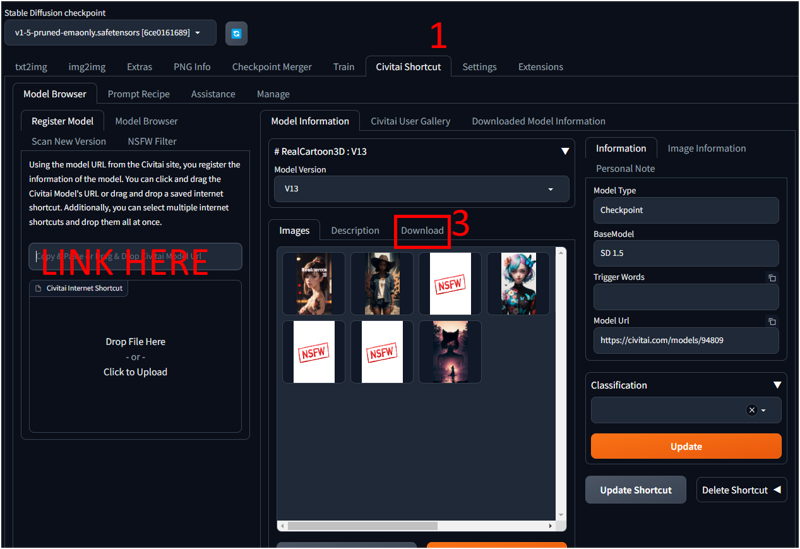
You can do the same to download Lora, embeddings, etc.
I hope you enjoy this guide, I will add new article of how to install other cool extension to generate better images, improve faces, details, and generate videos.


