QR-Mania!
It's the newest fad, it's going to make QR codes be art, theres already reddit posts and news articles and people on Instagram reels reading those news articles out loud and people wondering how they can make their own and failing miserably.
And you, you want to make QR code art for some exhibition, or to troll your friends or for your business. Here's how you can do it yourself!
I will assume that you use and have already installed Stable Diffusion A111 WebUI and Controlnet, and if not I have linked to their githubs which have the steps necessary.
I have also noticed many following the same steps can't make it work, if it doesn't work for you, or something is unclear, please comment and I will try my very best to debug.
This is my first tutorial and I might make things unclear :D
Step 1: Make the QR Code
This sounds self-explanatory and easy, however, there are some key precautions you have to take to make it much easier for the image to scan. You can ignore this if you either have a specific QR system in place on your app and/or know that the following won't be a concern.
The first step is to shorten your URL. If your link is short, such as just a domain like "civitai.com" or "qrbtf.com" then you don't have to shorten it, however if its a youtube or twitter link or something with lots of characters, then the QR code would be too big to be integrated into SD and still be scannable.
The second step is to apply error correction, QR Codes have different levels of error correction, meaning how much the code can be damaged or dirty before being unreadable, and it can range from 7-30%.
You can tell at what level a QR code is by looking at these two pixel indicators, but there's a lot of hard algebra that makes it work. I recommend this site if you want to learn more.

In this case, since we are literally adding and muddling QR codes for artistic purposes, we would want a high error correction, Level H. I recommend the Kerem Erkan site for this. Set the Error Correction to "High" and download at other default settings.

Step 2: Download the ControlNet Model
Download control_v11f1e_sd15_tile.pth and put it in "/stable-diffusion-webui/extensions/sd-webui-controlnet/models/".
Alternatively, if you are using external hosting you can run the command:
!pip install wget
!wget https://huggingface.co/lllyasviel/ControlNet-v1-1/resolve/main/control_v11f1e_sd15_tile.pth -P /[INSERT LOCATION]/stable-diffusion-webui/extensions/sd-webui-controlnet/models/
This will be the model that allows for scannable QR codes.
Step 3: Download any LoRAs or Checkpoints needed
If you want to generate in specific styles, it is best to get specific models.
Step 4: Upload the QR code to img2img
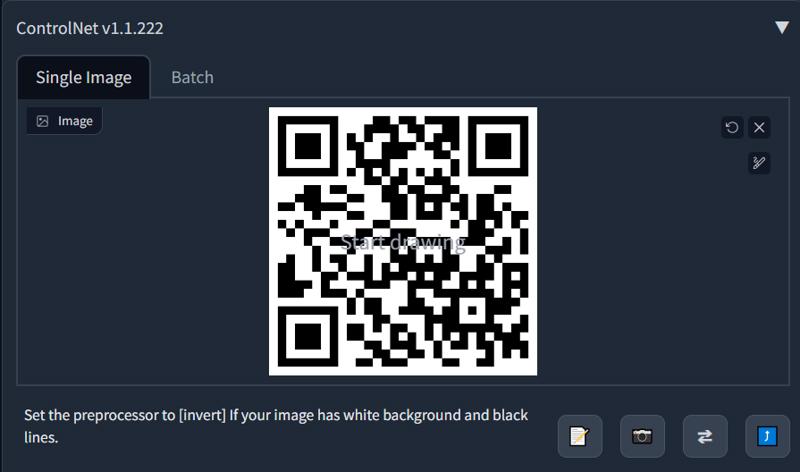
In the WebUI, open the img2img tab, and drop the QR code onto both the normal and ControlNet uploads.
I see lots of comments from people wondering how it works, and in their screenshots showing they haven't enabled ControlNet. Please make sure to tick the enable box!


Step 5: Settings
And now here's the dreamwork, unfortunately it might take a really long while to get the settings. I leave the settings that I used for 3 different images with 3 different models, but they took a lot of calibration.
Here's some general settings I use for my codes:
LoRA model weights: 0.8
Sampler: DPM++ 2M Karras
Steps: 80-100
CFG: 7
Preprocessor: tile_resample
ControlNet Model: control_v11f1e_sd15_tile (link above)
ControlNet Weight: 0.85-1.25
Denoising Strength: 1
Pixel Perfect: Enabled
Starting: 0.35-0.4
Ending: 0.75-0.9
Control Mode: Balanced
If they don't work for you, here are some tips while calibrating your own:
Use a LoRA or checkpoint so you can make results in whatever style you prefer more accurately
If Stable Diffusion is constantly making undesirable results, try changing the sampler, some models might not generate anything good in Euler a while others work better in DPM++ 2M Karras or DPM++ SDE Karras
The Starting/Ending setting specifies when ControlNet should start inputting your QR code into the image, so one with settings (0.2/0.8) will create its own image from 0-20%, have controlnet take over from 20-80%, and will work around the resulting image from 80-100%.
If your image looks like a slightly wobbly QR code, maybe its because ControlNet is on the whole way through. Try changing these settings to around the middle. Leave some time for the image to generate on it's own, some more time for ControlNet to add the QR code on top of it, and a bit of time to let SD form its own identity around the code. Even tiny 0.05 changes might have drastic consequences on your final output.Maybe the image looks great but it doesn't scan, or it does scan but it's just an off-colour normal QR code, it's not guaranteed. Keep trying! Play around with the weights of the tags, denoising strength and controlnet
If you really like how an image looks, but you can't find the settings to make it work, open up an image editor like Photoshop (Photopea and GIMP are good free programs for the broke), overlay the code, and try to edit the image to scan better.
Bonus Step: Edit your QR to work better
If your QR code is real close to being able to scan, or it only works on some of the phones, here's an extra step to pretty much guarantee it:
Open up the image in photoshop (If you're broke, Photopea should work just as well), and put the original QR code image file as another layer (make sure it's rasterized)
Make sure that the black and white QR code is the only thing visible. Go to Select > Color Range and select the black
After doing this, go to Layer > Layer Mask > Reveal Selection and you should see that only the black parts of the QR code are visible. If the image is particularly dark, you can skip the last 2 steps.
That would technically do it, however since we still want to maintain the generated image, we are going to have to make it transparent. Turn the opacity down to around 40-50%
Then, to blend better with the image, try experimenting with different blend modes. I prefer Soft Light however others might work better for other images
Try your phone's default QR scanner and see the minimal settings that allows for consistent scanning and cool looking graphics
Voila!

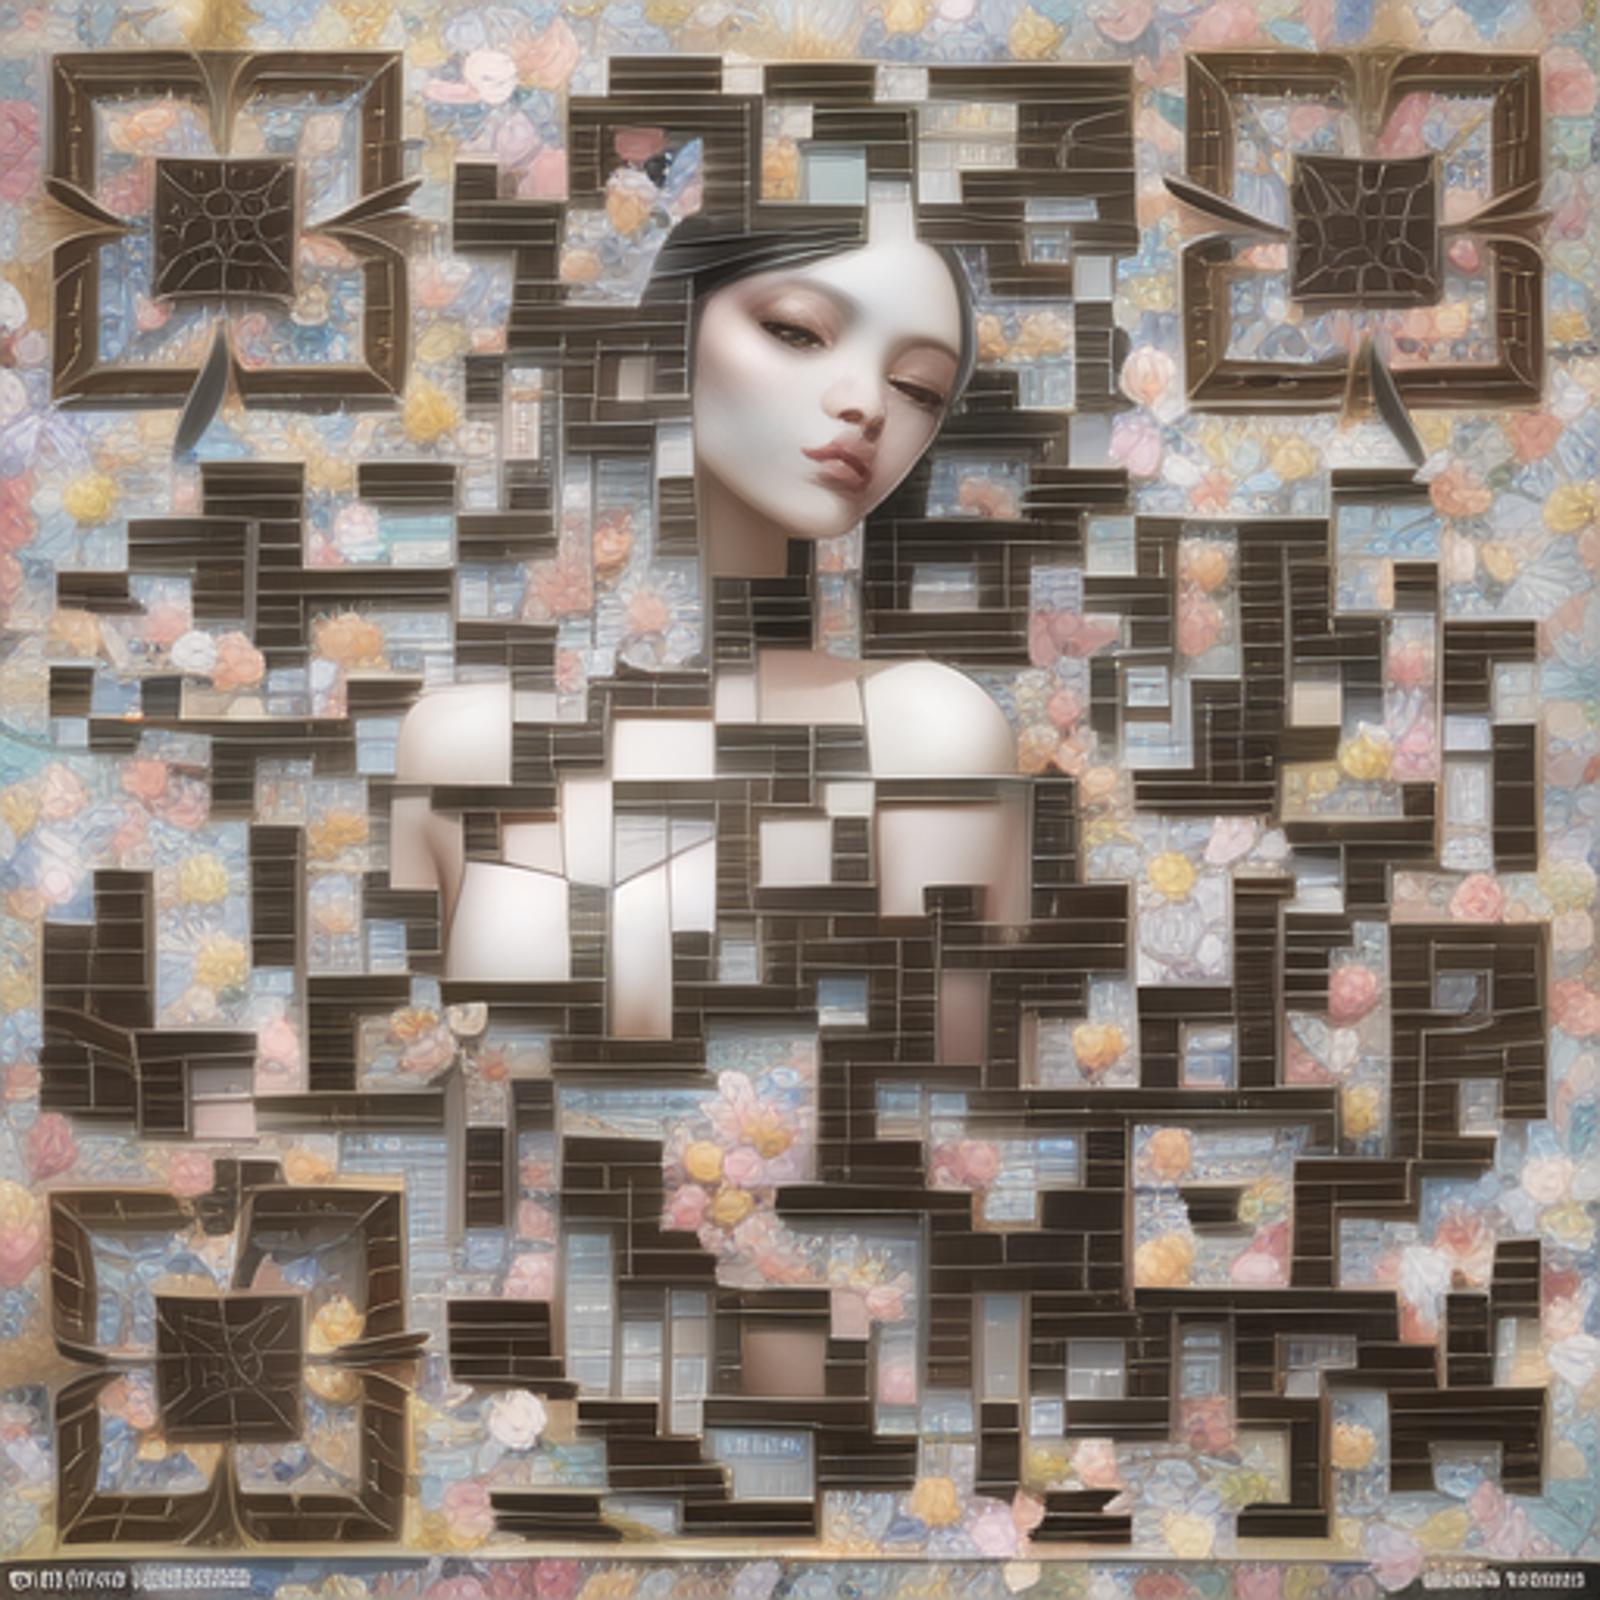
This is an edited version of one of the QR codes below, you can see a higher contrast as well as some work done on the face.
Without further ado, here's my results:
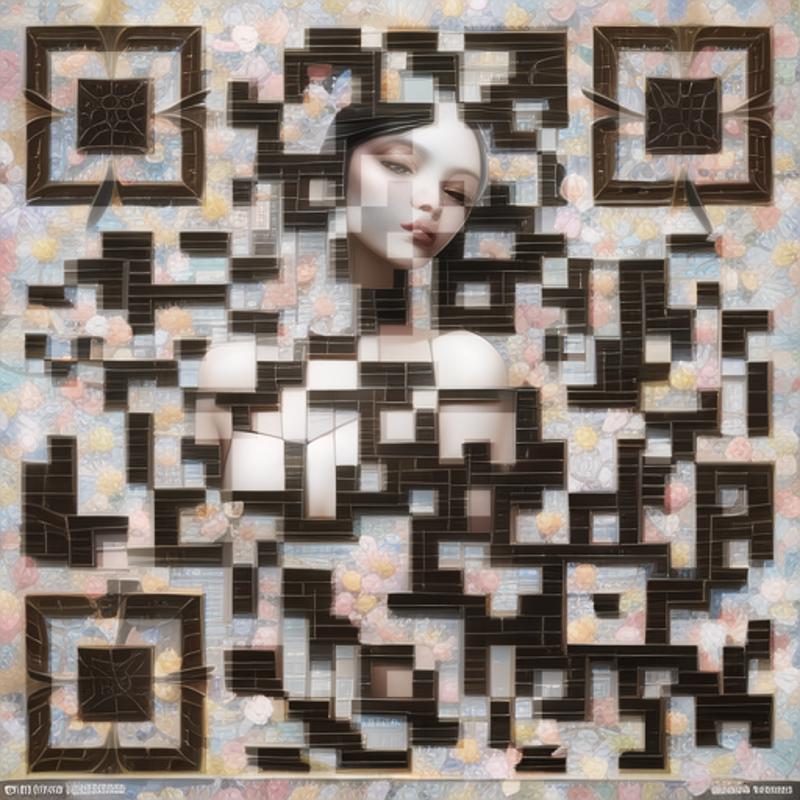
No LoRA, Anything v4.5

Do not ask why the girls face appears even though the negative prompt includes "(((1girl)))"
PROMPT: flowers, dreamwave, photo realistic, anime
NEGATIVE PROMPT: ugly, blurry, obfuscated, pixelated, blocky, (((1girl))), nsfw,
OTHER: Steps: 85, Sampler: DPM++ 2M Karras, CFG scale: 7, Seed: 2745176116, Size: 512x512, Model hash: a504b5b137, Model: anything-v4.5-vae-swapped, Denoising strength: 1, Mask blur: 4
ControlNet: "preprocessor: tile_resample, model: control_v11f1e_sd15_tile [a371b31b], weight: 1, starting/ending: (0.4, 0.85), resize mode: Crop and Resize, pixel perfect: True, control mode: Balanced, preprocessor params: (-1, 1, -1)"
With MoXin and Chiense Traditional Pattern LoRAs

PROMPT: <lora:conewloha04_old2:0.8>, ((featuring flowers and branches)), chinese pattern, natural, shukezouma, negative space, traditional chinese ink painting, <lora:shukezouma_v1_1:0.8>
NEGATIVE PROMPT: ugly, blurry, obfuscated, circular, porcelain
OTHER: Steps: 85, Sampler: DPM++ 2M Karras, CFG scale: 7, Seed: 743309854, Size: 512x512, Model hash: a504b5b137, Model: anything-v4.5-vae-swapped, Denoising strength: 1, Mask blur: 4
ControlNet: "preprocessor: tile_resample, model: control_v11f1e_sd15_tile [a371b31b], weight: 1.2, starting/ending: (0.35, 0.85), resize mode: Resize and Fill, pixel perfect: True, control mode: Balanced, preprocessor params: (-1, 1, -1)"
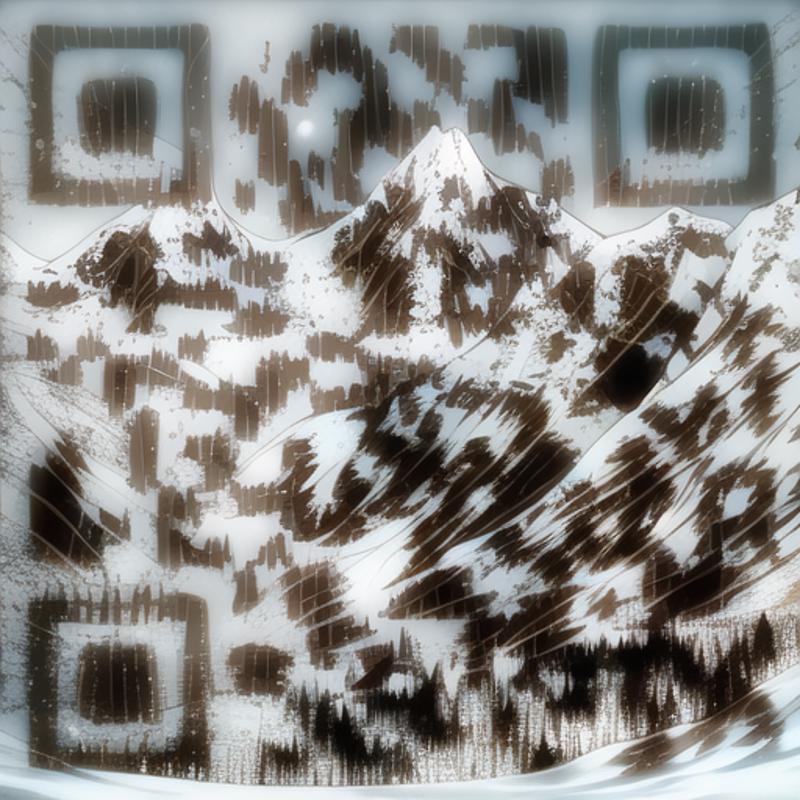
My very own Hanna Barbera LoRA model

To get this seed to be scannable, the weight had to increase to 2, goes to show
PROMPT: <lora:hannabarberan:0.6> hanna barbera, nature, scenery, monochrome colour theme, mountain, mountain range, snowy mountin, snow, pathway, (stylized), blue sky, clouds <lora:epi_noiseoffset2:0.8>
NEGATIVE PROMPT: ugly, blurry, obfuscated, blocky, (pixelated:2), trees, forest, grass
OTHER: Steps: 85, Sampler: DPM++ 2M Karras, CFG scale: 6, Seed: 3943091767, Size: 512x512, Model hash: a504b5b137, Model: anything-v4.5-vae-swapped, Denoising strength: 0.95, Mask blur: 4
ConrolNet: "preprocessor: tile_resample, model: control_v11f1e_sd15_tile [a371b31b], weight: 2, starting/ending: (0.4, 0.85), resize mode: Resize and Fill, pixel perfect: True, control mode: Balanced, preprocessor params: (-1, 1, -1)"
With Dreamwave GPTS4

PROMPT: masterpiece, realistic oil painting, flowers floating in a spiral, black wings ,<lora:GPTS4 dreamwave full_478773:1>, peace sign, bunch of flowers on background, milions of flowers
NEGATIVE PROMPT: ugly, blurry, obfuscated, blocky, (pixelated:2)
OTHER: Steps: 85, Sampler: DPM++ 2M Karras, CFG scale: 7, Seed: 1335642376, Size: 512x512, Model hash: a504b5b137, Model: anything-v4.5-vae-swapped, Denoising strength: 1, Mask blur: 4
ControlNet: "preprocessor: tile_resample, model: control_v11f1e_sd15_tile [a371b31b], weight: 0.95, starting/ending: (0.35, 0.85), resize mode: Crop and Resize, pixel perfect: True, control mode: Balanced, preprocessor params: (-1, 1, -1)"
VISUAL SETTINGS

