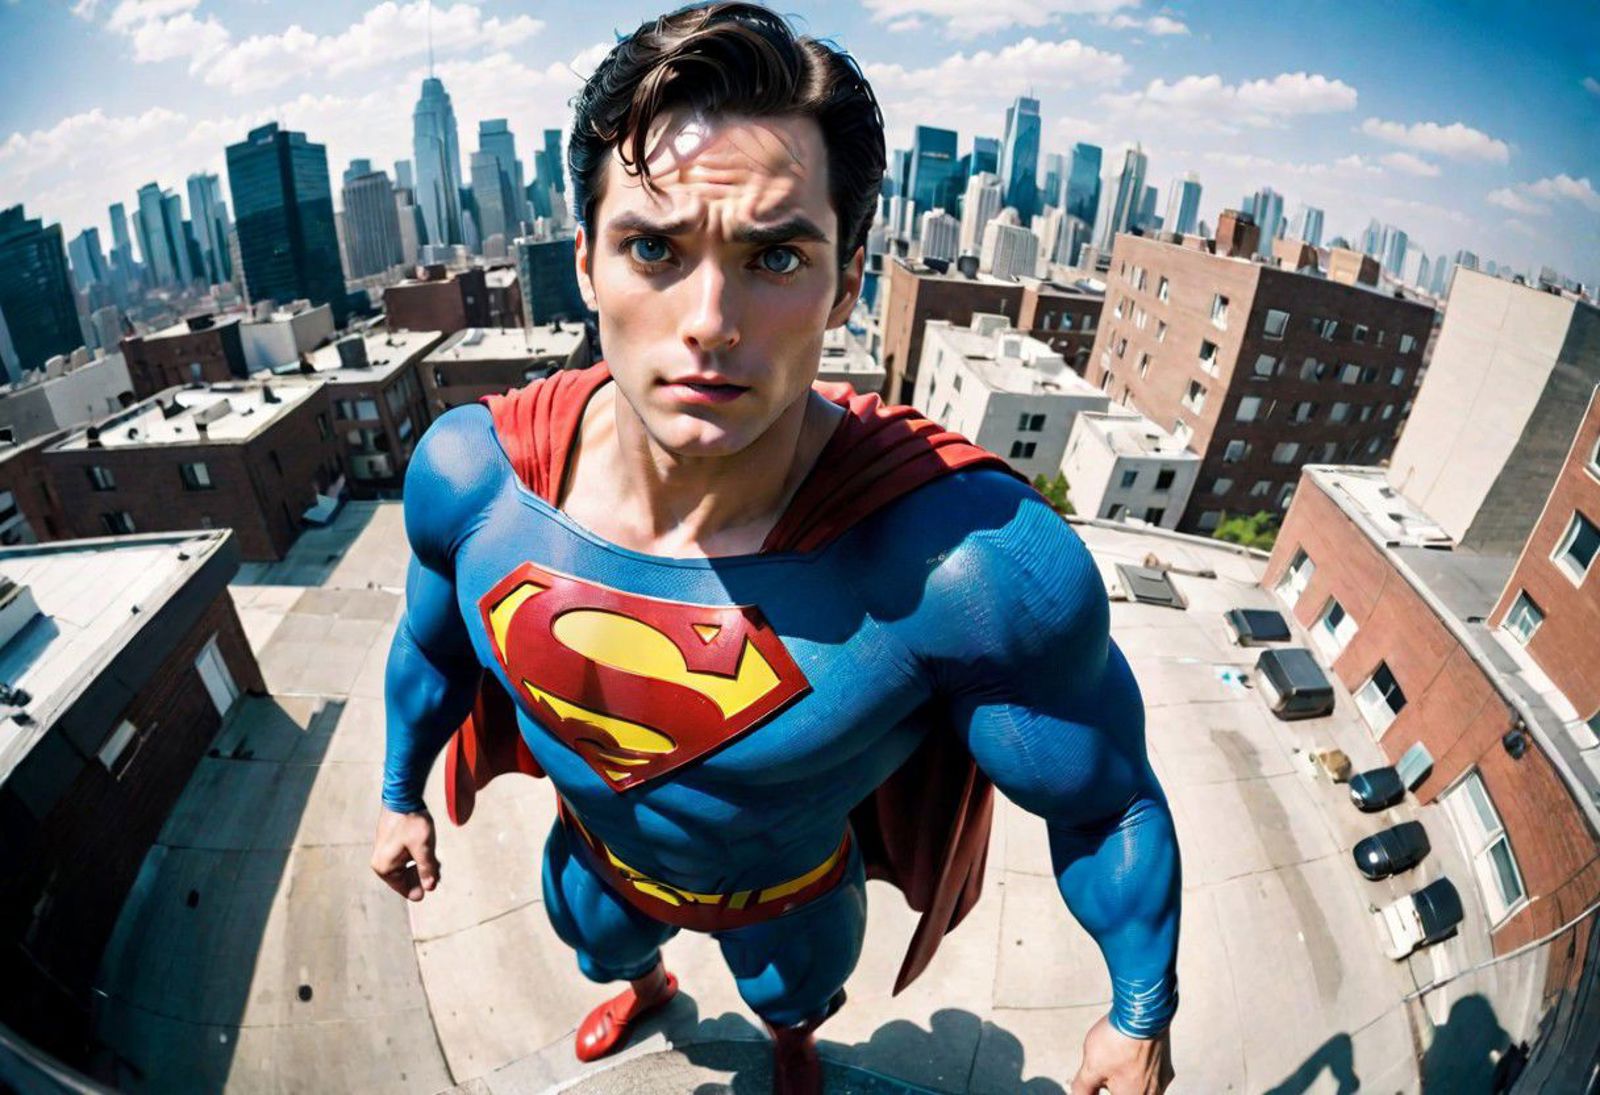
In my previous article, we explored how to create some simple scenes with a single character doing something and adjusting the camera focus. Before we continue to explore creating more complex scenes, let us explore some options for specifying the camera position and distance.
Implicit Camera Position
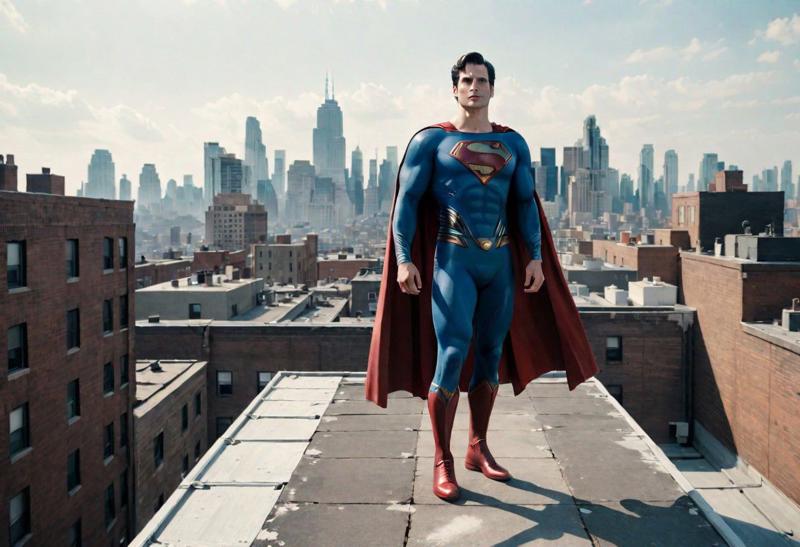
Let us a start with a simple scene of Superman standing on a roof top.
Hyperrealistic photo: superman-standing-on-rooftop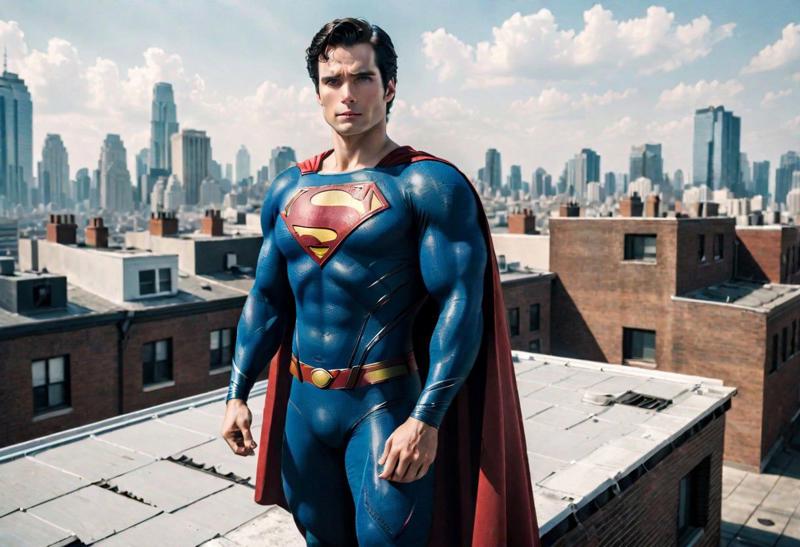
In this prompt we did not specify the camera position explicitly. In the case, the AI model will choose an angle that is more suitable based on the scene. As the result, if you retry the same prompt many times, Superman may be seen standing the differently but always facing the camera.
Let try specifying some camera angles explicitly. Unless needed I won't explain each creation because the pictures should be self-explanatory.
Front View:
Hyperrealistic front-view photo: superman-standing-on-rooftop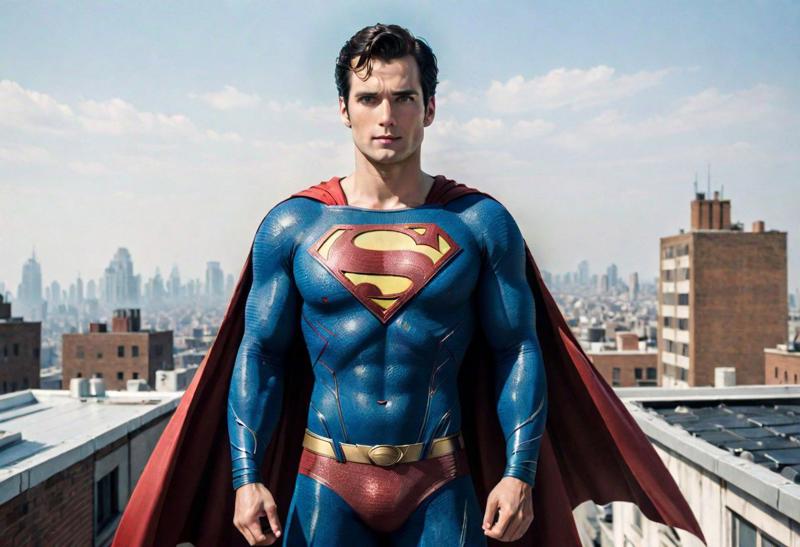
Side View
Hyperrealistic side-view photo: superman-standing-on-rooftop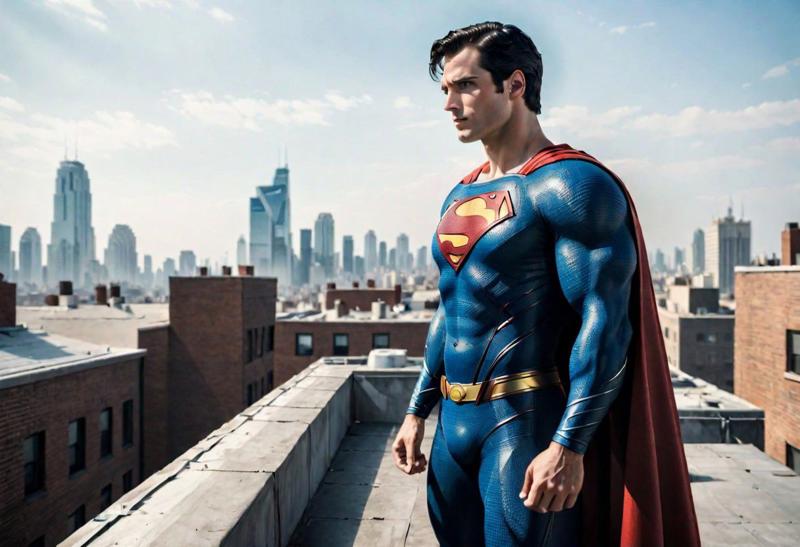
Note: It is possible to say "left-side-view" or "right-side-view" if you want to be specific.
Back View
Hyperrealistic back-view photo: superman-standing-on-rooftop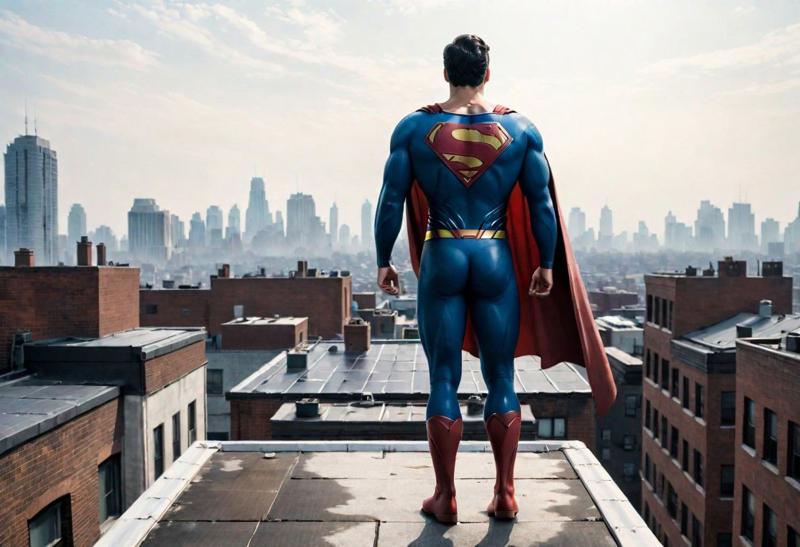
Top View
Hyperrealistic top-view photo: superman-standing-on-rooftop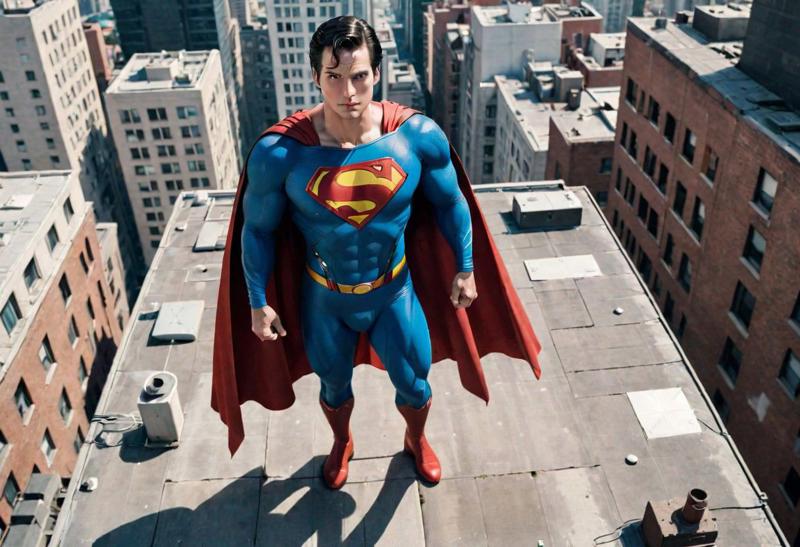
Note: If the camera is in a suitable position, the AI model will most always make the character to look at the camera. You can change this through explicit prompts such as "looking-down" or "looking-up". The same is true for other positions too. For ex: in that side view photo above, we could have said "facing-camera", which will produce a side view photo with Superman looking at the camera.
Bottom View
Hyperrealistic bottom-view photo: superman-standing-on-rooftop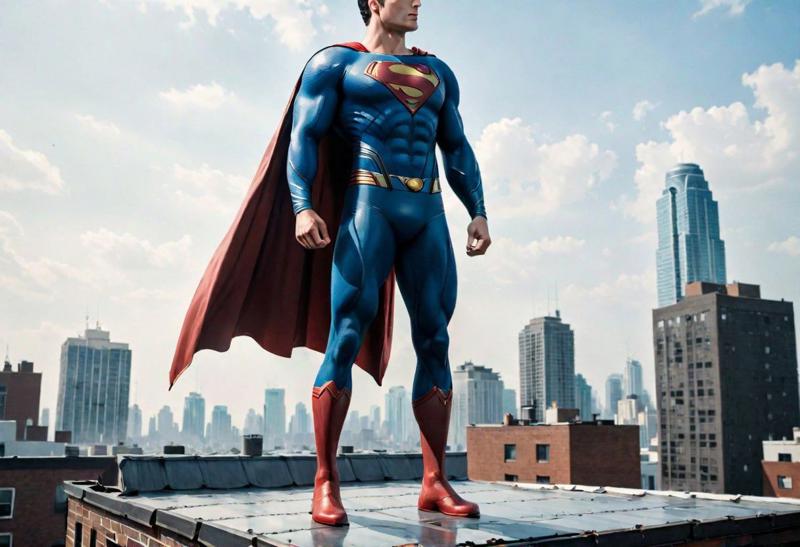
High-Angle View
Hyperrealistic high-angle-view photo: superman-standing-on-rooftop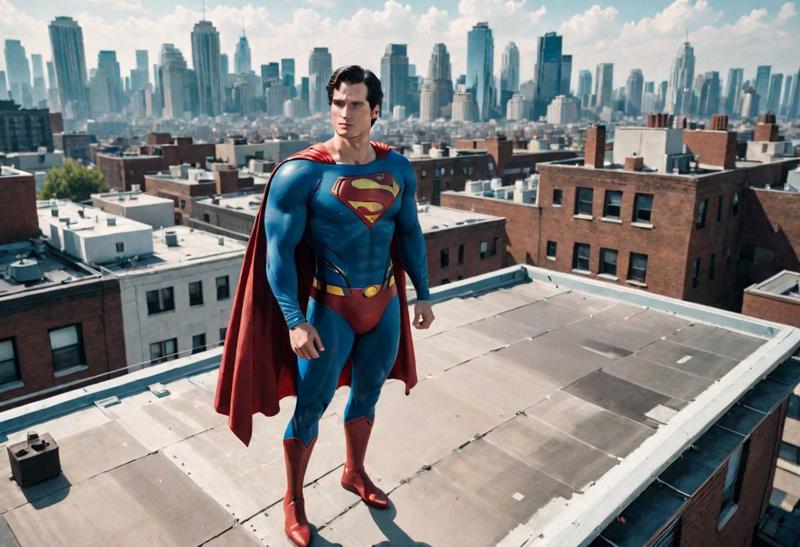
Mid-Angle View
Hyperrealistic mid-angle-view photo: superman-standing-on-rooftop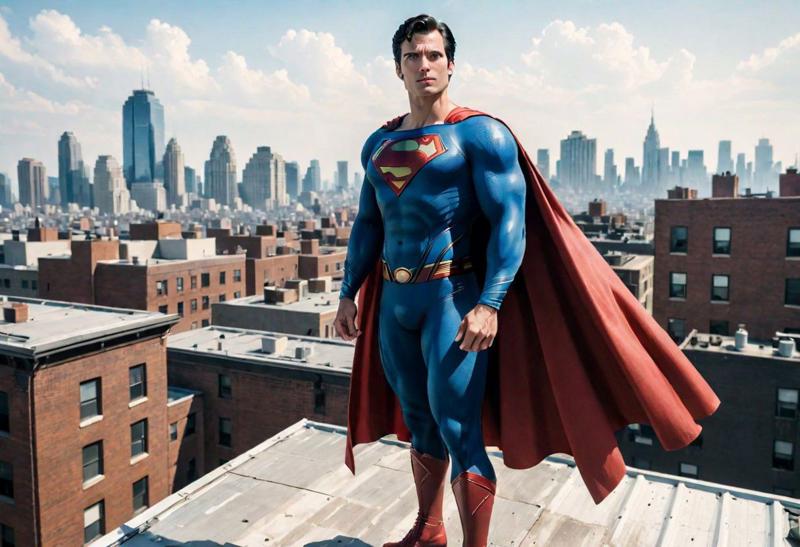
Low-Angle View
Hyperrealistic low-angle-view photo: superman-standing-on-rooftop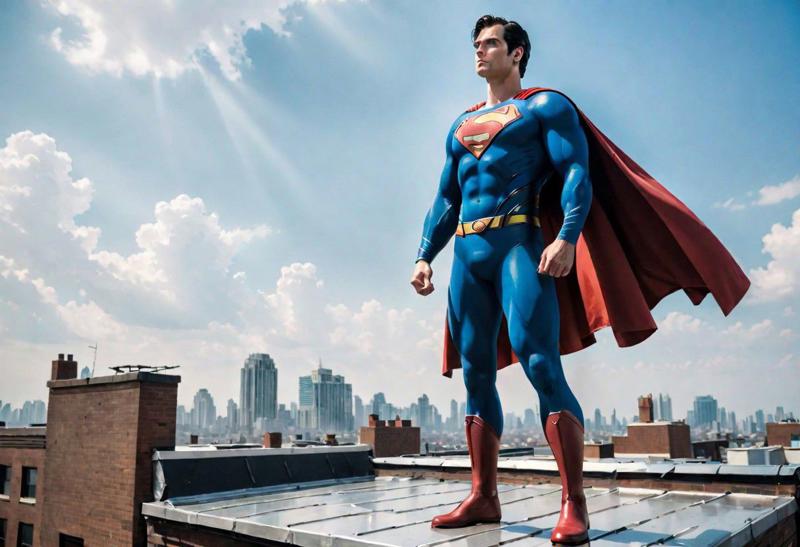
Orthogonal View
You can add the prompt "orthogonal" to many of the camera positions above. Since we are working only one character here, the difference may not be fully apparent. The true effect of an orthogonal view can be better appreciated in a scene with two or more characters/objects. An orthogonal view will try to bring all characters into the view by adjusting both the angle and distance of the camera.
Hyperrealistic orthogonal-view photo: superman-standing-on-rooftop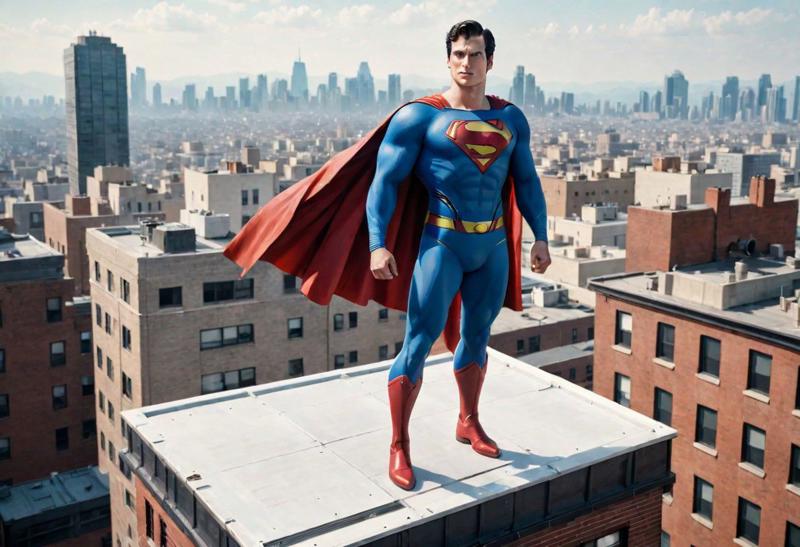
Orthogonal Back View
Hyperrealistic orthogonal-back-view photo: superman-standing-on-rooftop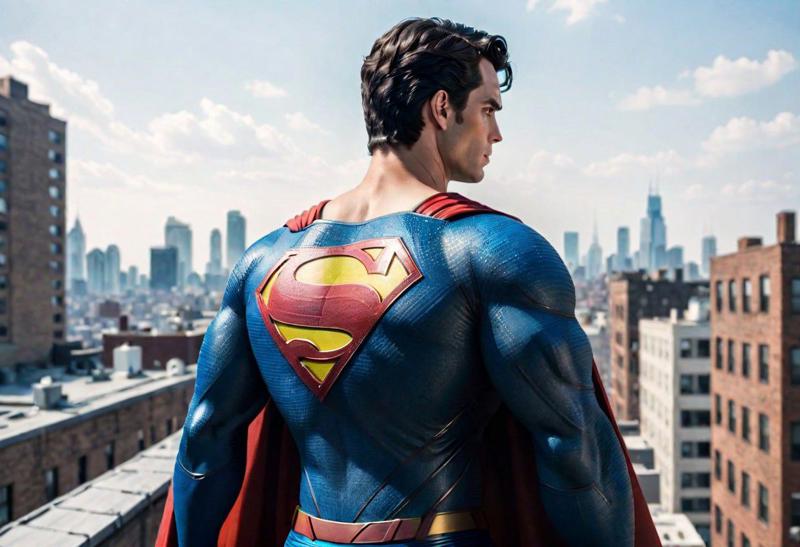
Orthogonal Top View
Hyperrealistic orthogonal-top-view photo: superman-standing-on-rooftop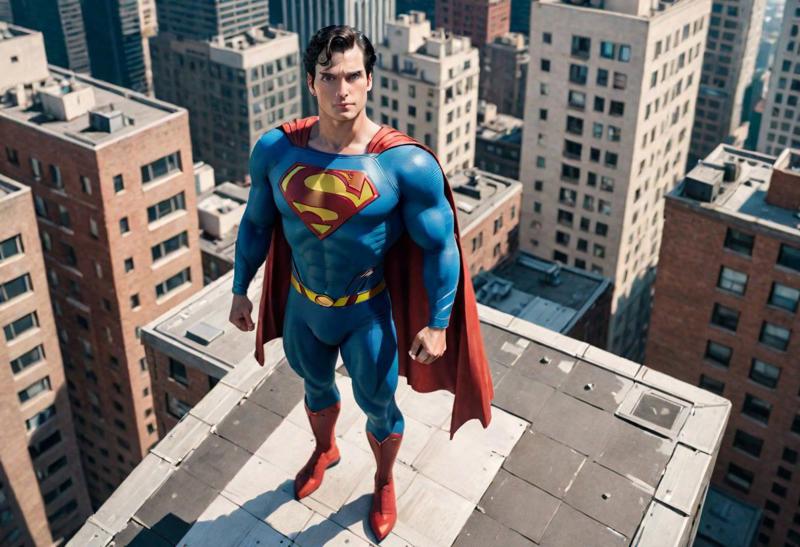
What is the different between "orthogonal-view" and "orthogonal-top-view". You will notice that Superman is looking at the camera here.
Orthogonal Bottom View
Hyperrealistic orthogonal-bottom-view photo: superman-standing-on-rooftop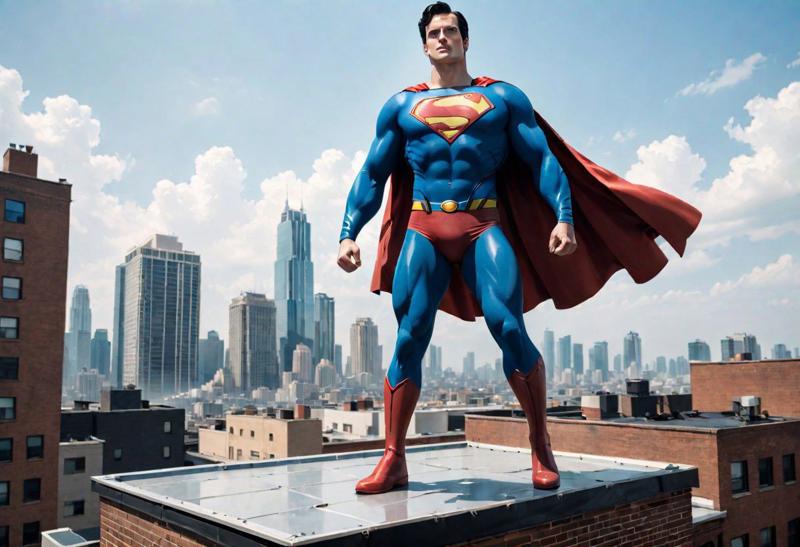
Orthogonal Side View
Hyperrealistic orthogonal-side-view photo: superman-standing-on-rooftop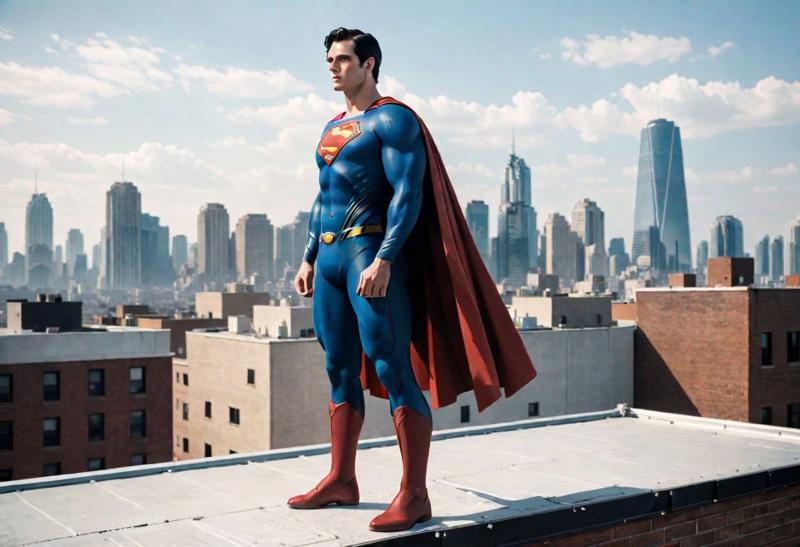
How to specify camera distance?
So far we did not explicitly specify the camera distance from the character. Let us explore some options. I won't go into every combination here, but possible apply the distance prompts to many of the position prompts above.
close-up
long-shot
medium-shot
mugshot
fisheye
Some Samples
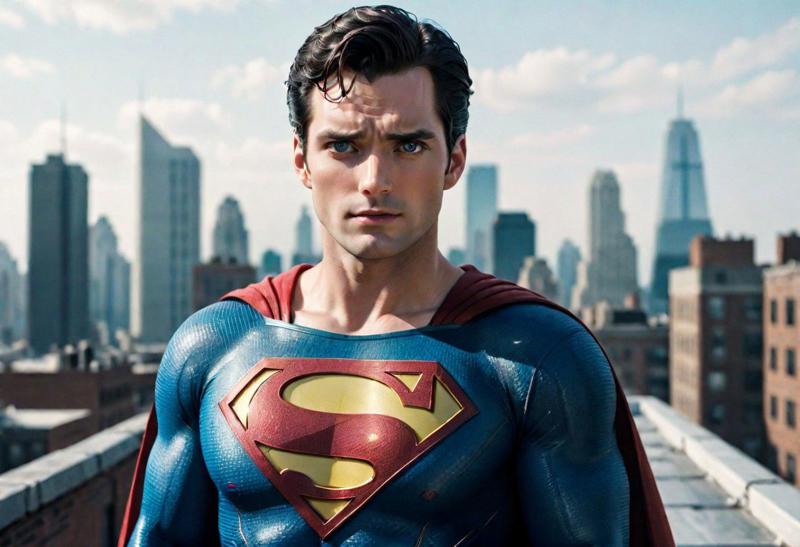
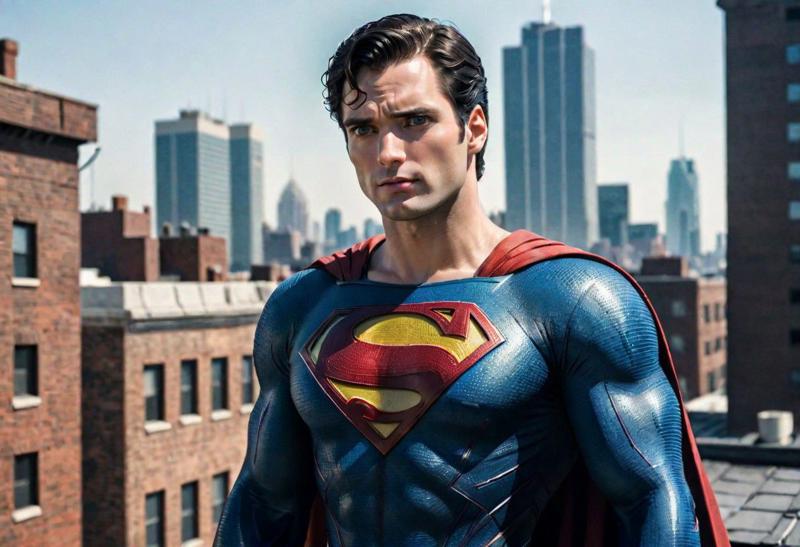
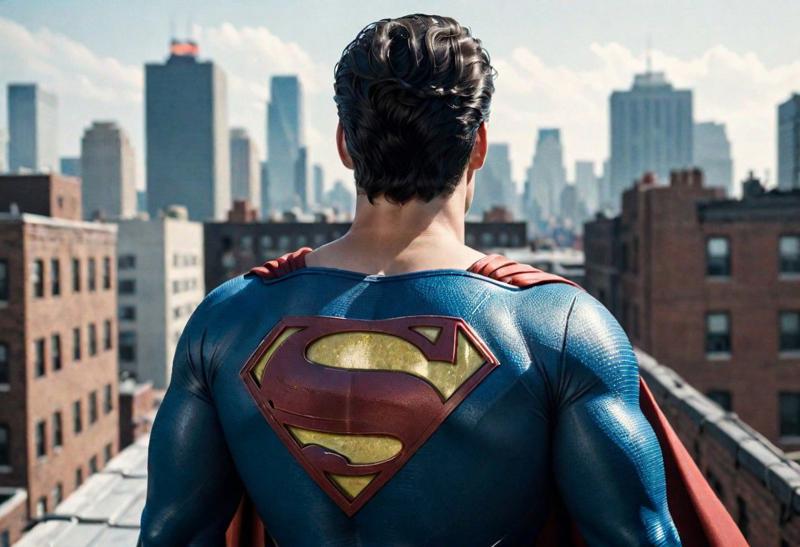
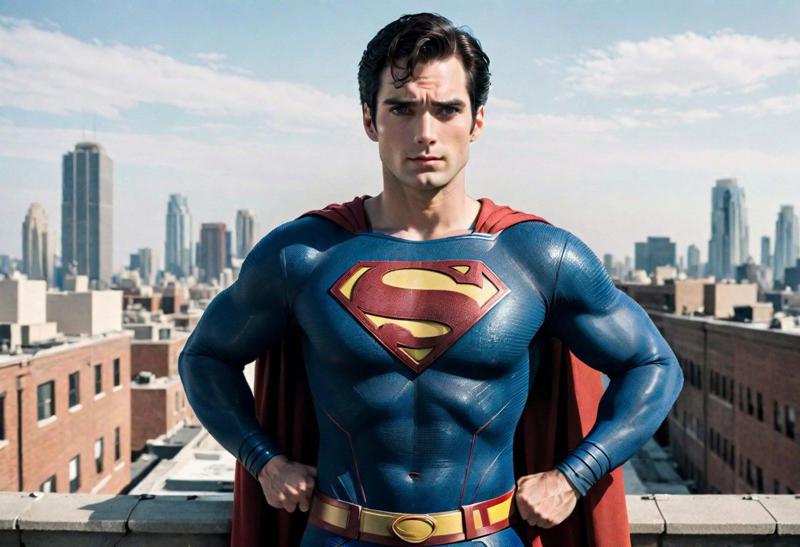
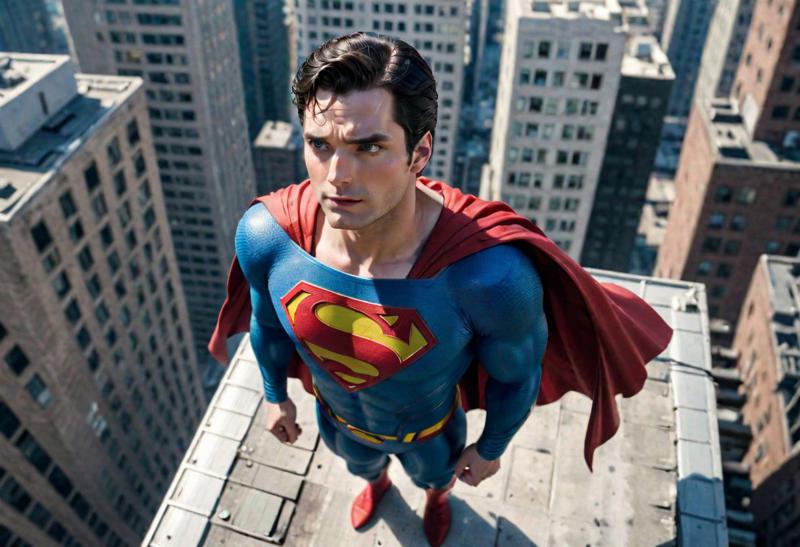
This is not the complete list. There are some more advanced techniques such as changing the point of view along with these camera positions and distances. We will explore that in another article.
Hope this helps. Do you other tips, suggestions or questions? Please drop a comment below.

