Update:
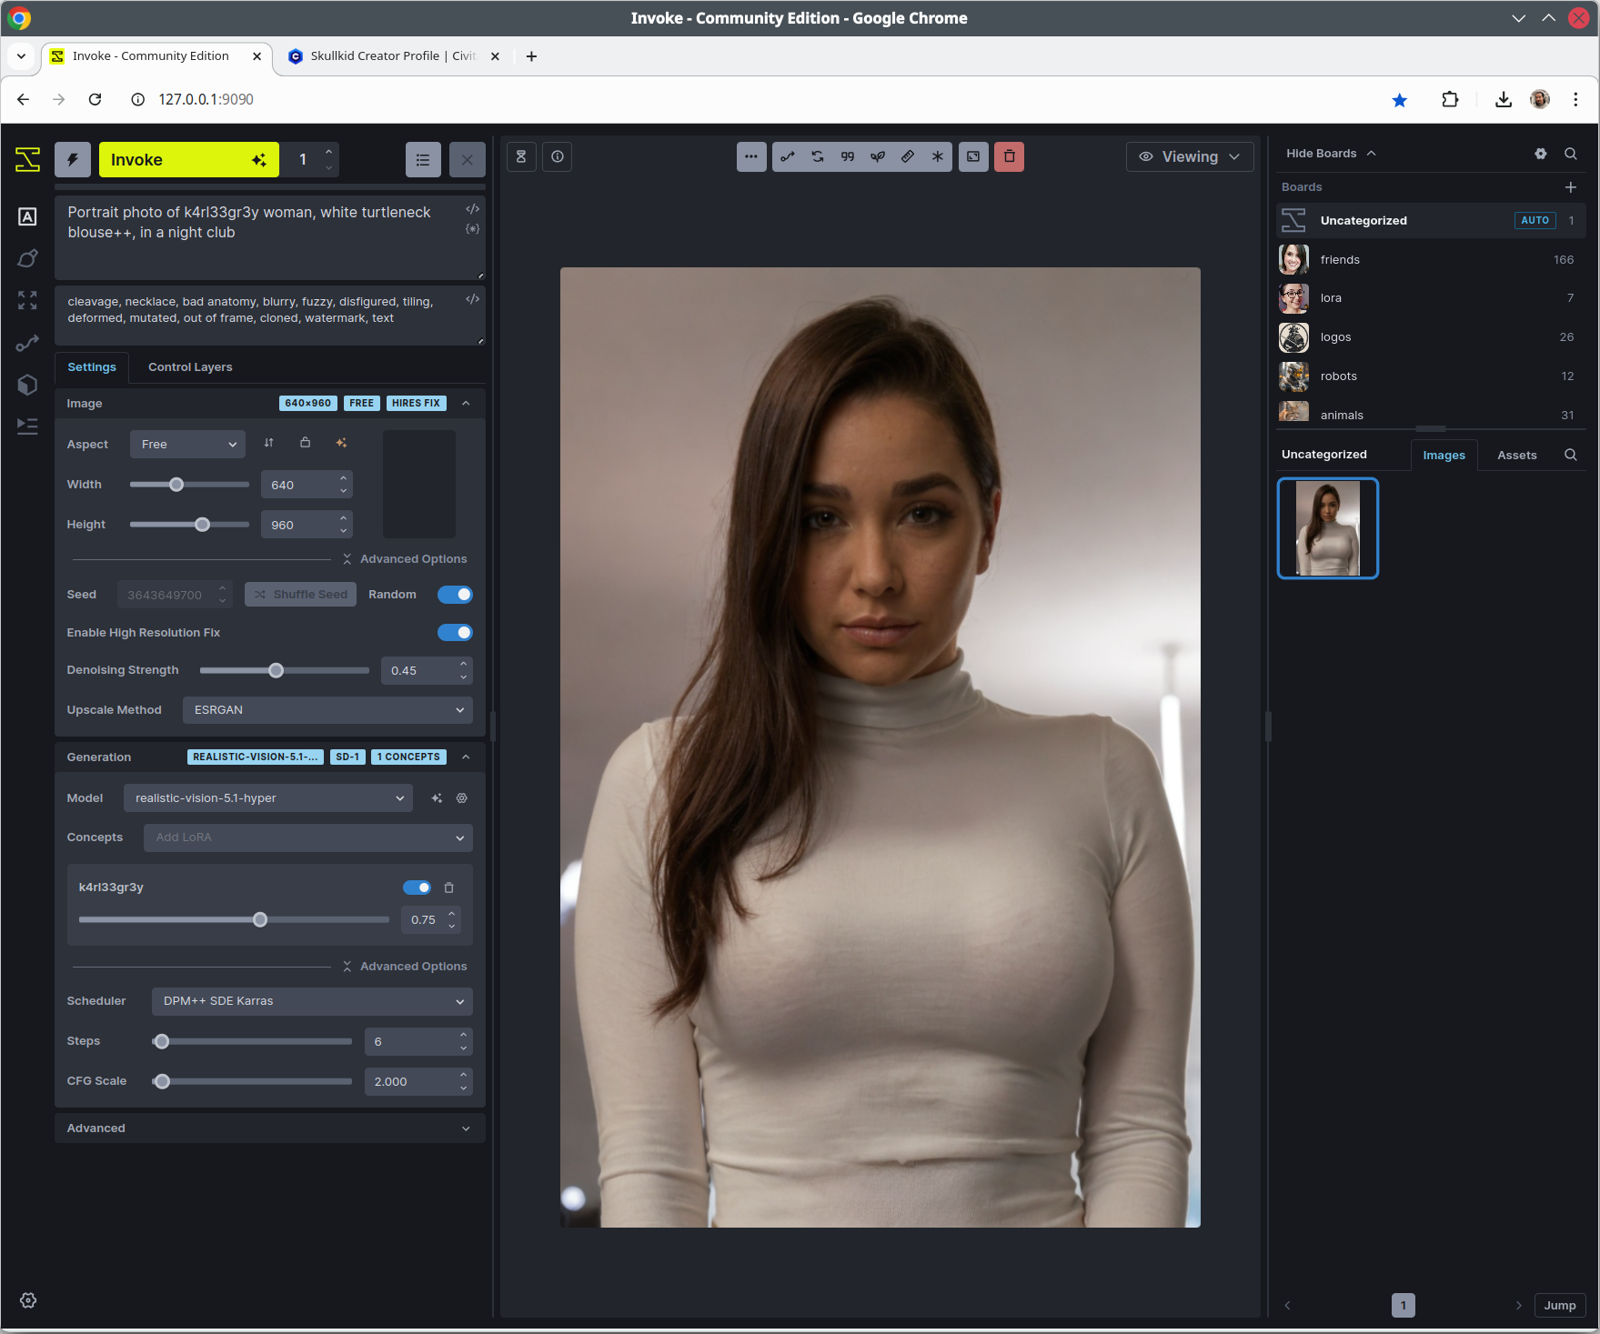
For all my SD 1.5 Realistic LoRAs Just run the Realistic Vision Hyper 5.1. It's just perfect and FAST!!!!!
Generate at 640x960, HighRes Fix with Denoise 0.4, Steps: 6, Scheduler: DPM++ SDE Karras, CFG scale: 2
You can later pass a img2img with a denoise 0.2 using analog madness to give a bit more vivid colors.
UPDATE New!! >> SD1 workflow, just drag these images to ComfyUI:
Intro:
This is an article on how to use some of my Loras, as the first result may no be what you expect or see in the showcase images:
Showcase image:
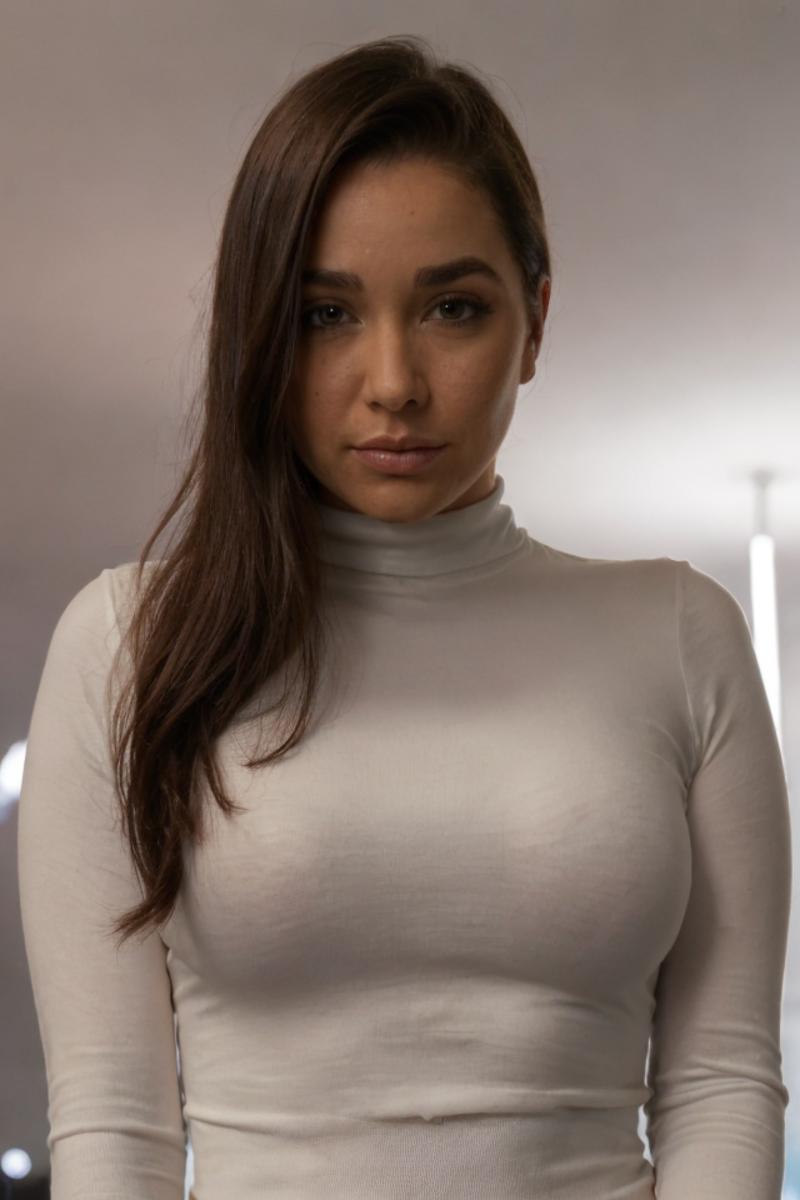
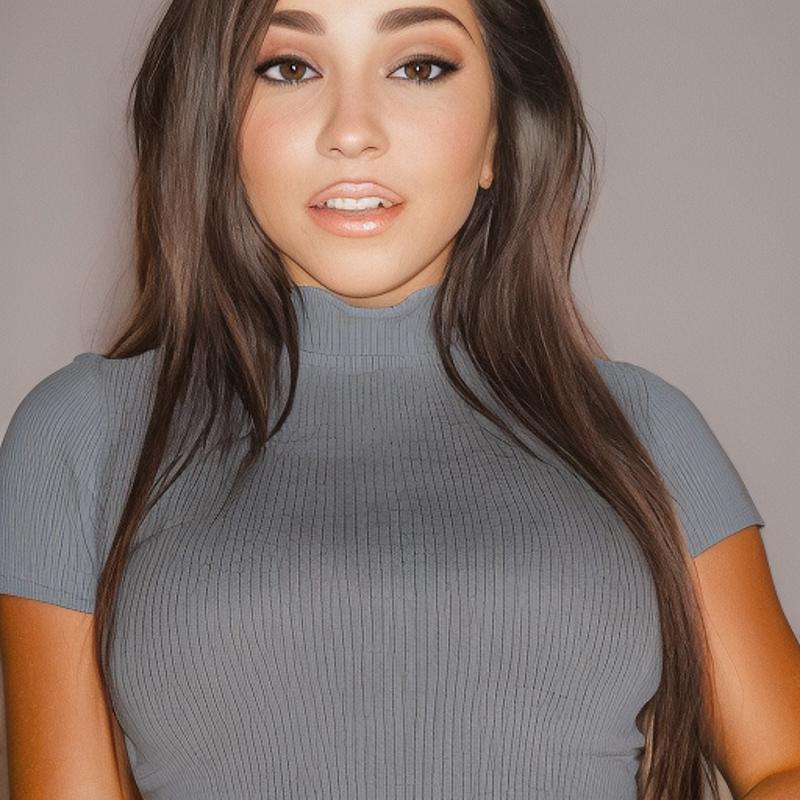
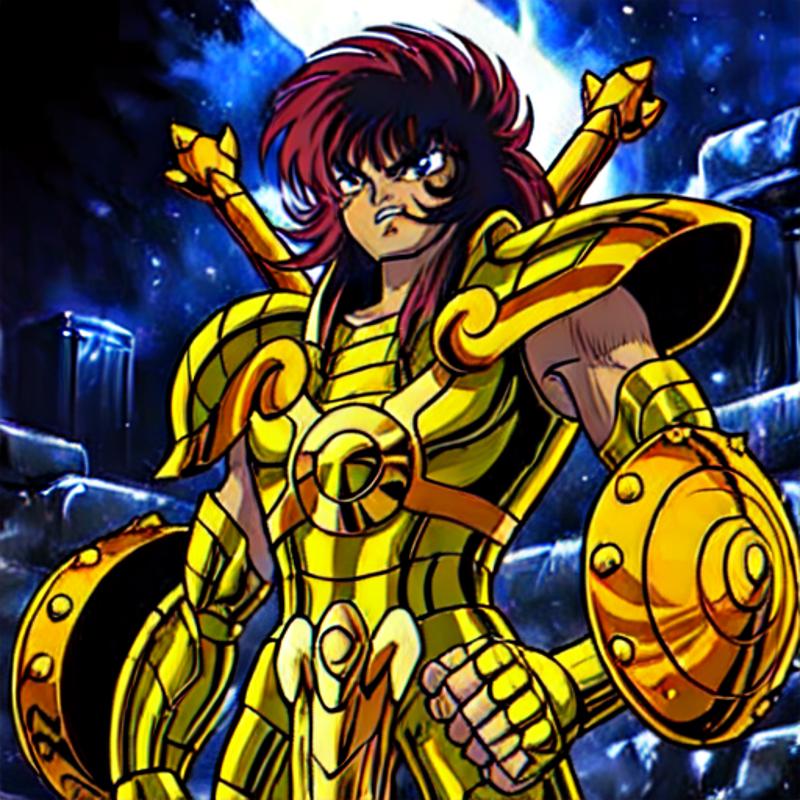
Versus what you get:
Or this Showcase image:
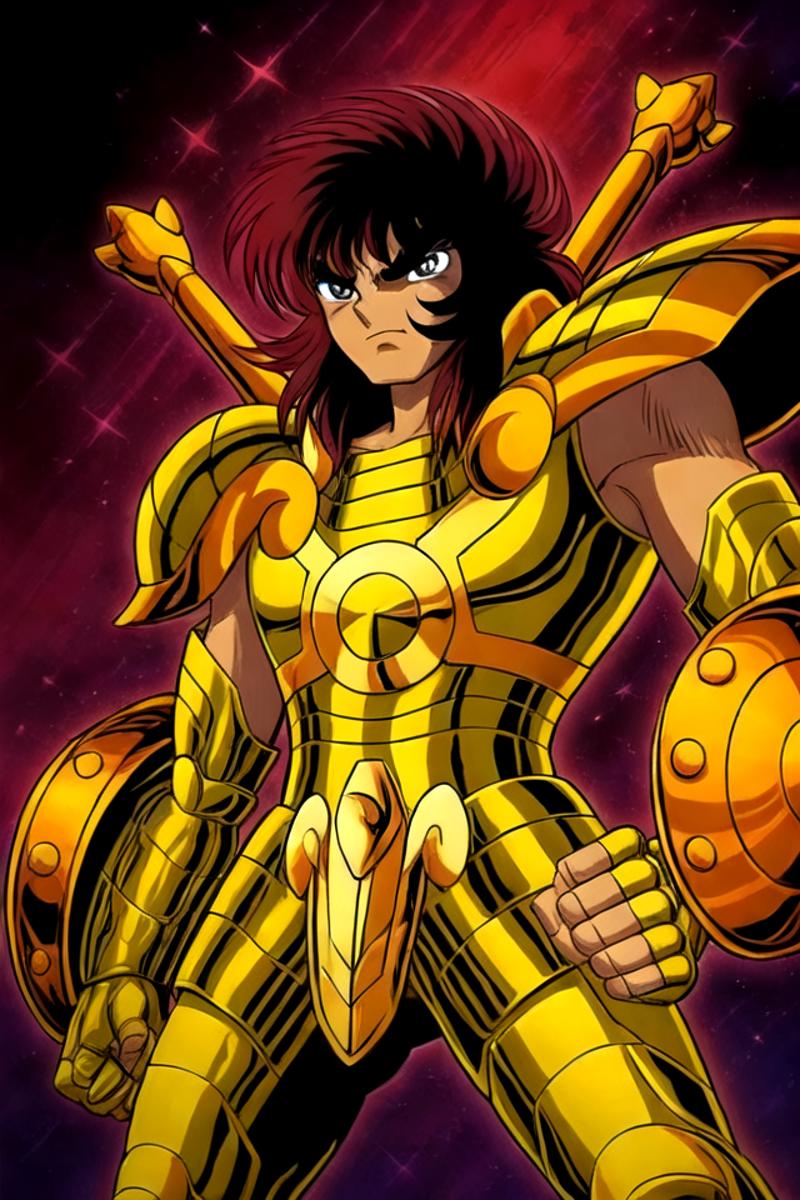
Versus what you get:
Considerations
The first thing you should have in mind is resolution and aspect ratio. Most of my trainings are doing using 3x4 or 2:3 images (portraits) and I hardly add full body shots, except some cases where there are some good images available.
The girl above, the propt was:
Full body shot of of l4riss4man0ela woman, in a TV show, slight smileObvious, that if you want a full body or similar, then use an aspect ratio of 2:3 or 9:16 instead of square. By doing this and increasing widith resolution from 512x to 720x and enabling high res fix with denoising of 0.4, I got the good result above.
Trick
Aditionally I did a img2img using the same prompt, a different seed and a denoise of 0.1, then it improved the result a bit. Don't repeat this too much to not blur the image.
img2img with denoise 0.1 IS GOLD in some cases! Use a different seed
In SD 1.5 I generate in Realistic Vision 5 and do img2img using PicX Real 1.0, denoise 0.1
For Anime, Azure Anime for both generation and img2img.
In SDXL, Dreamshaper for both generation and img2img.
Configs
Some basic configs to start (full size images here: https://civitai.com/posts/1300525):
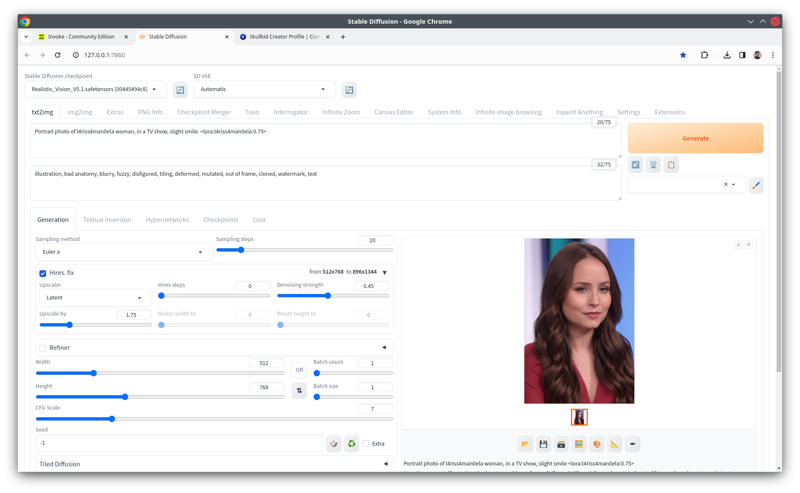
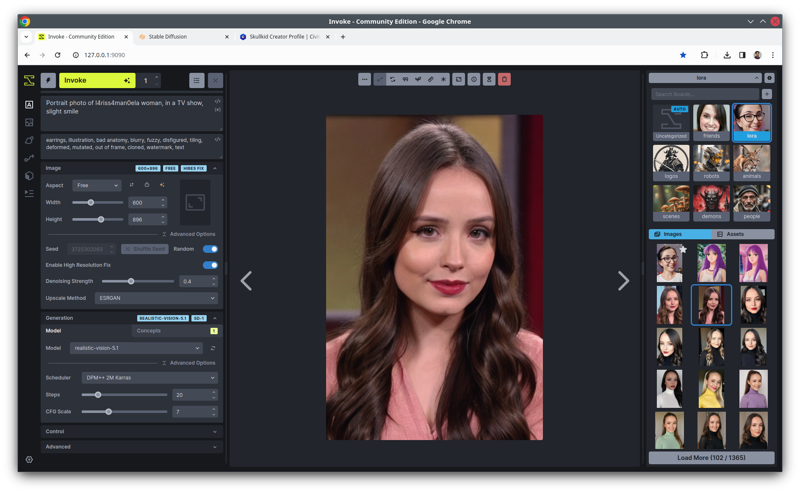
For SD 1.5:
Model: Realistic Vision 5.1
Scheduler: DPM++ SDE Karras | DPM ++ 2M Karras
FInal Width: 640
Final Height: 960
Steps: 20
CFG: 7
High Res Fix enabled with denoise of 0.45
Lora strenght: 0.7
*Sometimes I do an additional img2img with the result image on PicX Real with a denoise of 0.1. Same prompt, different seed
UPDATE New!! >> SD1 workflow, just drag these images to ComfyUI:
For SDXL:
Model: Dreamshaper XL Turbo 2.0
Scheduler: DPM++ SDE Karras
FInal Width: 880
Final Height: 1184
Steps: 7
CFG: 2
Lora strenght: 0.7
*Most of the times I do an additional img2img with the result image on with a denoise of 0.1. Same prompt, different seed
Practical example 1
The same applies to the Libra Gold Saint, increasing resolution, set the right aspect ratio for the desired output and enabling high res fix did the trick.
But even this poor image can be saved. The examples will be in InvokeAI but can be done in any Stable Diffusion UI.
First thing is starting by generating a 2:3 image instead of a squared one. From 512x512 to 512x768:
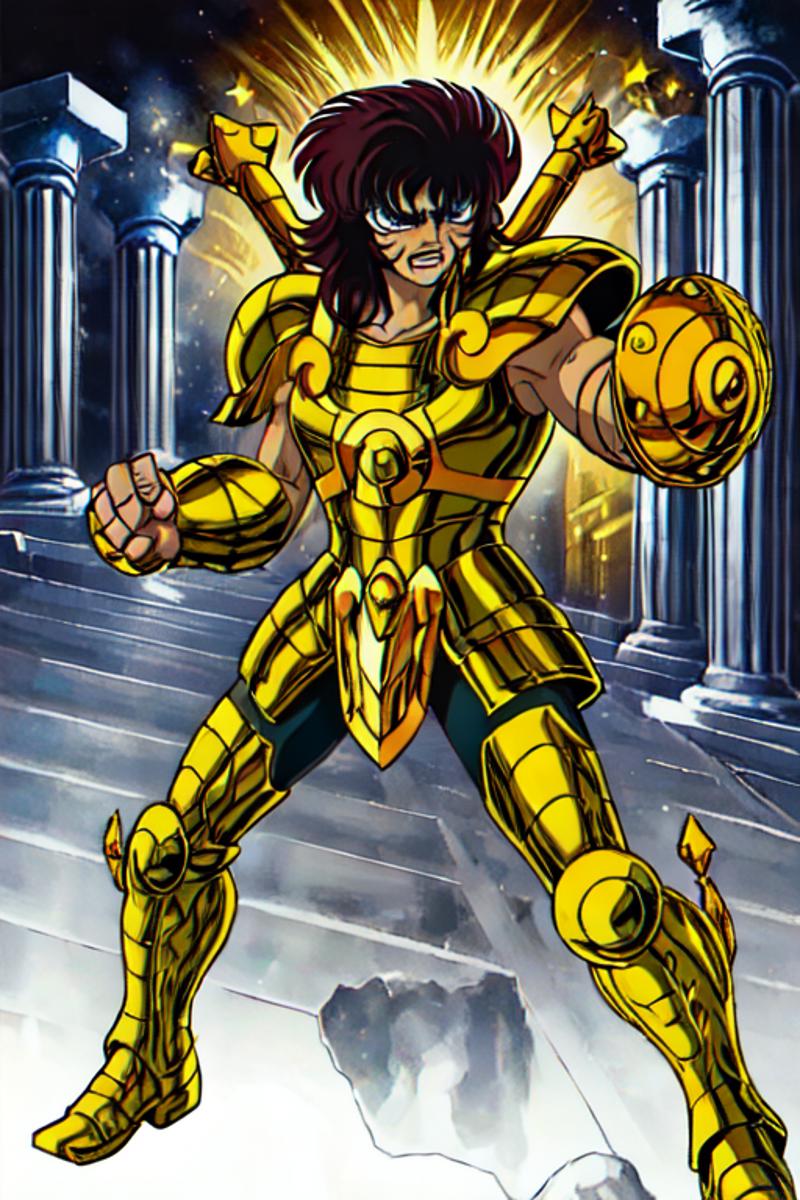
If we go to 768x1152 using High res fix with a denoise of 0.4 generating a new one:
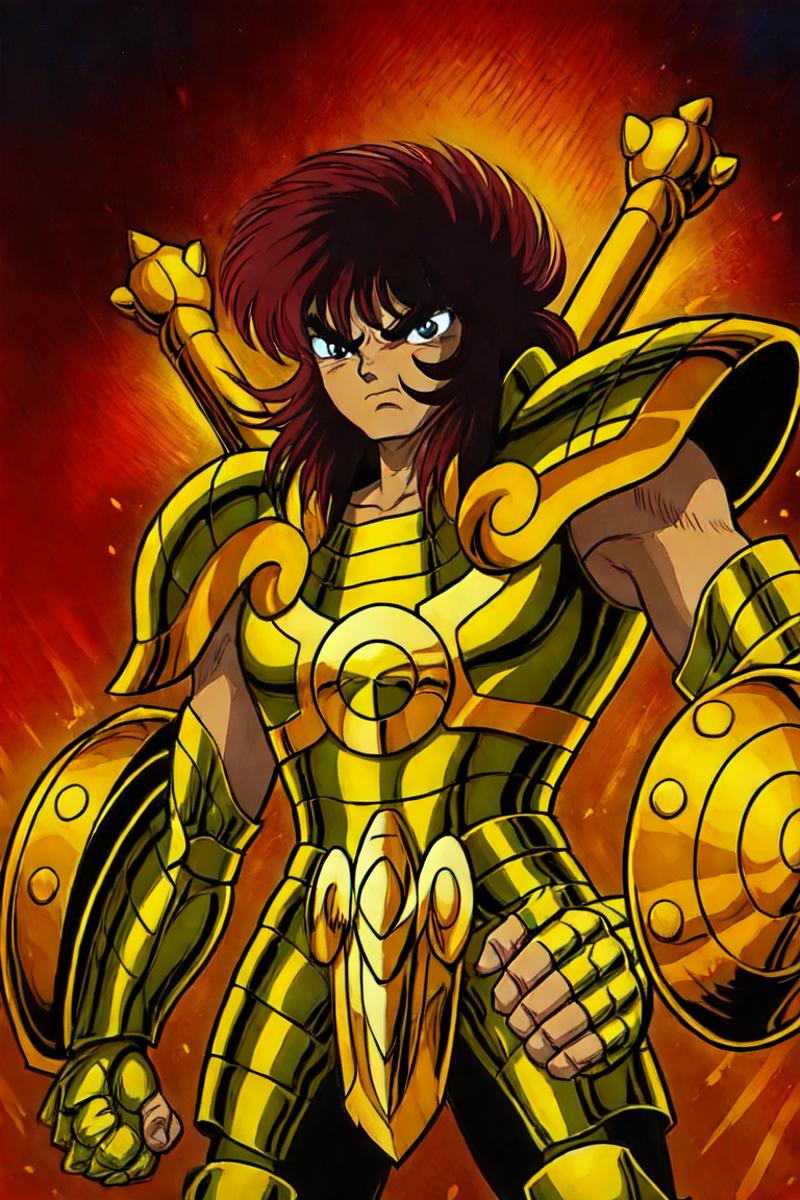
The work is done! Dont need too much work or secrets.
Practical example 2
But in case you want to improve the bad images, YOU CAN OPTIONALY DO THE FOLLOWING STEPS BELOW:
** I Know it can be completely done by a ComfyUI workflow (InvokeAI has workflow too), but if you are in ComfyUI, you are already advanced for this guide. Here I do the hard way to demonstrate how that works.
I also know Adetailer, I recommend this of course.
Ii also know Ultimate SD upscaler, Tilled upscaler, etc, etc, etc....
We can start doing a simple basic ESRGAN upscale of 2x and then use it in the img2img in the same prompt, but different seed, with a denoising of 0.4:
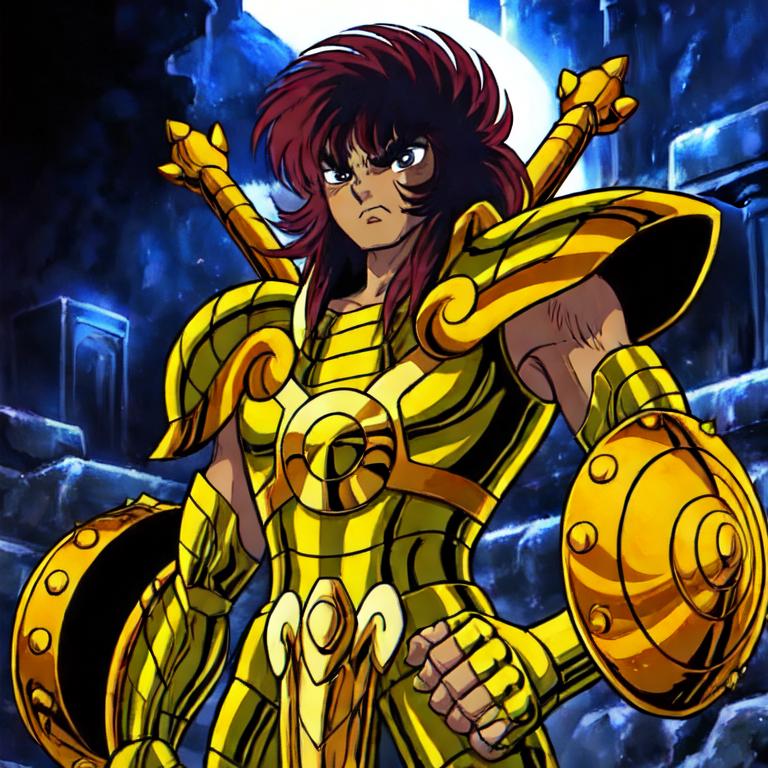
Yes, this is the same image as the beginning of the guide!! And the other bad one:
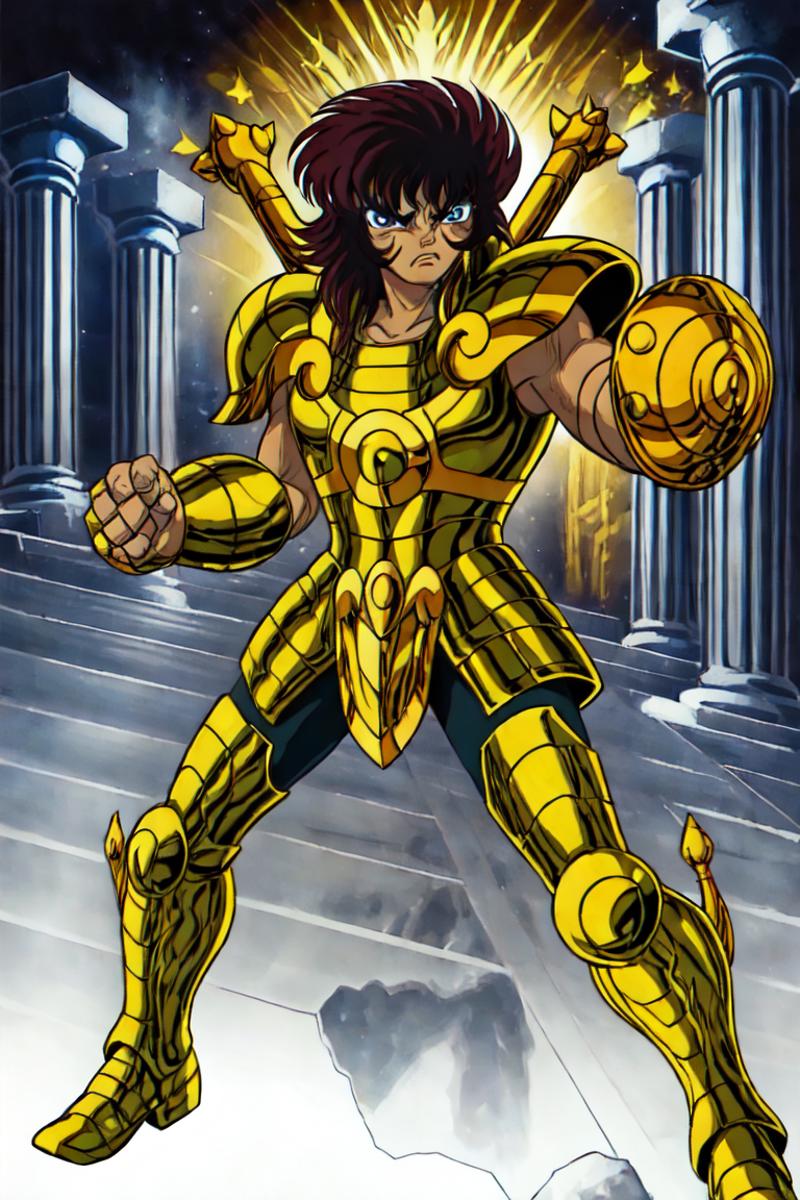
Now we can improve the quality of individual parts by doing inpainting.
I did another 2x upscale and started to inpaint the face:
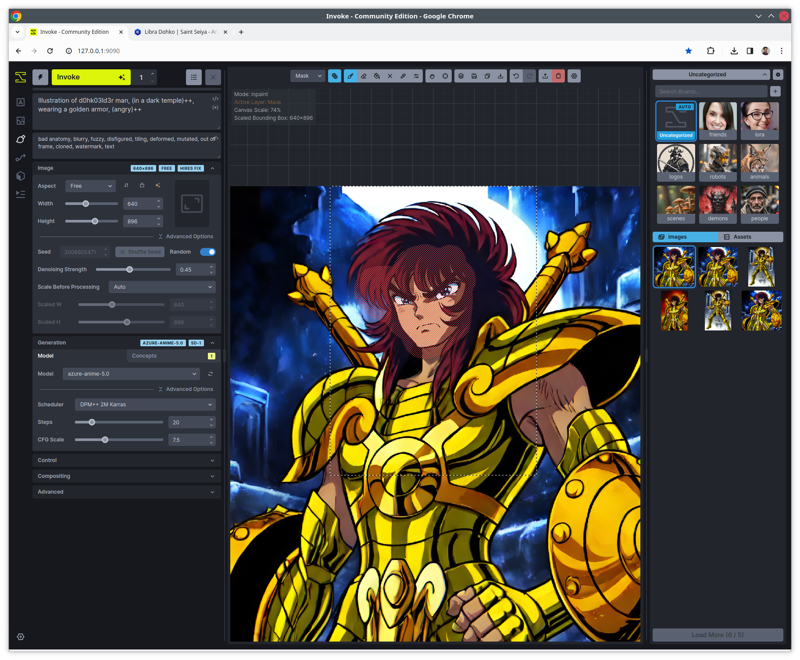
** Read more details about that at the end of the page
You can do it infinitely for every part of the image. I did only the face as example. The final face is not the same, but it can be achieved with more dedication. Look at the original image quality!!
Then, the result I sent to img2img with a denoise of 0.1 and its done!!
From this:

To This!!
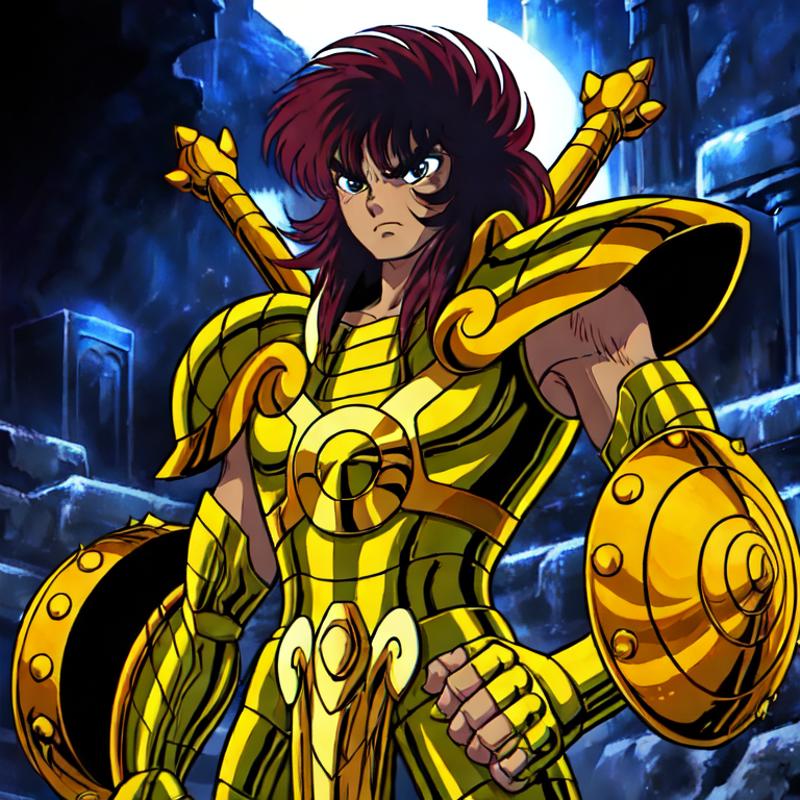
And from this:

to this:
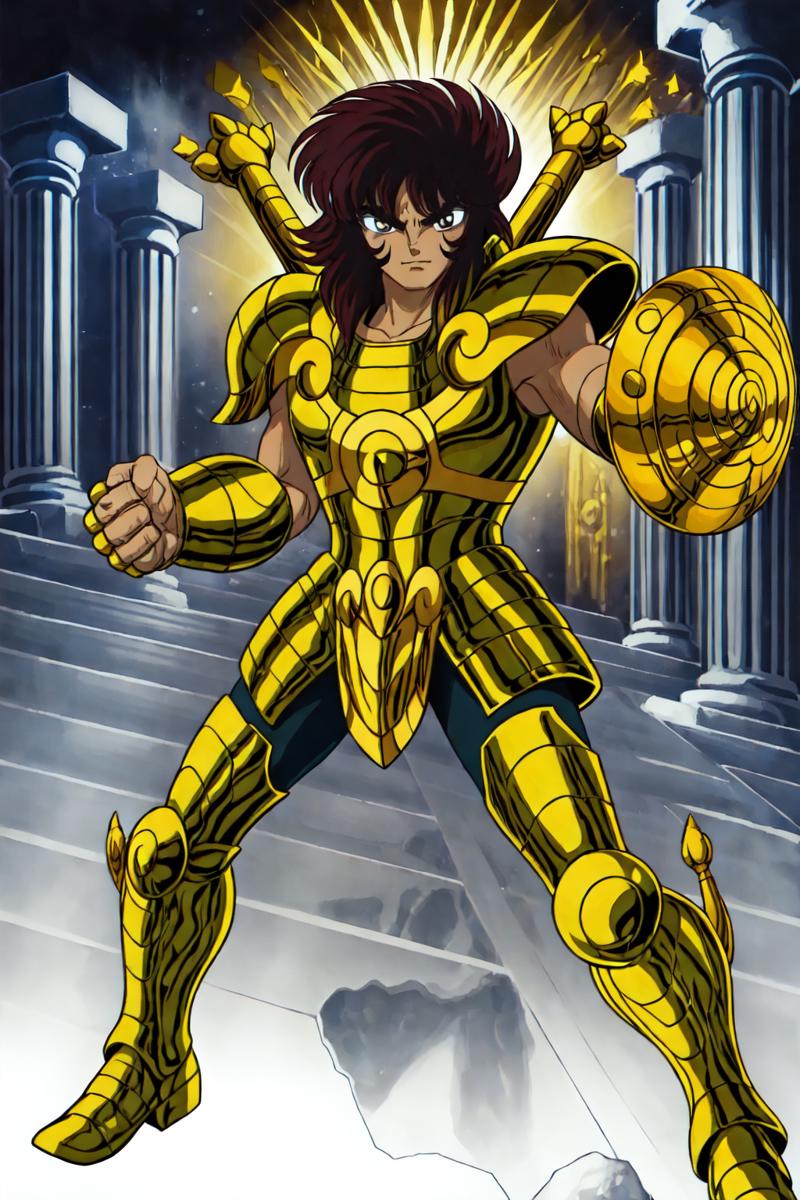
OK! I know the face is different but you got the idea.
This is the end of the article!
Appendix:
About the face restoration, why I prefer InvokeAI instead of automatic1111 for this method:
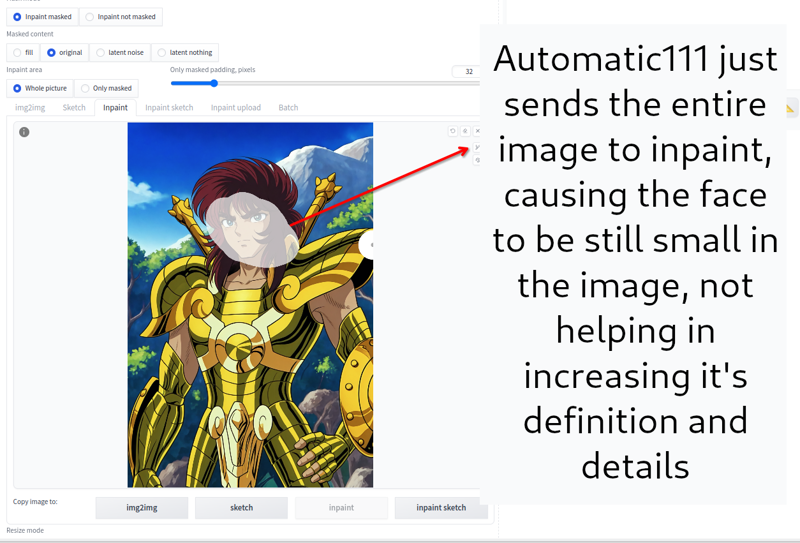
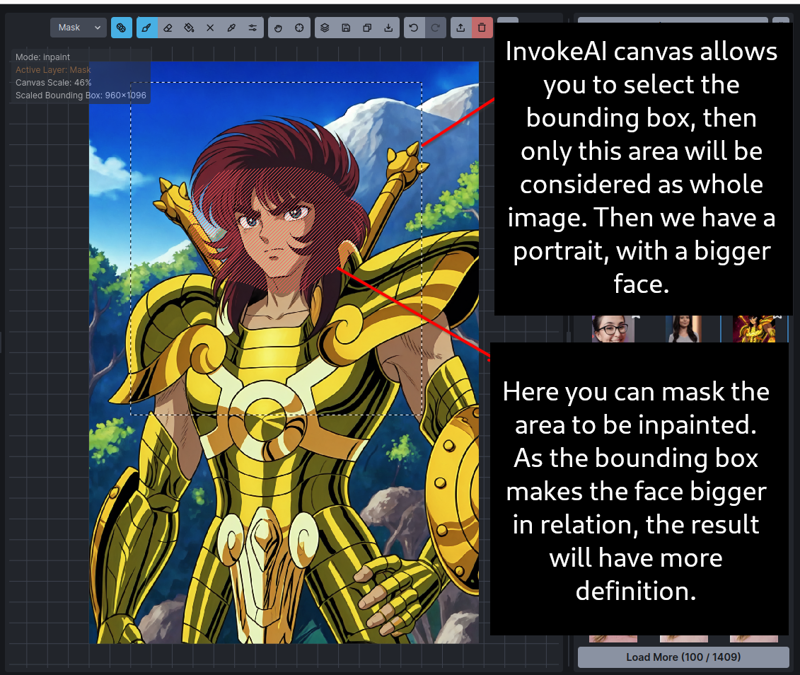
As in Invoke you can select the bounding box, the example above will inpaint only the masked area, but the "entire image" send to SD to work will be a "portrait" with the face bigger in relation to the image, helping SD to increase details there.
Automatic1111 just sends the entire full body image, and then the face keeps small in the image, not helping much the img2img to fix the face properly.
NOTE: thiagojramos mentioned in the comments the way to do that in Automatic1111. Please check the comments!!
This one I increased the shield before the last img2img pass, to get the final result above.
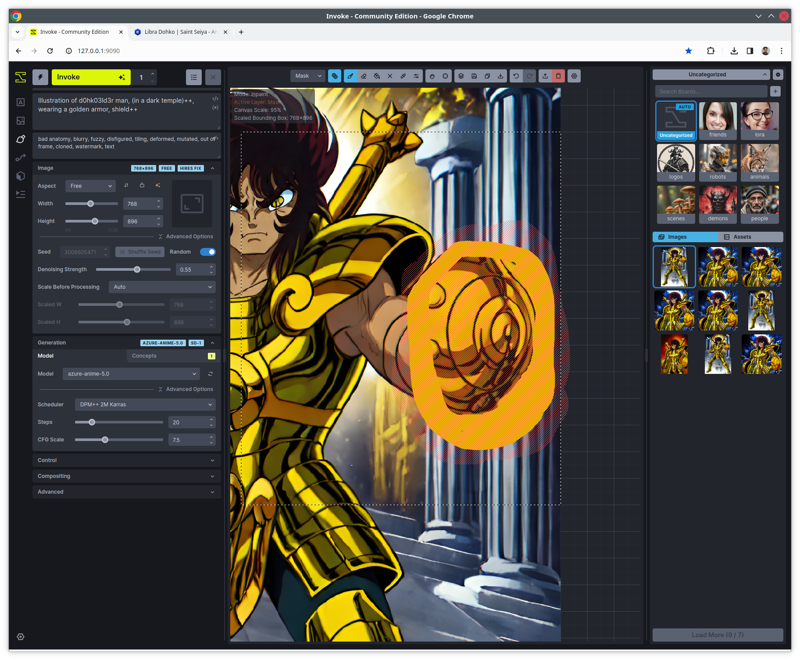
As the bounding box makes the shield bigger in relation to it, then SD has a bigger area to inpaint, increasing the details.
It also allows me to paint the image, then I could increase the shield.
InvokeAI canvas example - It's from an older release, but works today the same:

