Introduction
In this article, I am going to show you how to convert your photos into beautiful animation-style art using SDXL Turbo and an image-to-image pipeline.
I will walk you through a simple process where you can take any image you like – a photo of your pet, a beautiful sunset, or even a selfie – and transform it into an artistic image. And the best part? You don’t need to be a tech wizard or an artist to do it.
Prerequisite
This is a Python tutorial where I am using the Diffusers package to access Stable Diffusion and LoRA models. So, you need to have a basic knowledge of Python and how to use Jupyter/Colab notebooks.
I will use a Colab notebook to run the Python code. Make sure the GPU is enabled.
Install Python packages
!pip install diffusers
!pip install accelerate
!pip install peft
Apart from these libraries, PyTorch will also be used in this notebook, but that comes pre-installed in Colab.
Download LoRA
I will use the DreamyVibes Artsyle - SDXL LoRA model in this task. You can use any other SDXL-compatible LoRA model as well.
To download the model right from the notebook, run the following command.
!wget https://civitai.com/api/download/models/287607 --content-dispositionImport Stable Diffusion model
import torch
from diffusers import StableDiffusionXLImg2ImgPipeline
from diffusers.utils import load_image, make_image_grid
I’ll use SDXL Turbo which generates decent-quality images and uses fewer inference steps as compared to the SDXL 1.0 model.
# import and download SDXL Turbo model
pipe = StableDiffusionXLImg2ImgPipeline.from_pretrained("stabilityai/sdxl-turbo",
                                                        torch_dtype=torch.float16)

# transfer pipeline to GPU
pipe = pipe.to("cuda")
Attach LoRA model to Image-to-Image pipeline
The Diffusers library makes it quite easy to add a LoRA model to the diffusion pipeline.
# full path to the downloaded LoRA model
lora_model_path = "Dreamyvibes artstyle SDXL - Trigger with dreamyvibes artstyle.safetensors"

# load LoRA model into the pipeline
pipe.load_lora_weights(pretrained_model_name_or_path_or_dict=lora_model_path,
                       adapter_name="dreamyvibes")
If needed, even multiple LoRA models can be merged in the same pipeline to allow multiple image styles. For the time being, I will use only one LoRA model.
Convert images to art
Let me load the first input image.
# load iamge
input_image1 = load_image("home.jpg")

# display image
input_image1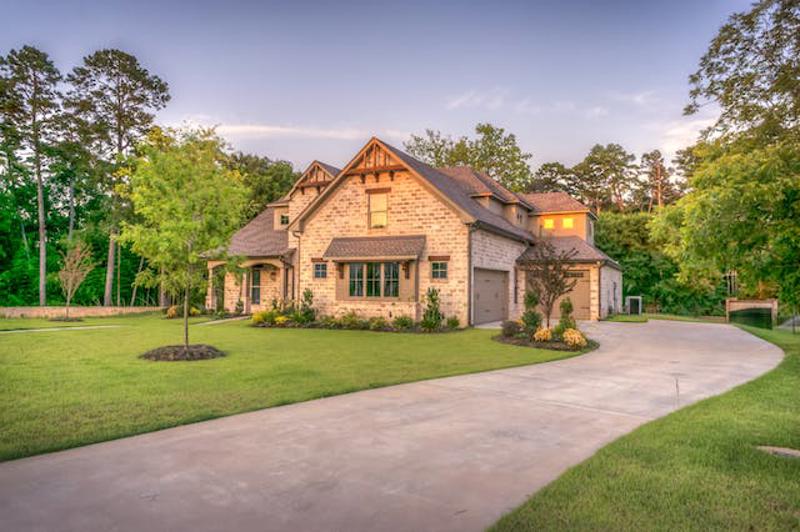
You need to first upload this image to your running Colab notebook session from your local machine.
Now I will use LoRA-powered SDXL Turbo in an image-to-image pipeline.
prompt = "Dreamyvibes Artstyle"

# generate image
image1 = pipe(
    prompt,
    width = 512,
    height = 512,
    num_inference_steps=20,
    image=input_image1,
    guidance_scale=1.5,
    cross_attention_kwargs={"scale": 1.0}
).images[0]
As you can see, I am using “Dreamyvibes Artstyle” as my prompt. It is required because you have to include the trigger word/tag of the LoRA model that you are using otherwise the LoRA model will not contribute to image generation.
Inside pipe, I am using multiple parameters in addition to the prompt and the input image (input_img) parameters. The descriptions of other parameters are as follows:
widthandheight– These parameters are used to specify the dimensions of the generated images. Try to keep the ratio of height and width identical to that of the input image. Also, do not use larger values for these parameters as it may exhaust the available GPU memory resulting in an “Out of Memory” error.num_inference_steps– In general, the greater number of inference steps or denoising steps better the image quality of the output. However, with models like SDXL Turbo, a good quality image can be generated in 5 to 15 steps compared to 30 to 50 steps in the case of the SDXL 1.0 model.guidance_scale– The guidance scale parameter specifies how strictly the model sticks to the text prompt.cross_attention_kwargs– This parameter indicates the percentage of LoRA model contribution to be used for image generation. Its value ranges from 0 to 1.0.
Now let me display and compare the generated image with the input image.
make_image_grid([input_image1, image1], rows = 1, cols = 2)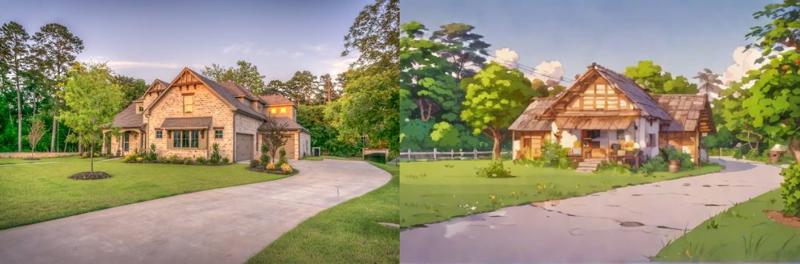
Feel free to play around with the values of the parameters mentioned above, like num_inference_steps and guidance_scale, to make desired changes in the output image.
Let’s try to convert another image into an artistic style.
input_image2 = load_image("mountains.jpg")

input_image2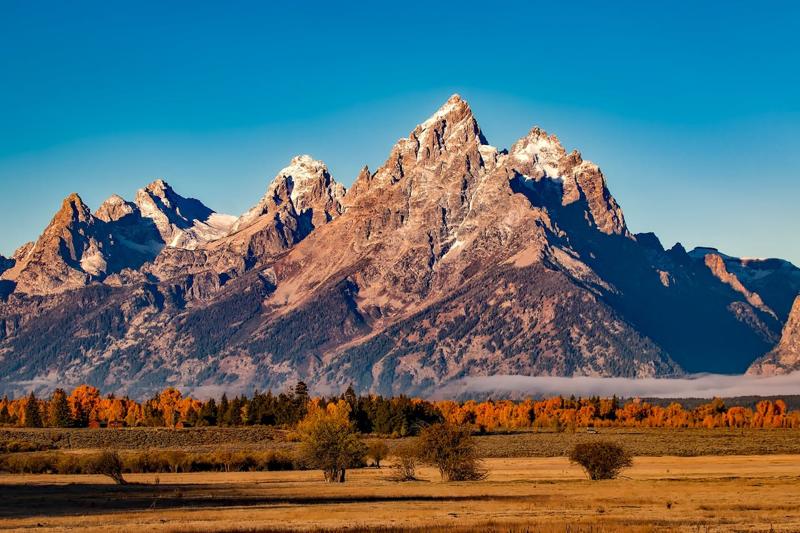
For this image, I will increase the width from 512 to 768.
prompt = "Dreamyvibes Artstyle"

# generate image
image2 = pipe(
    prompt,
    width = 768,
    height = 512,
    num_inference_steps=24,
    image=input_image2,
    guidance_scale=4.5,
    cross_attention_kwargs={"scale": 1.0}
).images[0]

make_image_grid([input_image2, image2], rows = 1, cols = 2)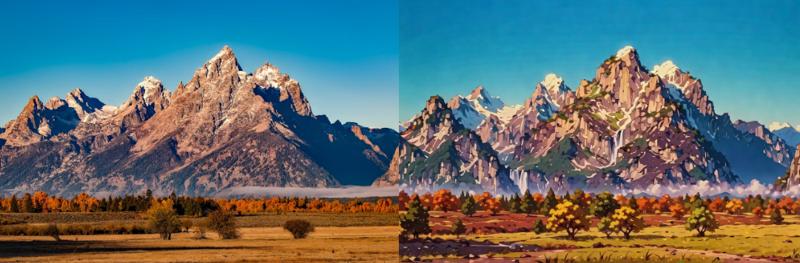
Not bad I guess. If you wish you can always add more information in the prompt if you want to further modify or add new elements to the generated image.
Feel free to check out my other article - converting any image into pixel art, using the same technique.