Objective
Testing the Krita AI-Diffusion component to edit images in Krita.
Preface
I never use this component before, I decide to write the article while I was doing my first installation.
Software
Krita (Free software for image editing, similar to photoshop but freehttps://krita.org/en/)
krita-ai-diffusion (Generative AI for Krita https://github.com/Acly/krita-ai-diffusion)
Installation
Krita
You can download Krita from https://krita.org/en/download/krita-desktop/
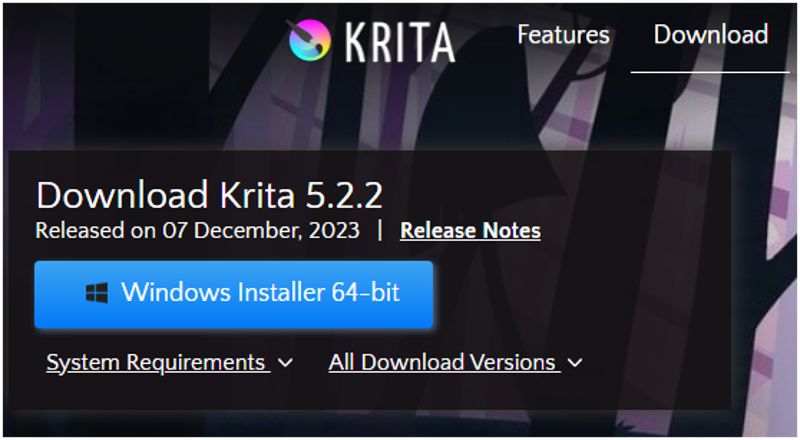
For the installation check the manuals:
https://docs.krita.org/en/user_manual/getting_started/installation.html
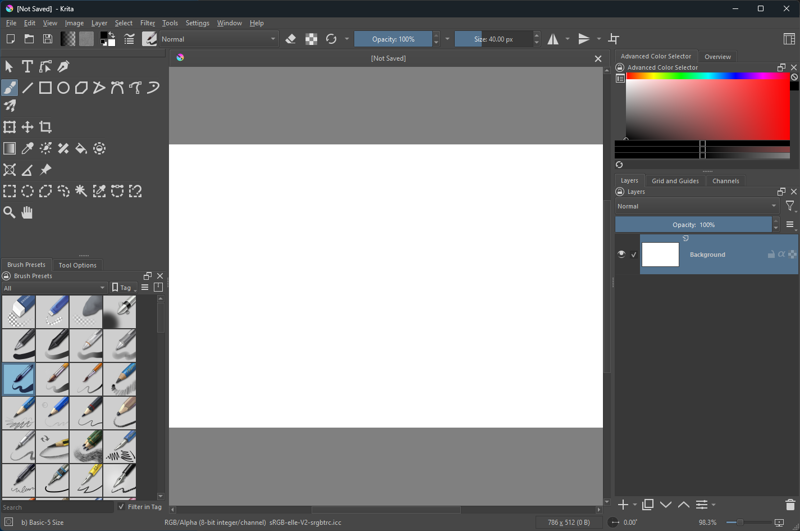
I use a Krita for drawing (to avoid buying commercial software because it is expensive) and also because reads .PSD files and export in several formats.
When I develop games you can put .PSD files in unity folder and change them with Krita.
Krita has layers and are very good with several options.
Also the brushes are very cool, you have so many and you can personalize them.
If you have a Pen Tablet or Pen Display Krita works very well with pen pressure.
Plug-in krita-ai-diffusion
On the page https://github.com/Acly/krita-ai-diffusion you can reAd the installation ( I added here with some pictures)
Installation
If you haven't yet, go and install Krita! Required version: 5.2.0 or newer
Download the plugin. Unpack the archive into your
pykritafolder.Windows: Usually
C:\Users\<user>\AppData\Roaming\krita\pykrita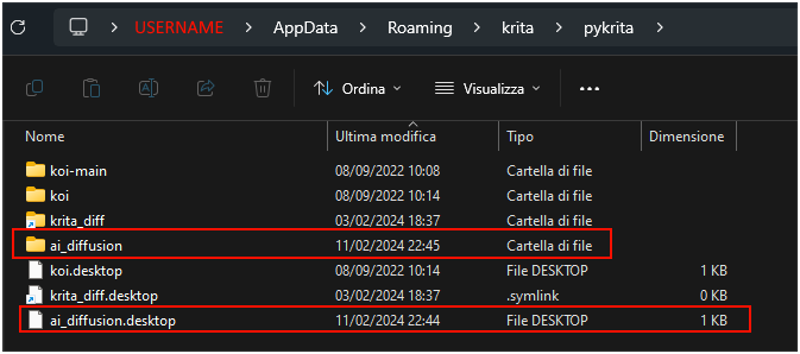
Linux: Usually
~/.local/share/krita/pykritaMacOS: Usually
~/Library/Application Support/krita/pykritaCheck Krita's official documentation if you have trouble locating it.
Enable the plugin in Krita (Settings ‣ Configure Krita ‣ Python Plugins Manager) and restart.
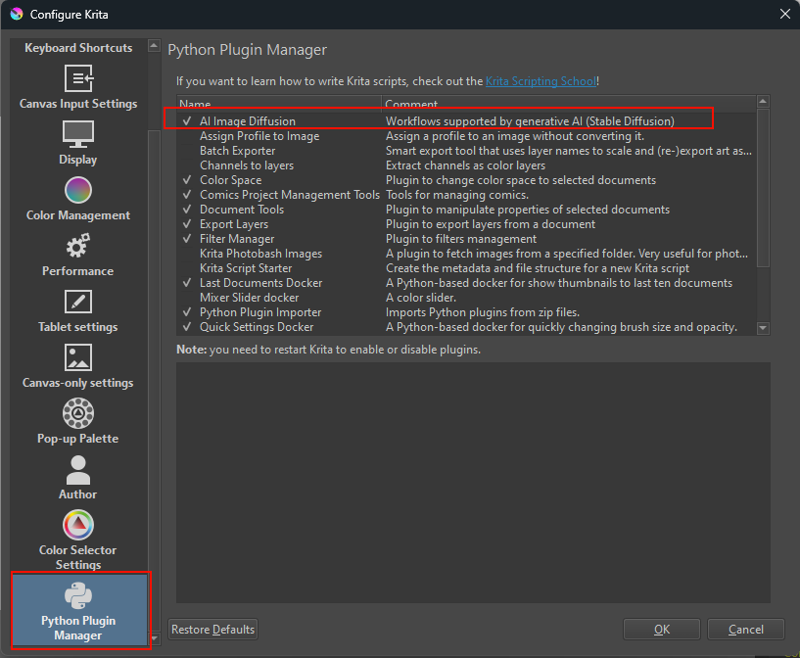
Create a new document or open an existing image.
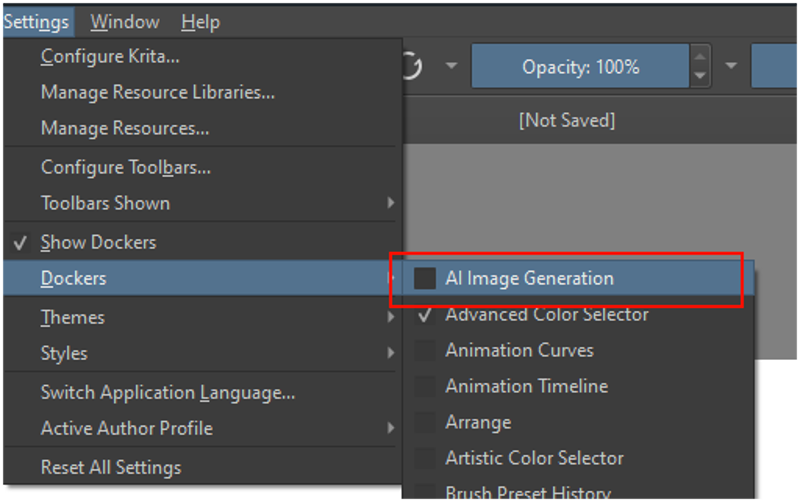
To show the plugin docker: Settings ‣ Dockers ‣ AI Image Generation.
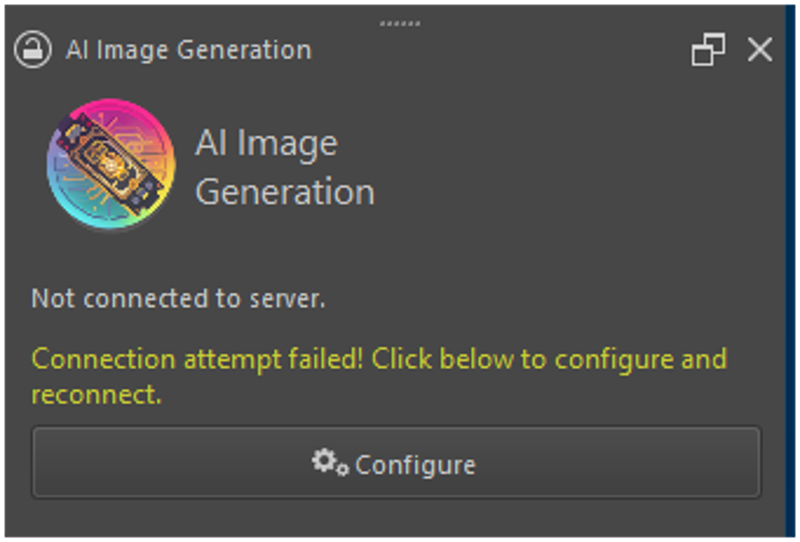
In the plugin docker, click "Configure" to start server installation. Requires 10+ GB free disk space.
You can decide if to use a local version of ConfyUI or install a new version for this software
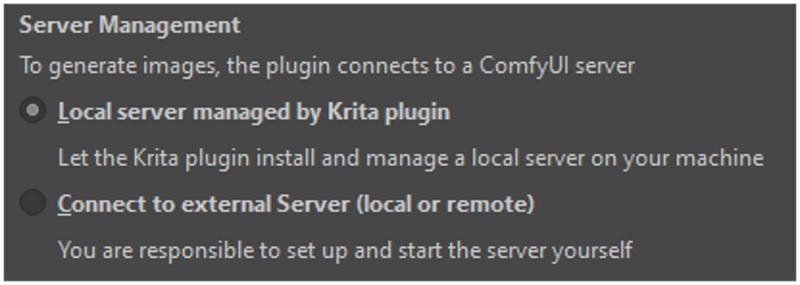
I decide to install the new version.
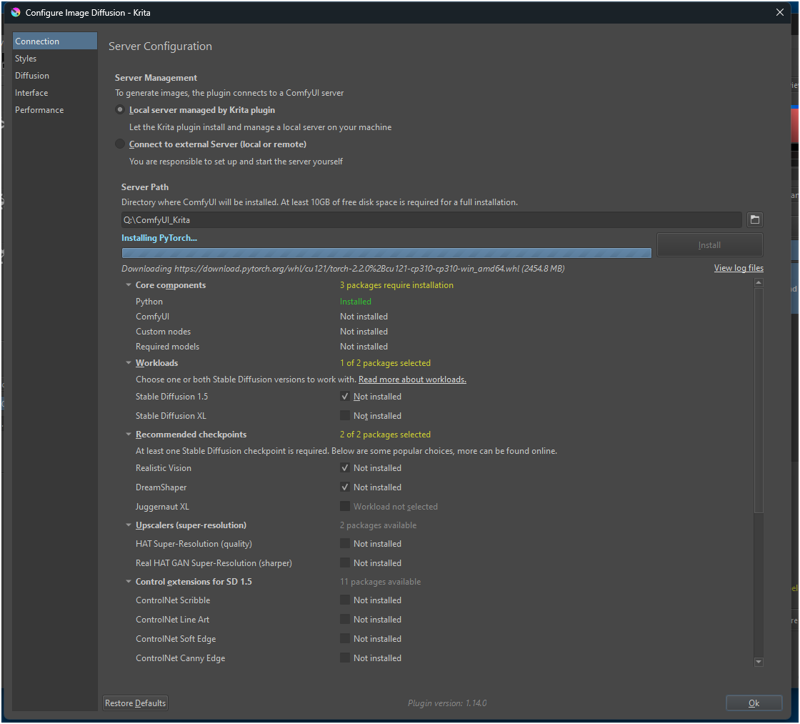
The default settings install SD 1.5 and as a checkpoint Realistic Vision and DreamShaper.
Because it is a ComfyUI installation I think later I can add some of the checkpoint that I like.
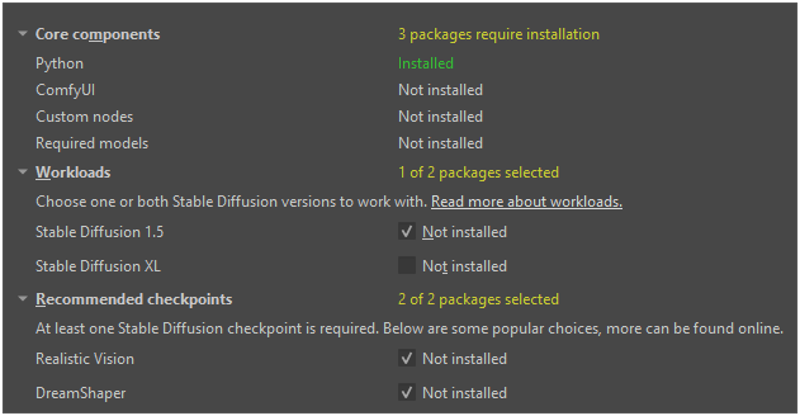
I decided to install in a new path , it can take a while to download 10GB

View logs
If you press "View log files" to check what the system is installing..
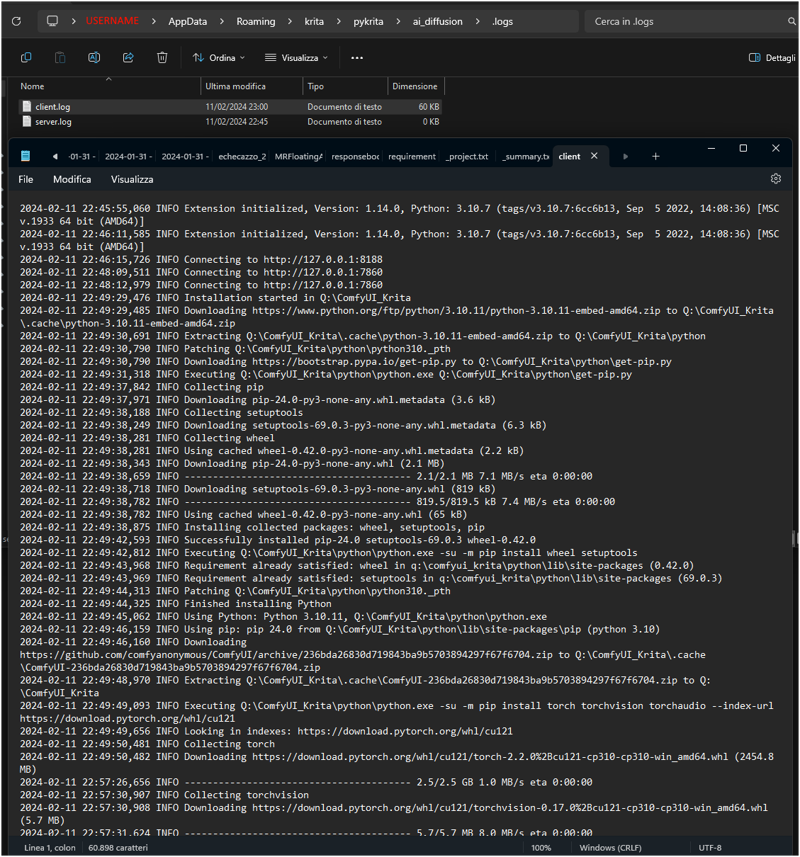
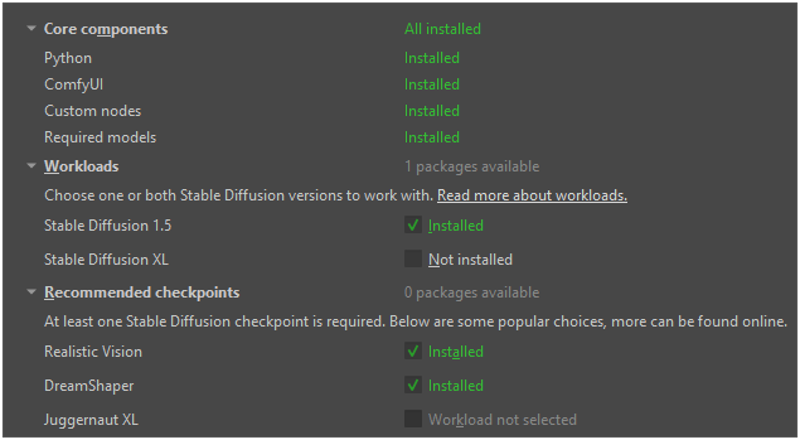
Installation completed
When the download/installation it is completed you will see the server running

and the components all in green.
Using the component
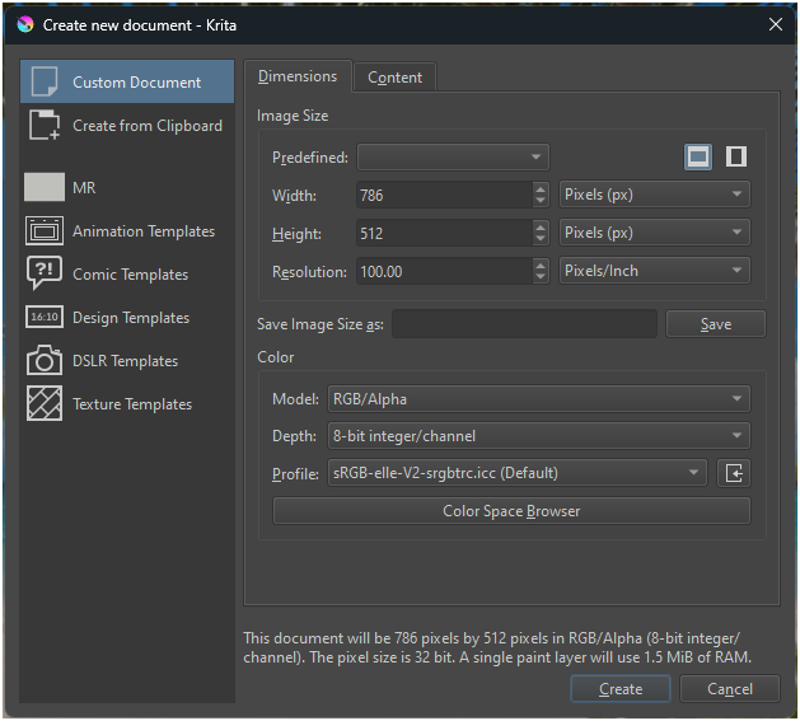
Create an empty document from File >> New
I selected 768x512 but you can select the size you want.. I think that with SD 1.5 this is one of the better size for not having trouble with image generation
Now we can write in the prompt
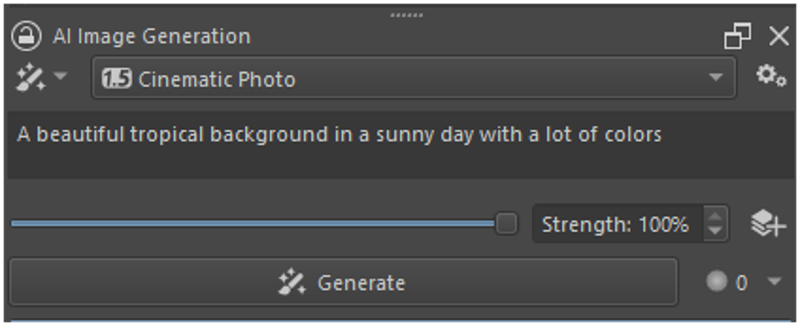
And you can select if to use Cinematic Photo or Digital Artwork.

There are also 3 options : Generate, Upscale and Live.
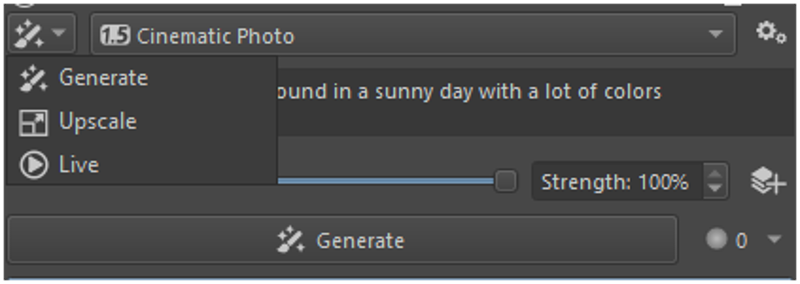
I try with the Generate option and s simple prompt: A beautiful tropical background in a sunny day with a lot of colors
I get 5 different options.
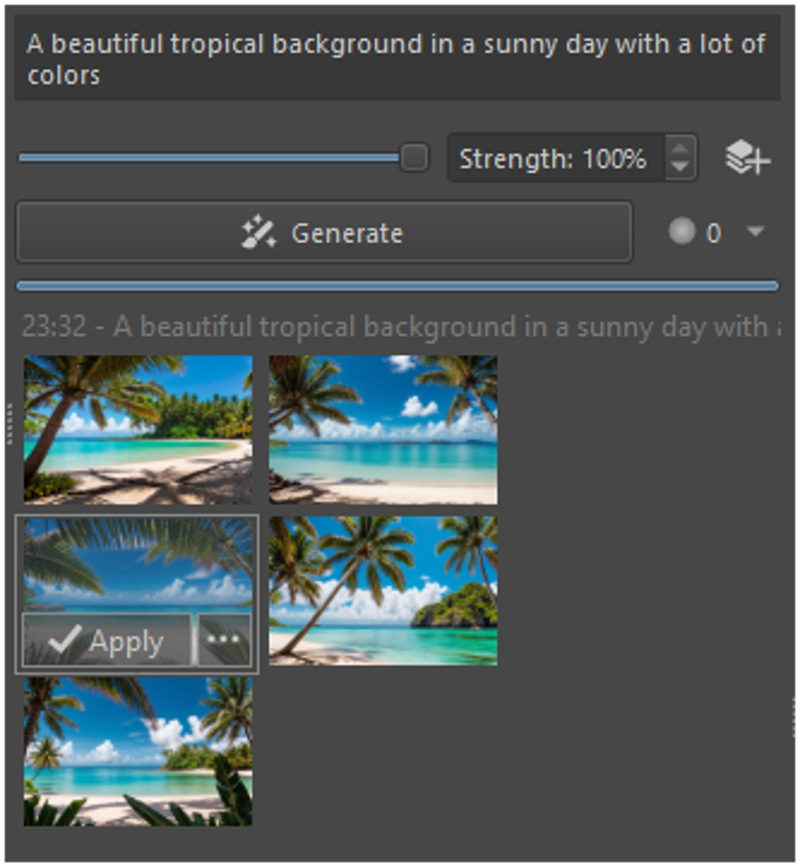
when I Select one
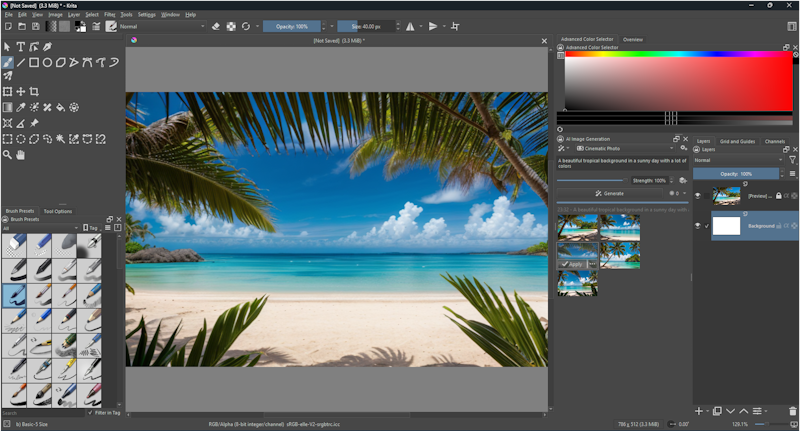
If you user the selection tools you can
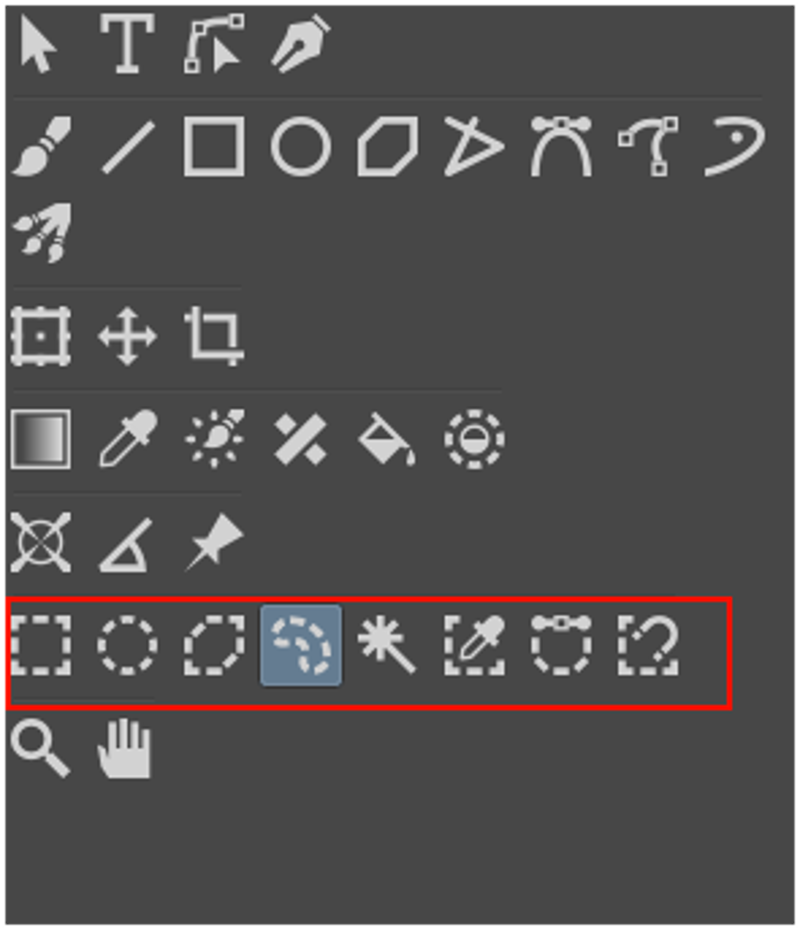
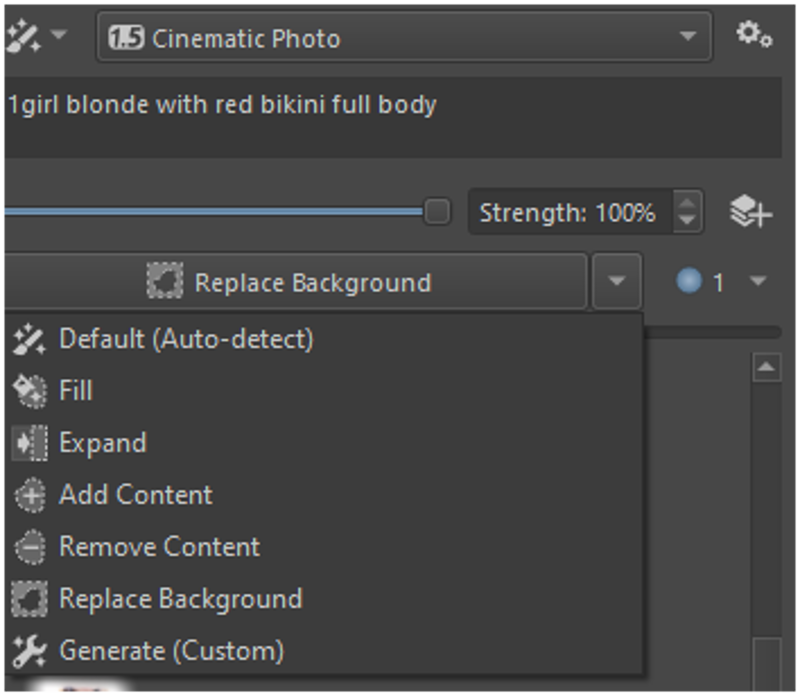
You have more option to work with
I did a selection and after I wen to menù Select >> Invert Selection
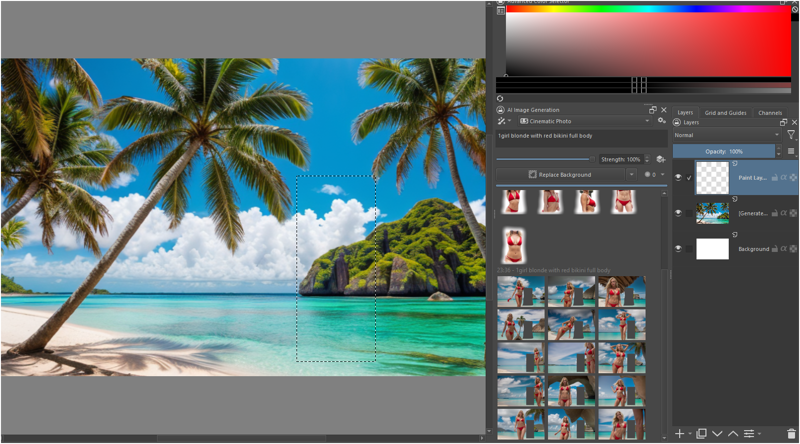
A this point I wrote a new prompt and I run 1girl blonde with red bikini full body
Quality is not the best (yet)
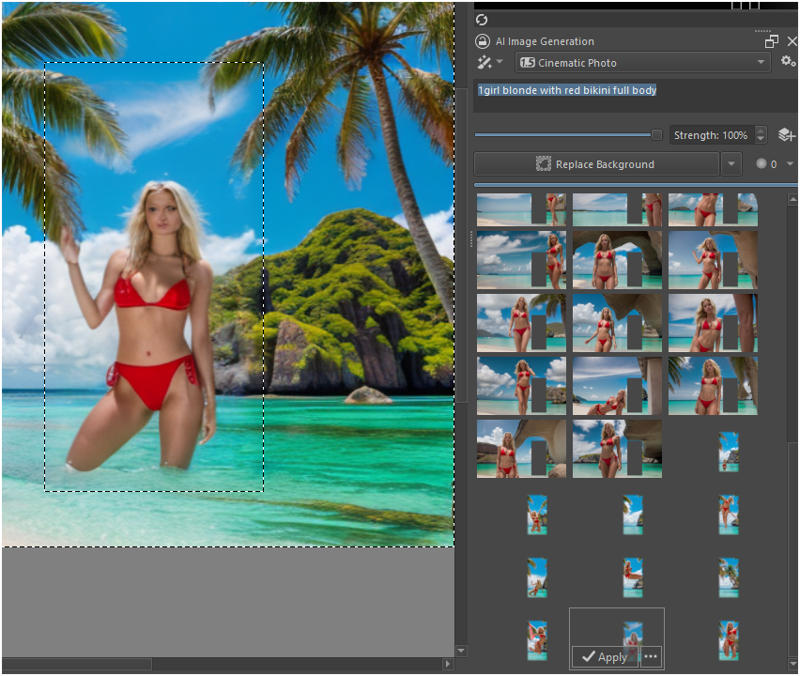
I now impressed with the image result, but with the power of having image generation inside my favorite tool.
I will try the component in the next days, I think will be great for image generation and changes for my games.
Thanks for reading this tutorial.

