Hello CivitAi!
Two months ago, I started an experimental project: a music video for Pink Floyd using available AI tools. It was particularly interesting to see how to use such a tool in a long narrative short film and compare it to my experience as a senior lighting and compositing artist. In this article, I’m going to share the problems we faced and our workflow to solve them, as a small, humble gratitude to this amazing AI community.
before starting, You can find the music video here:
https://www.youtube.com/watch?v=OqO_06Sft5g
Please support us by sharing and talking about this work. thank you!
now let's get back to work ;-)
The idea
Just like any other project, it all began with an idea! The original script was crafted exclusively as a photo stop-motion animation for the "On the Run" track, depicting a series of photos from the dawn of humanity to the end of civilization. I hoped to narrate it with a series of photos gathered across the web, combined with my own photography and 3D renders. Then I asked a question: why not use AI to generate photos for a stop-motion animation? It would be a great use case for AI. So, I started to search for available tools and conduct some initial tests to figure out frame rate, workflow, and how much time was needed for each shot to complete. It was clear that we were going to use Stable Diffusion because of budget and flexibility, but there was a major problem to solve!
The seed probem!
Despite the community trend of aiming for smooth animation with AI, I found myself captivated by the random nature of AI generation. It aligned perfectly with the chaotic theme of the music and the style of photo stop-motion. So, I took a completely different approach: how could I maintain readability in shots made of AI-generated images without them feeling artificial?
There are various batch creation methods in Stable Diffusion intended to achieve smooth animation. However, using these batch options didn't give me the desired look. I tested two shots in the script, one with famous Muybridge running horse photos and the other one with 3d skull.
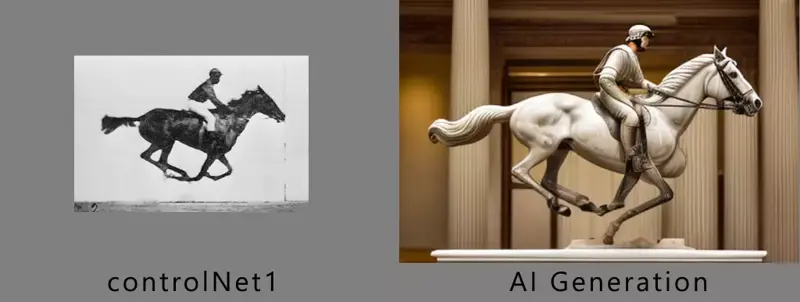
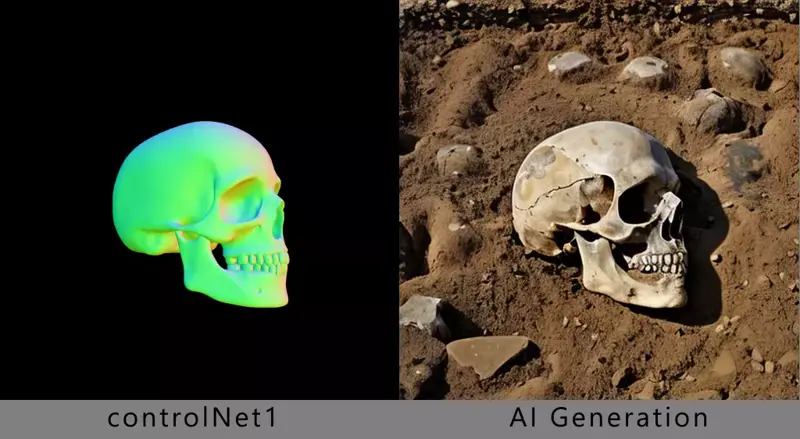
In another test, I created a wildly random background as extra control frame to bring more chaos to the generation. the "weird persistence" was still present in in the frames. It felt fake and artificial.
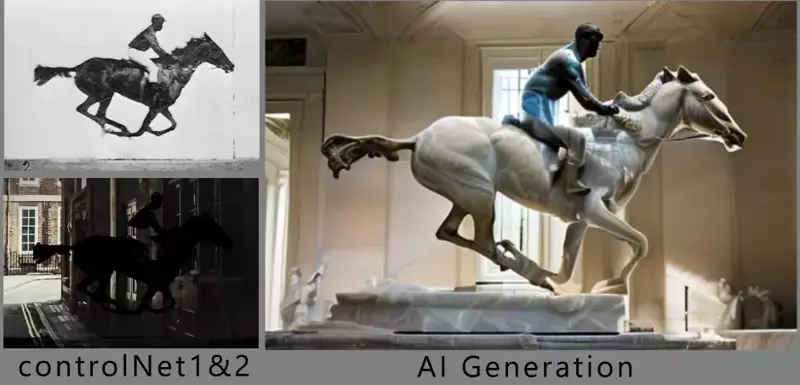
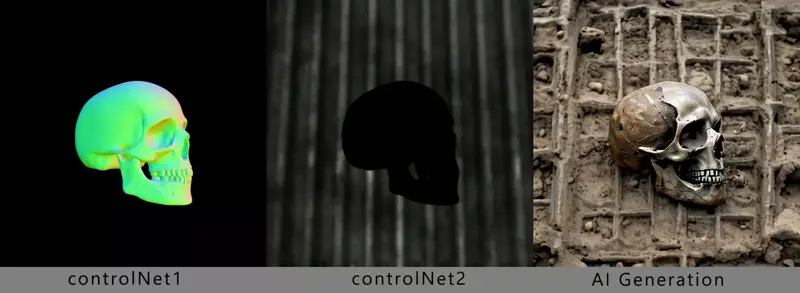
Then, I tried something different. Instead of batch generation, I generated each frame separately with the same prompt but using a different control frame for each. The result was fantastic! Although it was not perfect, but with enough randomness, control frames tied everything together. I realized that using the same seed for all frames was causing the artifact and now the seed problem solved!
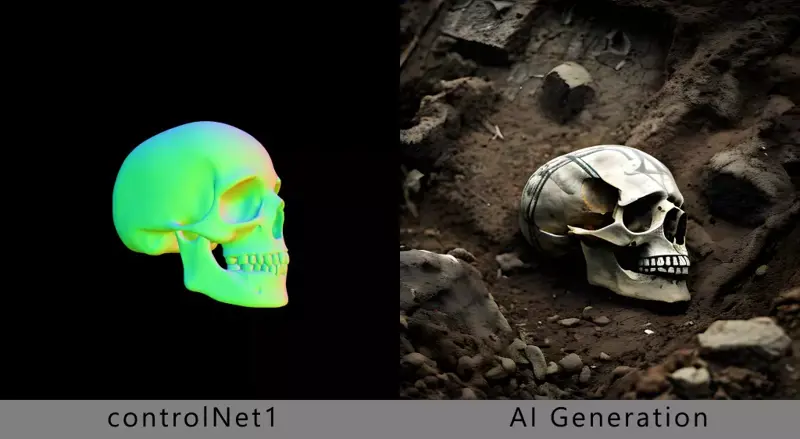
Although the manual approach addressed the seed problem, but it wasn't practical for 42 shots and a runtime of 4 minutes. By chance, I discovered that using the controlnet m2m script provided a random seed for each frame in a batch generation.
Manual control frames
Instead of generating countless batches of AI and then selecting among them, we opted for a more traditional approach to art creation. We manually generated control frames using 2D or 3D methods and then sent them for AI generation. We treated AI Generation as some sort of “Advanced Rendering Engine” instead of a wise entity with all the answers.
These rough frames determined the duration, layout, elements to use, animation, and timing of each shot. With this method, we could visualize the essence of each shot even before AI generation. This manual process gave us more artistic freedom and precise control over our project. Additionally, we utilized these control frames later in compositing as matts to enhance the final look.
control frames using photo stop motion
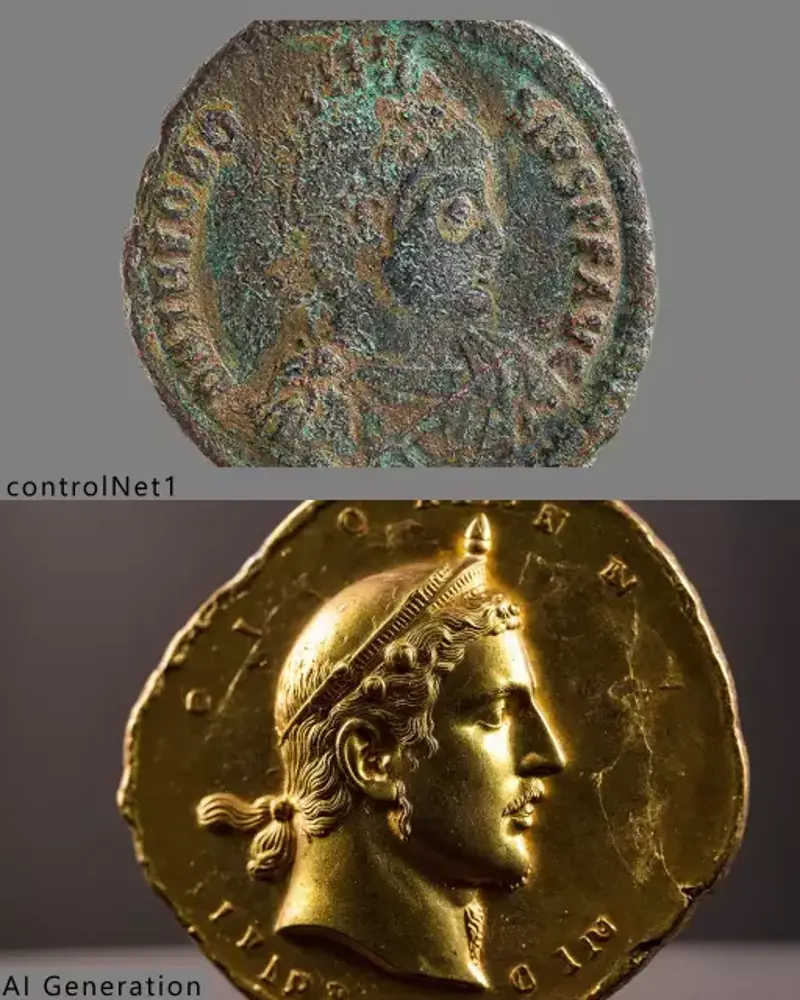
control frames using 2d motion design
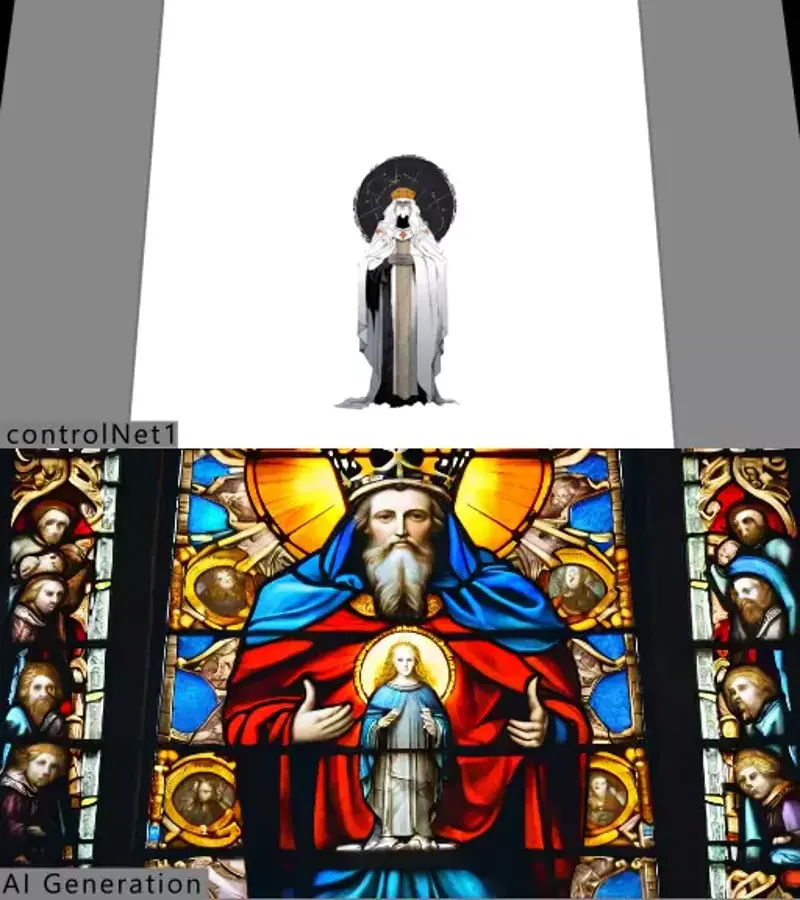
control frames using 3d
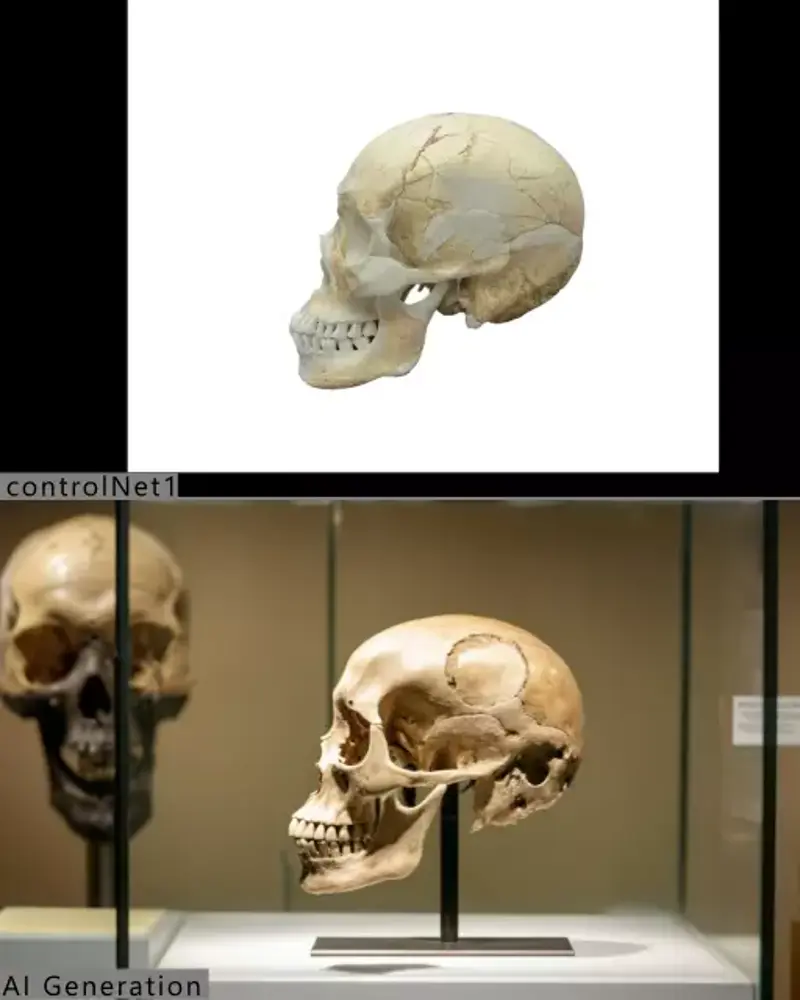
control frames using footage and motion design
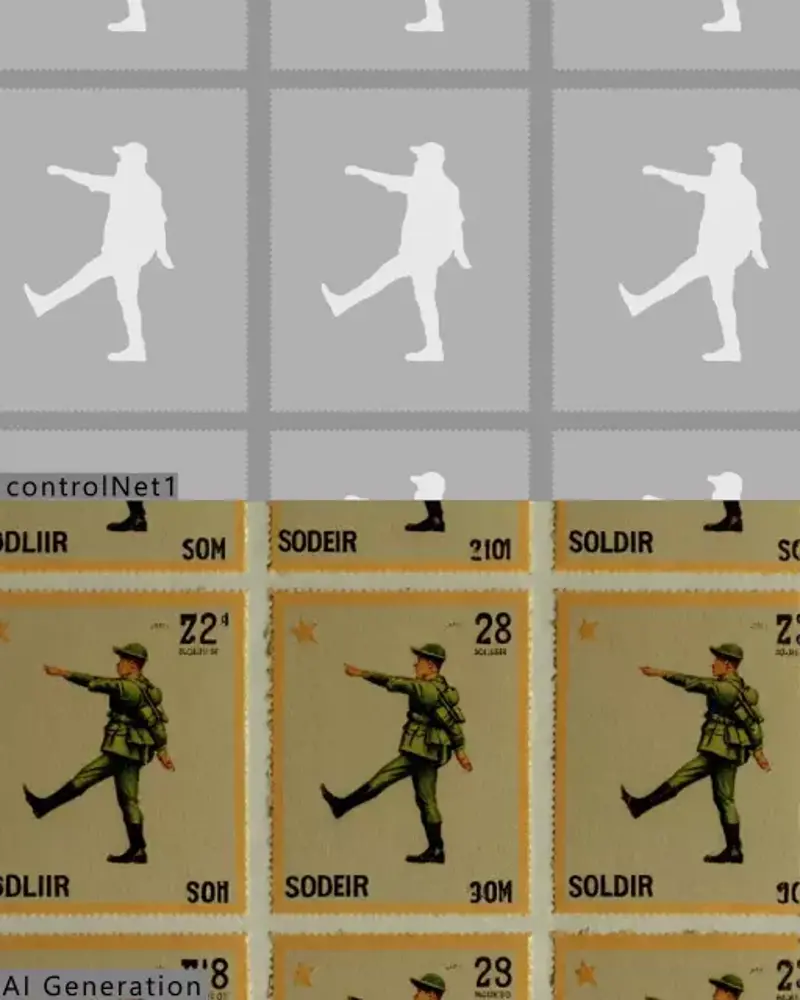
AI generation
In this project, as we journeyed through different eras of human history, we had to delve into art history to understand the requirements of each shot. For example, an Egyptian stone carving has a different layout and approach to portraying characters compared to a medieval manuscript or Byzantine mosaic. We had to consider these differences in every image generation, even before creating control frames. This was a crucial step before any AI generation. To be able to critique the generated image and alter its result, you need a mindset, set of rules, and guidelines before stepping into AI creation. AI is a powerful tool, but without direction, it's easy to get lost in its imagination.
However, the moment AI truly shines is when building different styles. Mimicking such a vast collection of art styles is an enormous task with traditional methods, but using AI, we managed to achieve it in less time with fewer people. This process involved numerous tests and revisions. For most shots, we reviewed the generated frames, made notes, and often had to return to produce better control frames for a new batch of AI generation. It was a truly innovative and original process of creating moving art!
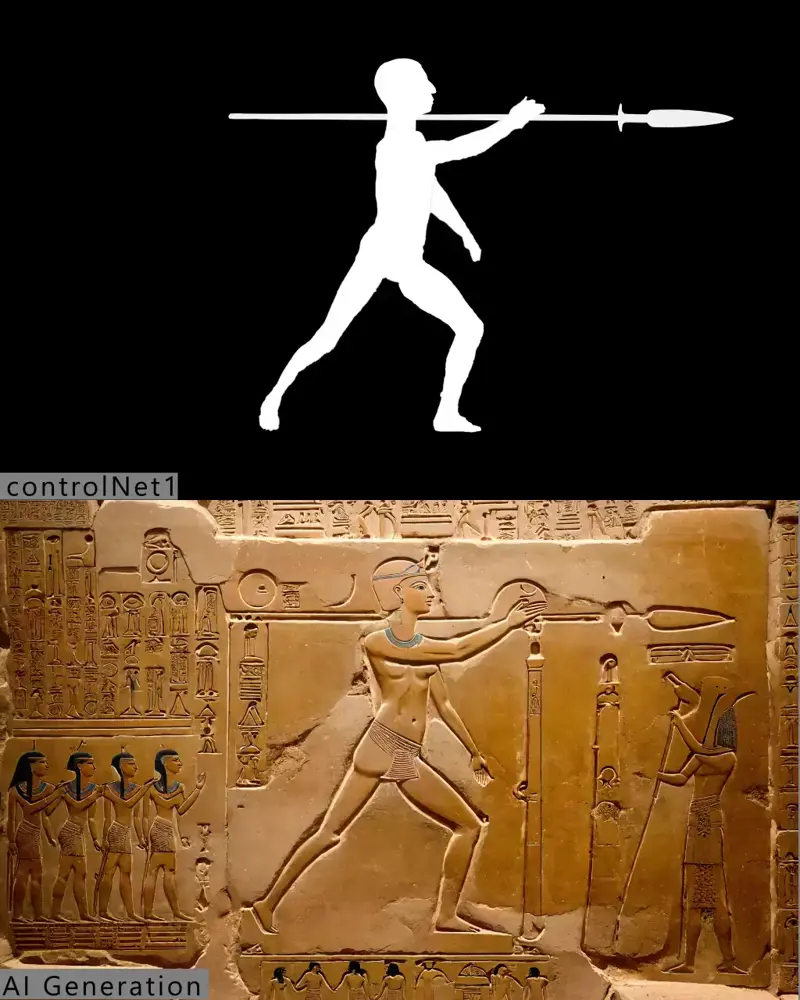
The final result then underwent a light compositing and colour correction to alter details for better readability and a more natural appearance. We also discovered that AI generation for certain looks tended to be more faulty than others. So, for every final frame in the video, we usually generated extra frames—typically 3 to 5, and sometimes 8—then manually selected the best frame for the final shot. This eliminated the need for regenerating all frames and saved us some time. However, sometimes cleanup was unavoidable. In some shots, all generated frames were faulty, so we had to clean up or mix multiple frames to build the final frame. Although AI generated the images, manual labor was a crucial part of the process.
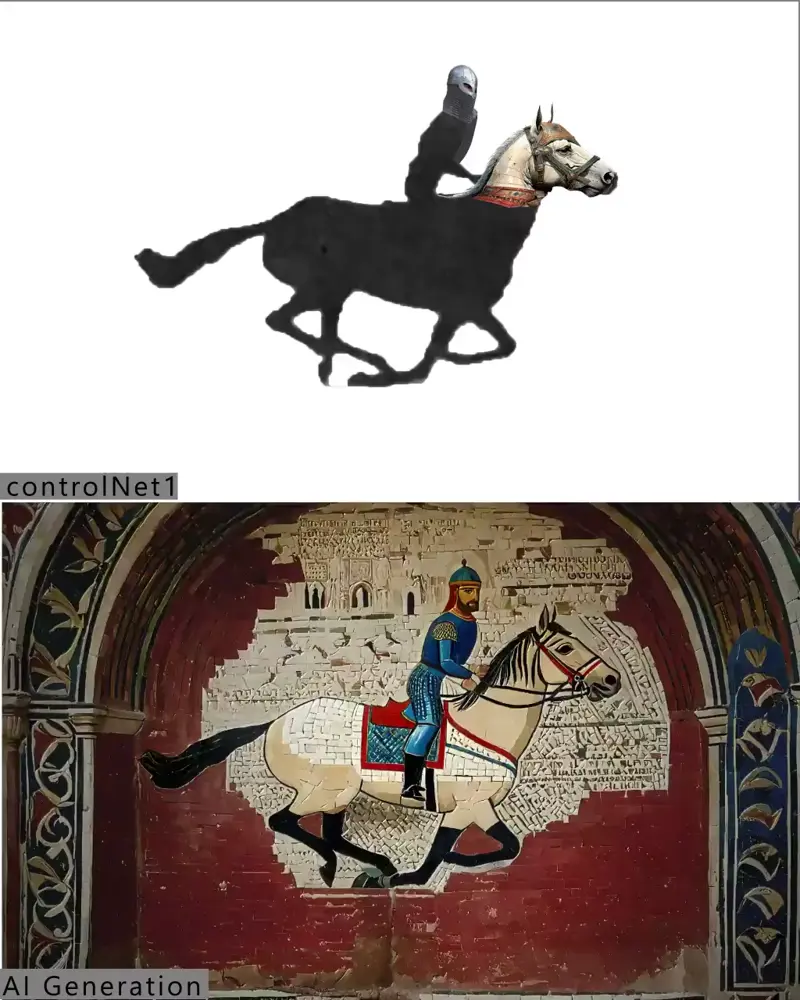
The Frankenstein method
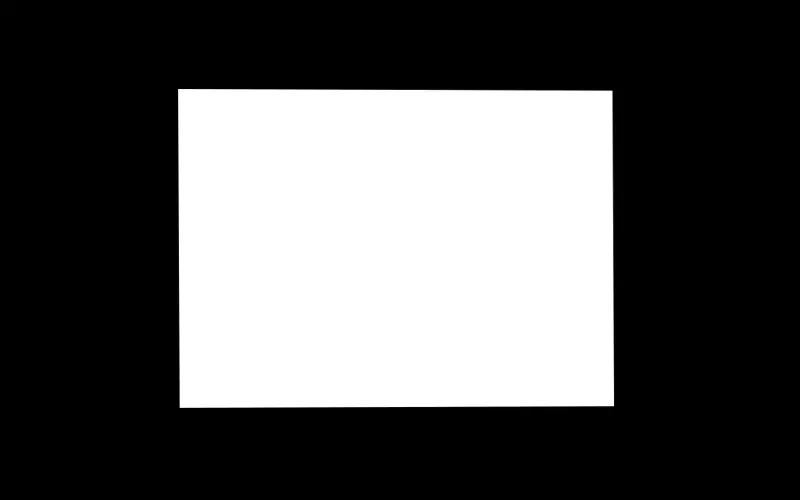
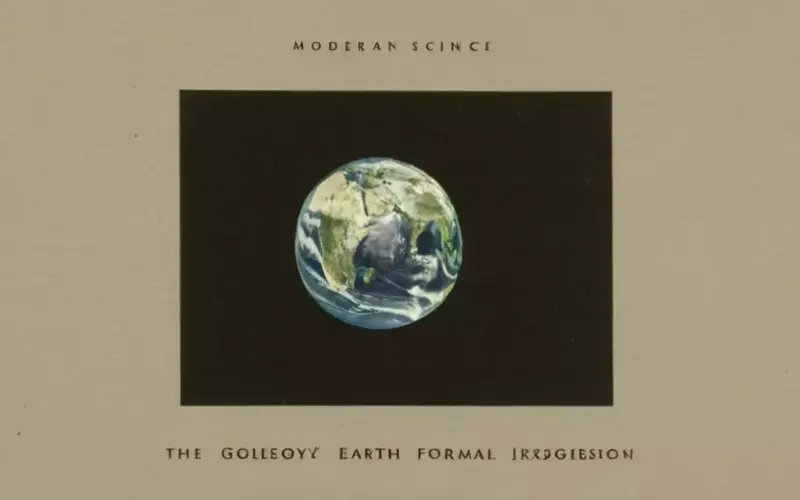
For one shot, we experimented with something truly unique. While all other shots followed a simple logic, where control frames dictated AI generation and the final image was more or less the final AI generation, for one long shot—dubbed "the creation"—this method didn't work. The shot consisted of a series of scientific pictures in books, starting from the Big Bang to the formation of the Earth, the evolution of life, and finally, a Homo sapiens skull looking at the camera in a museum display. The initial attempts to create these photos with AI all failed. It might have happened because these concepts are very hard to generate. So we came up with a new solution:
Manual stop-motion animation by arranging stock photos in an After Effects timeline.
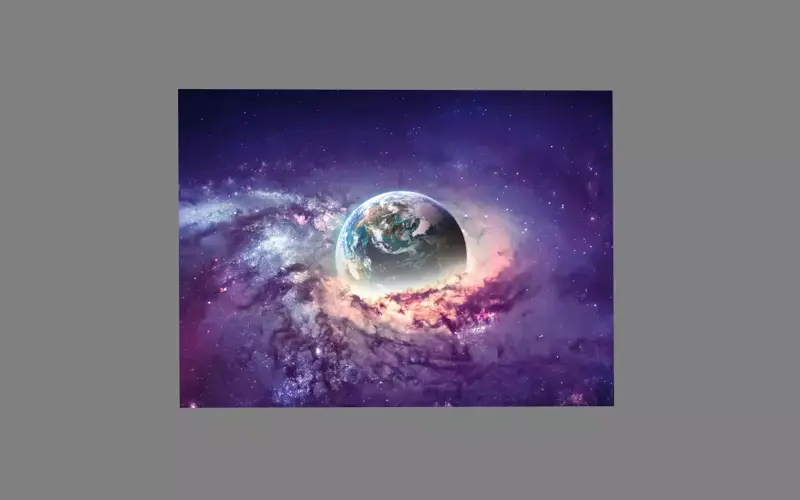
Animating the boundaries of each photo as control frame.
Generating surrounding pages using AI and control frames.
Compositing the animated photos on top of generated AI images.
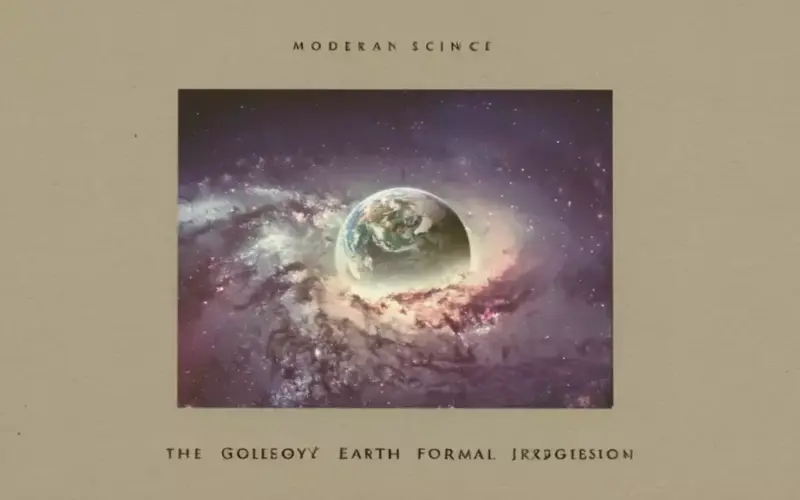
This multi-layered way of creating AI video is truly the next level of combining different techniques, and it has us very excited about the future of this approach.
Conclusion
For most of the shots, we utilized Stable diffusion XL on automatic 1111 + controlnet + wildcards. Our primary model was Juggernaut XL, which proved to be a significant time saver. Additionally, we employed various other models and Loras as needed. For a couple of shots, we opted for defroum with a single initial frame as the starting point. Post-production tasks were handled using Nuke for compositing and DaVinci for editing and color correction. The entire process took us three weeks for workflow and story building, and five weeks for actual production. It was a collaborative effort, and we were fortunate to have a sponsor providing us with massive GPU power. We utilized RunPod GPU cloud service for all our creations. Given that the final resolution was 2k, we applied high-resolution fixes to every single shot.
and at the end, I want to express my gratitude! I learned everything I know about AI within this community of AI enthusiasts. I am humble enough to acknowledge that without your support, none of this would have been possible. thank you and keep going!!!
