((Note: this article is incomplete. I am publishing it “as is” anyway since it’s meant to be an ongoing project regardless. But please know that at the moment this only goes up through the section on picking optimizers, and most of the settings have not been touched yet. If it is the other settings, you are interested in please check back later. Alternatively, feel free to reach out to me on the TensorArt discord. I go by the same name.))
So let’s start with something of a thesis statement for this inevitable chaos.
What is this article and who is it for?
This article is going to be an ongoing space for me to collect (and hopefully share) some of what I have learned through attempting online trainings with Tensor.Art. Specifically, I would like it to be a helpful resource for people who, like me, felt very confused about how to start applying all the advice that is out there for local lora training or google colab lora training to TA’s online system (and similar setups). Additionally, I will be giving specific focus to approaches and settings to training that will hopefully make TA’s SDXL training affordable, and accessible to free users, not just pro users.
Also! A quick disclaimer. Everything I write here is going to be based on my own scattered research and experimentation. I am no expert, and I am very much coming from more of an art background than I am a tech background. I may get some things wrong. I may explain some things poorly. To try and balance this out, I will do my best to include links to sources that have I have used or otherwise found helpful.
With that disclaimer, also a quick warning, I am a wordy a** b*tch. I’d say I tried to limit that here, but that would be a bold-faced lie. This is probably going to be a long article. It’s probably only going to get longer over time. It’s also going to cover some stuff that I find helpful that isn’t specific to TA but is more just general approach stuff. (Which will make it even longer.) Sorry, I guess? Sorry (kind of) that the length also means you will occasionally be subjected to my bored inner monologue where I have delusions of owning a sense of humor.
Use what you need, skim and skip however you like—I will do my best to separate information into clear sections, put important things in bold, and summarize key takeaways for each section.
So let’s get into this, shall we?
Step 1: Preparing Datasets!
TA is set up to either let you upload images and files and then edit the tags, or else upload a zip file dataset. I highly recommend you choose the dataset over directly inputting tags into TensorArt’s training page. Always. Every time. If for no other reason than to do a nice favor for future-you who may want to go back and update things later. Additionally, TA’s current system for tagging images doesn’t let you easily change the order of the tags, and order matters. Your most important tags need to be at the front.
There are some great google colab resources for getting datasets started. (Links to be added here.) With these you can upload your batch of images and get a nice google drive folder with auto-tagged .txt files ready to edit. If you are clinically indecisive like me and do not know which images you want to upload, you can also do this manually.
Your folder should basically have a whole lot of this going on:
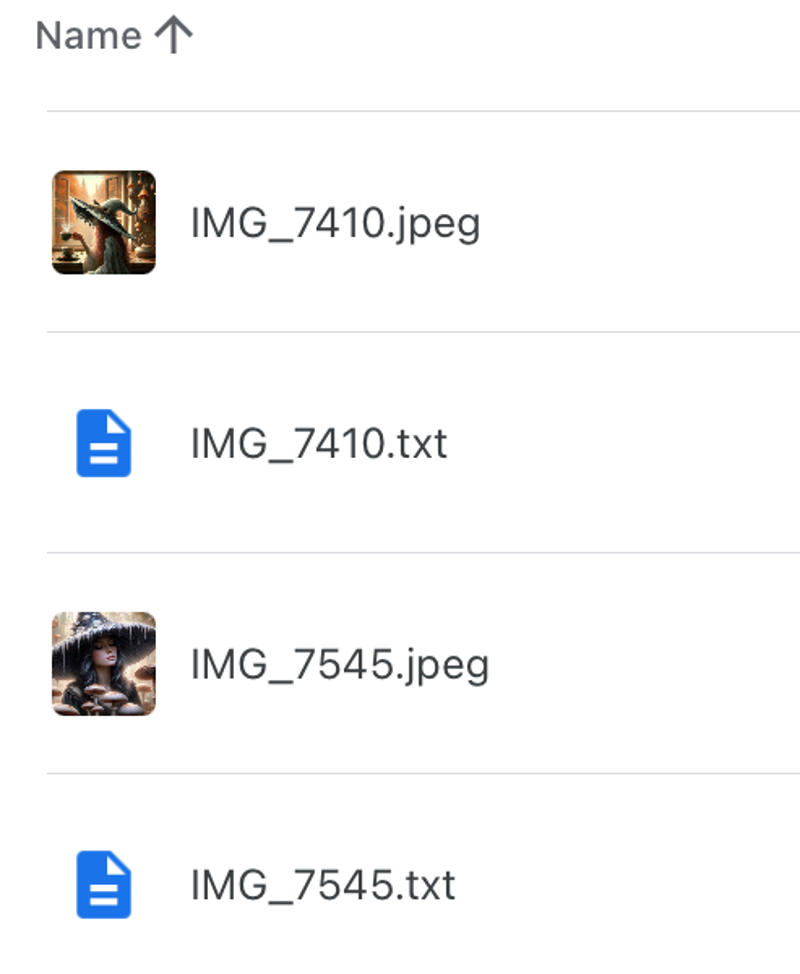
When you’re ready, highlight everything and download it. Or if you aren’t using google and are on your computer, use civitai’s instructions as an aide: https://civitai.com/content/training/dataset-guidelines. Then just upload the resulting zip to TA. If everything uploaded correctly, your images should upload with your tags or captions in instead of the auto-tags. You can still edit this the usual way from here if you want to delete or add more tags.
Which brings me to back to the contents of the dataset!
Step 1(A): Images
Rule of thumb: more is not always better, clarity & quality are king
(Note: A lot of amazing write ups have been done on character/subject loras—including training on just one image! As such, my focus here will be aimed more at my personal experimentation in concept (object, pose, etc) and style loras.)
One of the issues with TA’s online training is the cost. There’s really no way of dancing around that. It can get credit pricey, and more images means more cost. Here’s the good news. You do not need a huge dataset.
My favorite style loras I trained on TA only used anywhere from about 15-30 images across their different iterations. (Obviously they are not perfect! But that is user error more than anything else. I was—and still am—learning by doing.) And even less is needed for many good character and concept loras.
But! Even 15-30 can get pricey on a free account so let’s see if we can cut some of that fat. (We are about to go on a sidetrack here, so anyone here for the bare essentials may want to scroll away now.)
Experiments in Training with Less Images:
I am going to start by sharing a bad lora but, hopefully, a good example of how it is feasible to create a style lora on TA with very limited resource use:
My Dark Synth Empress lora was an early experiment mostly ruined by my own bad understanding of how to tag at the time. This lora was trained on only 5 images.
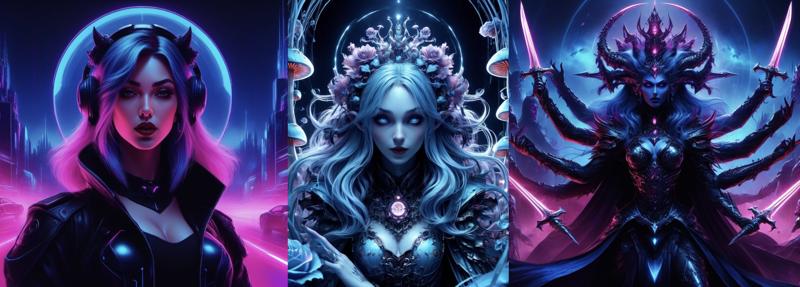
Is it a crap lora? Yeah. But does it show there is promise for creating style loras on tensor with just 5 images, provided you don’t tag like a moron/me? Hell yeah.
A better example is a recent concept lora experiment I ran with just 4 images.
The aim of this lora was to train the idea of a “blindmask”—which SDXL honestly kind of hates. (Why? Presumably because portraits mean the eyes should get a lot of focus. Not to mention all the information it has to pull from on “masks” have photos of masks with eyeholes.)
So here is where tailoring images (and tags) comes in to play. I first tried this concept with (an overkill amount of) 42 images featuring a few different “named” mask designs on civitai. It was kind of a disaster. Here were the lackluster results:
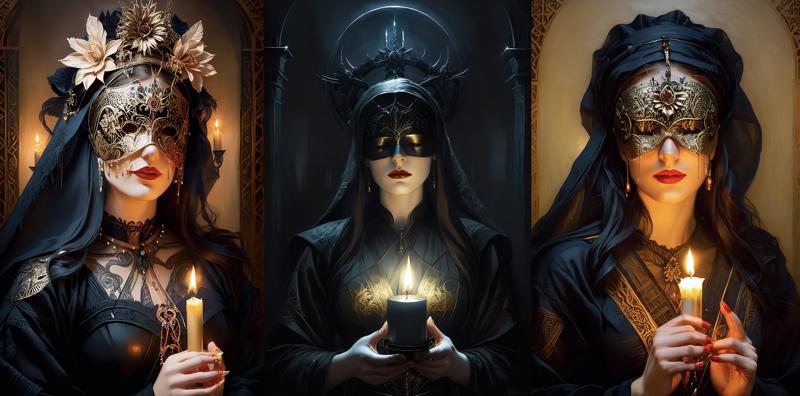
Yikes. The ai just would not give up on trying to put eyes in!
What was the issue? Me. I hadn’t carefully weeded out images where the ai could interpret the larger filigree spots in the mask as a very tiny or out of place eyeholes. (And there were other issues too. I hadn’t been careful about some of the distortions that came from a bad image upscaler I was using, and those sins carried right over.)
In comparison, here is the dataset I used on TA:
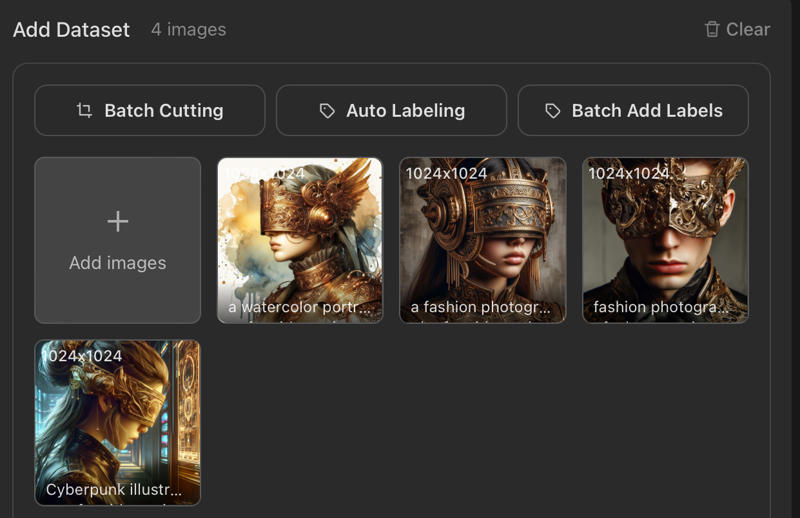
Just four images. And not even a perfect dataset to work from! These are pulled almost straight from dall-e with very limited editing done by me to cleanup issues and remove distractions. The masks even have pretty distinct differences that I thought might confuse the AI a bit. But this time I (at least) carefully picked for these things:
All the eyes are completely covered for better clarity for the ai (One image still has a slight filigree—>eyehole interpretation risk, but it’s much reduced)
The masks have at least one or two roughly similar features that carry over to help the ai out (a mostly straight visor area, round bit at the ear, etc.)
There is at least one image each in front angle, profile view and 3/4 view
I included 3 “styles” (tagged as fashion photograph, cyberpunk illustration, and watercolor portrait) to also help the ai learn it needs to latch on to the object, not the style
The results this time?
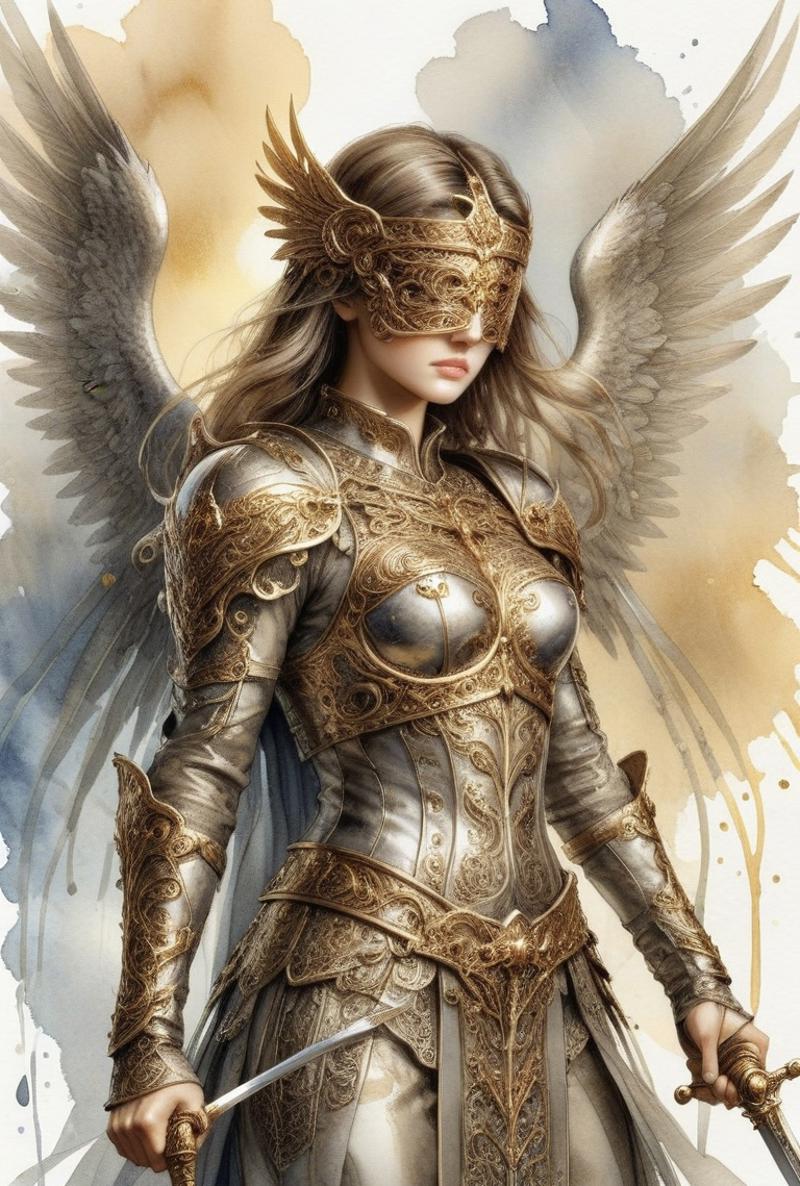
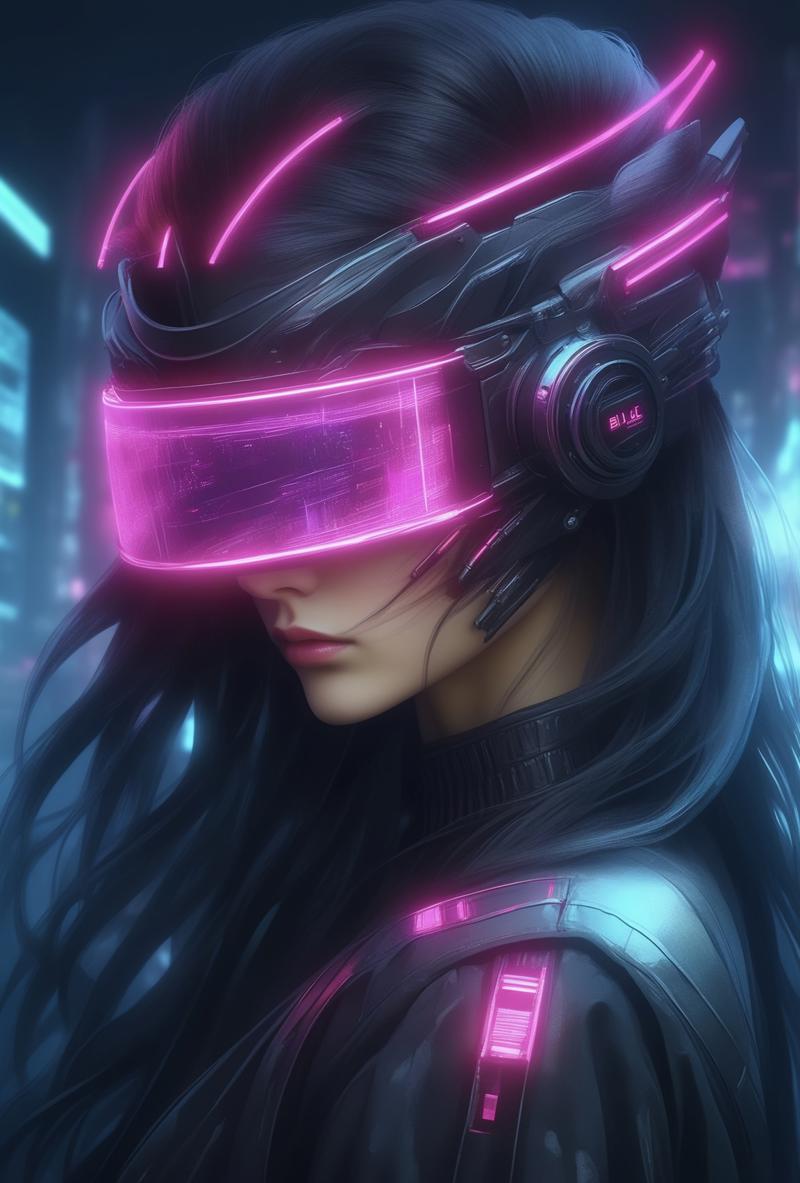
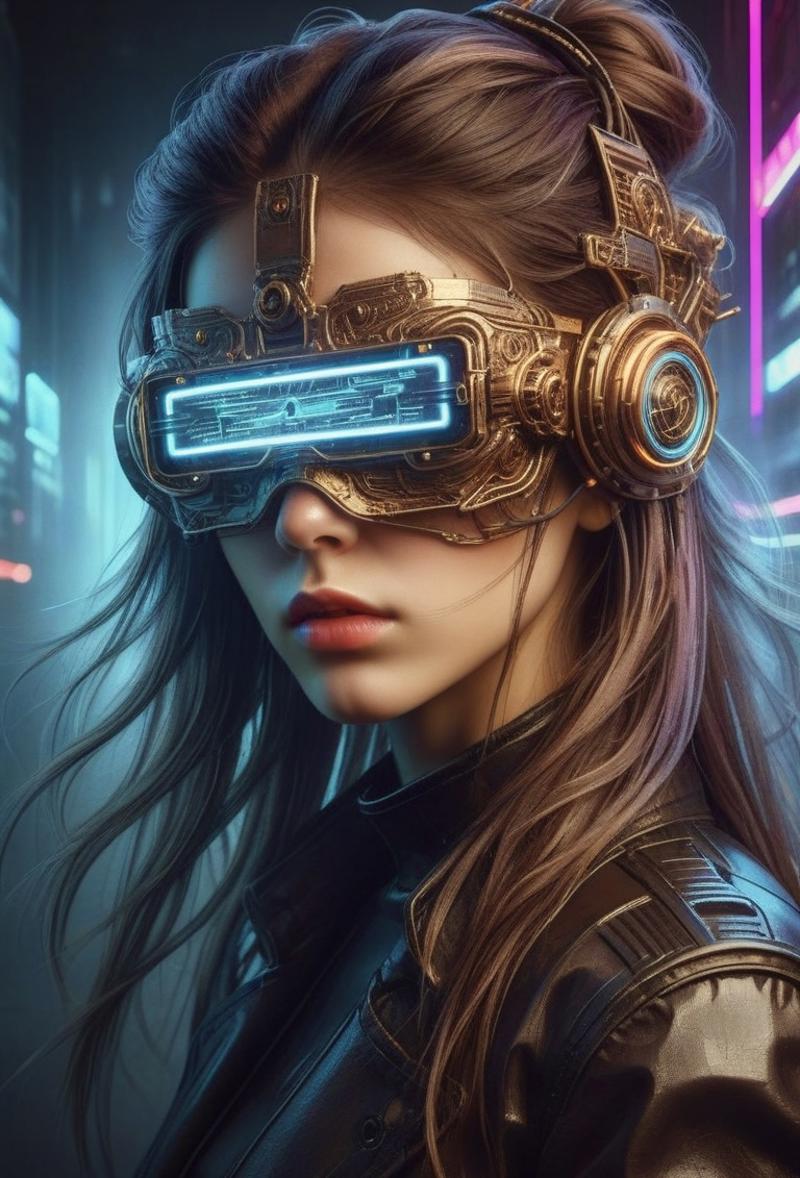
So. Much. Better.
(Note: There was also a change in optimizers here, which I will go into later. Also, there is definitely still room for improvement. It struggles with some models, especially certain turbo models. But that’s where more experimentation, more experience, and more collaboration with others in the growing TA community will help polish things up. I’ll be sure to update with what I find.)
The total cost of this training, even with 15 repeats and 10 epochs, was 54 credits. And it probably could have been a lot less. Remember, this was an sdxl-unfriendly concept with a less than ideal dataset.
The lesson? When picking images (and captions) consider the perspective of the AI. This YouTuber does a wonderful explanation in this video. (Look for the “Captioning but AI POV” timestamp, ot fast forward to around 6m25s.)
Yes, I know the clip is mostly about captioning and I’m skipping ahead. Bad. But bear with me here, because good captions only go so far and they cannot cure an image that is simply bad to include. Plan ahead with your images and consider how to present the end goal to the ai with the most clarity.
Takeaways:
Curate your images with attention to clarity of concept as well as consistency of subject, depending on your end goal
The better you curate, the less images you will need
You can achieve a concept, maybe even a full style in as little as 4-5 images if you plan ahead
Other misc. tips and recommendations:
Consider upscaling your images before resizing them to 1024x1024 or whatever other training aspect ratio you are using!—I know it sounds silly to go from the correct size then up then down again, but this could be the key to removing that one lora-breaking blurred eye you have. Do your due diligence at the altar of ai art! Exorcise the sins from your images!…I don’t know why I said it that way but I’m leaving it.
Not everything needs to be perfect (except when it does). Try to get the things that matter most consistent and polished. But be extra wary of how hands and eyes appear & remove as many distractions as possible (hey, maybe that hand does not need to appear at all)
Don’t be afraid to use inpainting or img2img to correct images before using them
Step 1(B): Tags & Captions
Rule(s) of thumb: (1) ‘Booru’ tags for anime, natural language captions for realism; (2) Caption everything but the character’s consistent features for character loras, but caption everything for style
Tagging and captioning is kind of a nightmare, I’ll be honest. It’s where the hard work lies. This post was the one I found the most helpful in finally getting a better handle on it: https://www.reddit.com/r/StableDiffusion/comments/118spz6/captioning_datasets_for_training_purposes/
My best suggestions are these:
1) Consider the type of lora you want.
Popular wisdom seems to be that character and concept loras should err towards tagging and captioning as little as possible. Whereas style loras will requires very, very detailed tags or captions.
2) Decide whether you are using a booru tag style (1girl, 1boy, etc.) or a caption style. Or even something a bit in between.
SDXL has, apparently, shown to train a bit better on natural language captions. (I am trying to track down the article on this to link it, but please correct me if I am wrong!). In general, you will probably want to err towards booru tags for anime, but longer captions for realism. This can also be mixed up a bit in the case you have an image where only a few things need a more complex description.
3) Create a pseudo-template for yourself for tackling your images.
For instance, my usual order/mental checklist goes a lot like the post linked above:
The main trigger tag
The most important thing for the ai to learn for the lora overall
What the image is (if not being trained into the style) and the framing of it
(fashion photograph of…, low angle view, etc)
Main actions, if any
(“walking away from the viewer”, “holding a glowing sphere” etc)
Main subject further description
(outfit, hairstyle, etc)
Notable or unique details that aren’t the subject but also are more than just “background” (for example, I put some of the secondary “color pops” for my selective color lora here)
Background
A final catchall for loose associations (idk, things like “cozy autumn colors” might go here)
Adjust your template as you need for the project. With a larger dataset I like to pick the two most disparate images in the set, caption those, see if it feels about right, then use those as a copy & paste starting point to start tagging the others.
4) Consolidate tags to prevent doubling down on a concept unintentionally
This may be especially important if you are using the auto-tagging system rather than captioning manually. Aside from the obvious contradictory tags, the auto-tagger also likes to double up on some things. You may get things like “black footwear” along with “boots”—best practice is to consolidate that. Doubled tags also double down on making the ai focus on a detail, which may be what you want…or it may not. Leaving it there also creates complications this for negative prompts and otherwise trying to change things on the prompt side.
(Here’s an example from where I learned this the hard way: If you are trying to make a dragon lora that can do both eastern and western dragons, don’t include multiple possible terms for eastern dragon in the tags. You may be tempted to include “chinese dragon” too, just in case that’s what a user of the lora might think to type instead. But! In essence what you have done, is forced the ai to pay extra attention to the eastern dragon’s appearance, making it much more likely the lora will generate the eastern dragon even when you ask for the western one instead. It also means you need more than one tag for the negative prompt now if you want to counteract that effect. Maybe you want that baked in stubbornness from the ai, but odds are you don’t.)
5) Consider what not to tag and edit some more if needed
I think there is a lot of disparate advice across the internet regarding what not to tag. I wish I could give a clear answer here, even. Unfortunately, you get the #1 frustrating answer from all lawyers across the world—“it depends!” Like the above example regarding consolidating duplicate tagged ideas, this is a bit of a tight rope to walk as far as directing the AI‘s attention.
On one hand, you generally want to tag the things you want to be changeable, and not the things that you want permanently cooked into the lora. Good, awesome, so far so good. On the other, tagging something does bring extra attention to it. So while tagging the unwanted feature (blemished, background features, etc) can allow you to negative prompt it away later—it also runs the risk having the ai focus on it in an unwanted way—possibly making it way more likely to show up even with a negative prompt.
There’s no good answer here. I will share what I have learn through experimentation, as I go.
A Step 1(B) Side Quest: "Can I Just Not Caption My Style Images?"
I've seen here and there that one approach to tagging/captioning styles is to only tag the trigger word and nothing else. Because I am lazy at heart, this thought really appealed to me. (Or because I do a lot of generate→hand painting→generate/upscale→hand painting→rinse & repeat while making my training images due to personal, ethical concerns about using other people's images--and thus, I am exhausted mentally by the time I get to captioning, sometimes.)
So I decided to try it out to see if it could work on TA at an affordable credit cost. (i.e. 100 credits or under so any user could do it on a day's worth of credits.)
Unfortunately, I'm not sure what to think of the results. For my test, I pulled together a sparse 15 image dataset for an "anxiety style"--each of the images was highly stylized with these features:
Stark blue & red color schemes
Swirling, textured brushstrokes
Lots of strange abstractions
Plus recurring elements of upset expressions, tense hand poses, skulls, and flowers.
At first, the results seemed lackluster. The sample images for the AdaFactor and Prodigy tests both only seemed to pick up on the notion that the image should have a painterly quality. Even around epochs 20 and 30 (I ran the images with very low repeats and high epochs, as is often recommended for styles) the image subjects were looking entirely normal except for mildly troubled expressions. On the other hand, re-running the prodigy training with captions in place had the swirling brushstrokes and desired color scheme starting to be slightly visible in test images as soon as epoch 2.
However, on running prompts with the images, the results had much more in common than the sample images would have led me to believe.
Here is the un-captioned prodigy version (at about 360 and 810 steps of training, respectively):
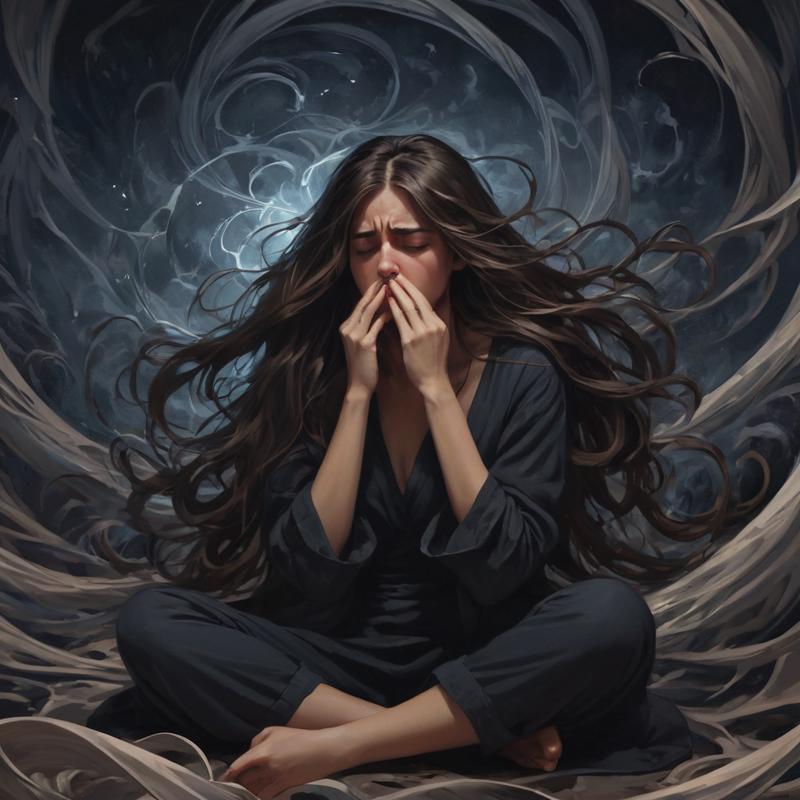
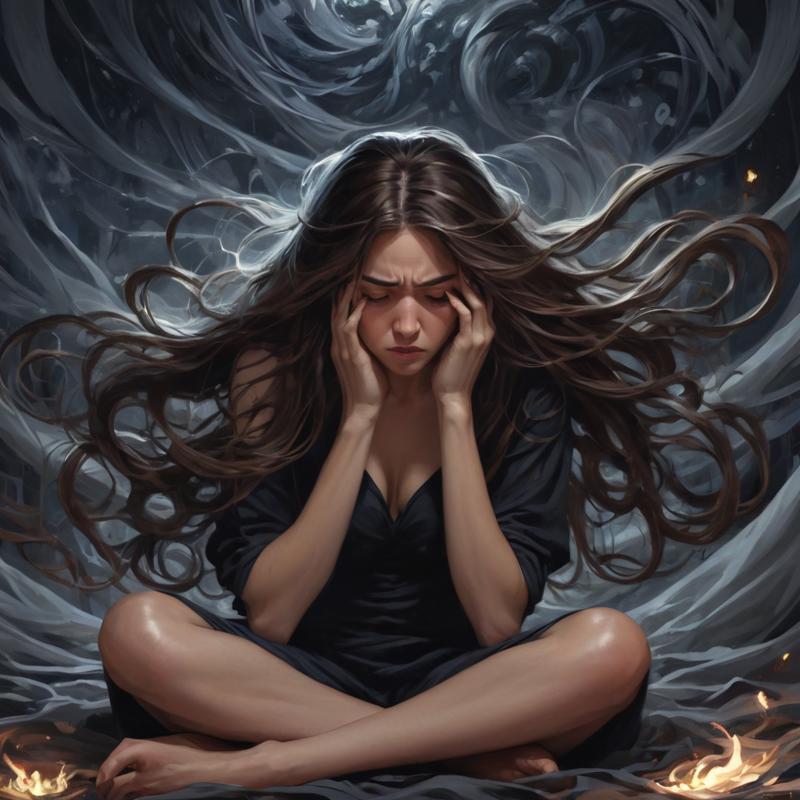
(lol, sorry for the hand-foot)
And here is the captioned version (at 1050 steps) (note:when I ran these trainings, I wasn't really intending another head-to-head comparison. As such, I changed my epochs/saves and ran the training longer just to see how long this style, in general, would take. I will do some math and see is I have a better epoch from each to compare, step-wise, asap):
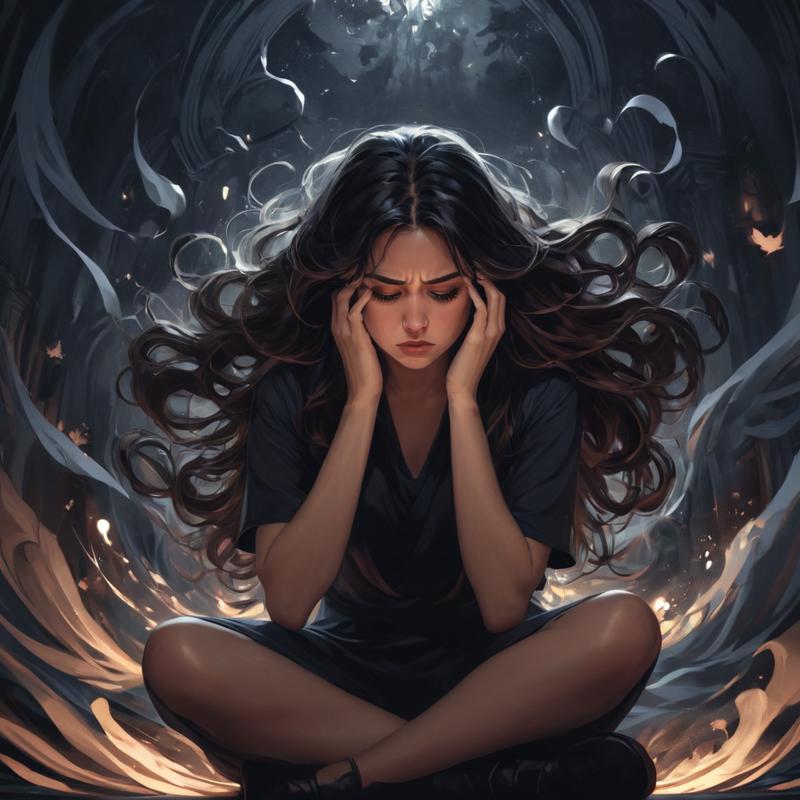
So even though the sample images didn't show it at all, the un-captioned lora was quietly picking up on important elements anyway!
I'm not sure the takeaway for this is, just yet. I will have to update this section once I have run more thorough tests on how each of the resulting loras behaves when given prompts less geared toward the elements in the training set. (Also, I have not run an equivalent test with AdamW yet.) But, there you go. It may be possible with highly stylized sets, at the very least.
Now finally, on to the stuff most people would actually be to on this page for— experiments with the settings.
Step 2: Picking Settings!
As of right now, these are TA’s default training settings:
Image Processing Parameters
Repeat: 20
Epoch: 10
Save Every N Epochs: 1
Training Parameters
Seed: random
Text Encoder learning rate: 0.00001
Unet learning rate: 0.0001
LR Sceduler: constant
lr_scheduler_num_cycles: 1
num_warmup_steps: 0
Optimizer: AdamW
Network Dim: 64
Network Alpha: 32
Label Parameters
Shuffle captions: off
Keep n tokens: 0
Advanced Parameters
Noise offset: 0.03
Multires noise discount: 0.1
Multires noise iterations: 10
Conv_dim: 0
Conv_alpha: 0
This comes out to a total of 200 steps per image (presumably TA is working on a batch size of 1, and that appears not to be changeable right now) and an 18 credit cost per image (ouch).
Honestly, though, these settings are fine for most things, and if you want to just pick a model and change the number of repeats and epochs, you’re probably going to get workable if not great results provided your images and tags are good.
Step 2(A): Picking a Model
Rule of thumb: Err toward SDXL if you want style flexibility
Disclaimer: I am biased. I fully support training on the SDXL base model and don’t really have positive feelings on the others. I love both Juggernaut and Dreamshaper XL as models, I use them a ton for image generation. However, I’ve had less than stellar experiences training on them. For that reason, I’d recommend SDXL over those for most loras. That being said, choosing the model that can most closely reproduce the look you want will likely make training easier.
I will update this section as I get over myself and run some experiments with the other “model theme” base model options.
Step 2(B): Picking an Optimizer
I know you are probably thinking, “but Witchy, what about the steps? What about the repeats? What about the epochs? Shouldn’t that come first?” Shhh, It’s OK. I promise there’s a method to this madness. The optimizer you pick is going to have a pretty big effect on the number of steps you need.
Right now TA supports 4 optimizers: AdamW, AdamW8bit, AdaFactor, and Prodigy
Let’s do a quick overview and maybe a bit of pro/con on each.
1) AdamW and AdamW8bit
Pro: It is the model with the most information out there. If you run into issues or aren’t getting the results you want, you are most likely to find helpful resources for this pair of optimizers
Con: I find getting the results I want can end up requiring significantly more in-depth knowledge or experimentation with settings. If you are training a particularly difficult concept for the ai, AdamW may not be your best choice
2) AdaFactor
Let’s start with a con on this one, since it’s a big one. Unlike AdamW, finding good information on this optimizer that isn’t at a research paper level currently seems next to impossible. Using it as a non-tech person has felt a bit like being an amateur wilderness explorer—I may find something truly amazing or I may get lost and eaten by a bear. From what my tiny brain can gather, AdaFactor was an innovation on Adam (pre-picking up the “W” for AdamW’s updated approach to weight decay) that was aimed predominantly at reducing burdens on hardware. The result seems to be an approach that prevents “larger than warranted updates” and takes “relative step sizes” instead of “absolute step sizes” (you can read more here and here)
My personal takeaway from all of that is you should expect it to perform similar to the Adam optimizers, but that it might be better suited to concepts, styles, and subjects with high detail that AdamW or Prodigy may loose by training too much too fast.
Also it possibly overrides your scheduler setting? If anyone has confirmation on this, please let me know
So…
Con: less tested, less information, possibly slower to train on some subjects
Pro: I have gotten some very, very pretty results with this optimizer. It can be very smooth, and very detailed. And I have seen some equally gorgeous results from other trainers of style loras.
It can sometimes look more stylized than AdamW to me, but pro/con on that can be a matter of taste
3) Prodigy
The main selling point of prodigy is that it adapts the learning rate as it goes. Rather than setting it on your own and wondering if it is too low or too high, you set the text encoder and unet to “1” each and let the algorithm go.
The second selling point is how fast it can train. Prodigy is known to overtrain fast and I have noticed that with some loras it has only needed 1/3 to 2/3 the number of steps the other optimizer options would need.
However! From what I have seen posted around (and from my own experience with it so far I agree) Prodigy is not a good option for every dataset. And unfortunately, I cannot find a good rule of thumb yet to determine which ones are good or bad candidates ahead of time. It’s a bit of a “f*ck around and find out” approach (with the exception of the next point)
Prodigy wants to reproduce your training images as exactly as possible. If you want that, trying prodigy may be a good option, if not, steer clear
So..
Pro: adaptive learning rate, lower number of steps
Con: much more beholden to the dataset for good or for worse, (also I’m beginning to notice it can get very desaturated at very low or very high step counts)
Head-to-Head Optimizer Comparison:
Using the blindmask lora from before, I ran one training each for the different optimizers to show a head to head comparison:
(Note: I noticed the Prodigy settings do not have the same training seed, so I will be re-running that and posting the update here as soon as I have it available)
Each image is with the same prompt, same seed. Each is made with the safe.tensor file produced by the 10th epoch from each training. All the settings are the same aside from the optimizer and the scheduler (and the lr/unet of prodigy being set to 1 so it can do its thing). To check whether the concept was really learned, I’m used the more cyberpunk themed prompt from above, because it’s further away from the majority of the dataset images. But to help the ai out a bit, I ran the images on plain old SDXL 1.0 at both 768x1152 and 1024x1024 aspect ratio, ClipSkip 1, and CFG 7.
Here is the Prodigy optimizer, cosine scheduler result:
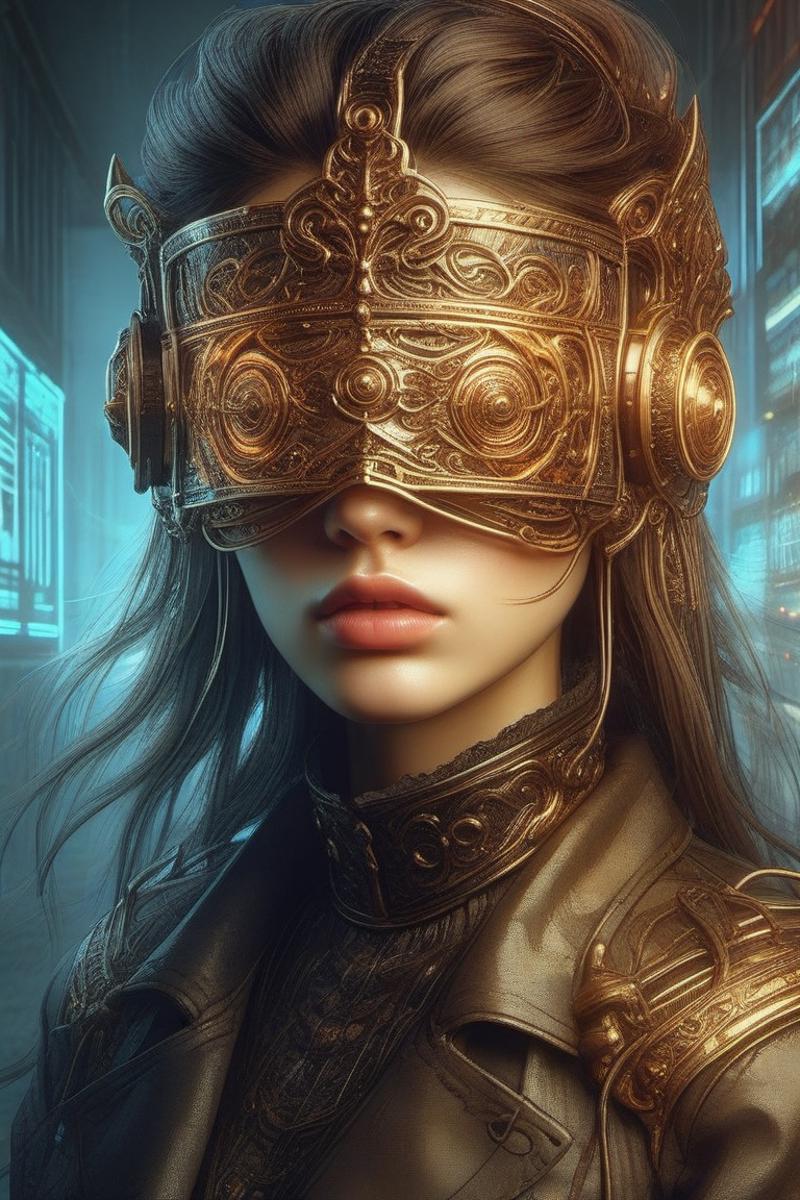
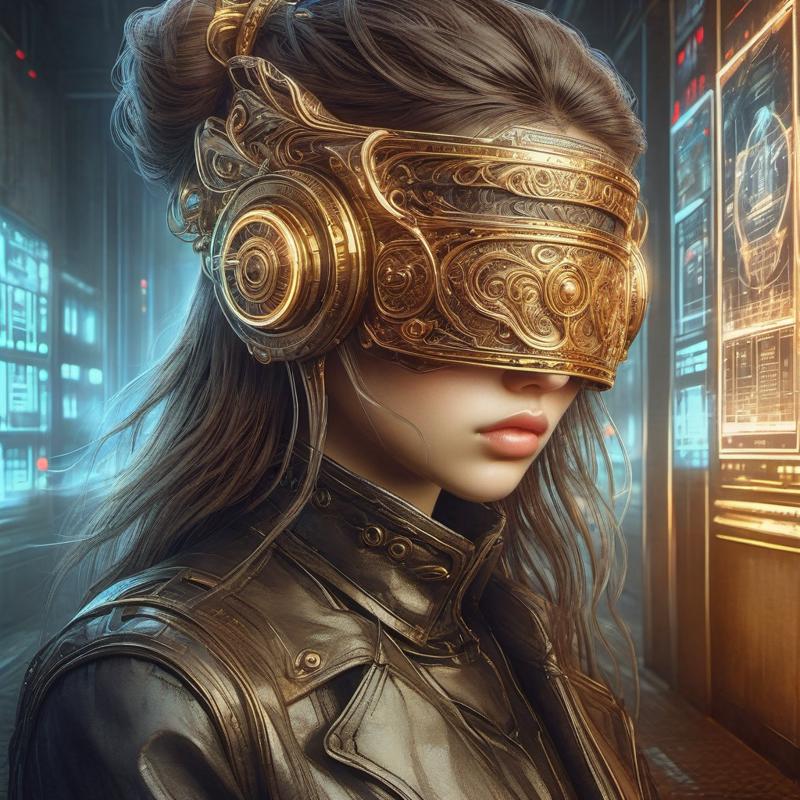
Not bad. Perhaps a little too close to the dataset images for a truly versatile lora, and it’s reproduced some of the fuzziness from the dall-e training images. But altogether, it got the idea.
Here is the AdaFactor optimizer and scheduler result:
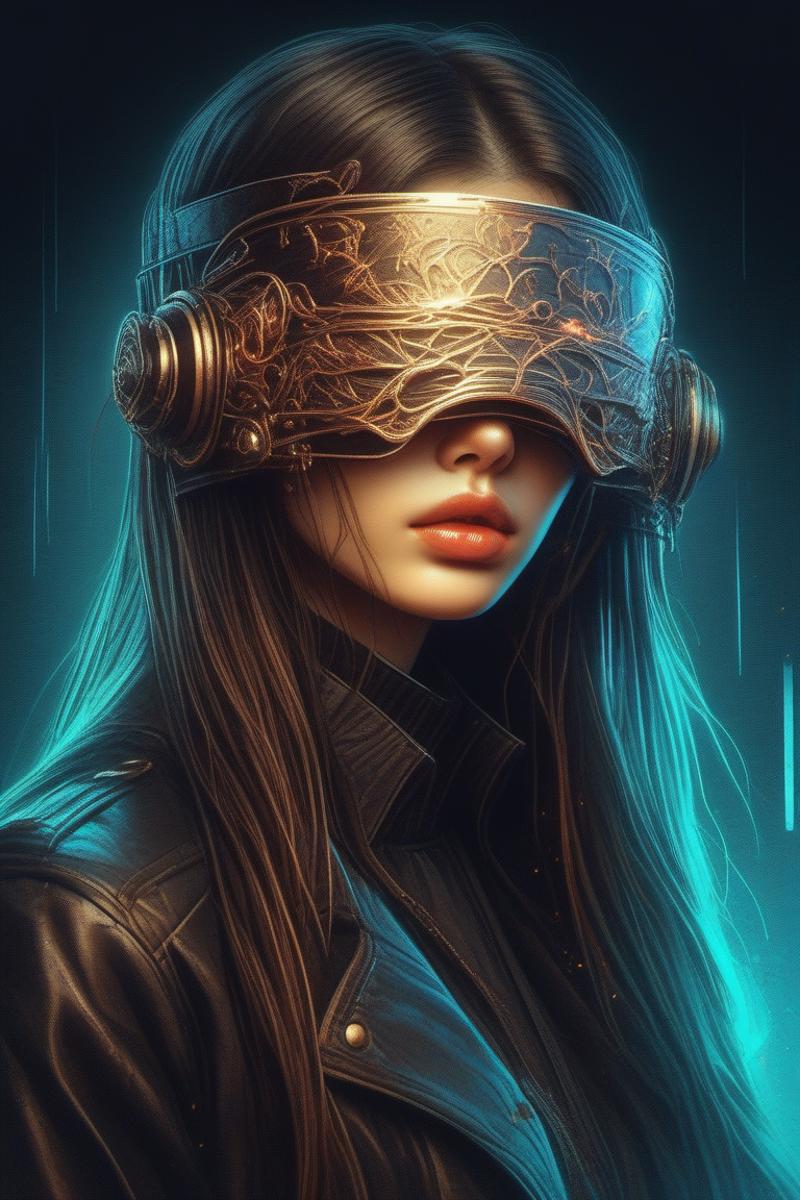
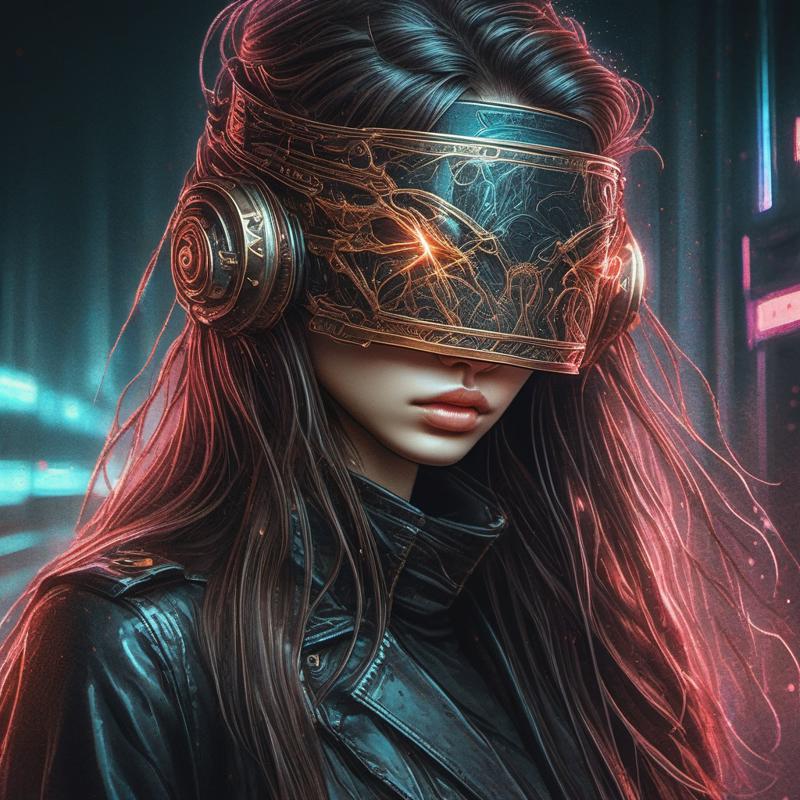
Ok, not bad, not bad. The second image has some weirdness in the mask and I don’t like that it is over the eye-area. I would definitely want to test that a bit more. But it got the concept and seems more adaptable/less tied to the dataset images for the style.
(Update: sure enough, after some testing, I found prompts it doesn’t hold up to nearly as well as the prodigy one. The tiny 600 total step count is just a little too few for AdaFactor here.)
Now here is the AdamW8bit optimizer, cosine scheduler result:
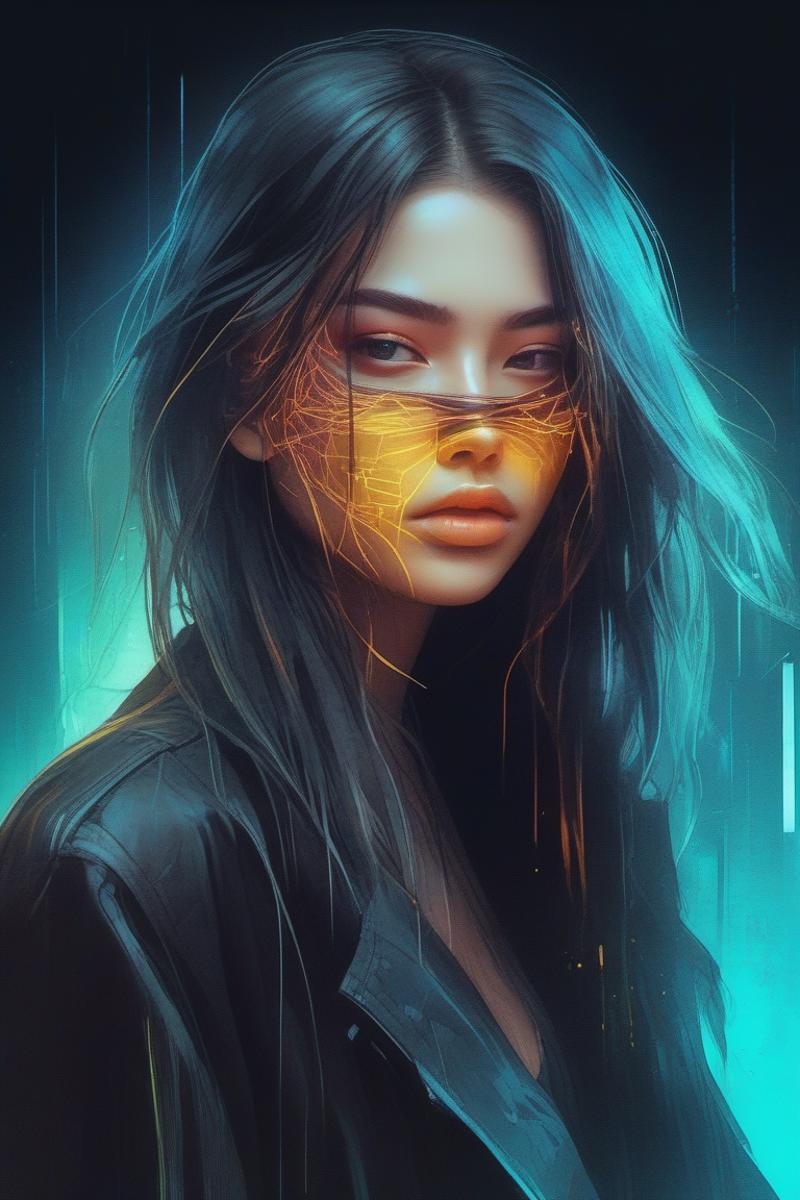
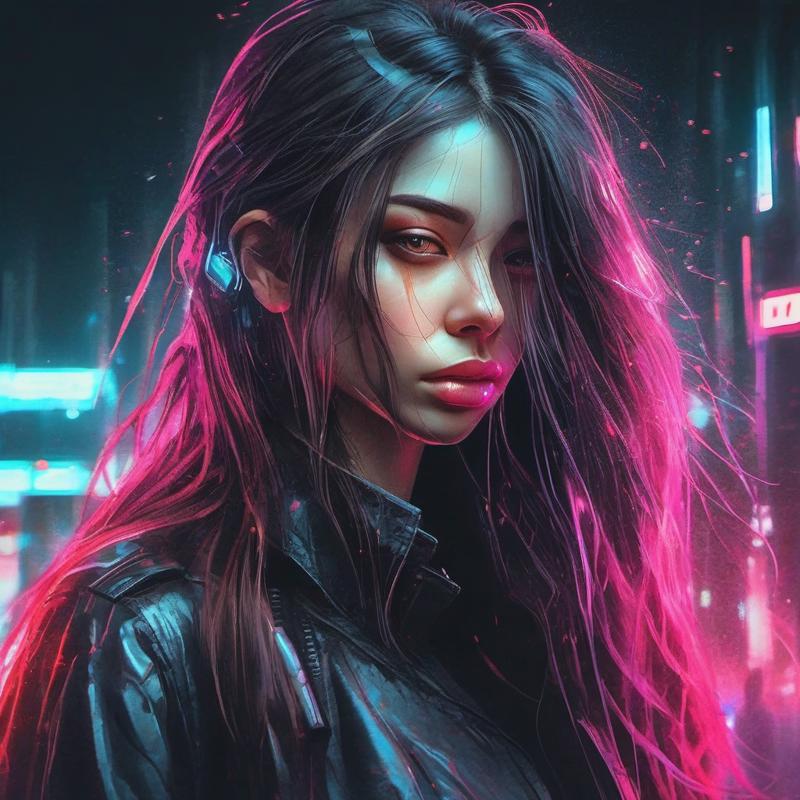
Oh no.
Well that won’t do.
What if we turn up the lora weight?
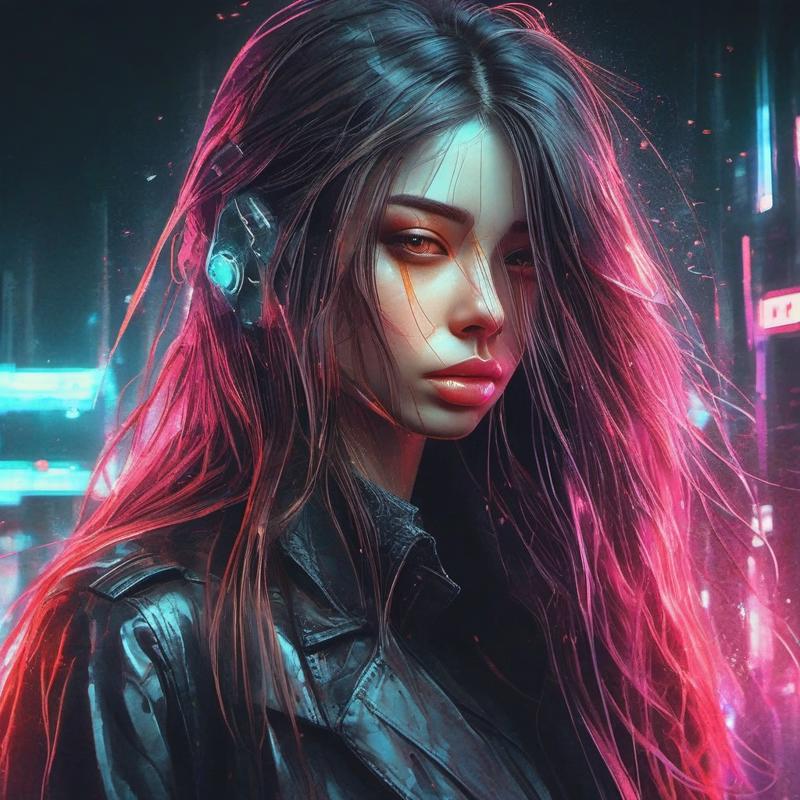
Nope. Just more face lines and an ear piece appear.
Turn up the lora weight and weight the prompt?
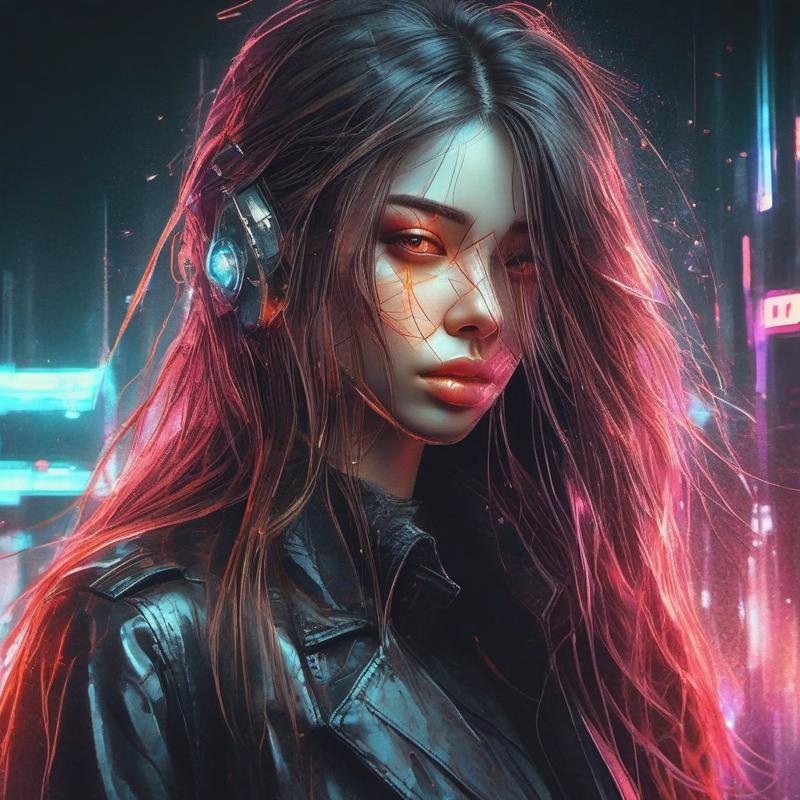
Also a no.
It looks like if I wanted to make this lora work on AdamW8bit, I would need a lot more training steps or a complete adjustment of the rest of the training parameters.
It is also possible I have a “bad seed” for the training. My understanding is it is rare for that to happen, but that it can happen. I set a seed for the training itself, though, for the AdamW and the AdaFactor trainings in order to get a better head-to-head comparison. As I get chances to run these without those seeds (and one of prodigy with one) I will come back and update this section with results.
In summary:
AdamW may need a little more help with particularly hard or new concepts (for future experiments I will probably look into changing the learning rate, increasing the alpha (which I had down at 16 for these), or changing scheduler)
AdaFactor needs more steps than Prodigy but seemingly picks up on hard concepts better than AdamW
It seems like changing prodigy’s learning rate on tensor does have an effect! Which I didn’t think was supposed to happen. Just to see, I tried setting the Text Encoder LR and Unet on a prodigy rerun with the same training seed to well below the usual “1”—and low and behold it didn’t learn what it needed to learn at all! I’m going to test this more and report more on it later
(To be continued. Next update estimate: 3/6/2024)

