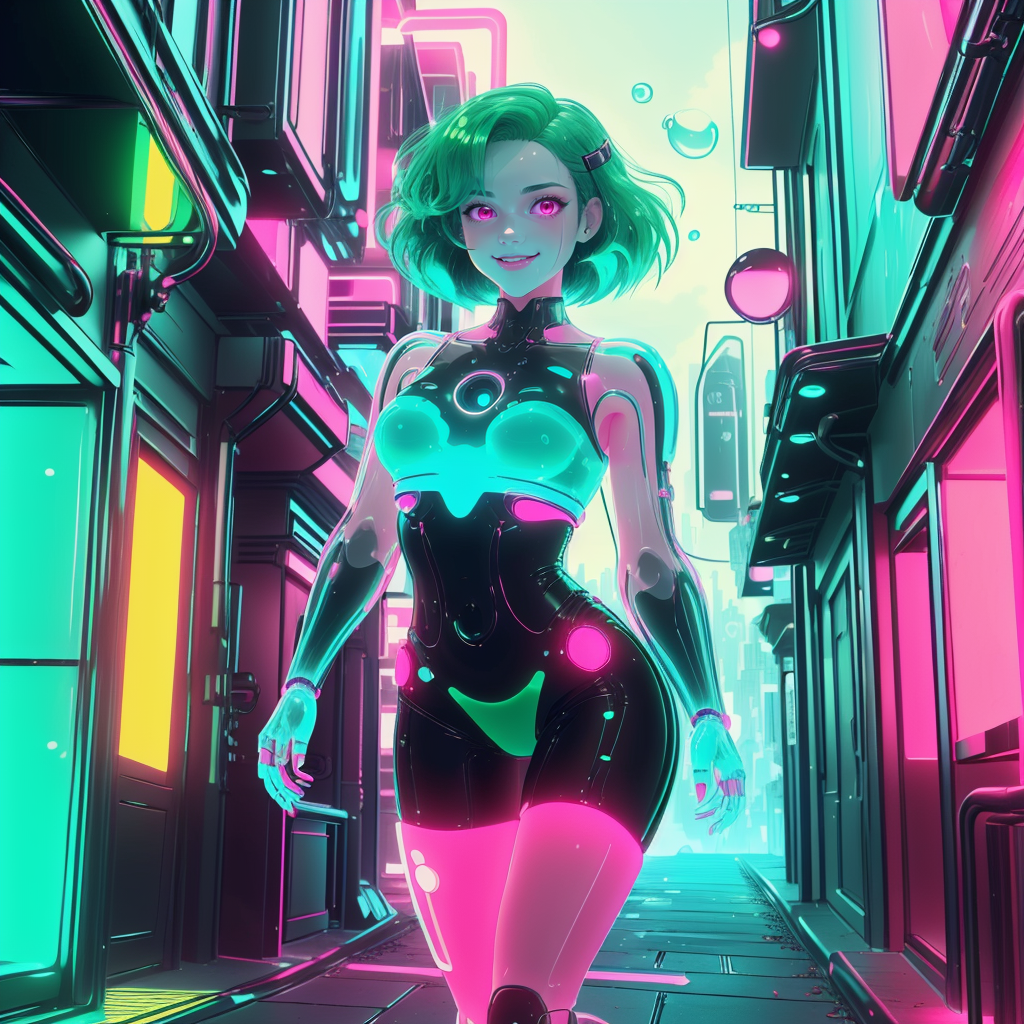
About:
This guide should cover the basic method of how I use auto1111 to generate images with SD1.5 models , this guide is intended for beginner level users to give them a bit of a head start in using auto1111 so don't expect anything groundbreaking xD
now without any further ado lets start by
Tweaking a couple of Settings in Auto1111:
About: first of lets add some hidden Ui element that were gonna use later on

head over to the settings tab
in the search box type "settings for"
add "CLIP_stop_at_last_layers" to the "Settings for txt2img"
add "CLIP_stop_at_last_layers" & "upscaler_for_img2img" to the "Settings for img2img"
click on "Apply Settings"
click on "Reload UI"
--
to give an idea on what you should expect from the settings :
it should add the following in the txt2img tab:

as well as the following in the img2img tab:

--
1st generation pass:
About: in this pass (using txt2img) we're gonna solely focus on the overall composition and form, we shouldn't concerned about the details nor the unwanted small artifacts.
|
in this example we'll try using two LoRAs on a realistic checkpoint with some basic settings
LoRA1: Gelatin Tech - World Morph
LoRA2: Retrowave Tech - World Morph
Checkpoint: CyberSushi
generation settings:

|
for the Positive prompt will use help as our test assistant Genny 💚 to illustrate a simple full body shot so the final prompt is gonna look like :
"
<lora:GelatinTech-20:0.7> gelatintech, see-through, transparent, scifi, <lora:RetrowaveTech-20:0.7> retrowavetech, virtual, vaporwave, wirefrme ,full body , seductive smile, best quality, bob cut, red eyes, green hair,multicolored hair, aqua hair, 1girl, in an alleyway , glowing eyes,"
|
as for the negative prompt lets try exploring 4 different scenarios
-no negative prompt-

it looks some what flat and rigid
a classic negative prompt "
low quality, worst quality,"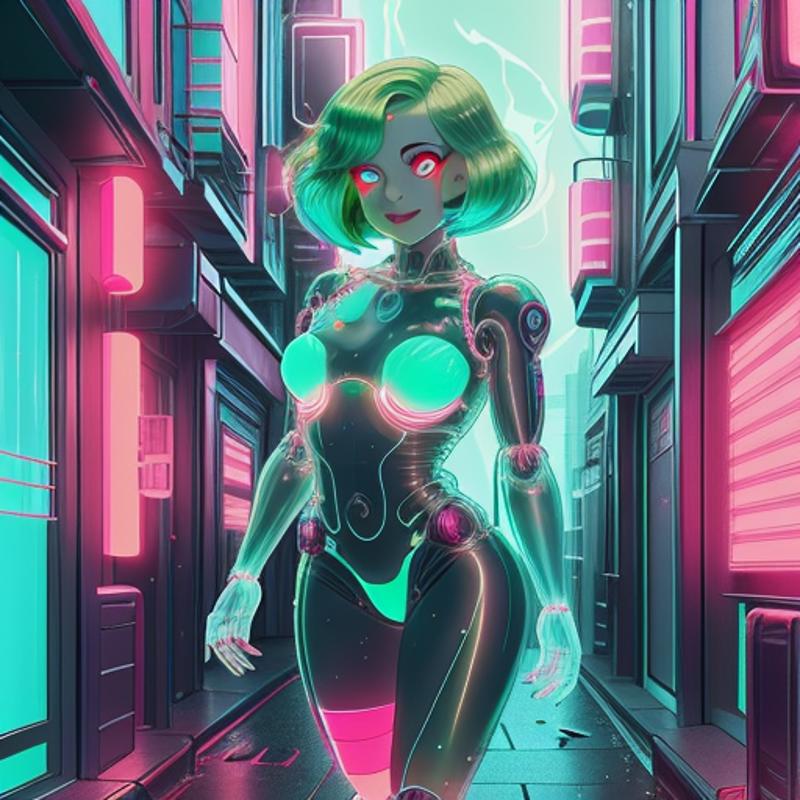
a minor improvement as it have a bit more perspective influence as well as better rendered materials
adding the [FastNegative] & [EasyNegative] embeddings "
low quality, worst quality, (FastNegativeV2), (EasyNegative)"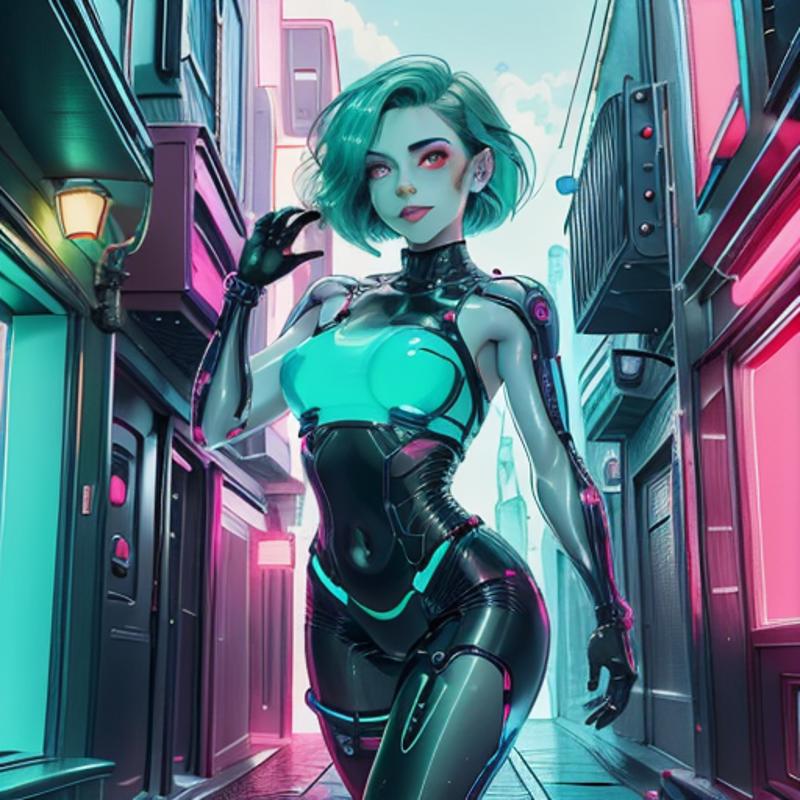
a huge improvement overall but it also seem to have diluted the LoRAs effect
tuning down the embeddings values a bit "
low quality, worst quality, (FastNegativeV2:0.9), (EasyNegative:0.6)"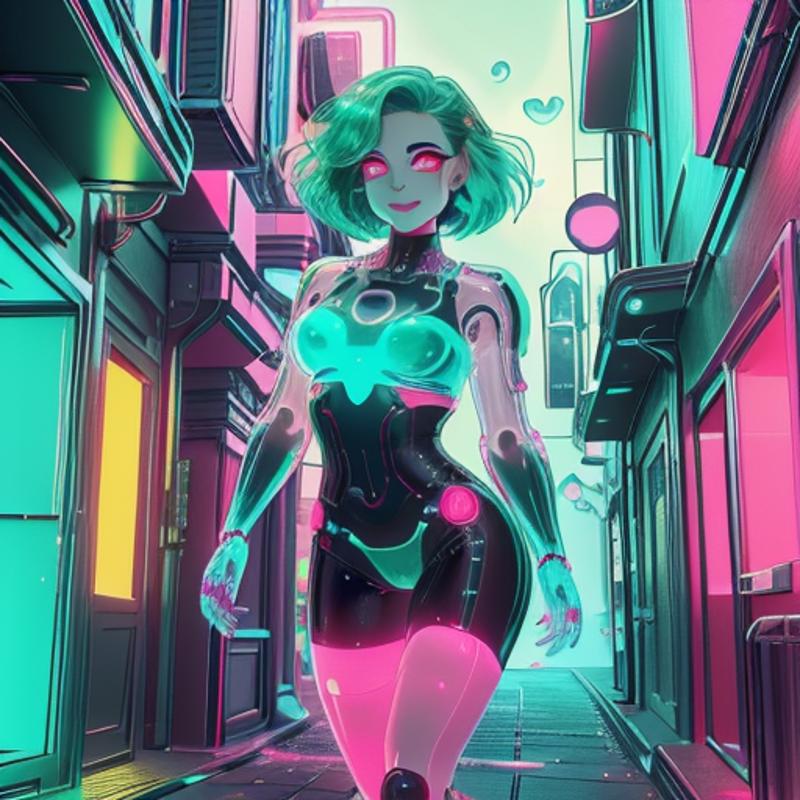
I'm pretty happy with this result 🥰 now lets move on to next step!
|
2nd generation pass:
About: now that we manged to get a mirage of an image that we're pretty satisfied with lets send it over from txt2img to img2img and try to flesh out the details even more
|
lets start by clicking on the "send to img2img" button to transfer our image and its settings over to the "img2img" tab
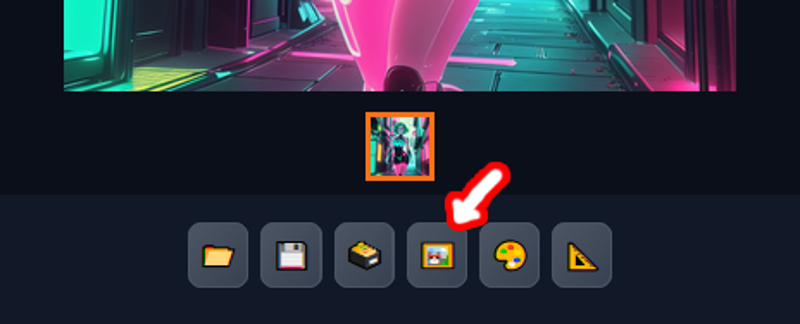
now we lets tweak some settings
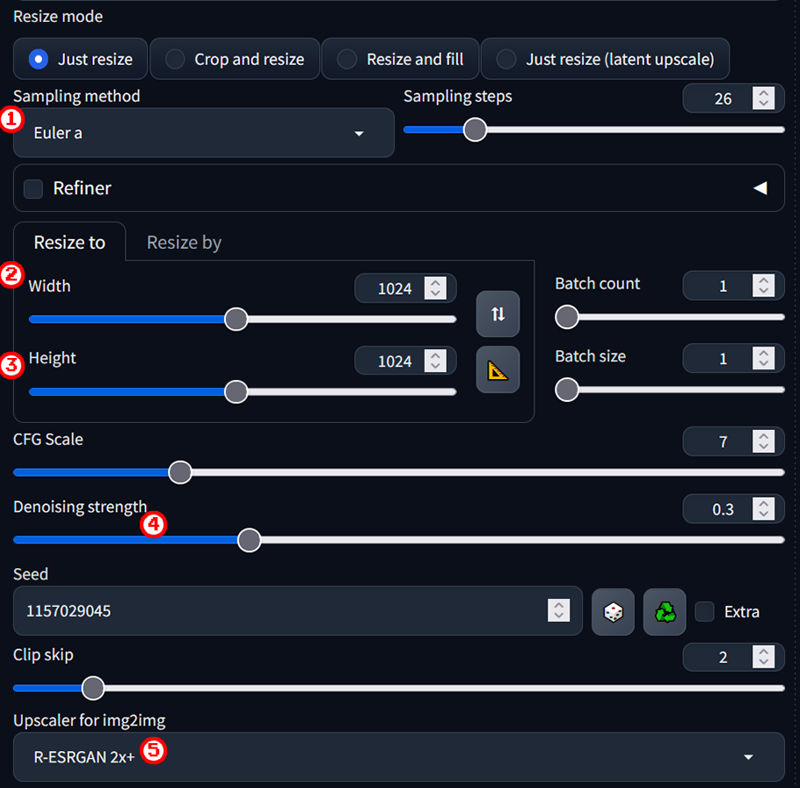
set the sampler to "Eular A" if its not already
lets scale our width setting by x2 in this example "512" becomes "1024"
lets scale our height setting by x2 in this example "512" becomes "1024"
fix the Denoising Strength at a value between 0.26 & 0.3
choose your favorite upscale model for me its "R-ESRGAN 2x+"
this makes for an even crisper results
Now lets Generate
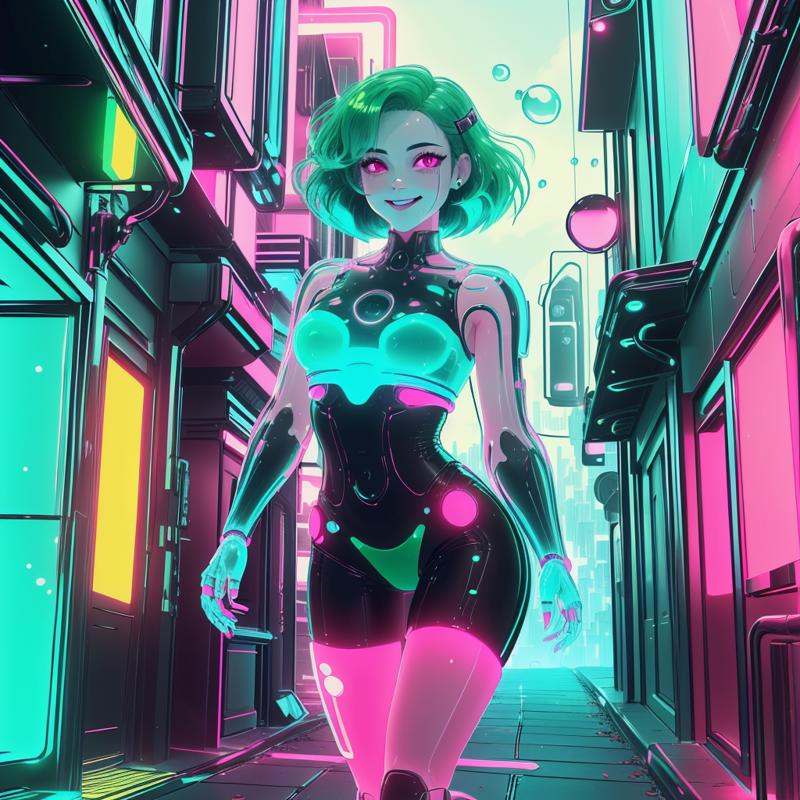
its looks more interesting now! but we're not done yet ;p
note that you can also use "DPM SDE++ karras" instead of "Eular A" to squeeze out more details at a slower pace, just make sure to set the Denoising Strength at a value between 0.4 & 0.48 in that case
|
Enhancement pass:
About: after 2nd generation pass our result looks even more acceptable but we can still put a couple of cherries on to make it look even better 🤌
|
from our img2img tab let clicking on the "send to inpaint" button to transfer our image and its settings over to the "img2img inpaint" tab
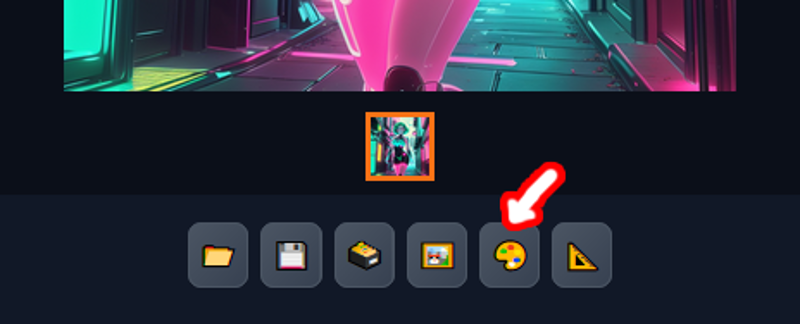
notice that we now have brush that we can use to select areas of the image
lets start by selecting paining an area over the face to select it for enhancement
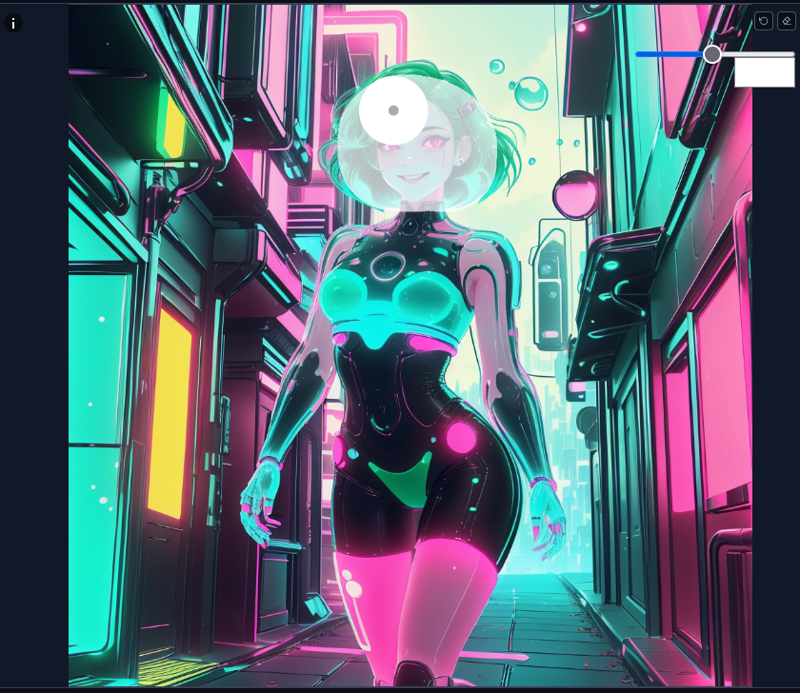
don't be intimidated by the number of settings as we're only be needing a few
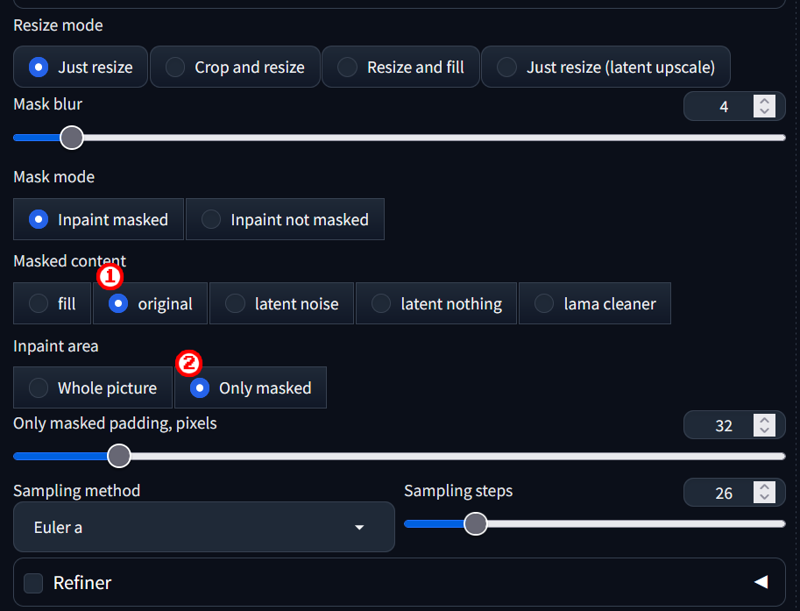
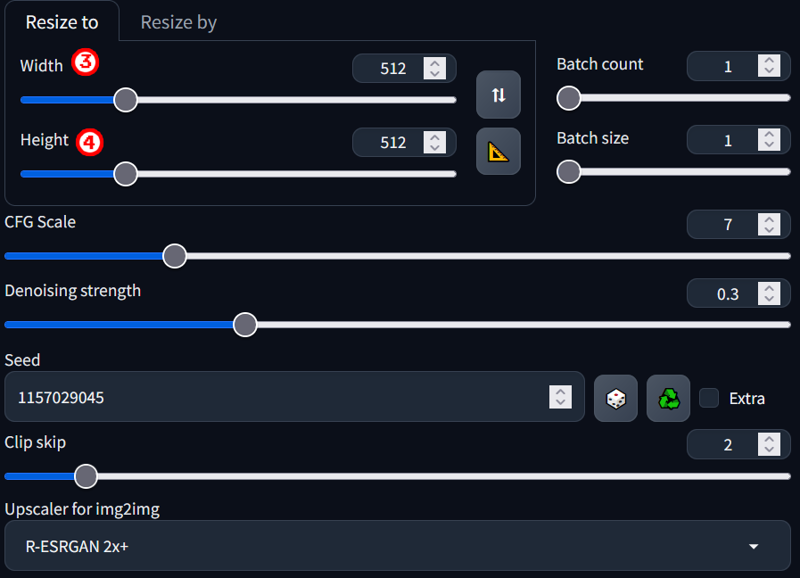
set masked content to "Original" if its not already
change inpaint area to "Only Masked"
lower the Width to "512" as 512x512 is the best resolution for SD1.5
lower the Height to "512" as 512x512 is the best resolution for SD1.5
now lets try hitting generate
|

the face looks much more detailed now
|
now let enhance one more area by repeating the exact same process starting from the "send to inpaint" button

clearing the previous mask by clicking on the
painting over the new area to enhance
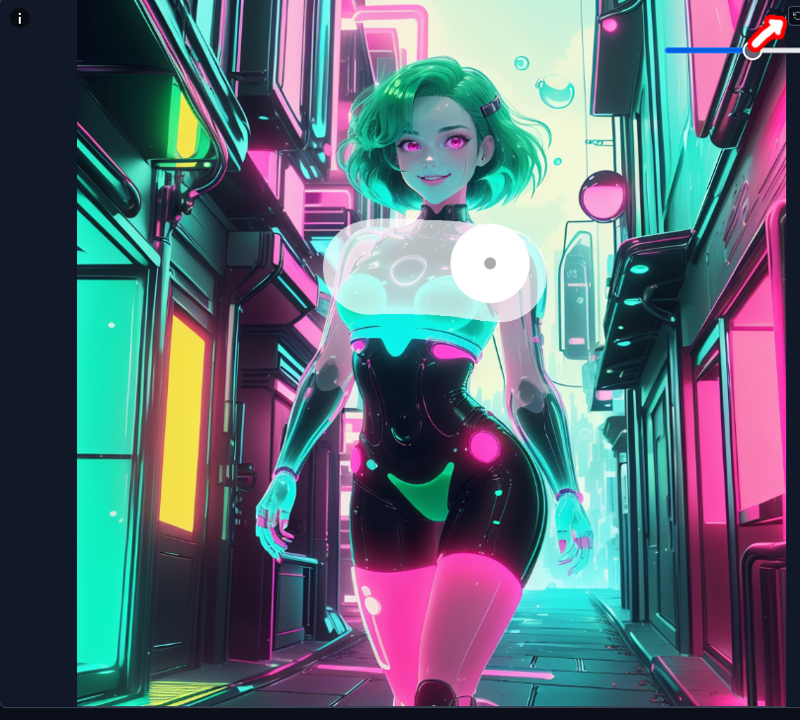
remember to change the resolution to 512x512 as it get rest every time !
then hit generate!

as u may have noticed it this pass added little gelatin bubble details in the selected area
you repeated this step as much as you want just remember the paint single areas at a time and keep them on on small size (less then 1/9 of the image)
|
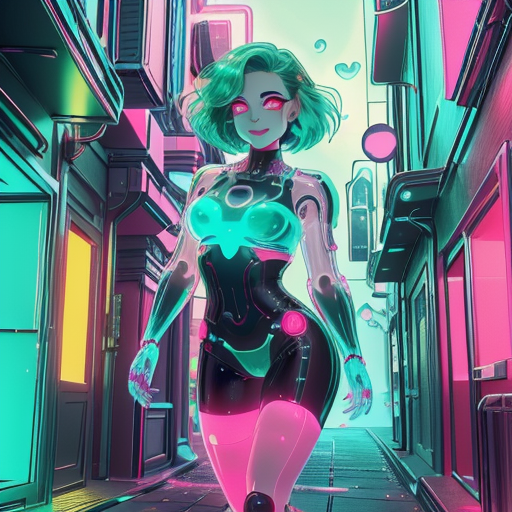
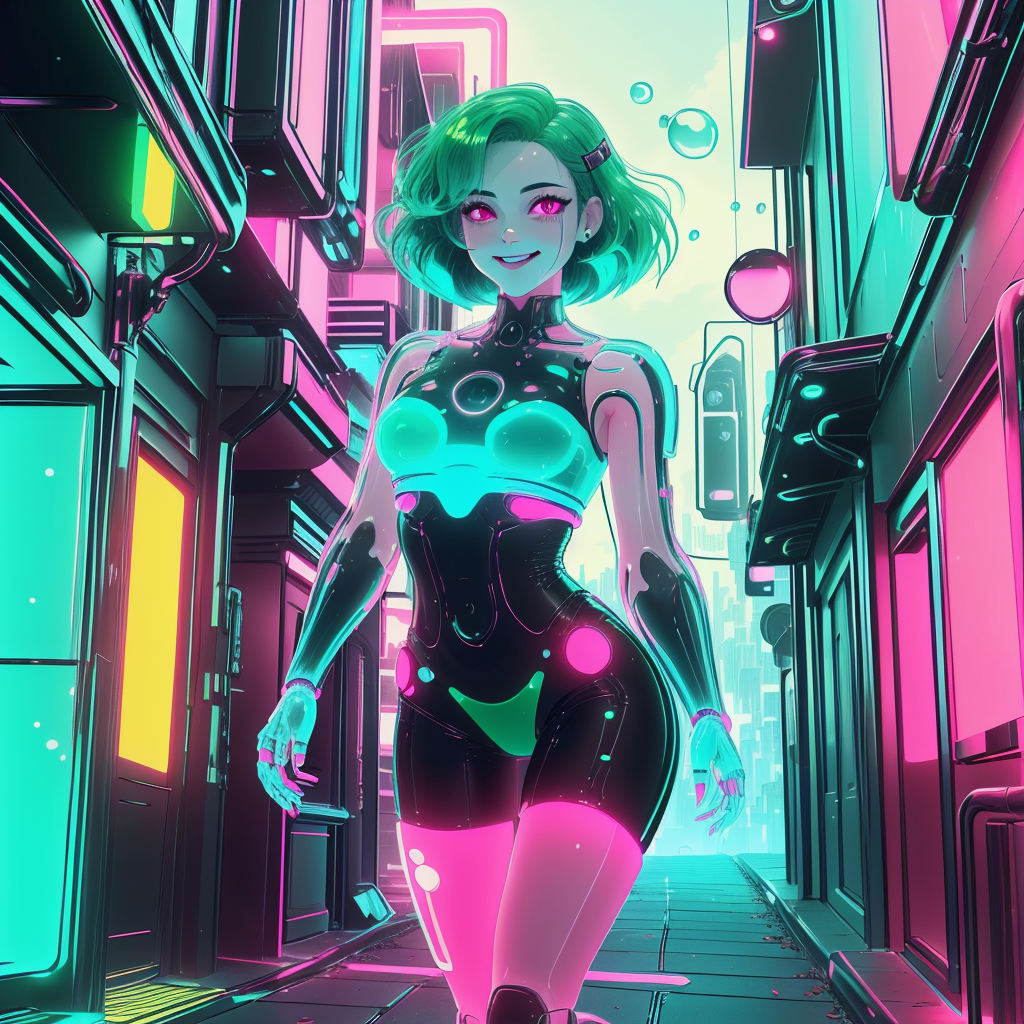
Comparison time !
-- txt2img --
|
-- txt2img + img2img --
|
-- txt2img + img2img + inpaint --
