Objective
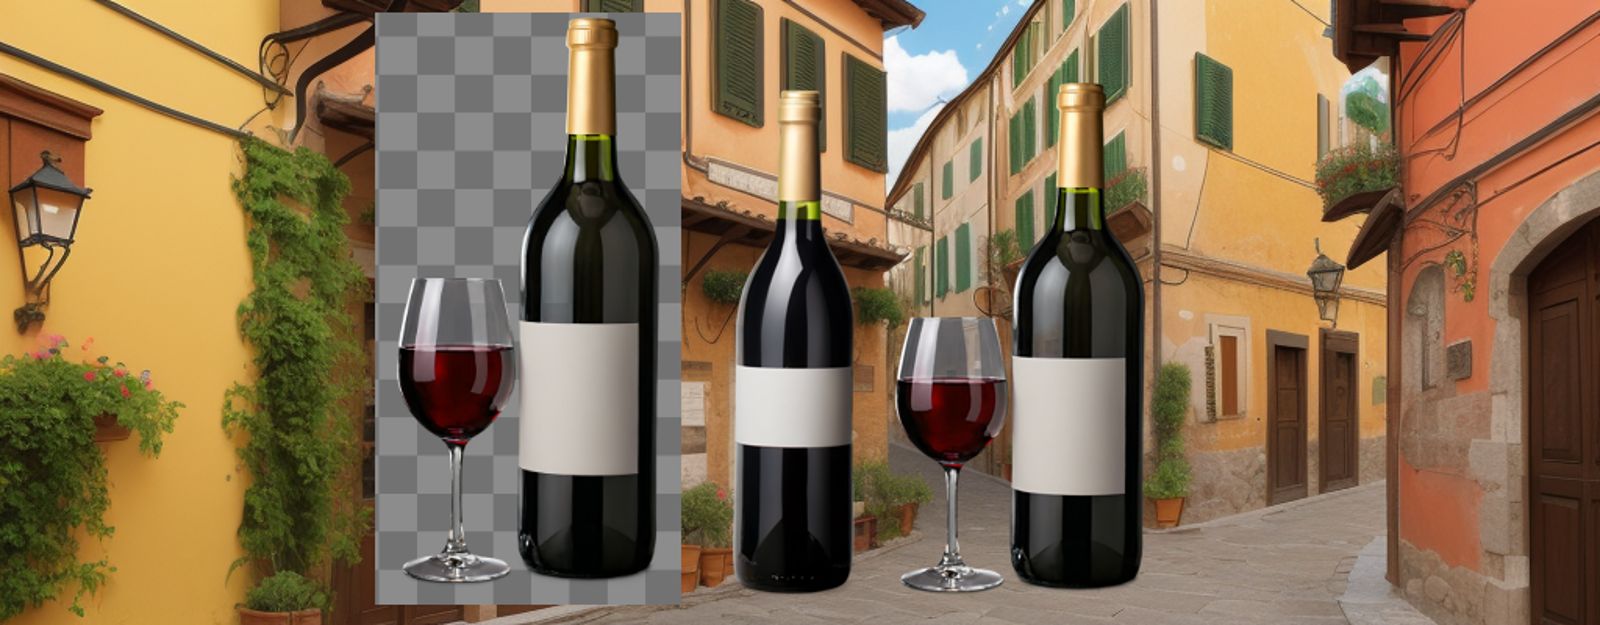
Make images with transparency in the same moment you generate the image with Stable Diffusion.
Preface
This installation is on a windows 11 system with a Nvidia Cuda card.
I normally use Stable Diffusion with A1111 interface but It is not compatible with ths sd-forge-layerdiffuse, to use It I decided to install the https://github.com/lllyasviel/stable-diffusion-webui-forge
Environment
Stable Diffusion Web UI Forge (https://github.com/lllyasviel/stable-diffusion-webui-forge)
Layer Diffuse(https://github.com/layerdiffusion/sd-forge-layerdiffuse)
Installing Stable Diffusion Web UI Forge
You need python installed in your computer (I won't write about this, please check my previous articles). Also you will neet git installed in your computer.
Create a folder , in my case
Q:\StableDiffusionWebUIForge
Open a windows terminal an access it:
cd StableDiffusionWebUIForge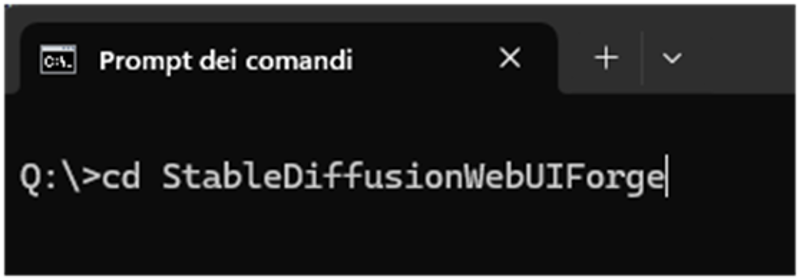
When inside the folder run :
git clone https://github.com/lllyasviel/stable-diffusion-webui-forge.git
it will get the files from the git repository:
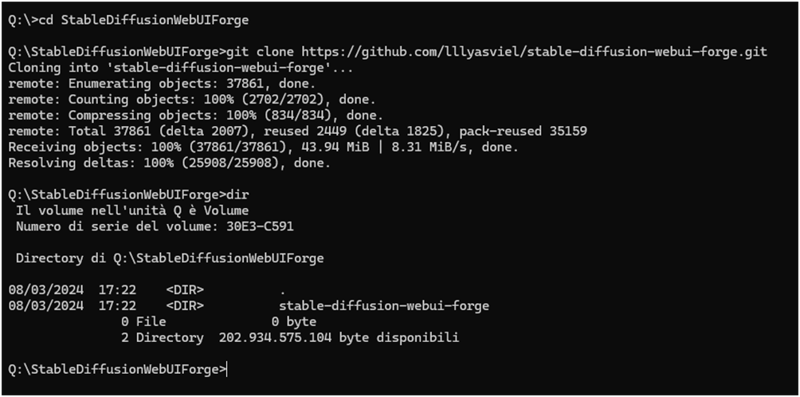
The access the new folder and run the command to install the requirements
cd stable-diffusion-webui-forgepip install -r requirements.txtIt will take some time then you have to run
webui-user.bat
It will take a long time because it download many components and a checkpoint of 2GB.
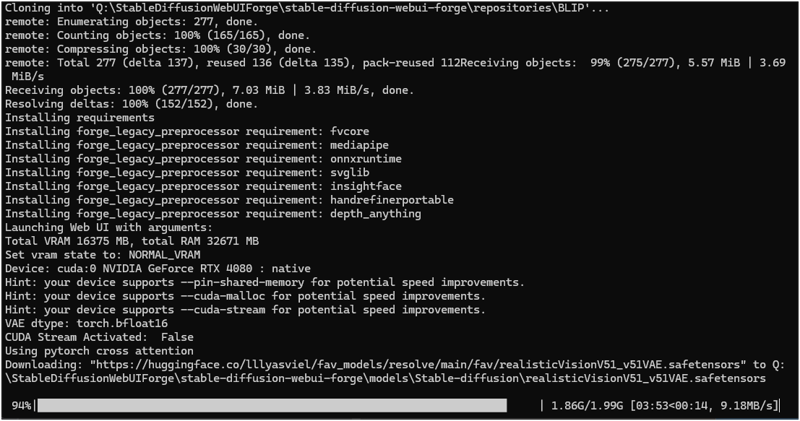
Then it will start (in my case it works on http://127.0.0.1:7861/ because port 7860 is used by another interface of Stable Diffusion).

Testing Stable Diffusion webui Forge
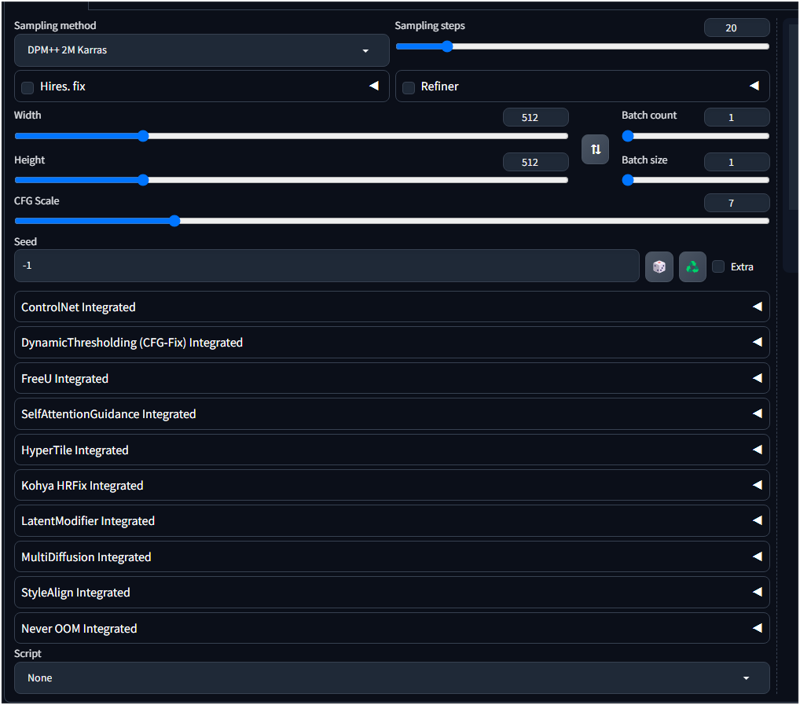
The interface is similar to A1111, the integrated component are different.. (I will check them later and I think I will write an specific article about these).
Installing SD-forge-layer
I am here to test the transparent component.
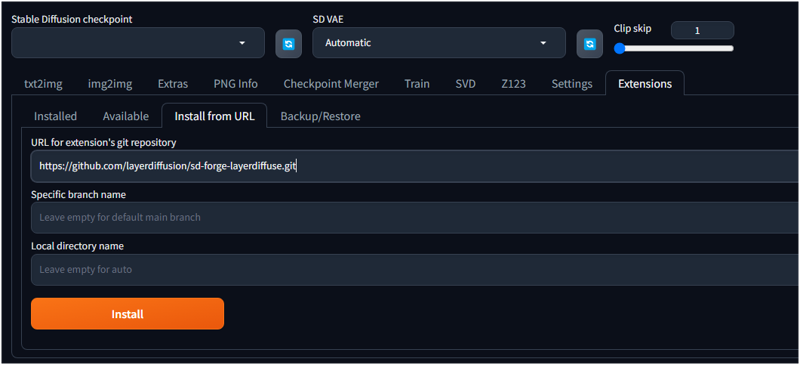
Extension installation works in the same way as A1111
Go to the Extension tab
Click on "install from URL"
Paste the link https://github.com/layerdiffusion/sd-forge-layerdiffuse.git
Click Install
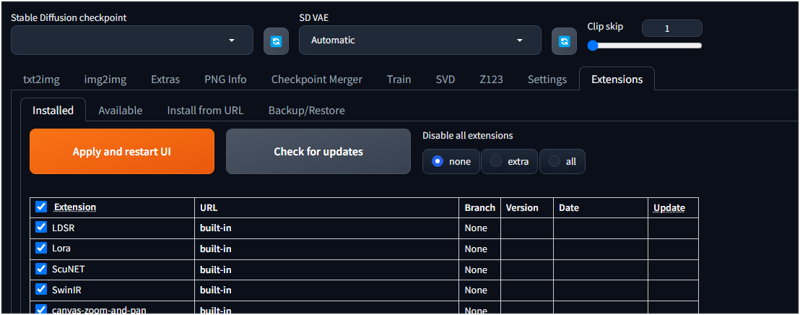
Restart Stable Diffusion manually or go to Exansion >> Installed and click "Apply and restart UI"
Now there is the new component.
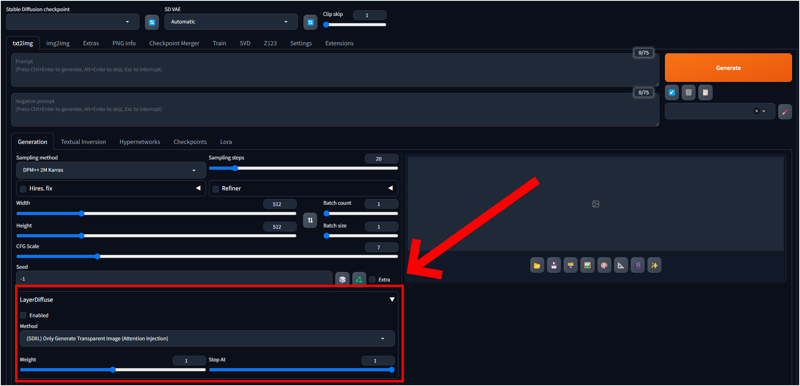
LayerDiffuser component
The options are few.
1) you can enable it

2) There are different methods
I notice 4 for the SD 1.5 and 6 for XL.

3) The weight that goes from 0 to 2 (default 1)
4) The Stop at that goes from 0 to 1 (default 1)
When you run the generation first times , it will download some .safetensors files from https://huggingface.co

1 TEST a glass of wine (SD 1.5)
Checkpoint : SD 1.5 - realisticVisionV51_v51VAE.safetensors [15012c538f]
Prompt : a glass of wine, gray background
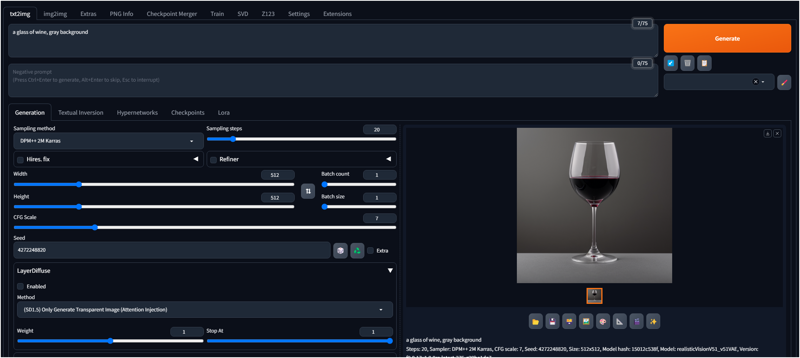
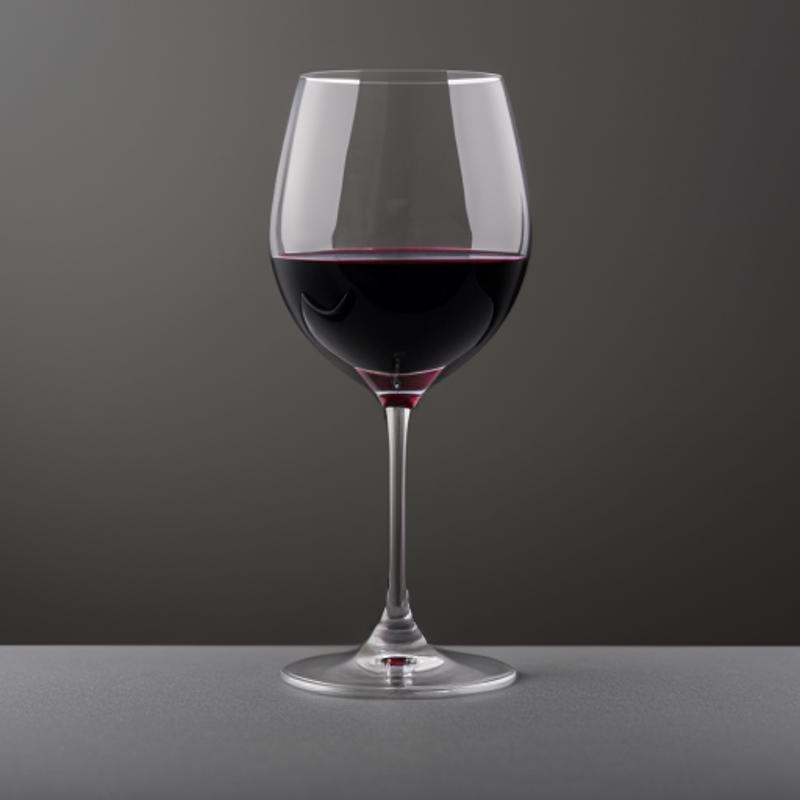
Now I enable the component with the (SD1.5) Only Generate Transparent Image (Attention Injection)

it makes a fake transparent background (I hate this 😩)
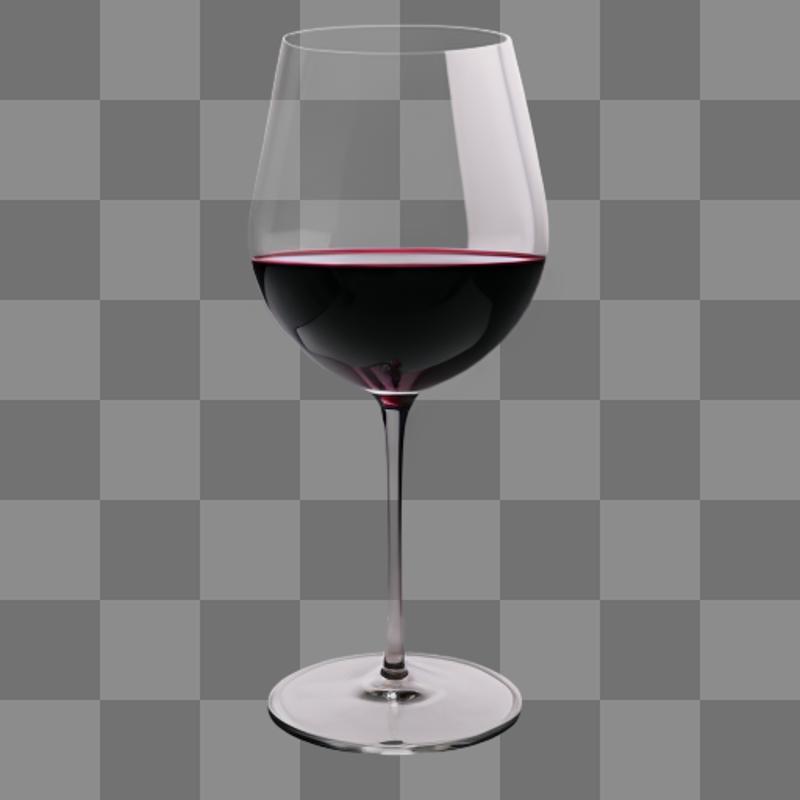
I notice that there is no file in the output folder but there are 2 files in the results.
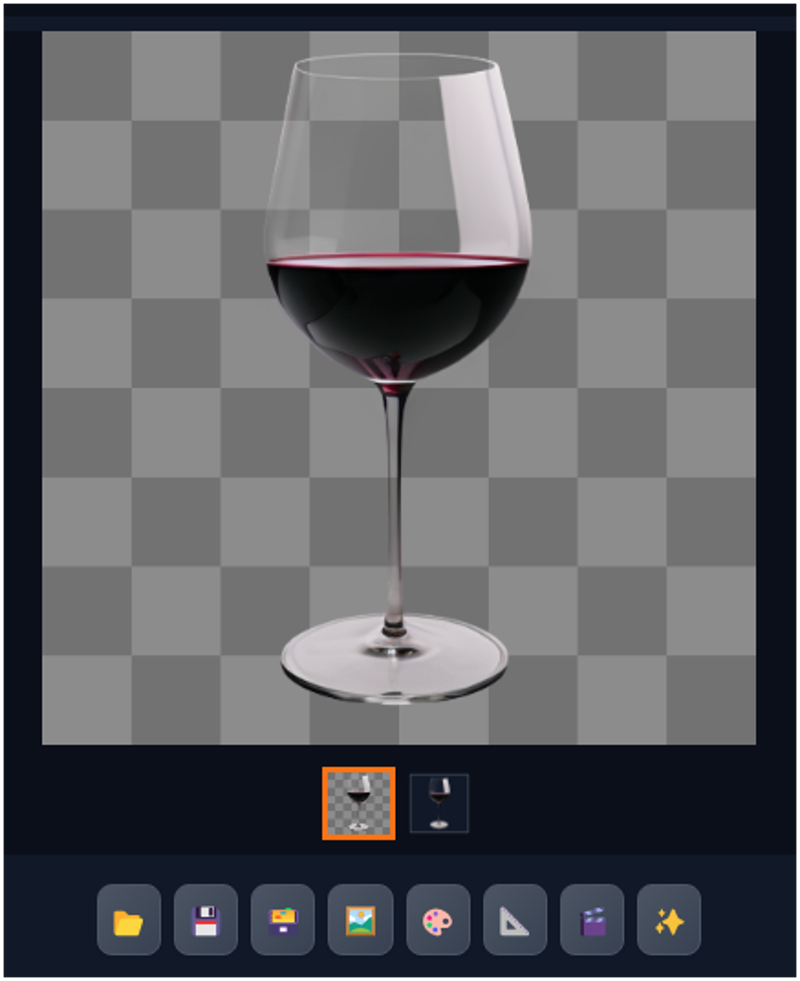
The 2° one it is transparent
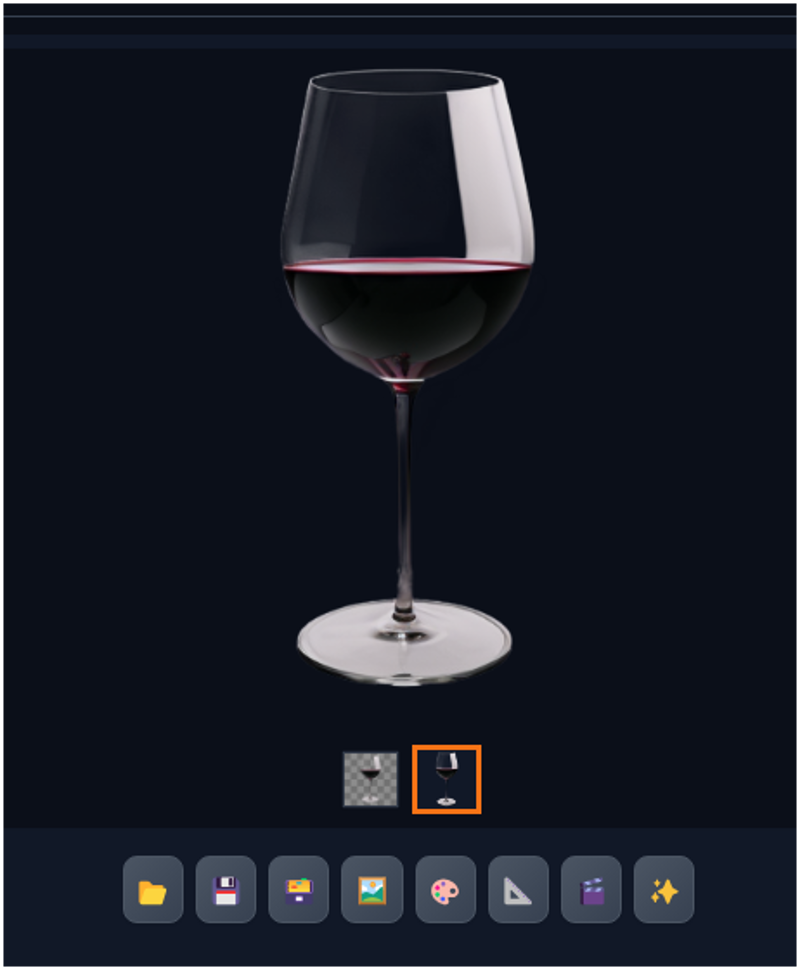
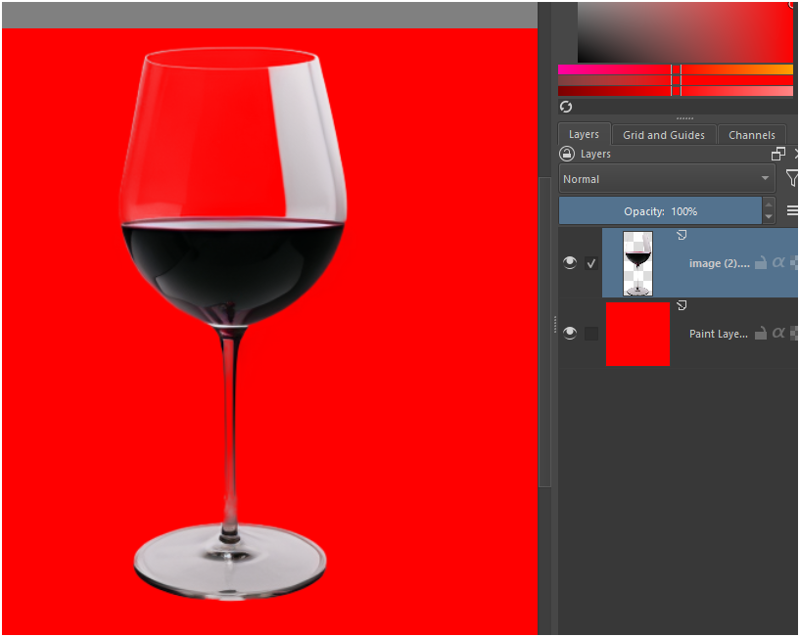
I downloaded the files and tested in Krita , you can notice that the file is in one layer and the background layer is red).
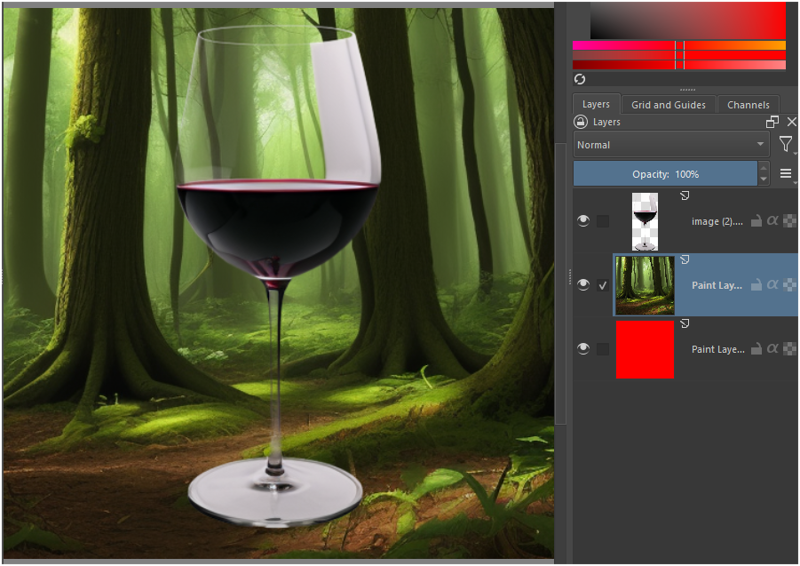
Pasting another background image, you notice that the glass is transparent... cool
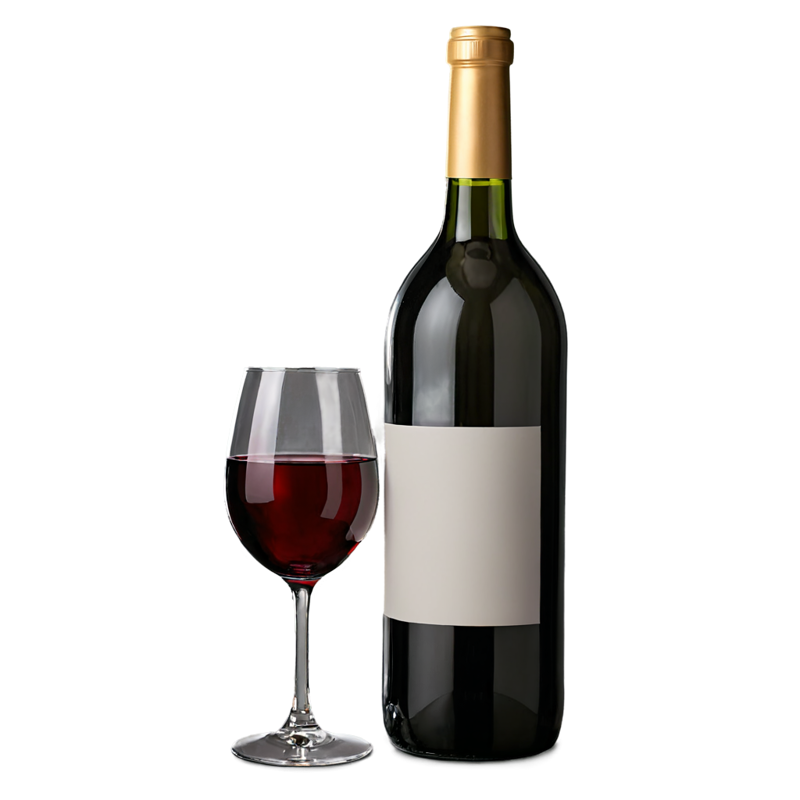
2° TEST - Bootle of wine (XL)
Prompt : a transparent Bootle of wine, gray background
a transparent Bootle of wine, gray backgroundSteps: 20, Sampler: DPM++ 2M Karras, CFG scale: 7, Seed: 4246362555, Size: 1024x1024, Model hash: fd9cdc26c3, Model: dynavisionXLAllInOneStylized_release0557Bakedvae, Version: f0.0.17v1.8.0rc-latest-276-g29be1da7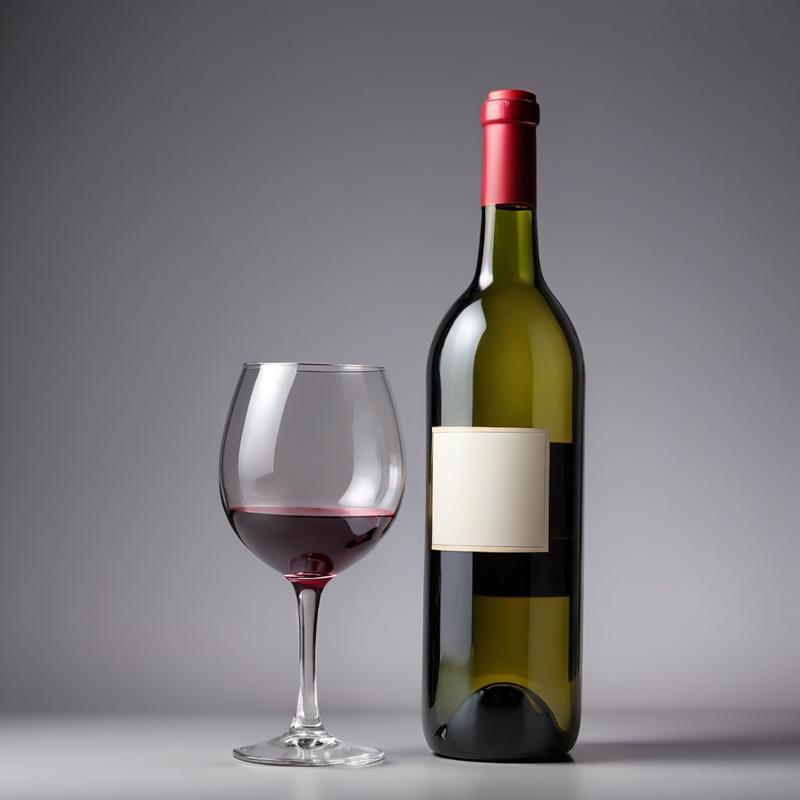
Let's enabled the layer component
I will test : (SDXL) Only Generate Transparent Image (Attention Injection)

The image generated it is a little bit different, but it is transparent
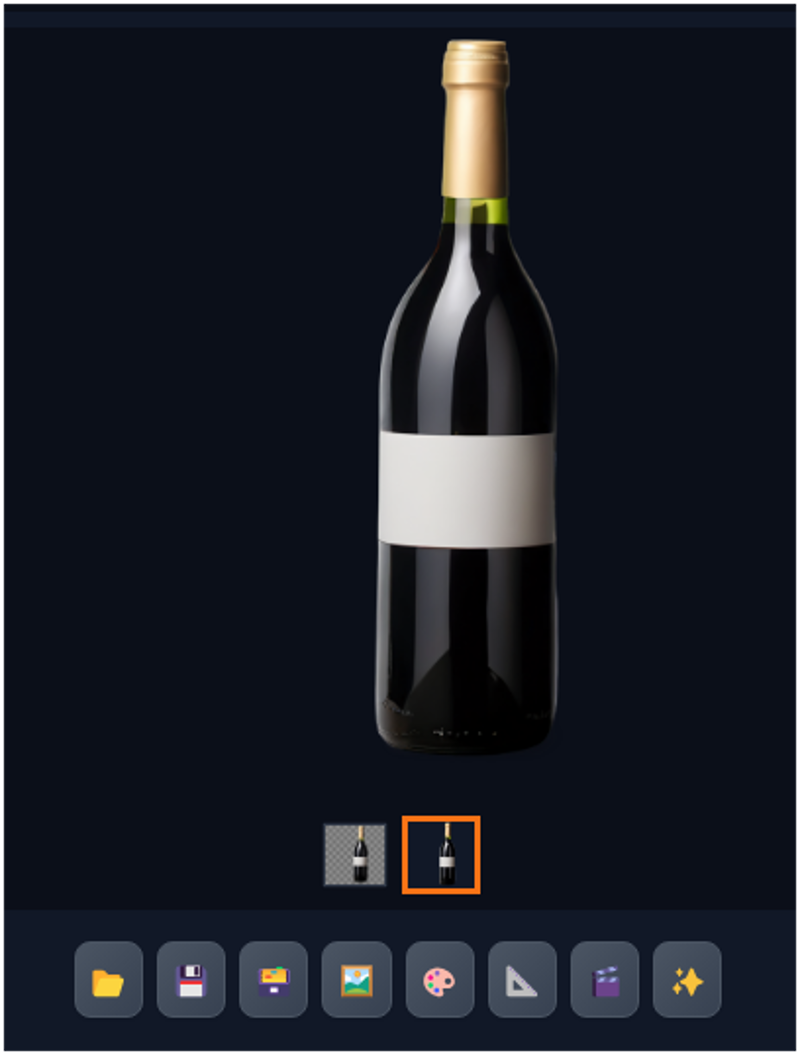
Let's try with : (SDXL) Only Generate Transparent Image (Conv Injection)
This option will download another 3.37GB of model

With the same seed I have another transparent bottle.
3° Test with a person
Prompt
1woman with white dress walking in the forest , looking at the viewerSteps: 20, Sampler: DPM++ 2M Karras, CFG scale: 7, Seed: 2308768903, Size: 1024x1024, Model hash: fd9cdc26c3, Model: dynavisionXLAllInOneStylized_release0557Bakedvae, Version: f0.0.17v1.8.0rc-latest-276-g29be1da7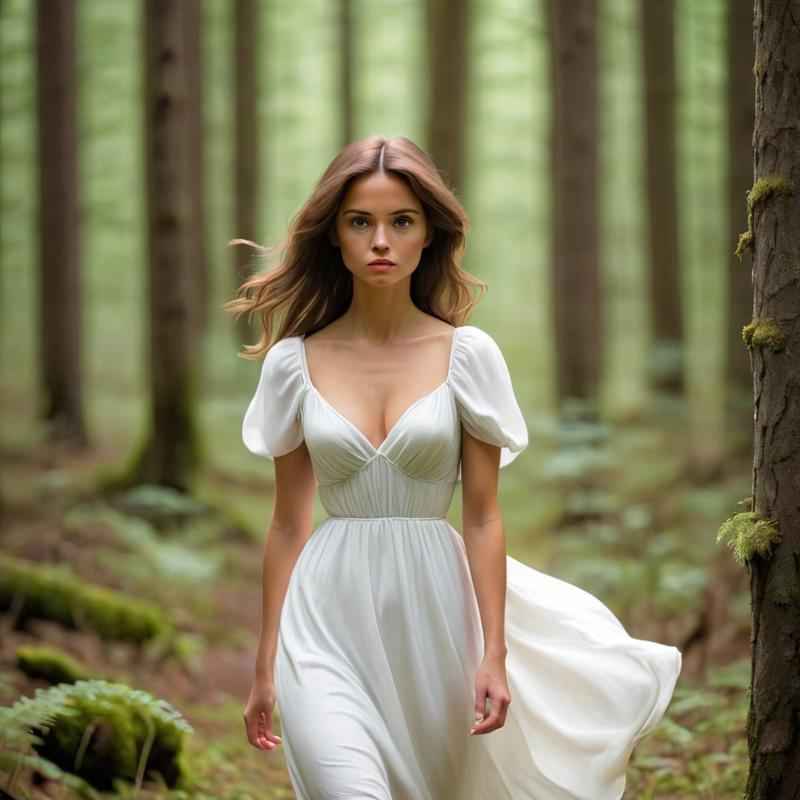

Image is different also with the same seed.
(SDXL) Only Generate Transparent Image (Conv Injection)👎
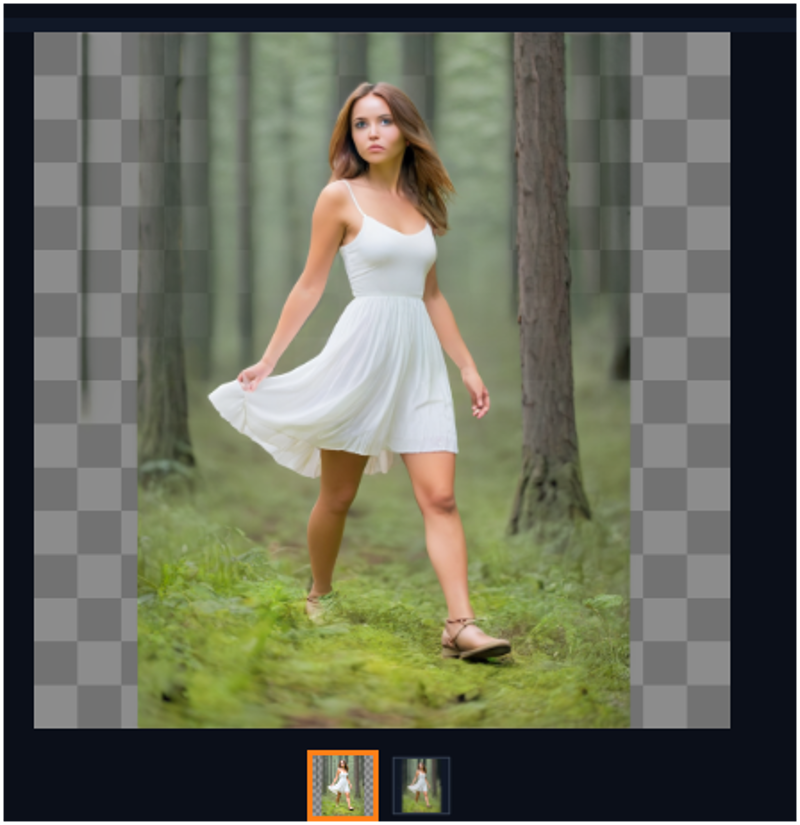
With : (SDXL) Only Generate Transparent Image (Attention Injection)👎
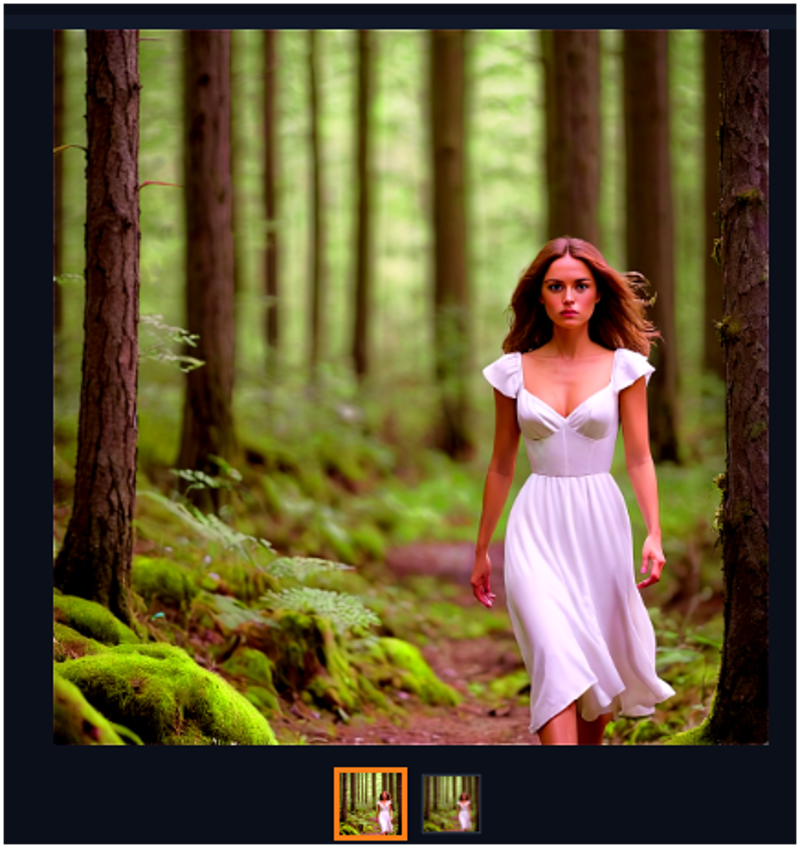
Result
The Layer Diffusion works well when you write a simple color background but it doesn't work well with other background.
For now I will continue to use A1111+ removal plug-in (check my article here: https://civitai.com/articles/3696/stable-diffusion-a1111-streamlined-background-removal-across-multiple-images)
Of course I will do more tests
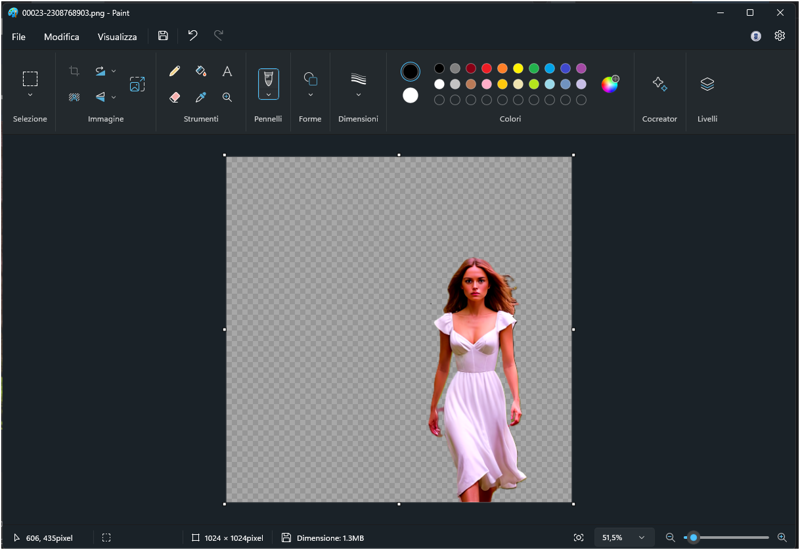
Also Windows Paint removal works better.
I hope you enjoy my article.


