Welcome to my little corner of the SD Jungle!
In this Article Series I will be showing and explaining my workflow. It is by no means perfect and I still have a lot to learn, but hopefully you find some little nuggets of knowledge here that you can bring to your own generations and workflow.
Each part of this series will build on the knowledgebase. Meaning that Part 1 is going to be very simple. Simple image, simple details, and simple enhancements.
In this part of the Series we will cover:
What Extensions I use.
How to configure them (If needed).
Initial generation.
Initial Detailing.
I have included links to the extensions, checkpoint, and LoRa Model I will be using in my examples below. Feel free to download them if you'd like to follow along.
( NOTE: This article assumes you know how to install extensions to Automatic1111. If you need guidance I suggest reading one of the many great articles on the subject here on CivitAI, or going on YouTube. Many of the Extension Creators also have instructions on their GitHub Pages as well. )
What You Will Need:
Numbers 3 and 4 are optional if you'd like to follow along.
Dynamic Thresholding (CFG Scaling Fix) by mcmonkey (Extension)
ADetailer by Bing-su (Extension)
RealCartoon-Realistic by 7whitefire7 (Pruned Model)
Put Checkpoints in '\webui\models\Stable Diffusion'
Project_Pinay Pinay 2 by DogFace (LoRa Character Model)
Put LoRa Models in '\webui\models\Lora'
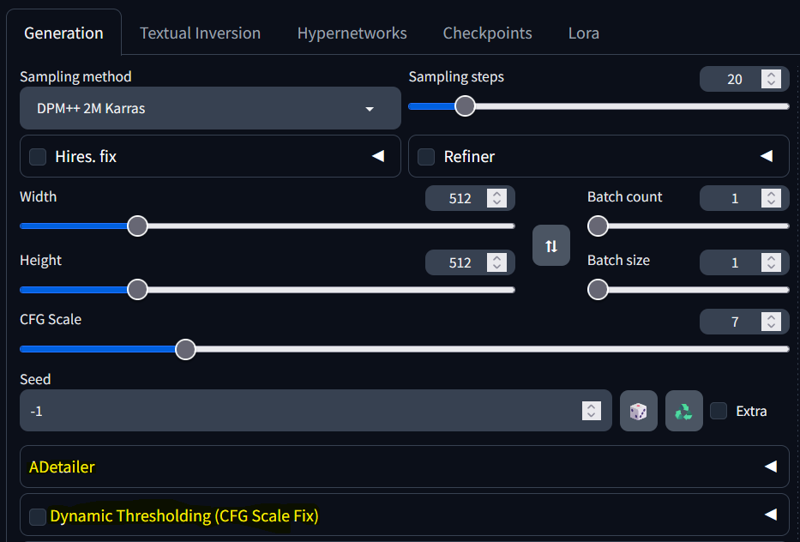
Once you have downloaded and installed the extensions; You can find them under the Parameters Box.
Section 1 - Parameters and Configurations:
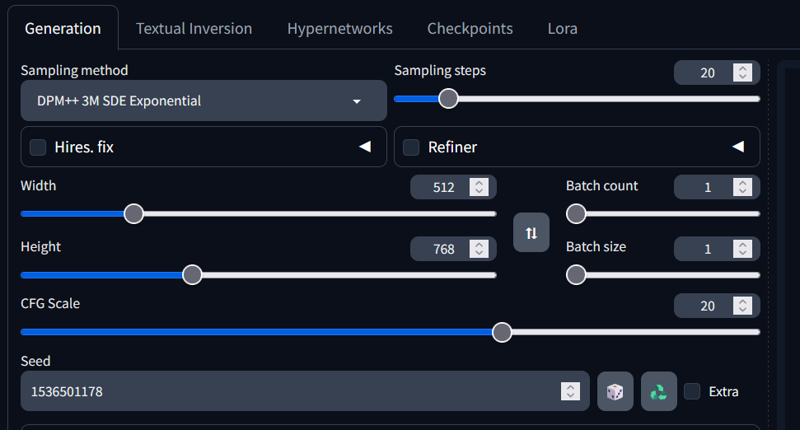
1a. Generation Parameters:
Model: RealCartoon-Realistic
Sampling Method: DPM++ 3M SDE Exponential
Sampling Steps: 20
Width: 512
Height: 768
CFG Scale: 20 (I know it's high. We will get to that part soon.)
Seed: 1536501178
Your Parameters box should look like this:
1b. Dynamic Thresholding (CFG Scaling Fix):
This extension allows you to set a higher CFG Scale to the vanilla parameters without the model and sampler producing the famed artifacts that we are accustom to at such high numbers. Doing this will allow us to incorporate more detail oriented Keywords in our prompts without them getting "lost in the sauce" during generation. It (very) basically says to Automatic1111, "Hey, you're using 8 CFG Scale." and then stuffs 12 more CFG Scale Tokens in it's back pocket when it turns around.
When you're playing around with it on your own you can set the vanilla CFG all the way up to it's limit if you so desire; Though I suggest keeping it at or around 20-25 for most models and samplers. This range seems to give the best results.
Given the simplicity of the example we will be using in this article, the extension will not really get it's chance to truly shine. Don't fret. In later Articles we will be generating very detail heavy images where this extension becomes essential.
( NOTE: I've found that some LoRa Models can "break" the extension. If this happens it is often a good idea to lower the weight of the LoRa causing the issue. You can also lower the vanilla CFG Scale as well, but lowering past 16 defeats the purpose of the Extension in my opinion. There are certain steps you can take later that can correct this issue. )
Let's press forward and configure the extension.
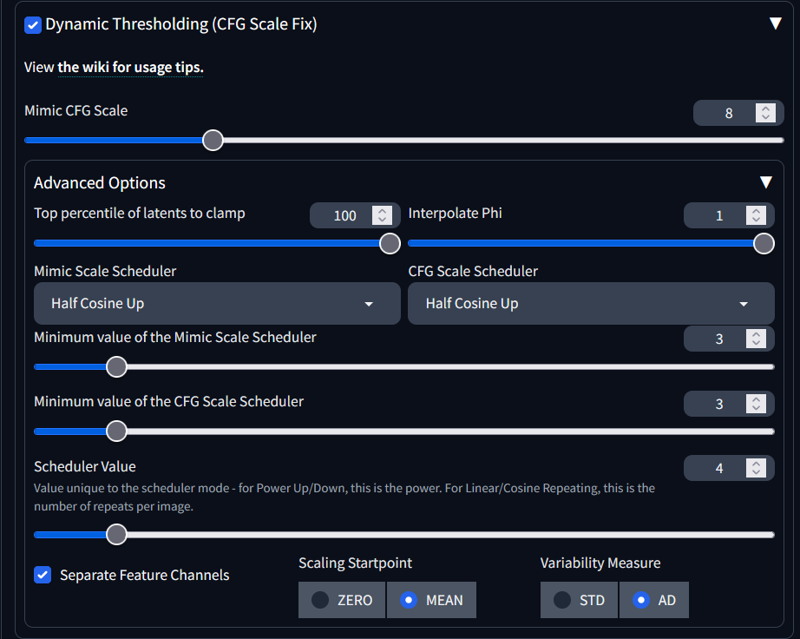
Dynamic Threshold Configuration:
Enable the Extension
Mimic CFG Scale: 8
Mimic Scale Scheduler: Half Cosine Up
CFG Scale Scheduler: Half Cosine Up
Minimum Value of the Mimic Scale Scheduler: 3
Minimum Value of the CFG Scale Scheduler: 3
Your Dynamic Threshold (CFG Scaling Fix) Configuration should look like this:
Great! We are all set here! You can leave the Accordion expanded if you like, however; I usually collapse it to get it out of the way. As long as the checkbox is 'ticked' the extension is doing it's job.
1c. Our Prompt:
Now that our parameters and configurations are set; Let's create a basic Prompt for our generation. For the purpose of this article I will keep it simple but still incorporate some finer details.
( NOTE: You will notice my method for writing my prompts here. I use a format of 'word_word' for multi-word entries instead of using spaces. This makes selection a little easier when applying weights later on by double clicking to highlight and then Ctrl+Up/Down to apply weights.
I also use Pipes '| word, word_word |' to separate keyword categories in my prompts. This makes it easier for me to find specific categories later on such as Lighting Effects, Character Attributes, etc. Thus making it easier for me to expand my prompts should I want to add additional keywords to certain categories. )
The Vanilla Prompt:
| 8k, Highly_Intricate_Detail, Award_Winning_Illustration, Sharp_Focus, Perfect_Render, Unreal_Engine_5, Real_Life, |
| <lora:Perfect_Pinay_av4:.7>, Perfect Pinay, Business_Woman, Secretary, Wearing_Sexy_Professional_Attire, Bright_Blue_Eyes, Purple_Highlights_in_Hair, |
Great! We have our vanilla prompt! Now lets move on to the fun part!
Section 2 - The Fun Part:
2a. Initial Generation:
Using the above parameters, configuration, and prompt; Click Generate (ctrl+Enter).
If all is right with the Universe (and you are using the Checkpoint & LoRa I listed) you just generated this image.
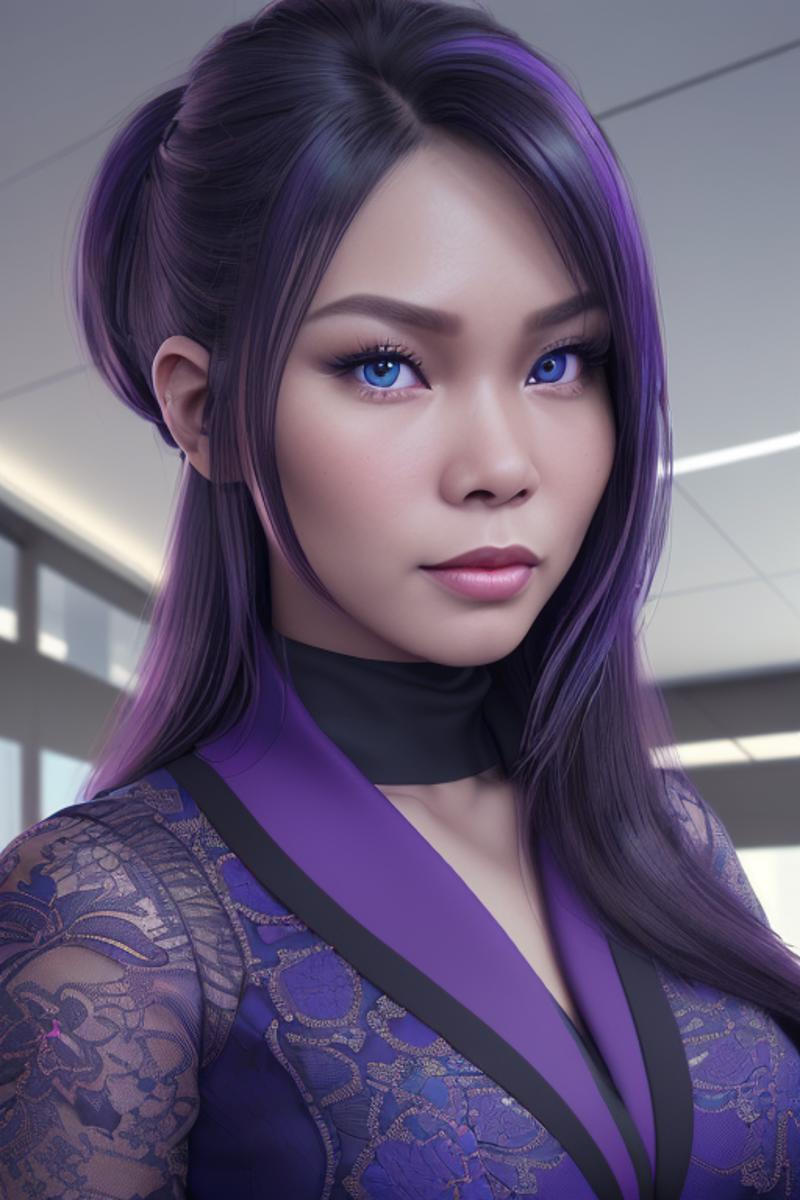
This looks pretty good for a basic generation. One of the reasons I use this model frequently, in fact, is it's regularity in crushing my LoRa Models and Prompts. However, we can make it better! Get it closer to the intended aesthetic while adding more detail.
Enter ADetailer.
2b. ADetailer:
ADetailer is an extension that targets certain and specific aspects of your generation depending on the internal extension model you are using.
It has a wide range of models out of the box for Faces, Hands, World, and multiple meshes for more specific targets like eyes. There are also other models that you can find for ADetailer for feet and other targets should you so desire.
Today we are going to be focusing on the face with our main target being the eyes.
So let's begin!
2c. The Setup:
The first thing we will want to do is expand our ADetailer Accordion.
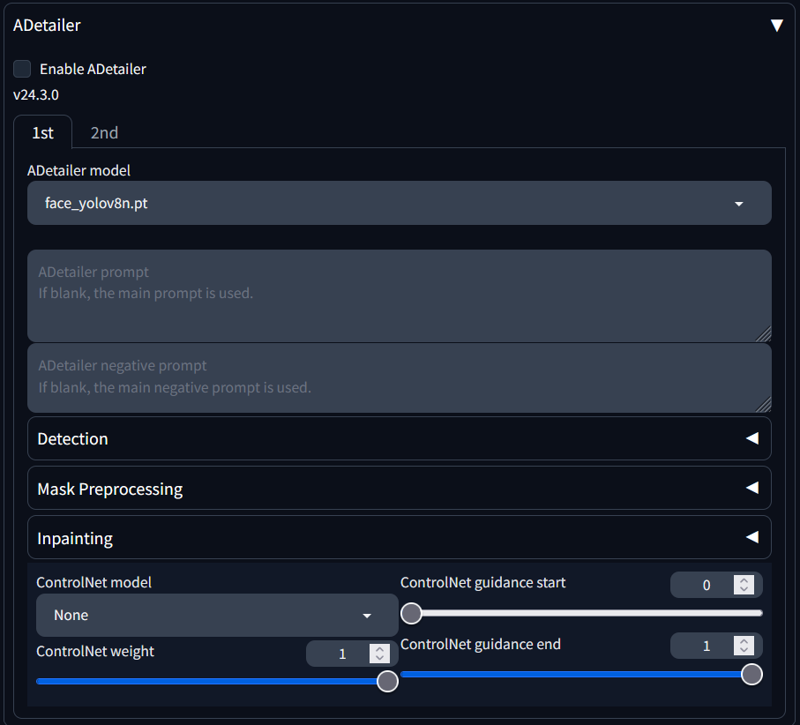
There's a lot here, but we are going to focus on only a few things for now.
The '1st' and '2nd' Tabs
The 'ADetailer Model' Dropdown
The Positive Prompt Box
On the 1st Tab you'll notice that the 'face_yolo8n' model is selected. This is perfect because it's what we want to be using.
From here we could just Enable ADetailer As-Is and it would finetune the facial features of our Character.
Let's hit generate (Ctrl+Enter) to see.
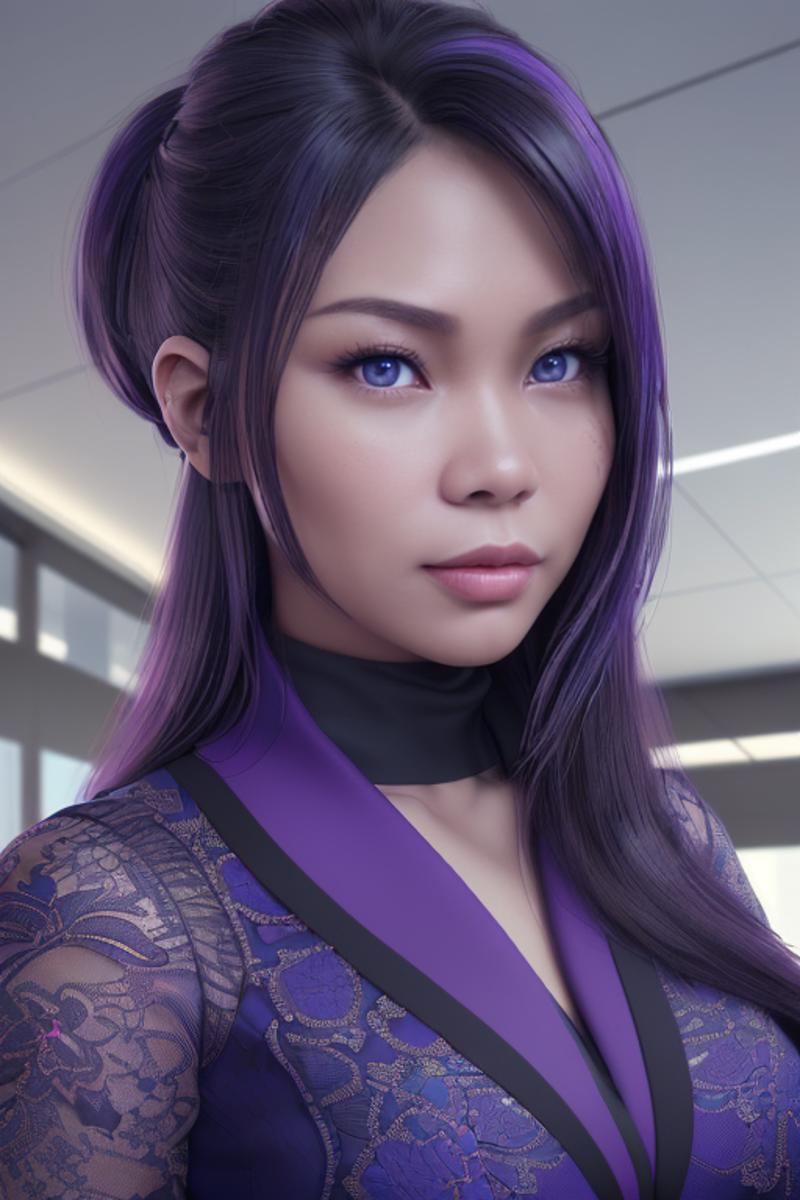
Not bad. The facial features have been tightened up, the overall aesthetic of the LoRa Model is better, and some of the imperfections have been dealt with. But it's still just the plan generation.
( NOTE: You can also use this "default mode" to correct any facial artifacts that may have been produced during the initial generation. If that is your intended goal, it is usually helpful to add the LoRa Character Model to the prompt at full weight. )
Let's give ADetailer a prompt to work with!
2d. ADetailer Prompting:
The '1st' Tab:
We can add both Positive and Negative Prompts to ADetailer that only the extension will pay attention to. Let's add a few things to really get things going.
The LoRa Character Model at full weight (1) along with it's Activator.
Let's tell it we want the eyes to really standout since that is our main target.
While we are at it let's stylize the makeup, because why not.
And let's tell it we want to add a little depth to the facial features.
We will also weight these Keywords to let it know that we want to deviate from the vanilla prompt.
The '1st' Prompt:
<lora:Perfect_Pinay_av4:1>, Perfect Pinay, (Highly_Detailed_Blue_Eyes:1.2), (Eye_Shadow:1.2), (Eye_Liner:1.2), (Mascara:1.2), (Tasteful_Sexy_Makeup:1.2), (Glossy_Red_Lipstick:1.2), (Depth:1.2), Now let's click that generation button (ctrl+Enter) and see what It gives us!
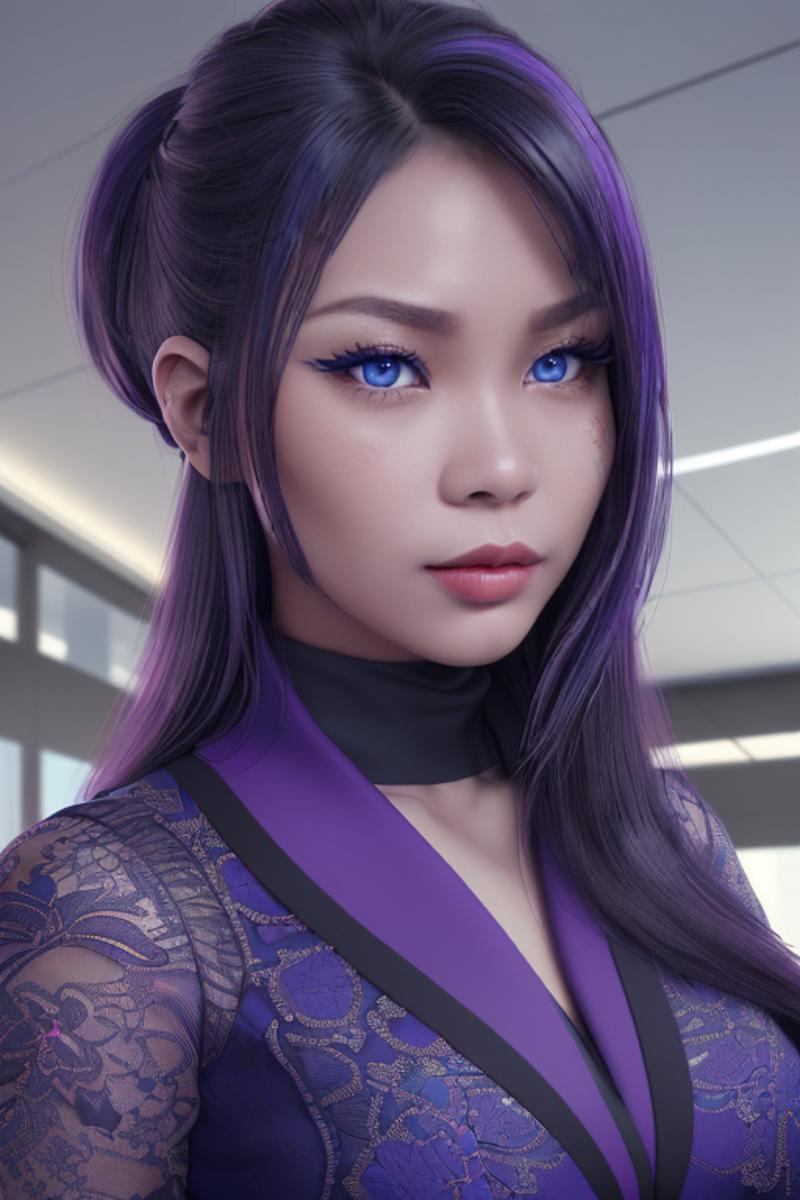
Ok, now we are getting somewhere!
Weighting is important in the ADetailer Prompt, as you can see. Had we not weighted the keywords we would have gotten something closer to our 2nd generation.
You can increase the weights even further if you want to, but you will hit a ceiling and the artifact issue will show it's ugly face. This is more likely to happen if you've given a high weight to a feature you're targeting in the vanilla prompt. So just be mindful of that.
I usually cut off weights at around 1.5 in the vanilla prompt and go as high as 1.7 in ADetailer. The important thing to remember with weighting is that you always want your ADetailer weight to be equal to or higher than your Vanilla weight. This is especially true when using LoRa Models.
Ok, now that we have given the face some life; Let's move on to the '2nd' Tab.
The '2nd' Tab:
Now that we have an acceptable result from our '1st' Tab; Let's do some more refining.
We have added detail to the face, eyes, and put makeup on, along with a little depth. Let's do a little more with the eyes to correct any imperfections and add some more detail. Upscaling will thank you later.
Let's start by moving to our '2nd' Tab and selecting the 'mediapipe_face_mesh_eyes_only' model from the dropdown.
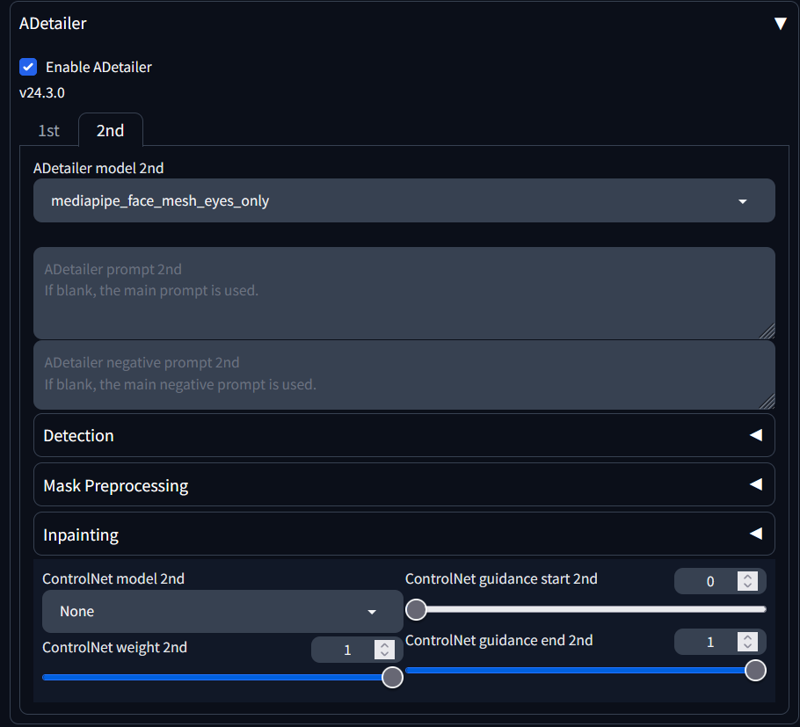
Now we will add a prompt that focuses on what we want to see out of the eyes. It is always a good idea to start with the base prompt when targeting the specific feature you are trying to enhance.
In the '1st' Tab it was the entire face so we could be a bit vague. Now we are dealing with the eyes so let's pull our base eye keywords from the Vanilla Prompt (Bright_Blue_Eyes) and add to it from there. Don't forget to weight the Keywords!
The '2nd' Prompt:
(Bright_Blue_Eyes:1.2), (Beautiful_Eyes:1.3), (Perfect_Eyes:1.2), (Highly_Intricate_Details:1.2), (Depth:1.2), (Rounded_Corneas:1.4), With this prompt I've told ADetailer that I want those blue eyes to stand out and even to add a little depth. I've also told it that I want any imperfections in the cornea shape to be corrected.
Let's hit the generate button (Ctrl+Enter) and see what we get!
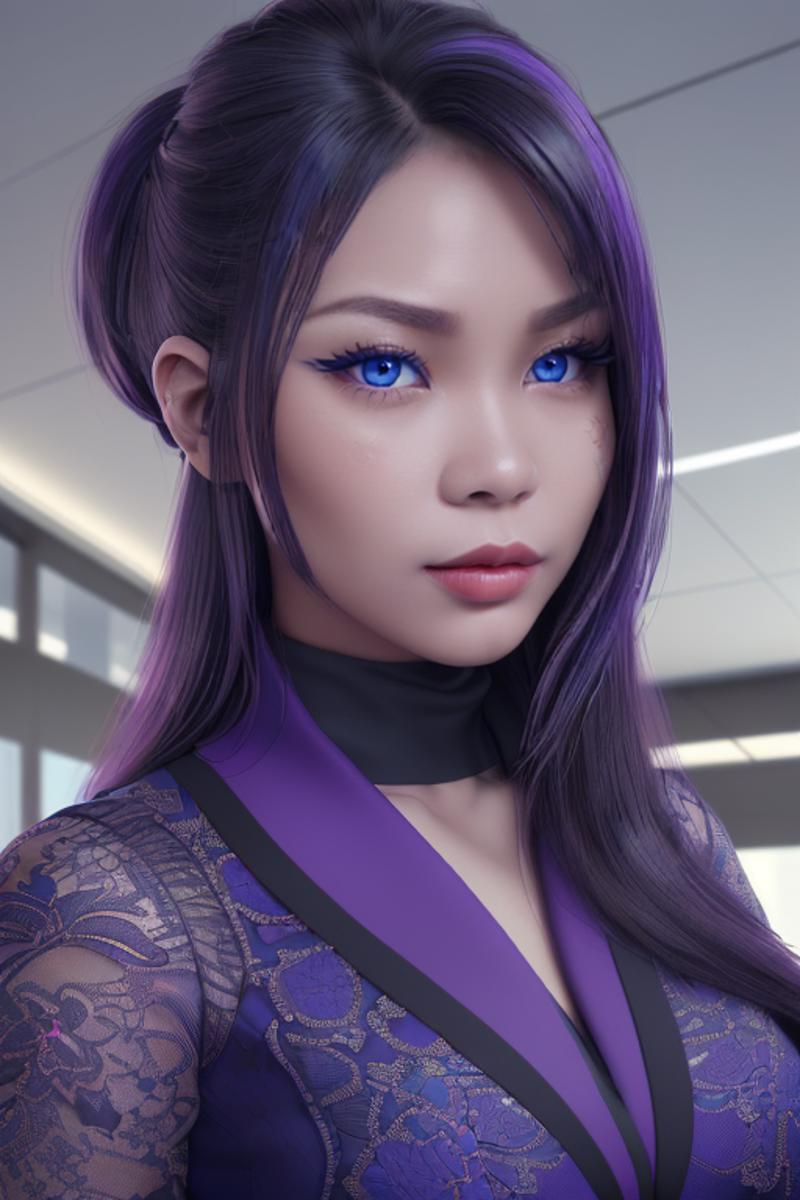
Hey now! That's not bad at all! It's not perfect, but it's not meant to be for the purposes of this article. I am simply giving you a crash course of my workflow and how I use the tools.
Section 3 - Conclusion:
I would suggest that you experiment with ADetailer and see what kind of results you can produce with it. There are a number of models included that I didn't touch on here that can greatly enhance your generations. (We will get into those later, I promise.)
Just remember that when you are trying for a specific look and/or result it is important to target the feature from the get go in your vanilla prompt.
In this article my intended 'hard target' were the eyes, but you can target anything the ADetailer models will allow you to. And it will allow you to target a lot.
Here is an image that I generated where I had multiple targets. The eyes, the environment, the clothes, the facial features, and even the facial expression.
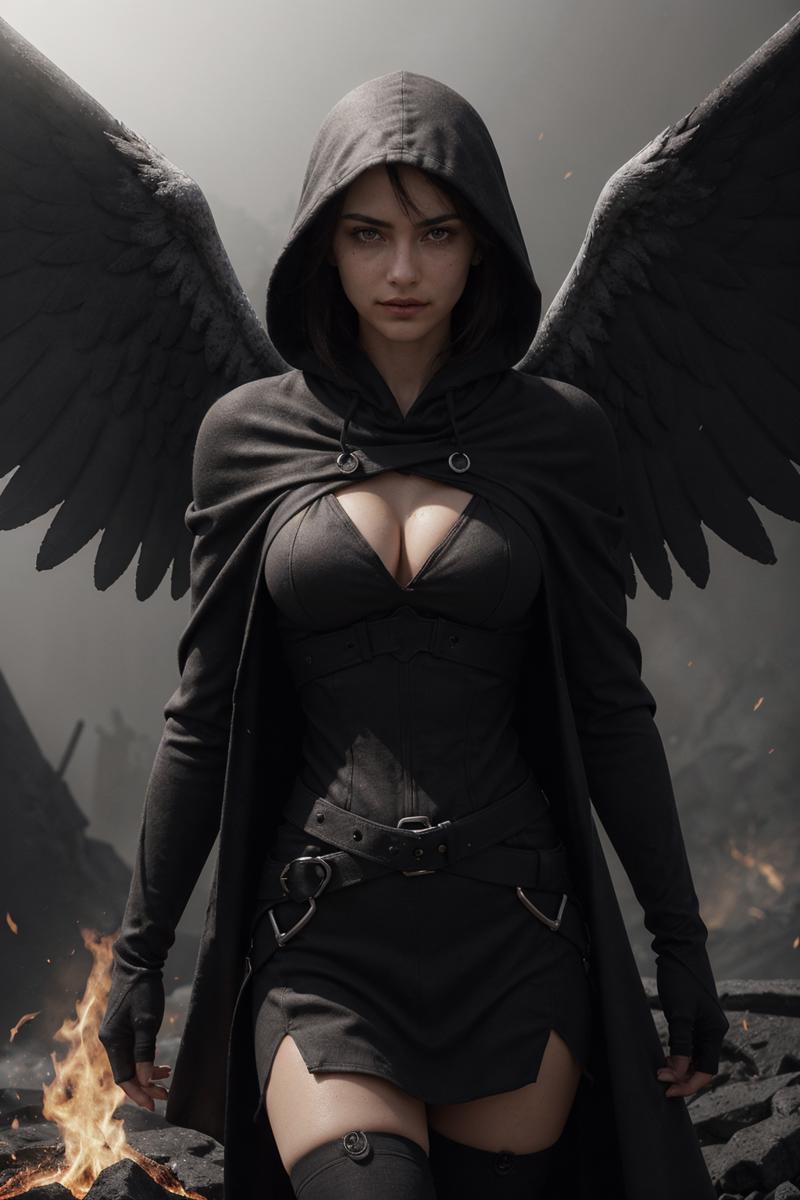
And another
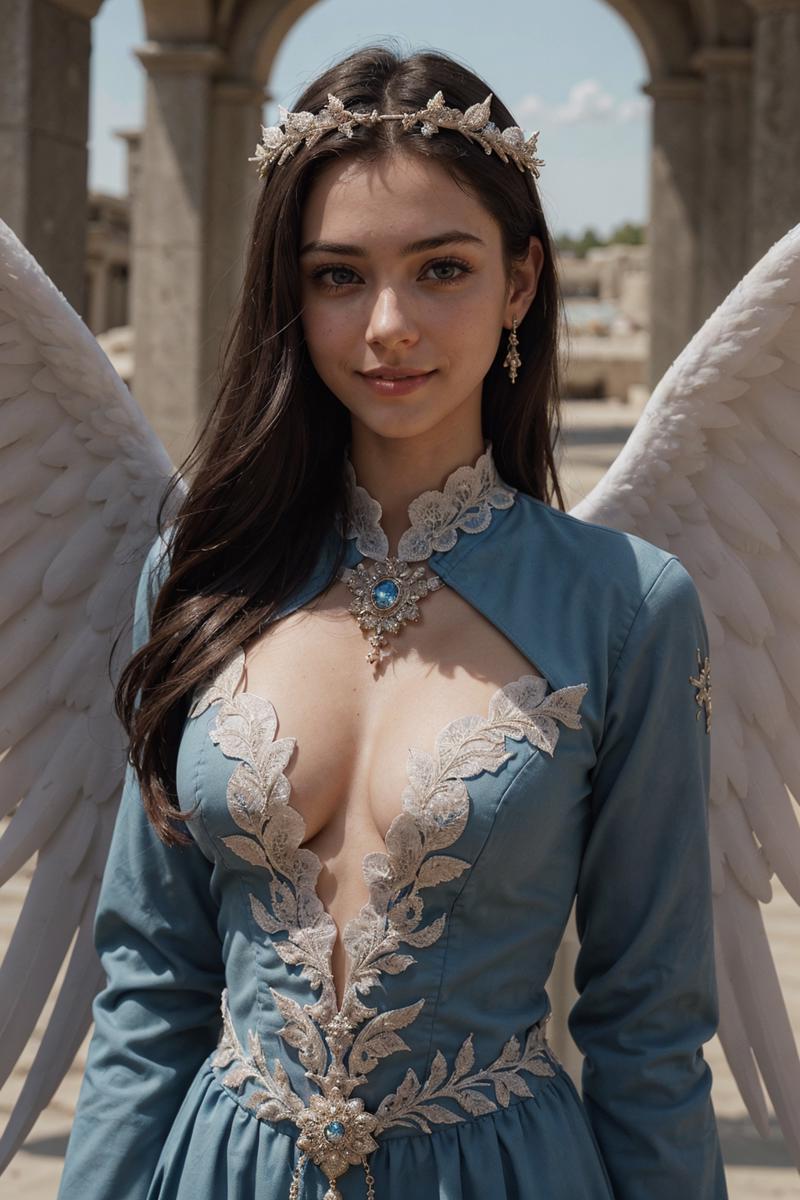
And one more for good measure
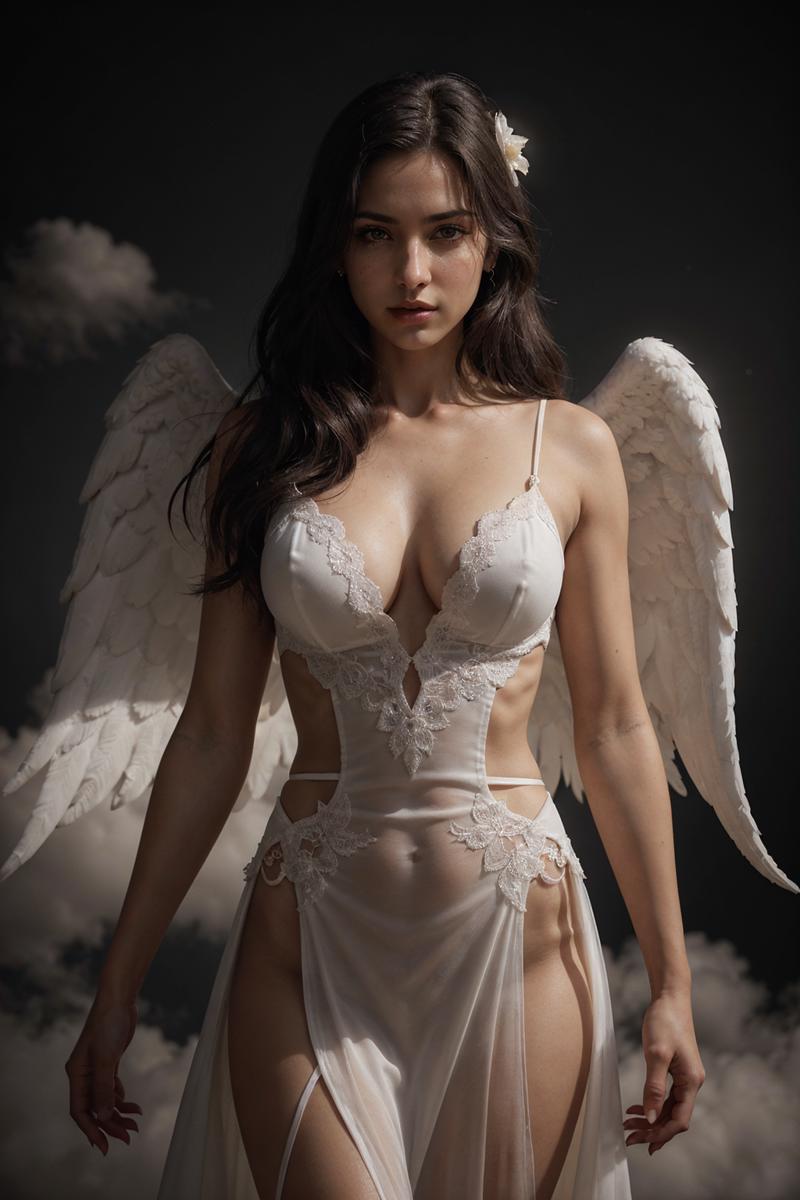
I hope you found this article useful. I know it was a little longwinded, but I want to be sure I'm giving you accurate and verbose information that you can bring to your own generations. I'll be posting Part 2 of the series soon where we will explore some more generation techniques I use in conjunction with ADetailer.
Thanks for the read! Until next time!

