Introduction
I'm new to LoRA making and had trouble finding a good guide. Either there was not enough detail, or there was WAAAYYY too much. So this is the type of guide I was looking for but didn't find. No theory, jut straightforward "here's what buttons to push".
For the record, I thought I could just get away with making an Embedding. However, for whatever reason, the results just didn't come out right. So I resorted to training a LoRA instead. ... and that didn't work out great either.... Until I found this One Simple Trick!
(no lie, actually. I'll get to that in the "Tuning values" section!)
You can check out my LoRA at ... ---> https://civitai.com/models/381785/faeryqueen-sd
It's not a particularly amazing LoRA. I made it mostly just as an experiment to learn the process. But it isn't too bad, I think :-)
Required Tools
- Your favourite model + Generation tool
I used StableSwarmUI, and GhostXL
- OneTrainer
Get OneTrainer from https://github.com/Nerogar/OneTrainer
I picked OneTrainer after seeing a few posts that it is faster/better/easier than Koyha.
The Actual Process
Overview
Generate input images and dump to a directory
Dump any bad looking ones
Tell OneTrainer, "Make me a LoRA"!
1. Generate input images
Most people go try to "gather" training data images. But I'm lazy, so I decided to just generate them with a good SDXL model!
The original version of this guide mentioned how to create a custom ComfyUI pipeline to downscale SDXL images, because for some reason, the built-in OneTrainer downscaler wasnt working for me. But I tried it again, and it works, so, this section is now a lot easier.
Steps I did in this phase:
Played around in StableSwarmUI until I had a prompt I liked, using GhostXL model.
Batch-generated a set of 100 saved to a directory.
Created a prompt I imaged users would use to get the LoRA. (Similar, but NOT the same to what I actually used to prompt the creation of the images)
Repeated the above process with another 100 images, this time from a different angle, and included that in the local text file
2. Filter out bad training images
After the above finished, I had my target images. Ideally, you then go through them and manually toss out the bad looking ones.
If you are on Linux, a nice lightweight program to do this is called "feh". Run it in a directory, use arrow keys for forward/back, and DEL key to delete an image.
For ms-windows, some folks suggest "IrFanView". However for bulk "Go through a directory of images one at a time, full screen", seems like nomacs is a better choice to me.
PS: this guide has some really useful things to say about how to intelligently select training images.
3. Make the LoRA!
Now start up OneTrainer, and select the "# sd 1.5 lora" premade config.
(Then for safety's sake, immediately "save config" as some custom name!)
Mandatory minimum changes
To make a LoRA in OneTrainer, you have to at minimum do the following things:
In the "model" area, set "Base Model", and "Model Output Destination".
Note that for Base Model, I had difficulty telling it to use a local file. I had to use huggingface format. eg: "stablediffusionapi/ghostmix"In the "concepts" area, create a concept. Set "name", "path"(for the input data), and "prompt source". For prompt source, I selected single file, and created a file with basically just my original prompt that generated the images.
You could get all fancy, and choose a per-image prompt source. But this is a LAZY guide, so I'm skipping that!If, like I did, you are doing an SDXL -> SD conversion, you must enable the resolution override, in Concepts-> (your concept) -> image augmentation
In the "Lora" area, set your desired "rank". See below for more on that
Tuning values
For tuning values, I had a look through the tuning tables at https://rentry.org/59xed3
For this run, I primarily changed ONE tuning value:
In the Lora table, change rank from 16, to 32. Then it worked!
If you want even more detail, crank it up to 64. This will double the size of the lora file though.
This is for SD1.5, but for SDXL, you probably will need to go up to 96, or in extreme cases, 128
Non-Lazy tuning values
The above was for the lazy, absolute-minimum change approach to get some kind of functional LoRA.
However, for much nicer, true-to-dataset output, you can put more work in, and make the following changes:
Under "training" change optimizer to "Prodigy". It is much, much better than ADAMW.
Under "training", change learning rate to "1". You must do this when choosing Prodigy
Under "lora", crank the rank value up to "64"... or sometimes more.
You optionally may want to turn off "Train Text Encoder" for maximum cross-model portability. As a side benefit, it also lets you cache the required "text embeddings" used in your training. So if you have per-image captioning, this will end up being a speed bost for training.
Hidden secrets of prompts
In the Concepts area, if you specify
Prompt source: From text file per sampleand then dont bother creating any text files... It will still work. Seems like it creates a "no trigger word needed" lora in that case.
Contrariwise, if you DO choose to associate prompts with your LORA, keep in mind that the words themselves may have built-in effects already. Try out your associated prompts with your target rendering models, without your LoRA activated, to see if they drag in potentially unwanted side effects.
Start Training
Hit the button, and wait for however long it takes, and then you can enjoy your new Lora!
(or, endlessly obsess about fine tuning it per the rentry.org article mentioned above.)
Pick the best result, not always the end result
Sad to say, often times, the "final result" may not be your best one. Its kind like how in image generation, sometimes, 20 steps is actually better than 40 steps.
So even if you have planned for 100 epochs of training, you should take samples every now and then. The best results may be at 96. or 90. or 84.
Actual dataset I used for training
The FULL image dataset I used for the latest version of the above Lora, along with OneTrainer config files, can be found at
https://huggingface.co/datasets/ppbrown/faeryqueen
Conclusion
I hope this article was useful for you. If you have any comments or further tips, please let me know!
Some sample output images
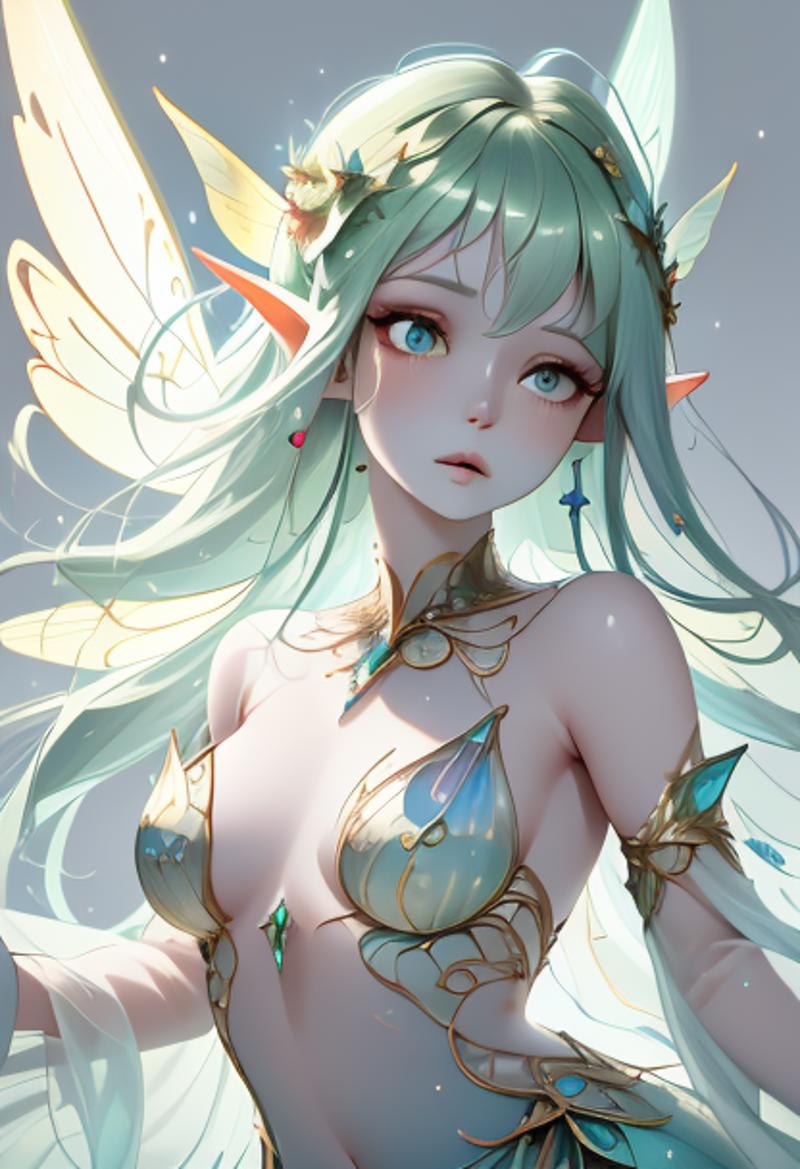
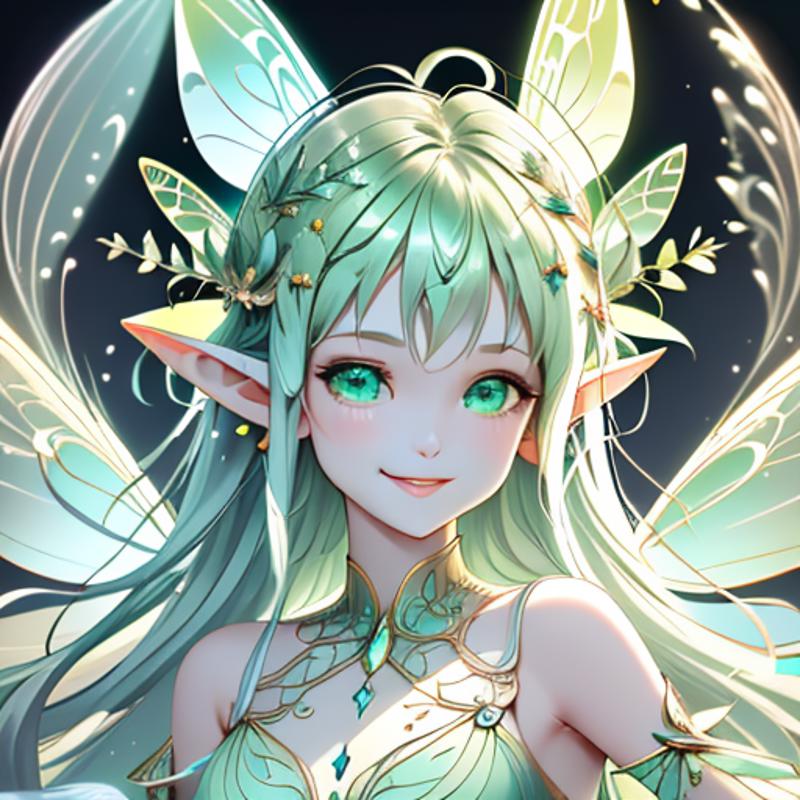
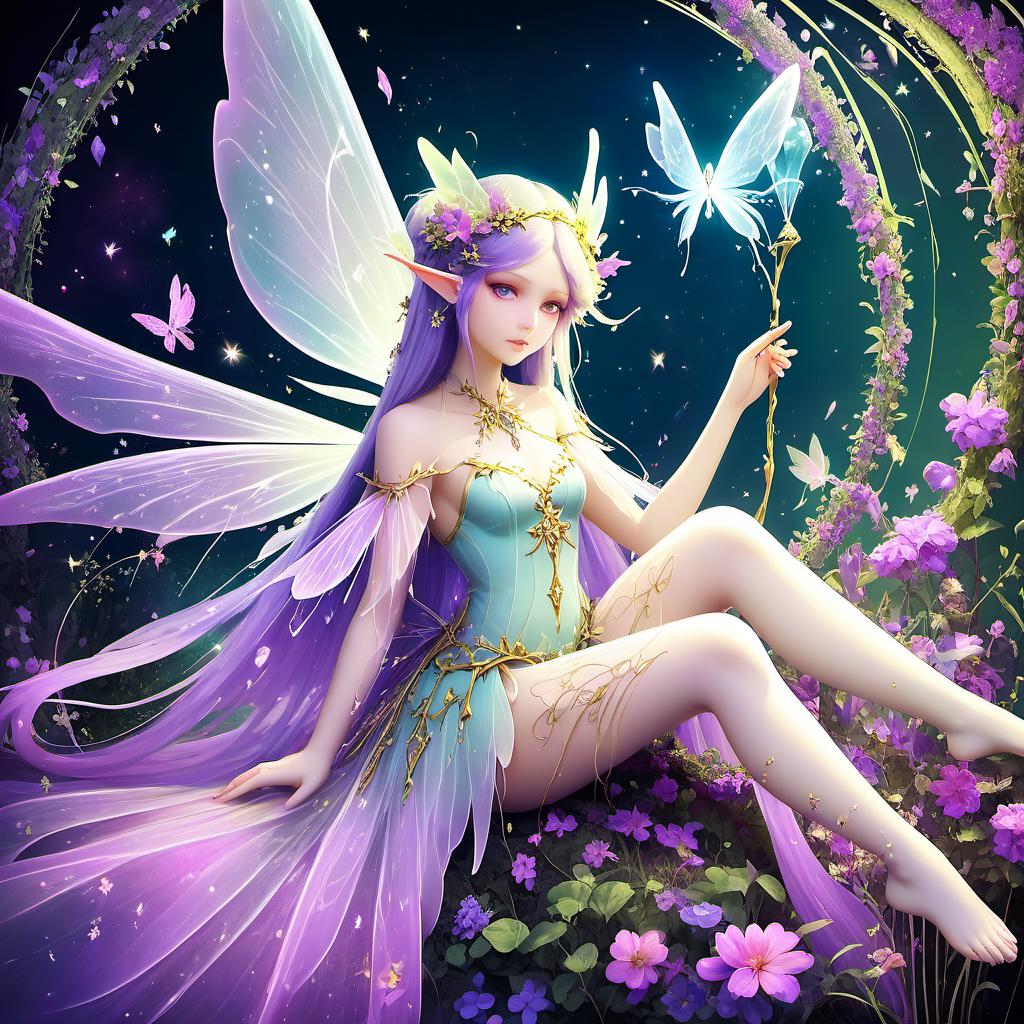
When using the LoRA, it can output images like this:
prompt= woman,,masterpiece,8k, model=aniverse 1.5 steps: 20, cfgscale: 4
aspectratio: 2:3

faery,facing viewer,warm smile (negative: redeyes)
steps: 30, cfgscale: 7


.jpeg)