.jpeg)
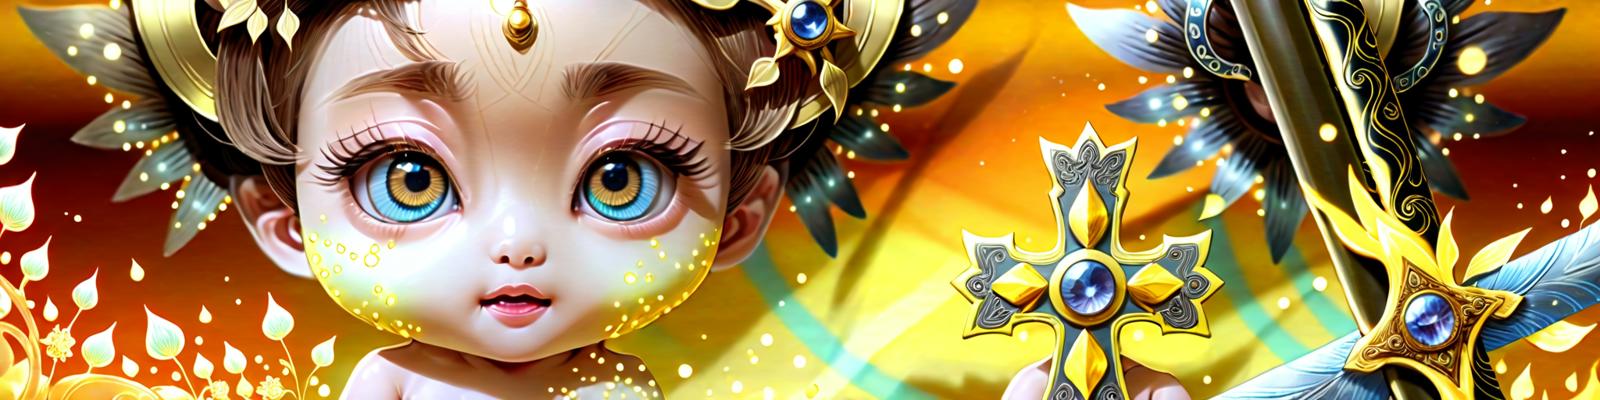
Initially, the goal of this workflow was to address issues with images having unconventional ratios like 3:1, which often resulted in strange outputs (such as duplicate elements and inconsistent compositions), by using the composition adapter for assistance. It gradually evolved into what you might call a 'banner' workflow :-). I really enjoyed experimenting with the settings and achieved some very good results. It strikes a fine balance between guiding the image and allowing the model some creative freedom. While it may require some trial and error to become familiar with, I've provided basic instructions to help you get started. There's plenty of room for further exploration, such as incorporating style transfer once you feel comfortable with it.
Downloads:
https://civitai.com/models/122359/detail-tweaker-xl
https://civitai.com/models/229213?modelVersionId=383563
https://civitai.com/models/133005?modelVersionId=348913
Ip-adapter installation instructions:
https://github.com/cubiq/ComfyUI_IPAdapter_plus
*Major kudos to Matt3o for developing the extension and sharing invaluable video content on his YouTube channel "Latent Vision".
Begin with the image provided as a reference image input in the ipAdapter. Additional guidelines within the workflow will help you getting started!
***TROUBLESHOOTING***:
If you're having problem using the "Resize Image" node, make sure to use the following url in the "Install via Git URL" and make sure to use the right node: https://github.com/palant/image-resize-comfyui.git
Enjoy!