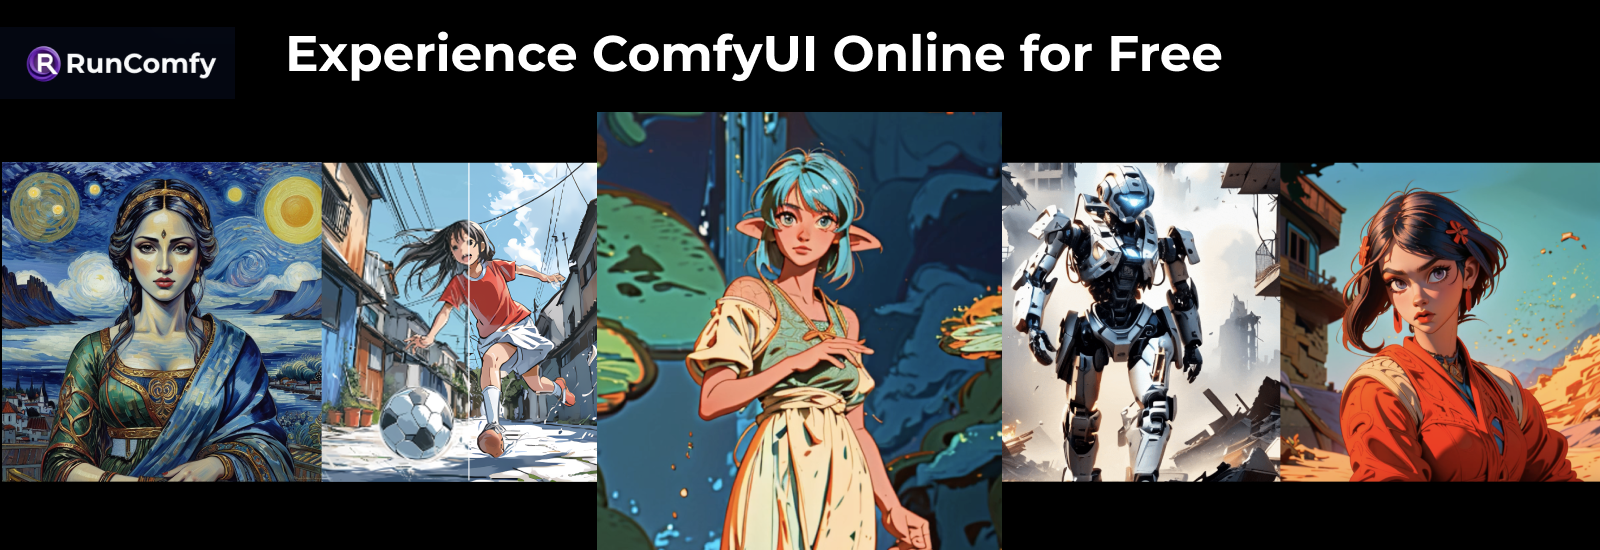
Dive into the world of AI art with ComfyUI! Specifically designed for Stable Diffusion, ComfyUI offers a flexible interface that includes customizable graphs and nodes to enhance your art creation experience. With ComfyUI, you can easily configure, modify, and perfect your workflows, helping you produce breathtaking artworks with ease.
If you're thinking about using ComfyUI locally, you'll need to install the software and have some basic development skills. To access those cutting-edge modes and nodes, you'll also need to invest more time in the technical setup. But now, there’s no need to worry! RunComfy offers a cloud-based solution that sets up everything for you, allowing you to focus on creating art rather than dealing with technical setups. You can use ComfyUI online through any web browser, which not only removes the hassle of installation but also provides access to high-performance GPUs in the cloud environment.
Best of all, RunComfy offers both a free online version of ComfyUI and a professional version. You can start creating at no cost with the free version, or opt for the professional version to unlock more features and access higher-performing GPUs with ComfyUI.
Access ComfyUI online for free
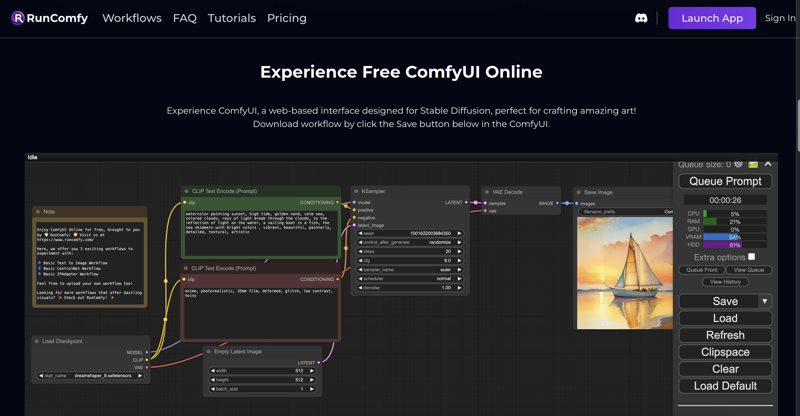
Access ComfyUI online for free here, start with some default workflows to get familiar with ComfyUI, or dive deeper by uploading and adjusting your own ComfyUI workflows. Then submit your artistic prompts and watch as ComfyUI brings your visions to life!

Basic Steps for Using ComfyUI
Step 1: Setting Up the Checkpoint Start your creative journey by setting up a checkpoint. This saved state of the model includes UNet, CLIP, and VAE technologies, capturing the model's capability to transform your text prompts into visual art.
Step 2: Encoding Prompts with CLIP Next, input your text prompt into the CLIP Text Encoder. It converts your text into vector embeddings, essential for the model to accurately interpret and visualize your ideas. This step ensures the image closely matches the essence of your prompt.
Step 3: Creating Latent Images with VAE The VAE then compresses your encoded data into a latent image, an optimized format for further processing. This step enhances the model’s efficiency and detail capturing ability.
Step 4: Refining Images with KSampler The KSampler refines your latent image, adding clarity and introducing variations. This process enhances the quality and creativity of the image, ensuring it either closely aligns with your original prompt or takes on a new, artistic interpretation.
Step 5: Decoding Images with VAE Finally, the VAE decodes the refined latent image back into a detailed, pixel-based image. This crucial step ensures that your final artwork is visually coherent and rich in detail, perfectly realizing your vision.

