


If you find our articles informative, please follow me to receive updates. It would be even better if you could also follow our ko-fi, where there are many more articles and tutorials that I believe would be very beneficial for you!
如果你觉得我们的文章有料,请关注我获得更新通知,
如果能同时关注我们的 ko-fi 就更好了,
那里有多得多的文章和教程! 相信能使您获益良多.
For collaboration and article reprint inquiries, please send an email to [email protected]
合作和文章转载 请发送邮件至 [email protected]
By: Ash0080
This title may be disagreed by many people, as there are so many amazing models in ControlNet, and new models keep emerging, each with their own unique skills. Canny, the oldest model, who still uses it?
Don't worry, today I will show you a completely different Canny, it is definitely the most underestimated model, no doubt about it.
In the following demonstration, I will only use Canny to achieve three goals:
Pose control - usually you would use OpenPose, but OpenPose cannot handle exaggerated proportions, holding a katana, or large perspective angles very well;
Perfect katana holding - you will see that compared to Canny, fixing the hand using Depth is just a joke;
Control of VFX motion.
PREPARE
—————————————————————————————————
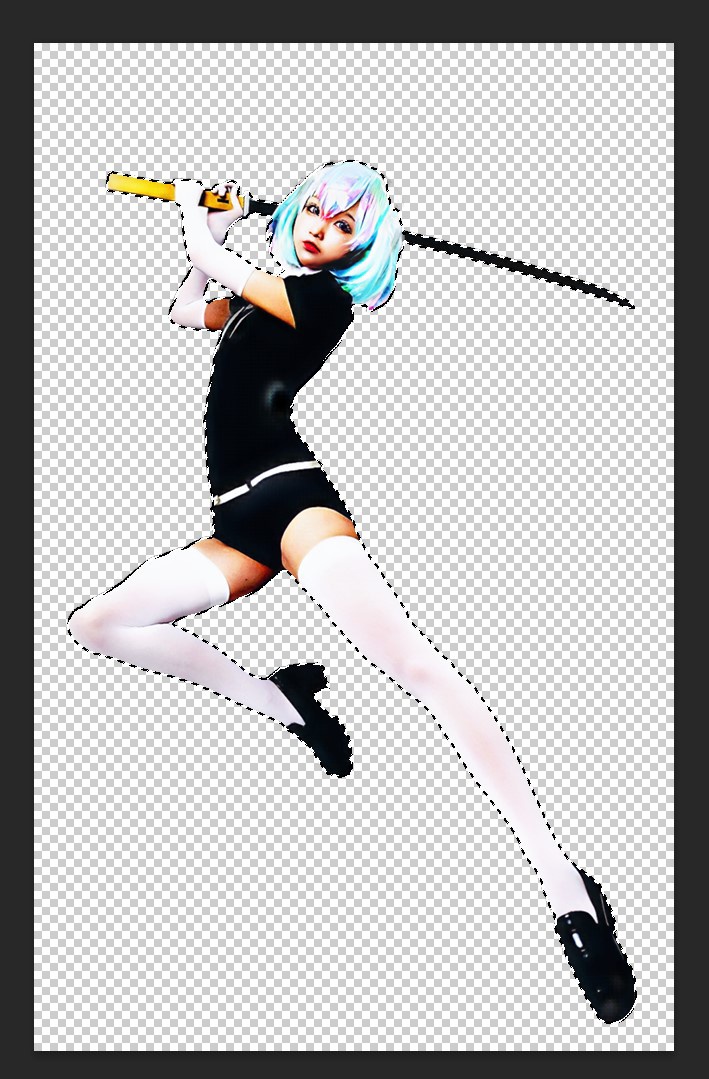
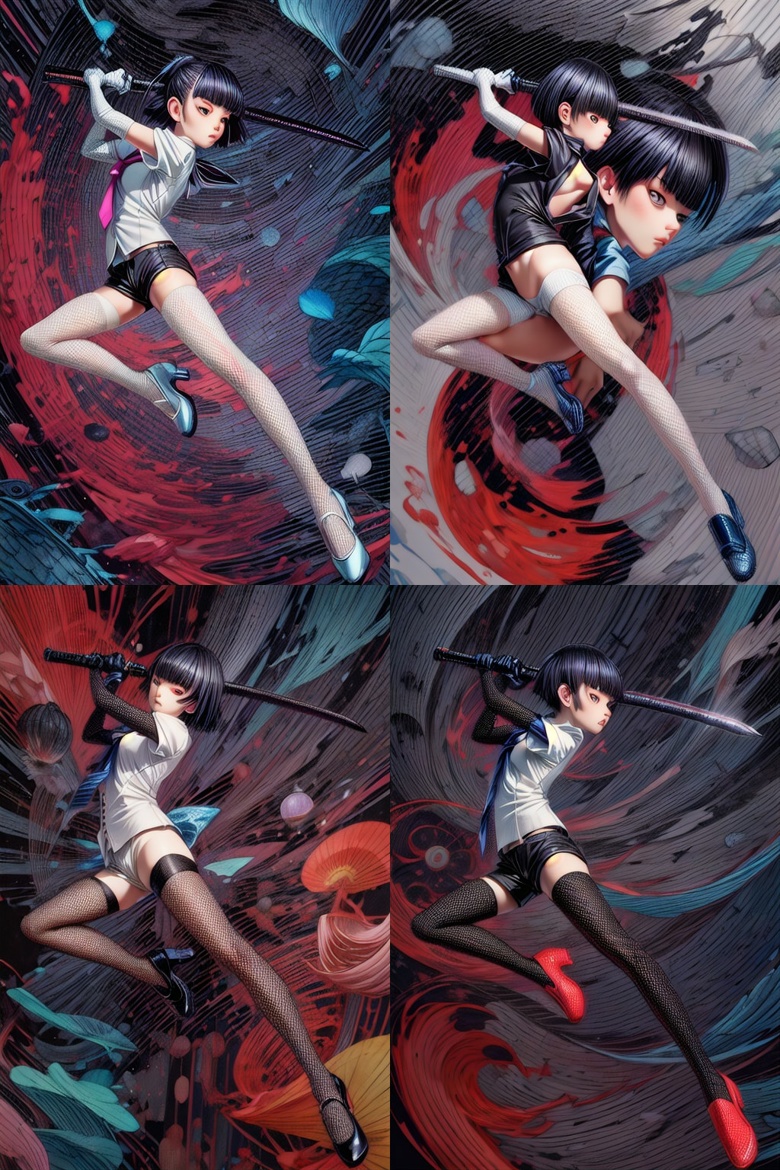
I will start with a picture, I randomly search a katana-holding picture on Pinterest.
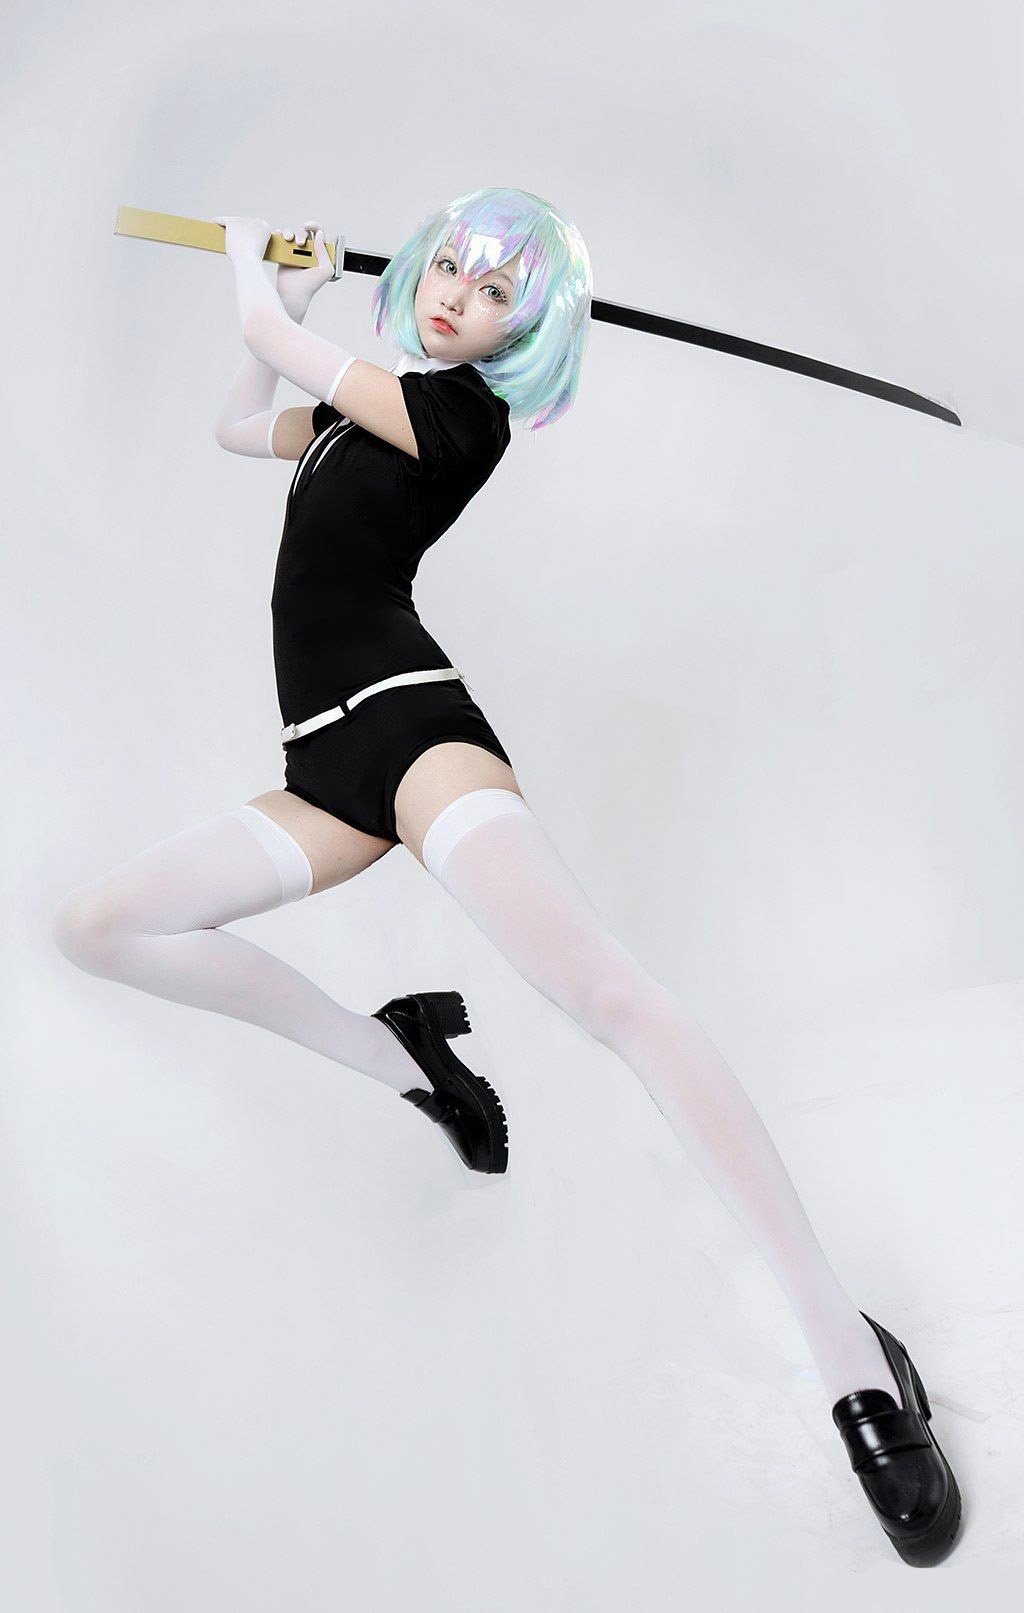
This image may not be particularly suitable for Canny, as the white background, white stockings, and white gloves make it difficult for Canny to parse the contours clearly. But today, I'm here to teach a master class, so I'll choose a more challenging image to work with.
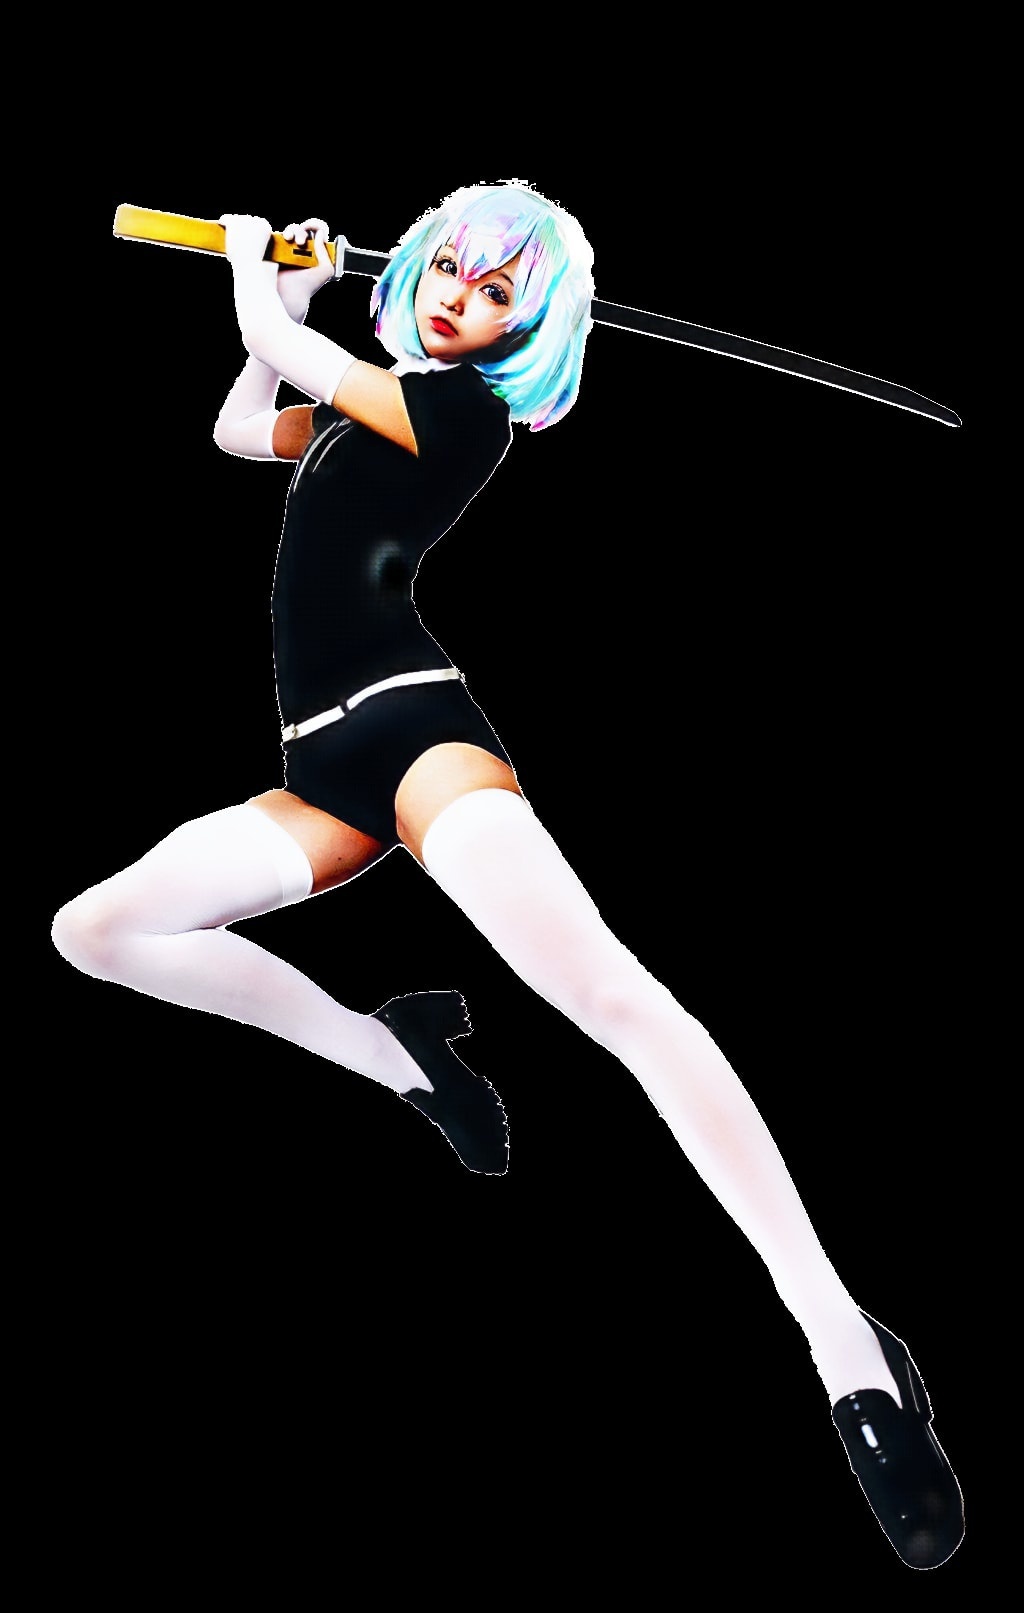
I used the automatic background removal feature in Photoshop, and then patched up the areas where multiple parts were removed on the mask. I also increased the brightness (or you can decrease it, as long as you make the image colors flatter).
Then I put it into Canny and performed pre-processing
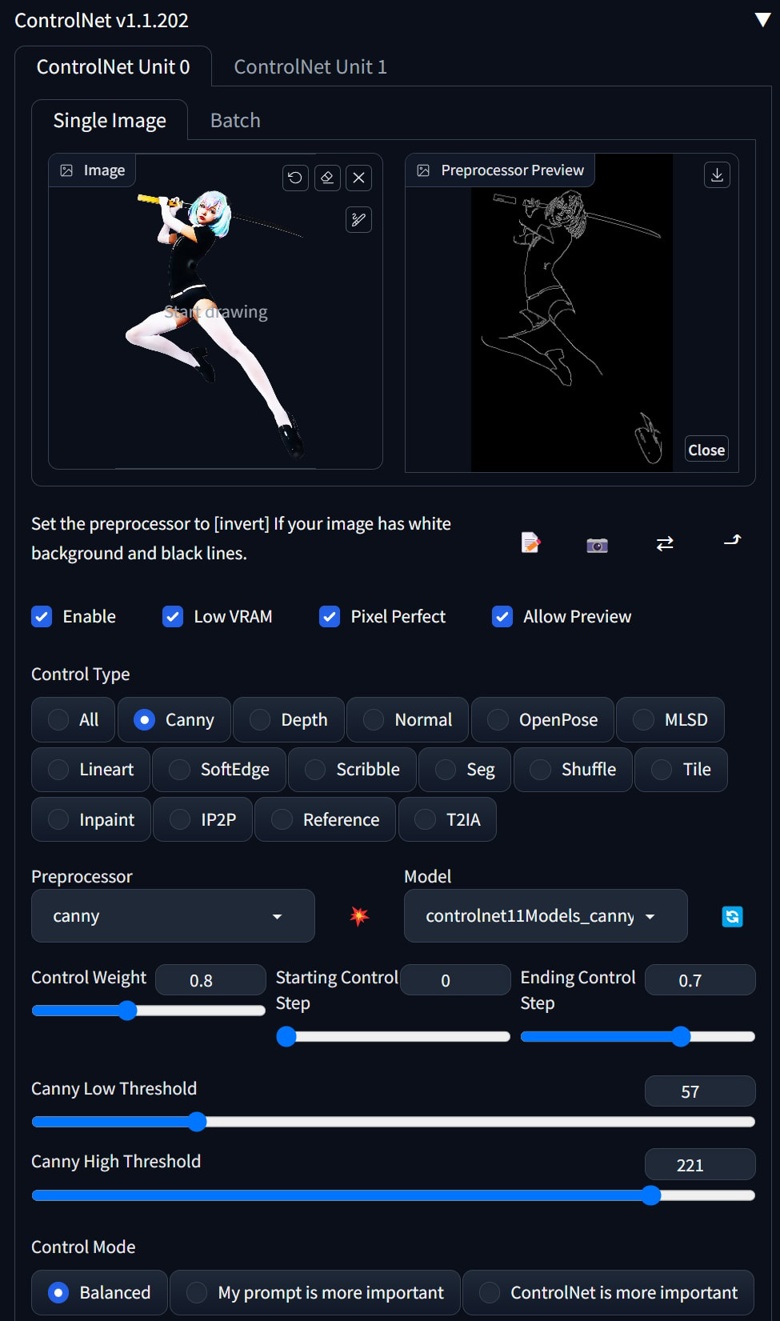
I adjusted the two thresholds in Canny, with the principle of keeping as many lines as possible while avoiding double lines. As you can see, no matter how you choose, even if you have removed the background from the character, it is impossible to keep all the contours. But it's okay, I will fix it later.
I downloaded the processed Canny image and opened it in Photoshop.
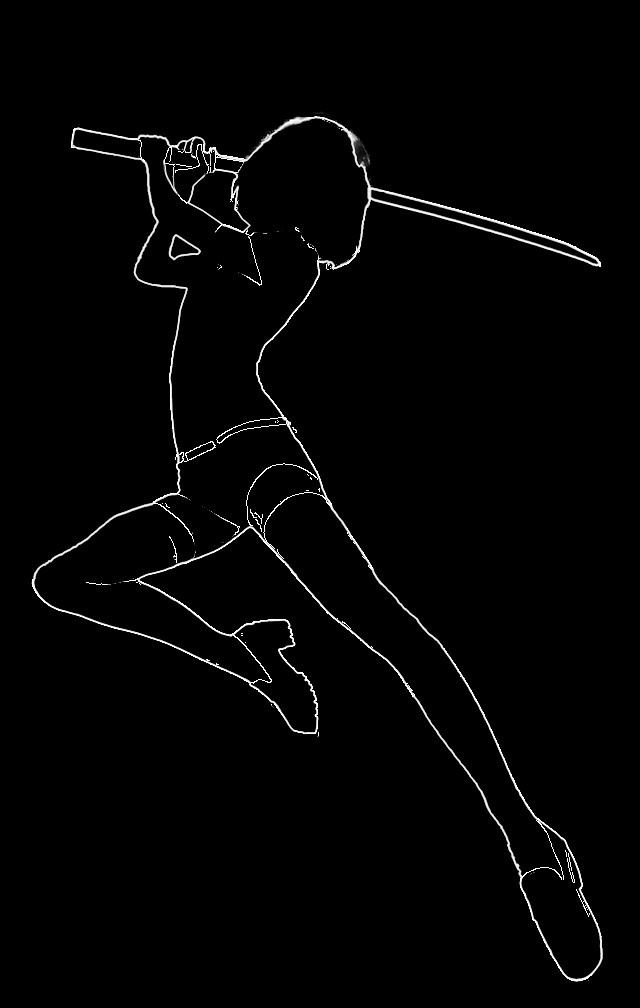
Going back to Photoshop, I selected the previously extracted part, and used the Stroke function to outline the contour lines.
I merged the contour lines with the previously opened Canny image, and then painted over the excess lines in black, especially all the facial details. (You can also keep the outline of the face, but I didn't keep it, which means I will need to use negative prompts later. I'll explain this later.)
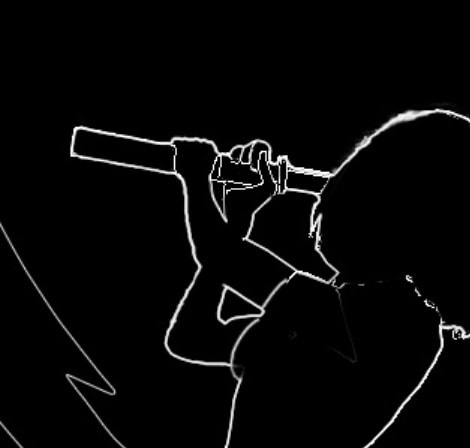
I used white to supplement and modify the unclear lines, and I get the following image:
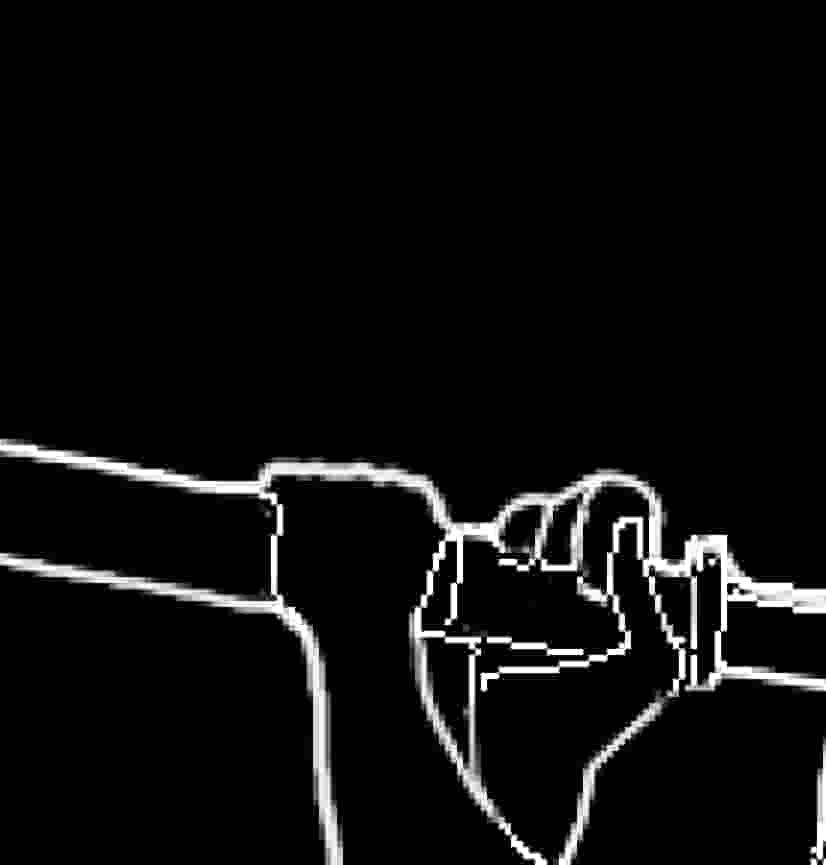
Note that I fixed the details of the hand, making each finger look reasonable and clear, and painted over any excess lines that could cause structural ambiguity. In fact, I have completed the hand fixing in this step, rather than fixing it after generating the image
GENERATE
—————————————————————————————————
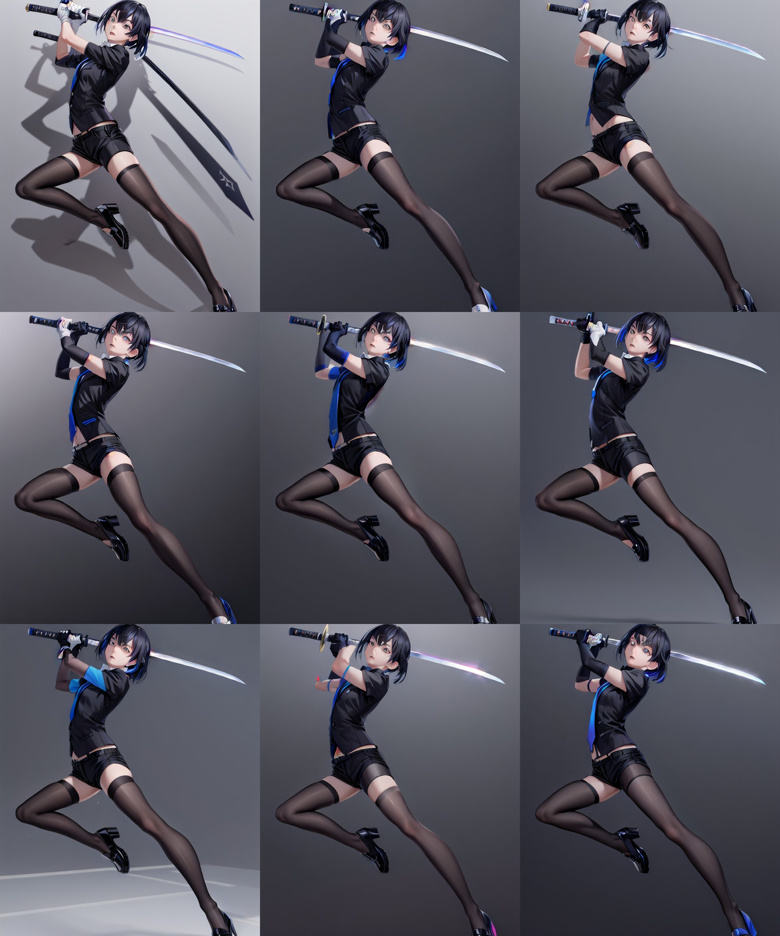
I put the original model image into img2img, used Interrogate DeepBooru to get the keywords, and copied the keywords into tex2img. Then, I put the fixed image into ControlNet, remember to turn off the Preprocessor!! I generated a few small images, and it seems to work pretty well.
I modified the prompts, added negative prompts, and added some background effects. This time, there was an issue with the head being too big. I put 'big head' in the negative prompts. As mentioned before, I removed all the details of the head, so there is a chance for this issue to occur, because the current head contour includes the hair, which makes it look bigger.
After trying some random backgrounds, I found it a bit boring, so I decided to create a simple water flow effect and I want to control the direction of the water flow myself. I go back to Photoshop and add a layer to our Canny image, then draw some curves freely.
Note that Canny can understand occlusion relationships, so you can erase some lines to form occlusion relationships. Since the water flow is semi-transparent, I just erased it casually, without being too clean. This can create a sense of depth and even random overlapping effects.
ADD VFX
—————————————————————————————————

I put the Canny image with added VFX effects back into ControlNet, and this time I reduced the weight, giving the AI a little more room for creativity.
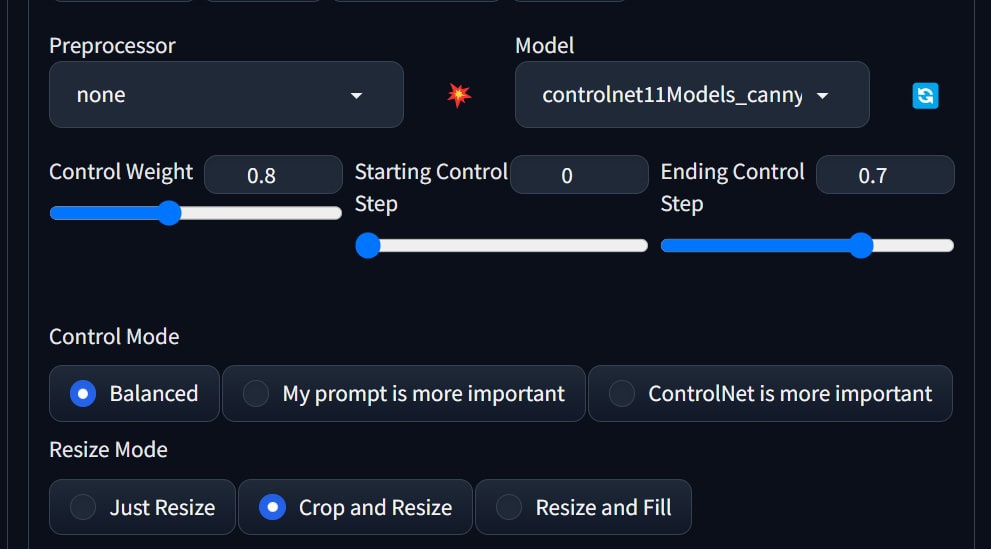
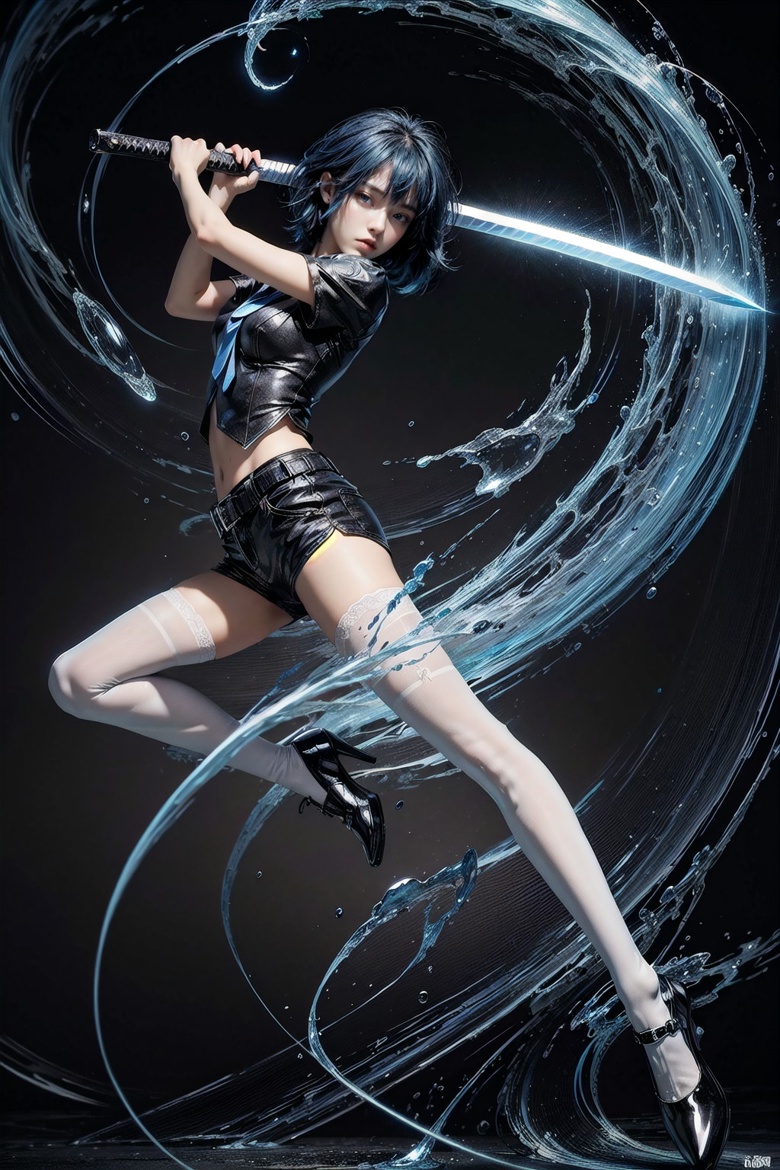
Generate and adjust prompts simultaneously until you are satisfied with the result.

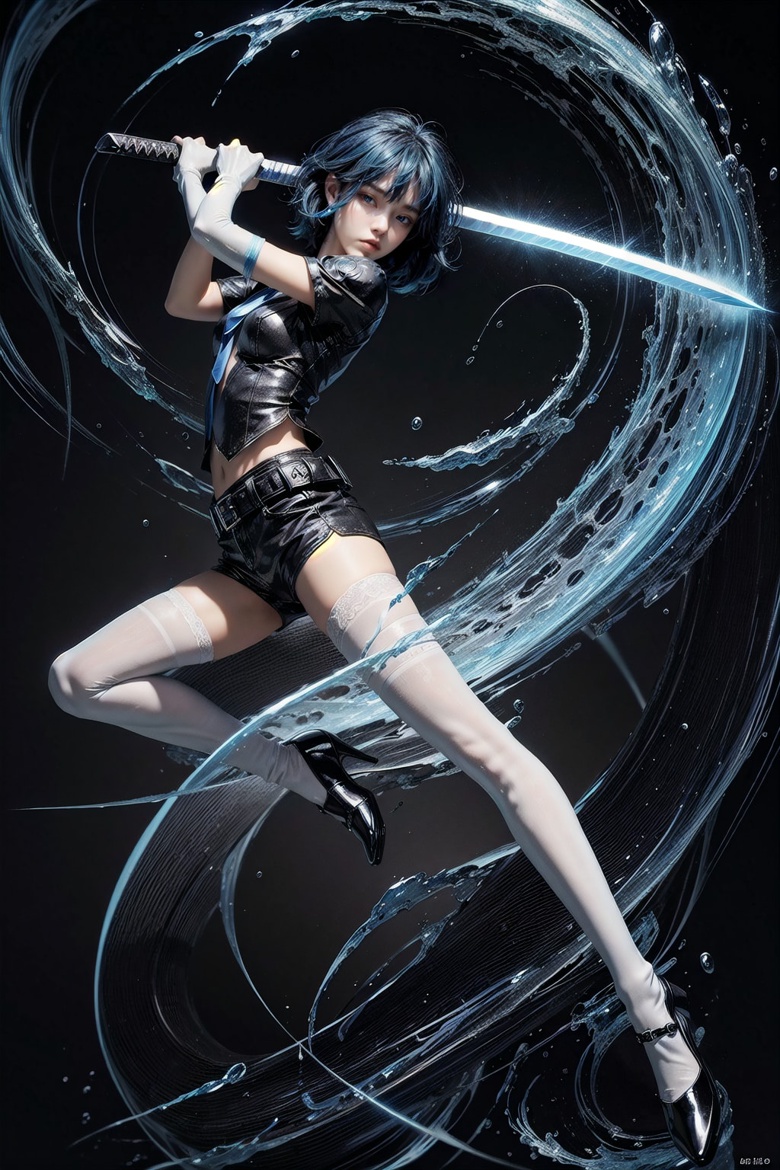
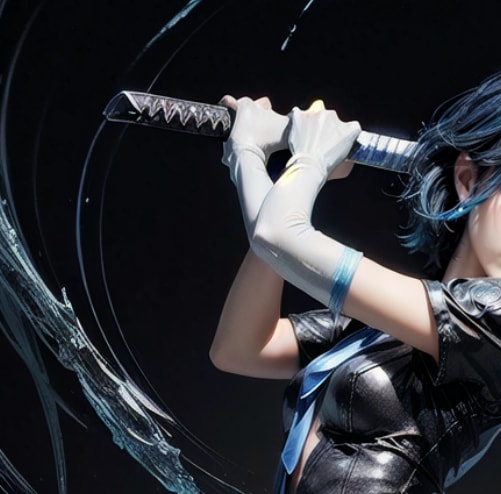
Strange, the elbow is wrong, why is that?
I found that the Canny image does not clearly show the front-back relationship here, so we made some modifications.

I regenerated a new image with the updated Canny image.

Of course, you can randomize a few more times until you are satisfied with all of the results.
Summary
—————————————————————————————————
Thank you for following along with today's lesson. Here are the key takeaways:
1.Canny has excellent control ability.
2.Canny can understand the foreground-background relationship, making it more reliable than depth.
3.Canny is easy to modify and this gives it unparalleled creativity.