Hi, today I want to share how to get beautiful and unique results combining Pony model with Lightning model with the help of Hires.fix.
To get started we will need any Pony model, choose the one you think best suits your purposes.
In our case, the pony will be used as a guide to create a composition and maintain anatomical proportions.
We will also need Lightning model, which will add details and make the picture brighter and richer.
I recommend trying the Boltning model, that's what I'm using in this “tutorial”.
And of course make sure you are working in Automatic 1111 or Forge. You can also use Comfy if you have enough experience. I will show you everything using Forge as an example.
If you are working in Forge, you already have the Hires.fix add-on installed. If you are working with a different UI, make sure you have Hires.fix.
We're done preparing, let's get started. A little bit of theory:
As we all know, Pony are great at anatomy. But the detail is usually not very high and the styles are not too diverse (this is if we talk about classic Pony models, if you take for example realistic models, they do not handle the anatomy so well, and this we do not need).
At the same time Lightning models can paint very detailed and realistic pictures, but oh those hands with ten fingers, twisted joints, etc.
So I had an idea, why not take the best from both?
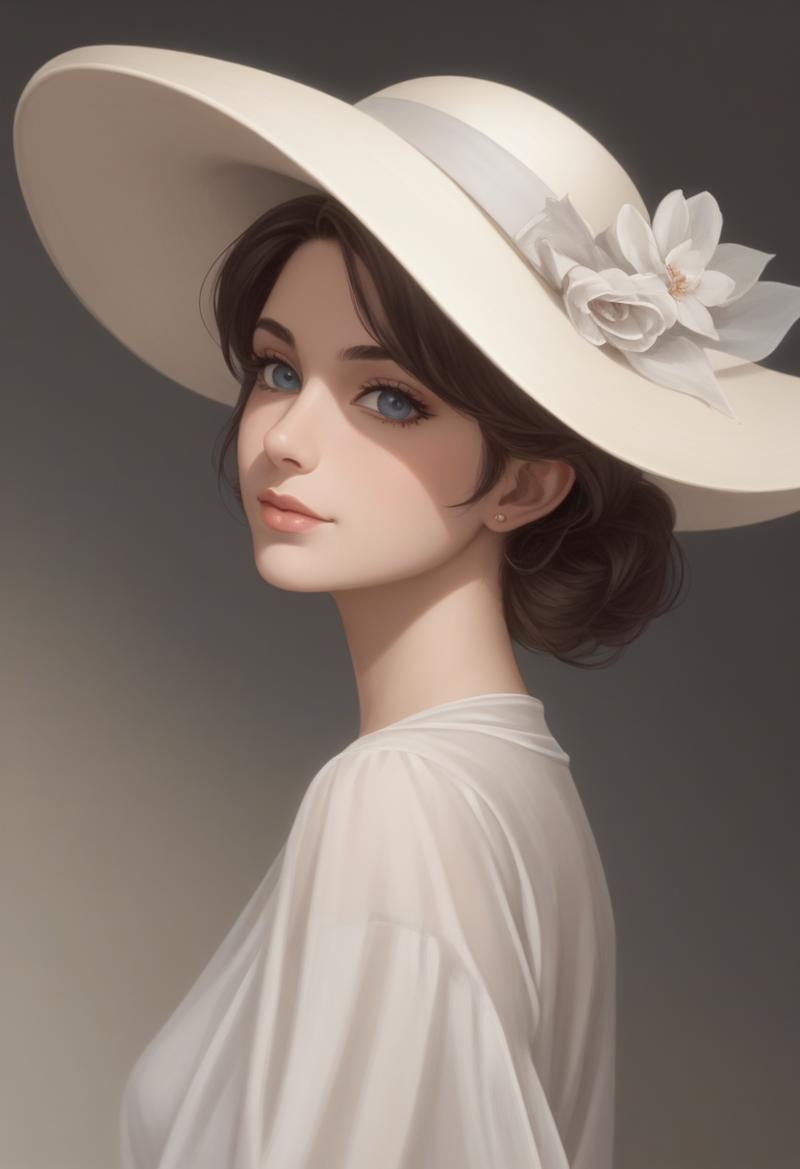
We take the Pony:
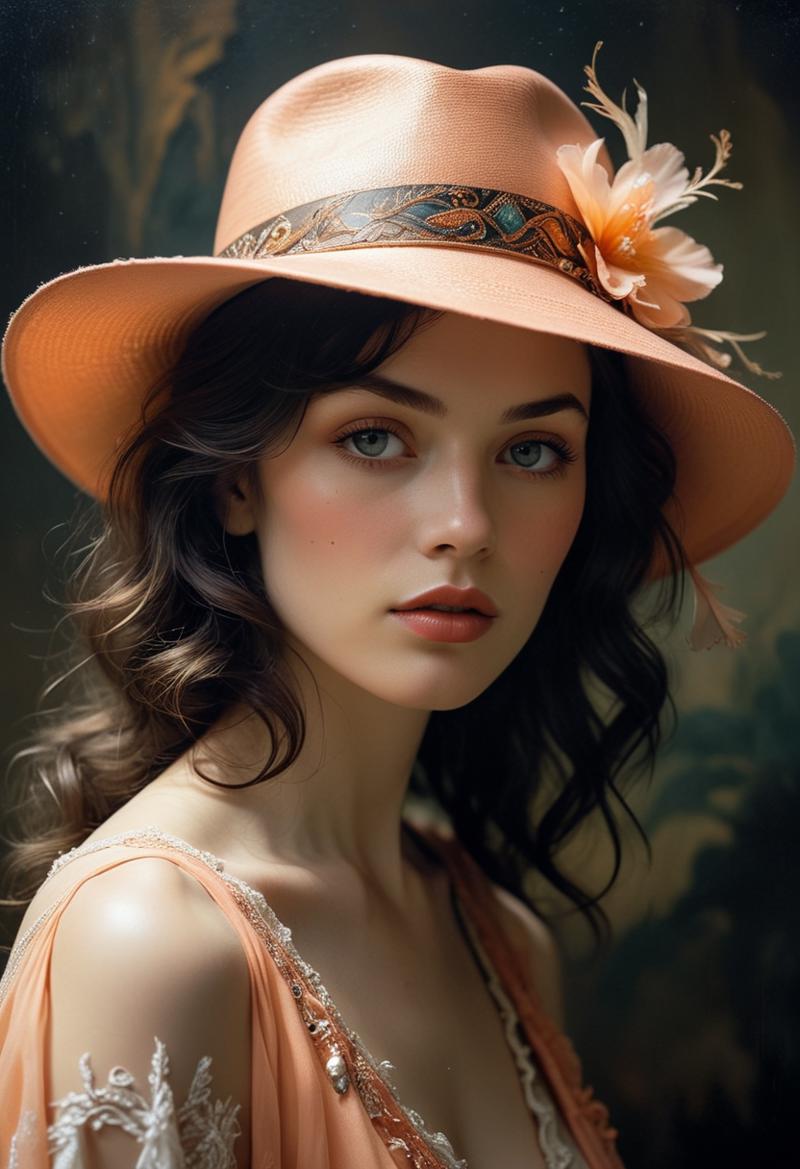
Take Lightning:
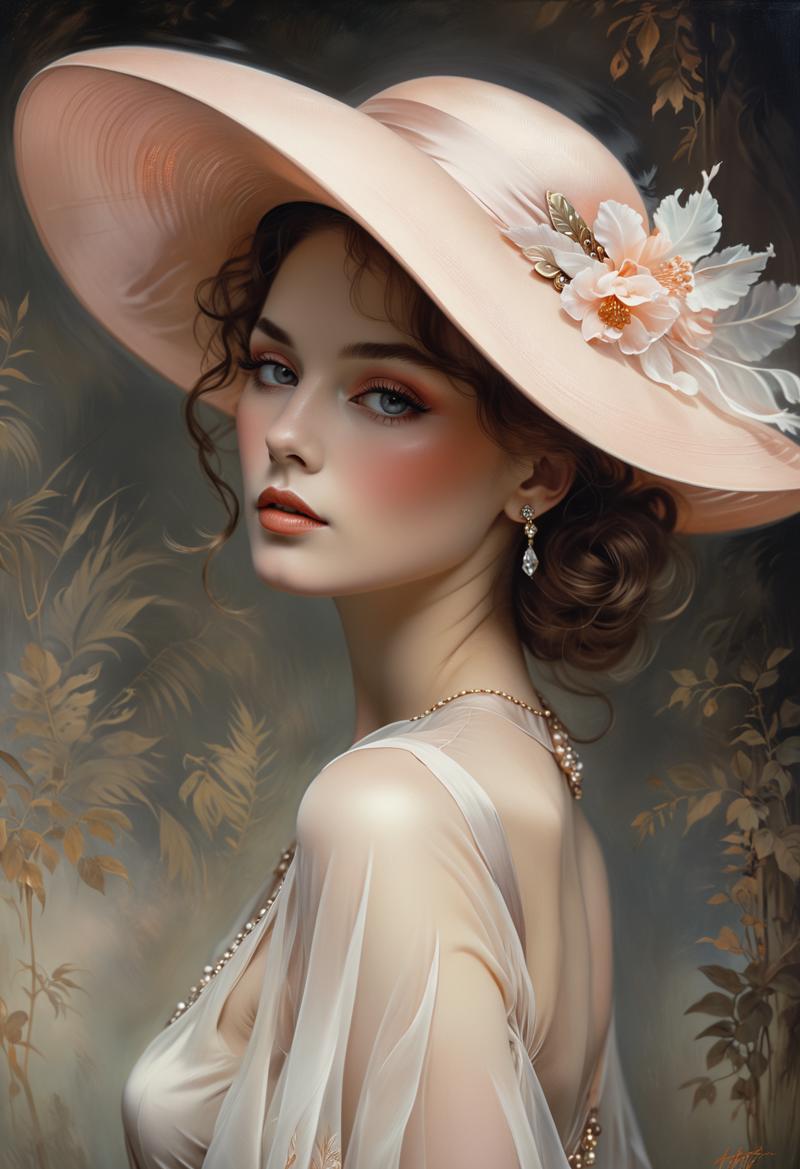
And mix them through Hires.fix:
Now a little bit about how to achieve this in the easiest way possible.
First, you need to enable the ability to use a separate model for Hires.fix. This is done through Forge settings (also in Automatic 1111).


After that, save the changes and restart the UI.
Now directly to the generation tab.
Select your Pony model (the model on the screenshot is not yet available for download at the time of writing the lesson*) select the desired VAE and customize the Clip skip to your preference.

Enter your positive and negative prompt optimized for Pony (Mine isn't great, so don't judge harshly, I'm sure you know how to work with Pony better than I do)
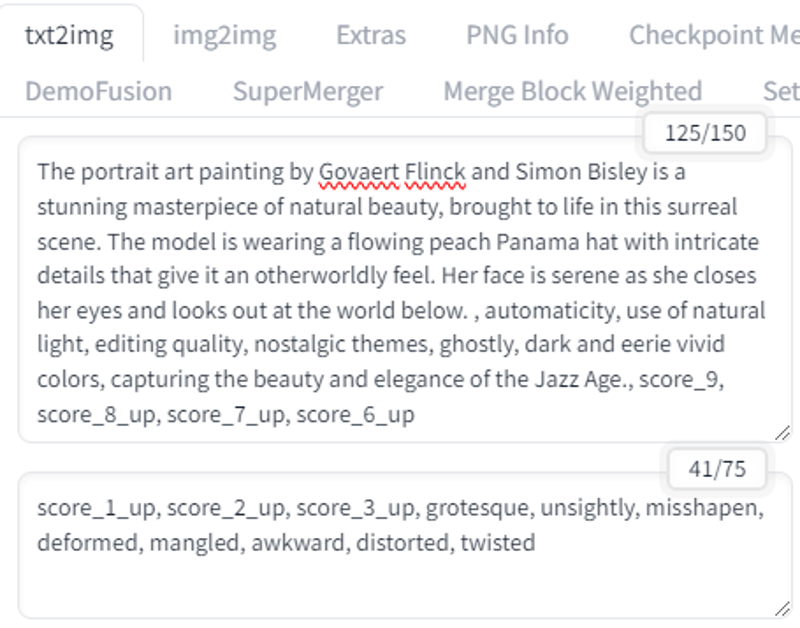
Next, the generation parameters...
You can choose the resolution of the picture at your choice, as well as the sampler. But try to choose a sampler that is well suited for both Pony and Lightning models. In my opinion DDPM is perfect in this respect.
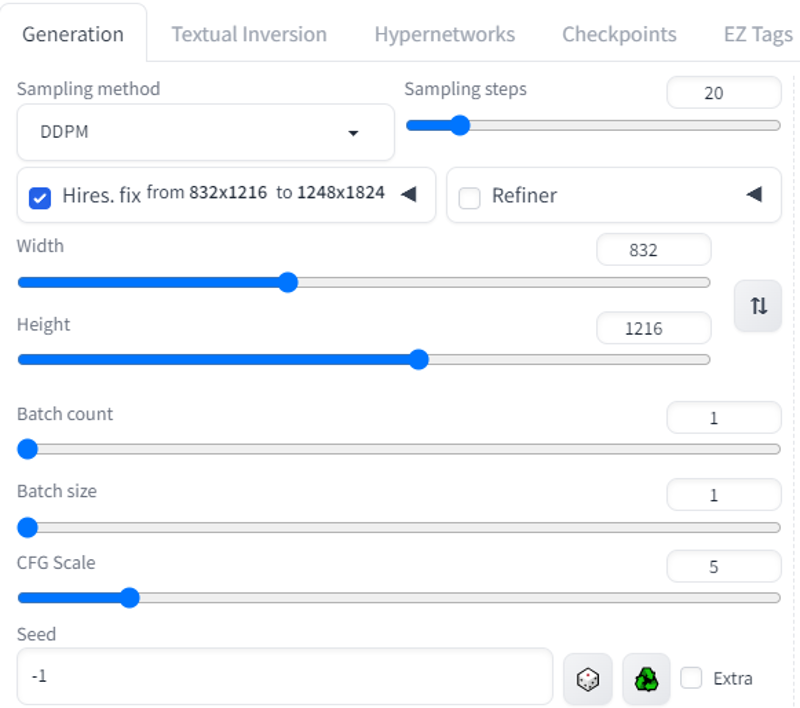
The CFG should be chosen somewhere in the middle between what is used in the Pony and Lightning models. My Pony uses CFG 8 - 10 and my Lightning model 1.2 - 2. So I set a value in the middle between these values, which is 5.
Now let's set up Hires.fix
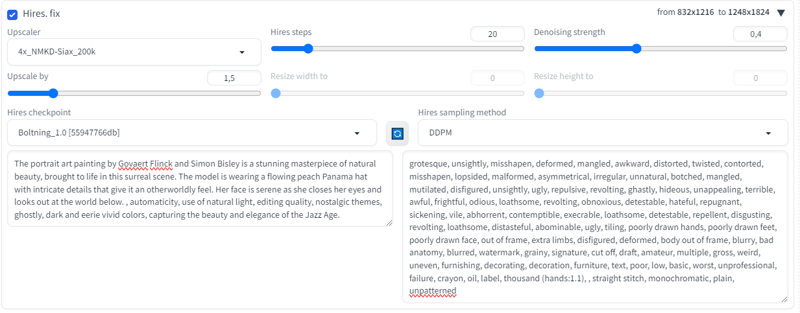
It's pretty straightforward here. First of all, pick your favorite upscaler... I use Siax_200k as it seemed to me the best option in terms of quality/speed ratio. But if you have a powerful PC and quality is more important to you, I advise you to use LDSR.
And I chose the following parameters as the best ones for me:
Upscale by 1.5
Hires steps 20.
Denoising strength 0.4
Once all these settings are configured, all that remains is to select your Lightning model

And enter the same prompt that you entered earlier only optimized for the Lightning model.

That's it. Click - Generate and enjoy the results.

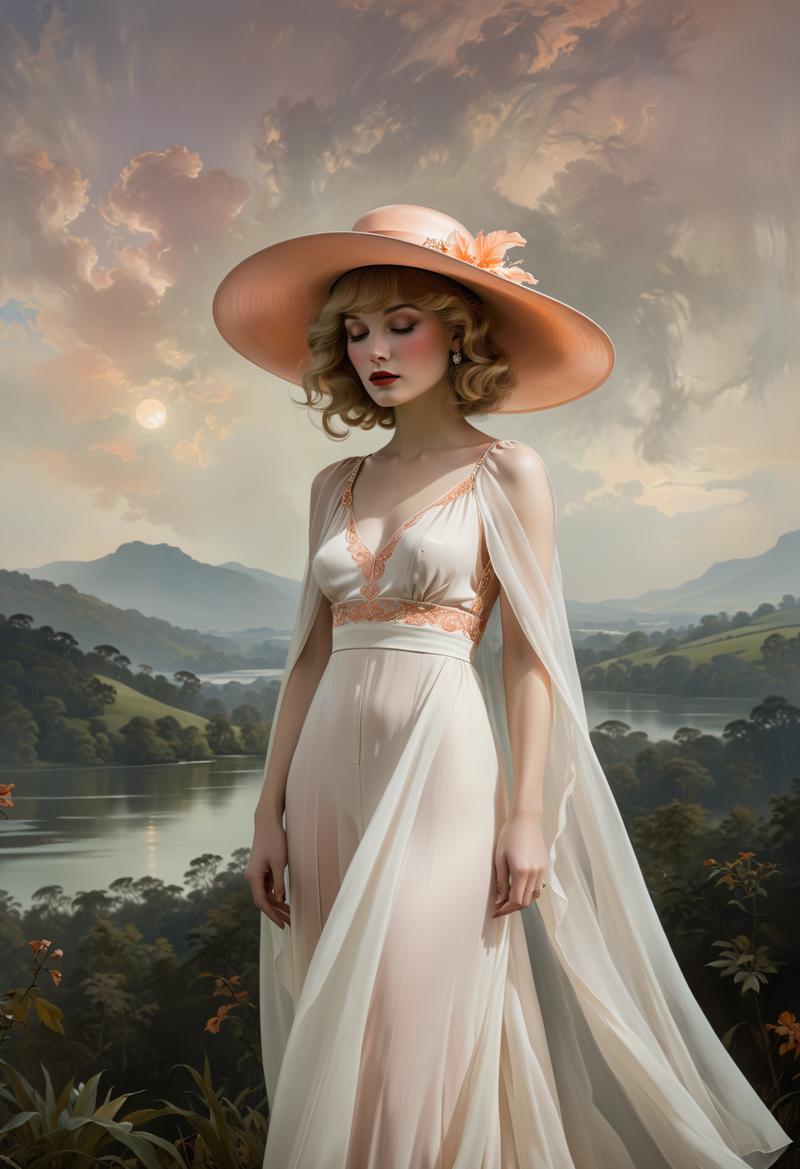
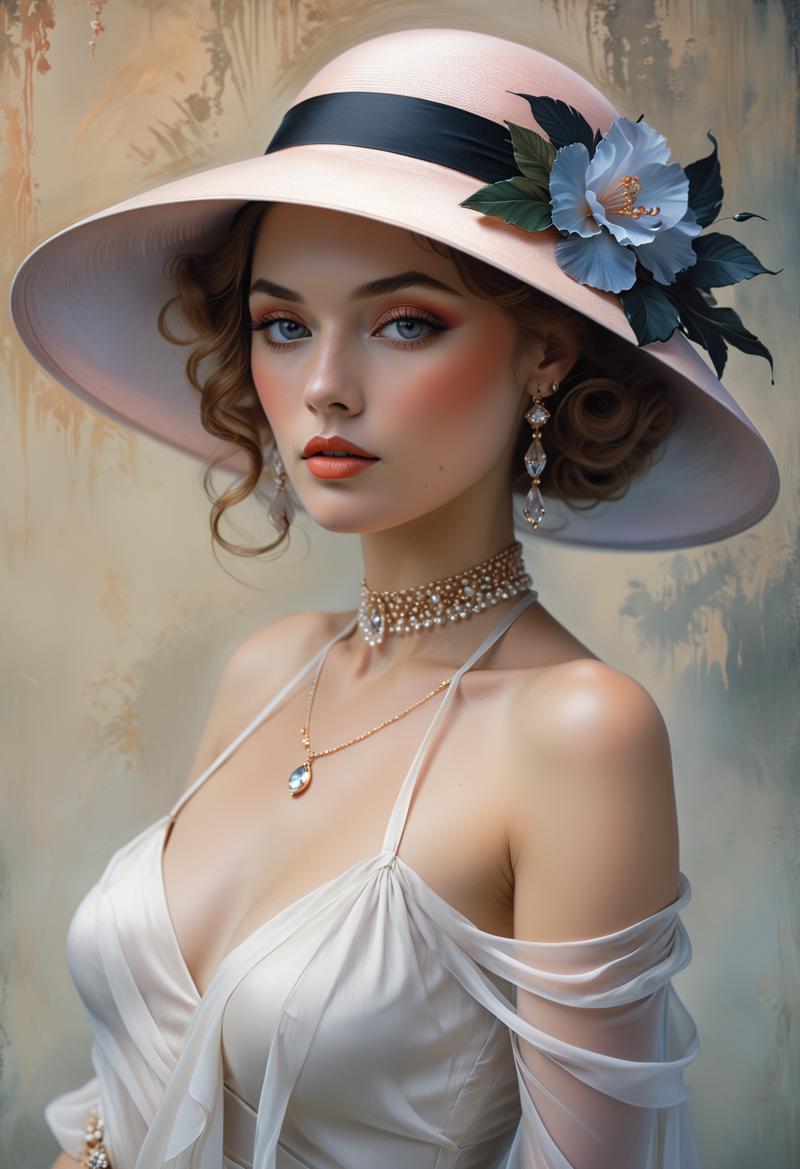
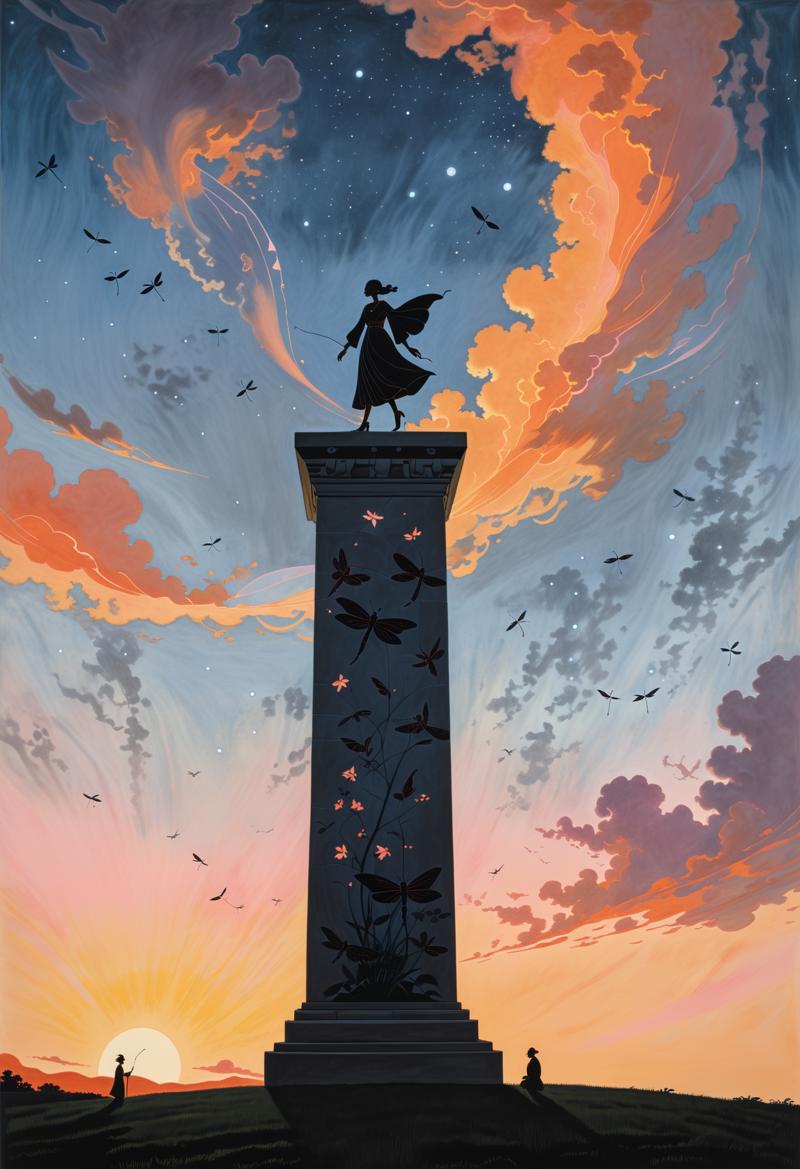
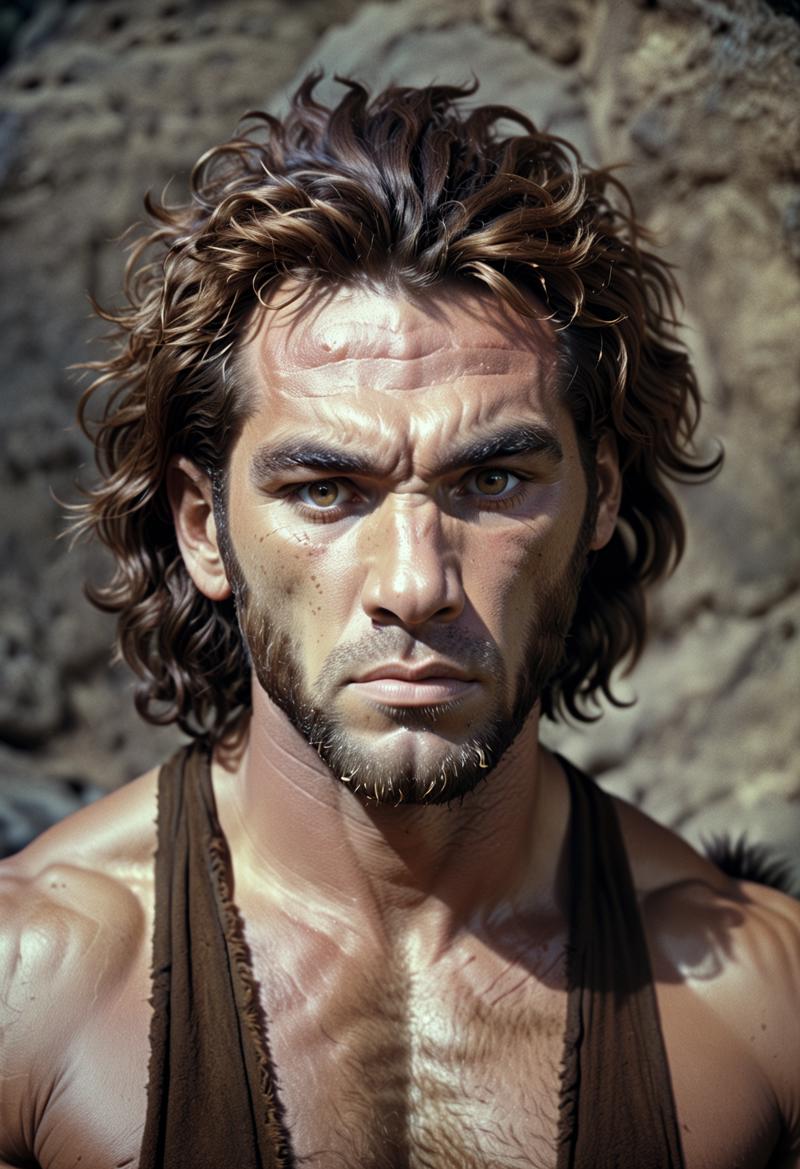
I hope you find this little tutorial helpful.
If you like what I do, please subscribe.
