
This article is based on this Youtube video and some experimenting that I did on my own.
Map Bashing is a technique where you take multiple images, process them through Controlnet then combined them together into one to get the desired composition. Which can then be passed to Controlnet to generate the Image as per that composed Image. Using this technique, It is possible to combine various elements into a single image.
Find the Images
The step 1 is to first find the images that we want to bash together. TBH, I have 0 creativity at this moment 'cuz I'm tired after a whole day's work, So I'm just going to use look something that fits the word "Fantasy".
First, I'll hunt for a background fitting to the fantasy theme. This Caastle looks good enough. So i'll just grab the image. (link)

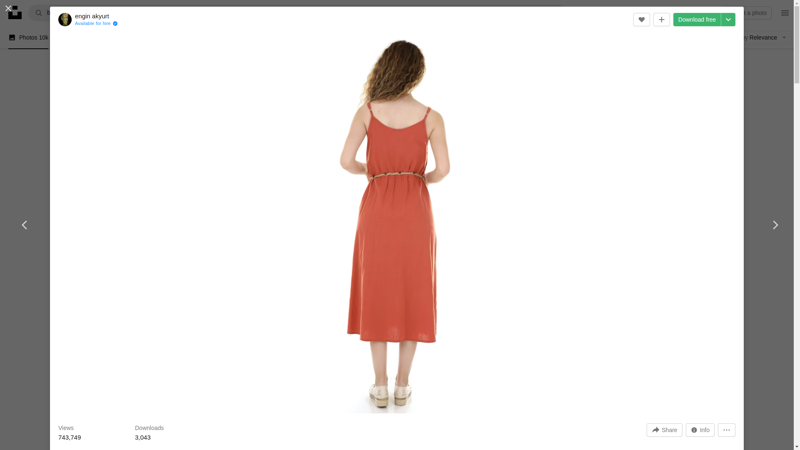
Next up, want a female showing her backside to the viewer. This image fits the bill very nicely, and it also full body image. (link)
Process Images with Controlnet
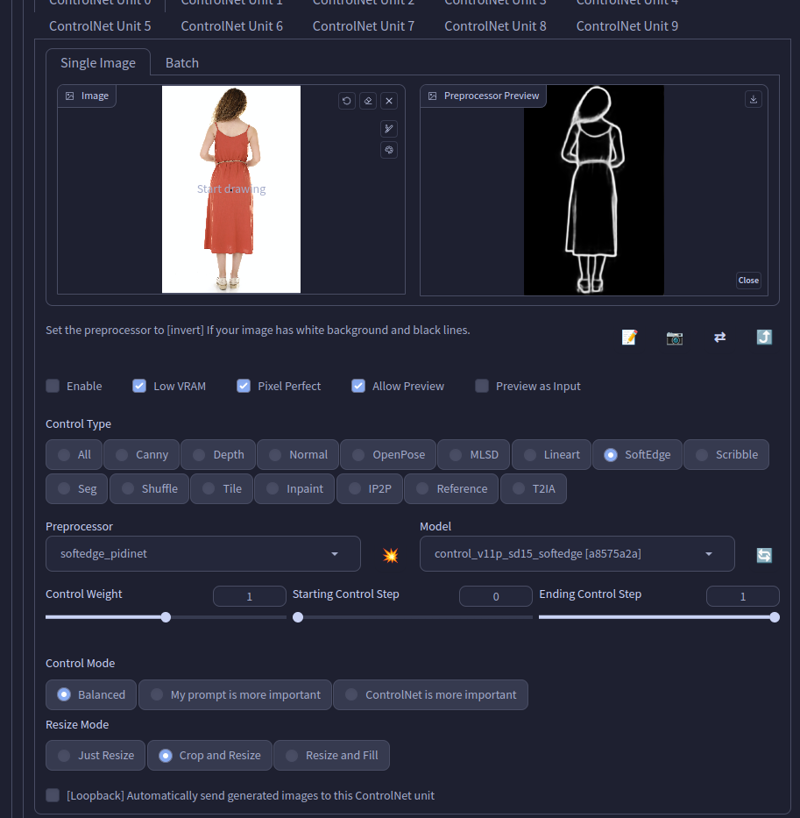
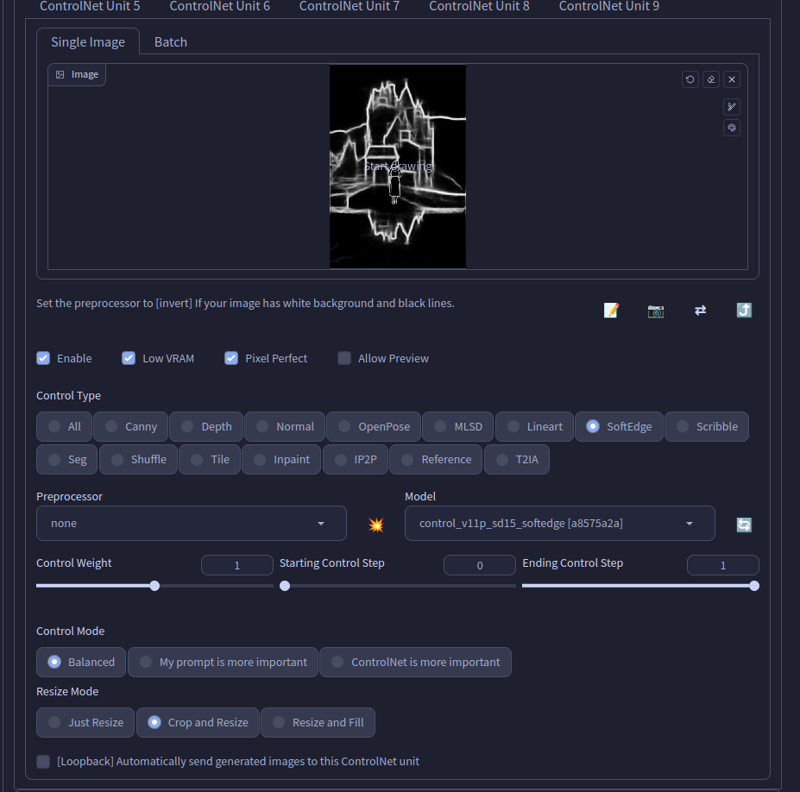
For this one, Im going to use SoftEdge. You can use any other as well, like scribble, lineart, depth canny etc. Just make sure you use 1 type of controlnet for all images since you can't just mix 2 types and expect the result to be proper, they are different types you know, common sense stuff.
Processing background

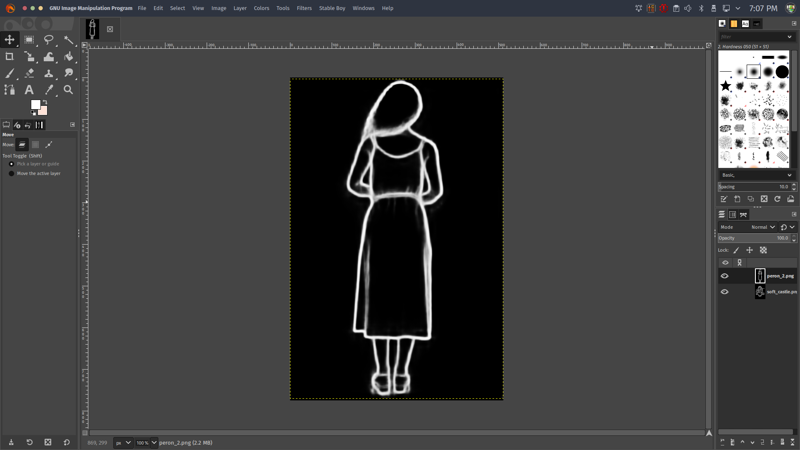
Processing female
Combine Processed Images
In this step, we need to combine both of our images to make them be one. One as in soul.
I'm using GIMP here since I'm on Linux(I use Arch BTW) and am more familiar with it. You can use anything you want, Photoshop, Krita, Photopea, heck go use paint if ya want (ye, I'm looking at you).
Here I've loaded my Background.

Now I'll load the female in the same project as a layer. Usual stuff.
Next I need to clean up the extra black sides, since I only want her details, not the rest of the environment and I also want to have her nicely blend with the background during generation.
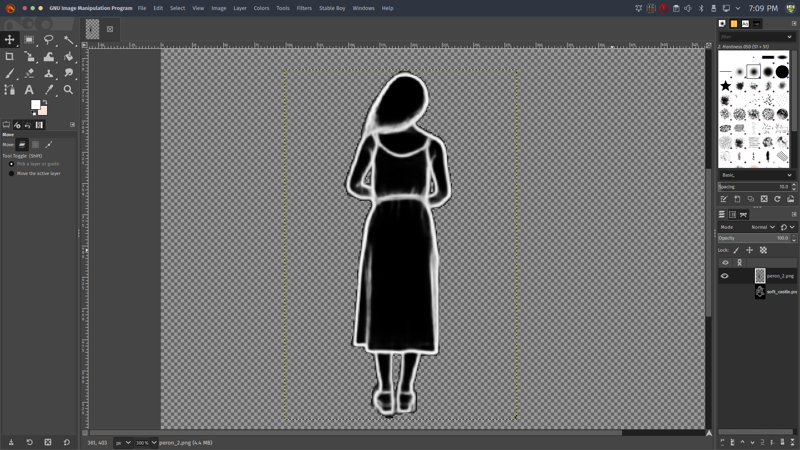
Now I'll properly scale and place her in proper position. And Voilà, We have what we need. Or at least what our brain is tricking us to think. I'll export it to use with controlnet then.

Final Image

Showdown
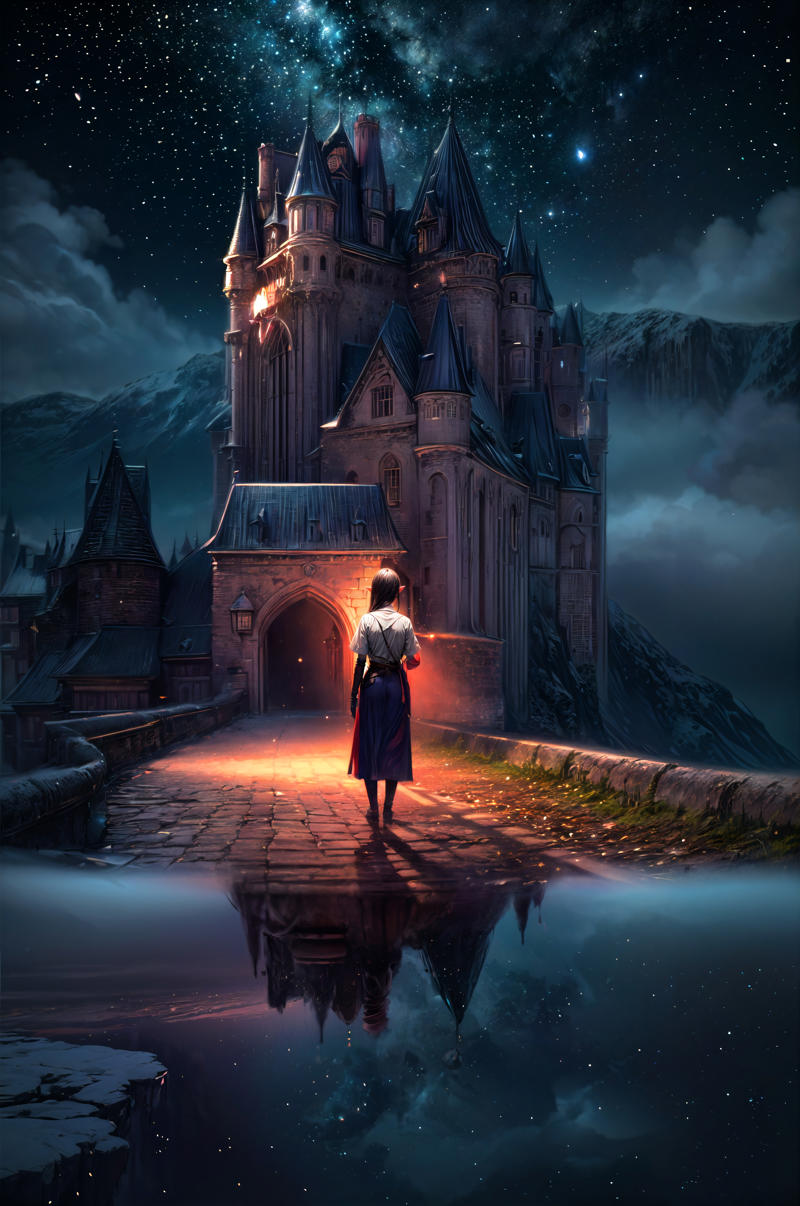
Time to see what we can get with this bashing. I'll load the final image in my controlnet section. Then I'll add a very complex, very non-reused, very original out of the existence prompt of mine that I definitely didn't take from various checkpoints and combined them in one.
But you know whatv else it's missing? Any guess?...
My WrenchMix!!
Get one for yourself today at LTTSTORE[dot]COM use the code 69420 to get 100%
alright bad joke sorry...
Anyway, I'm using my WrenchMix for this one here. And some usualk stuff. (dw i'll share prompt as well)
Prompt
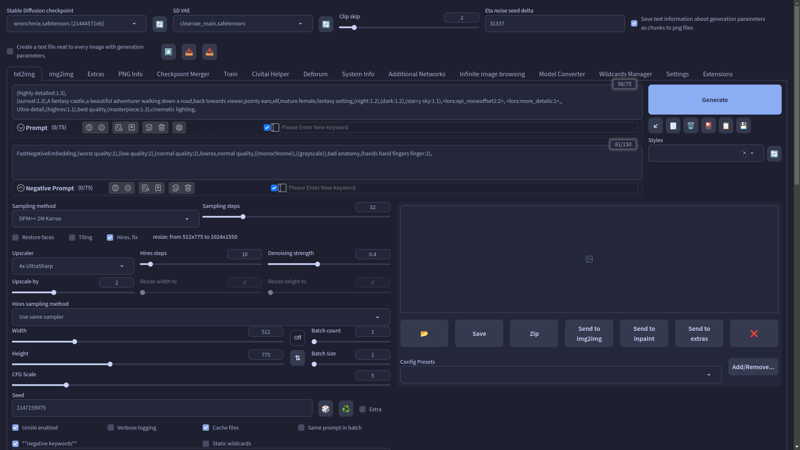
(highly detailed:1.3),
(surreal:1.3),A fantasy castle,a beautiful adventurer walking down a road,back towards viewer,pointy ears,elf,mature female,fantasy setting,(night:1.2),(dark:1.2),(starry sky:1.1),<lora:epi_noiseoffset2:2>, <lora:more_details:1>,,
Ultra-detail,(highres:1.1),best quality,(masterpiece:1.3),cinematic lighting,
Negative prompt: FastNegativeEmbedding,(worst quality:2),(low quality:2),(normal quality:2),lowres,normal quality,((monochrome)),((grayscale)),bad anatomy,(hands hand fingers finger:2),
Steps: 32, Sampler: DPM++ 2M Karras, CFG scale: 5, Seed: 1147159075, Size: 512x775, Model hash: 21444571eb, Model: wrenchmix, Denoising strength: 0.4, Clip skip: 2, RNG: CPU, ControlNet 0: "preprocessor: none, model: control_v11p_sd15_softedge [a8575a2a], weight: 1, starting/ending: (0, 1), resize mode: Crop and Resize, pixel perfect: True, control mode: Balanced, preprocessor params: (512, 64, 64)", Hires upscale: 2, Hires steps: 10, Hires upscaler: 4x-UltraSharp, Lora hashes: "epi_noiseoffset2: d1131f7207d6, more_details: 3b8aa1d351ef", Version: v1.3.2
After a few generations, I think I like this one. Time to post-process.
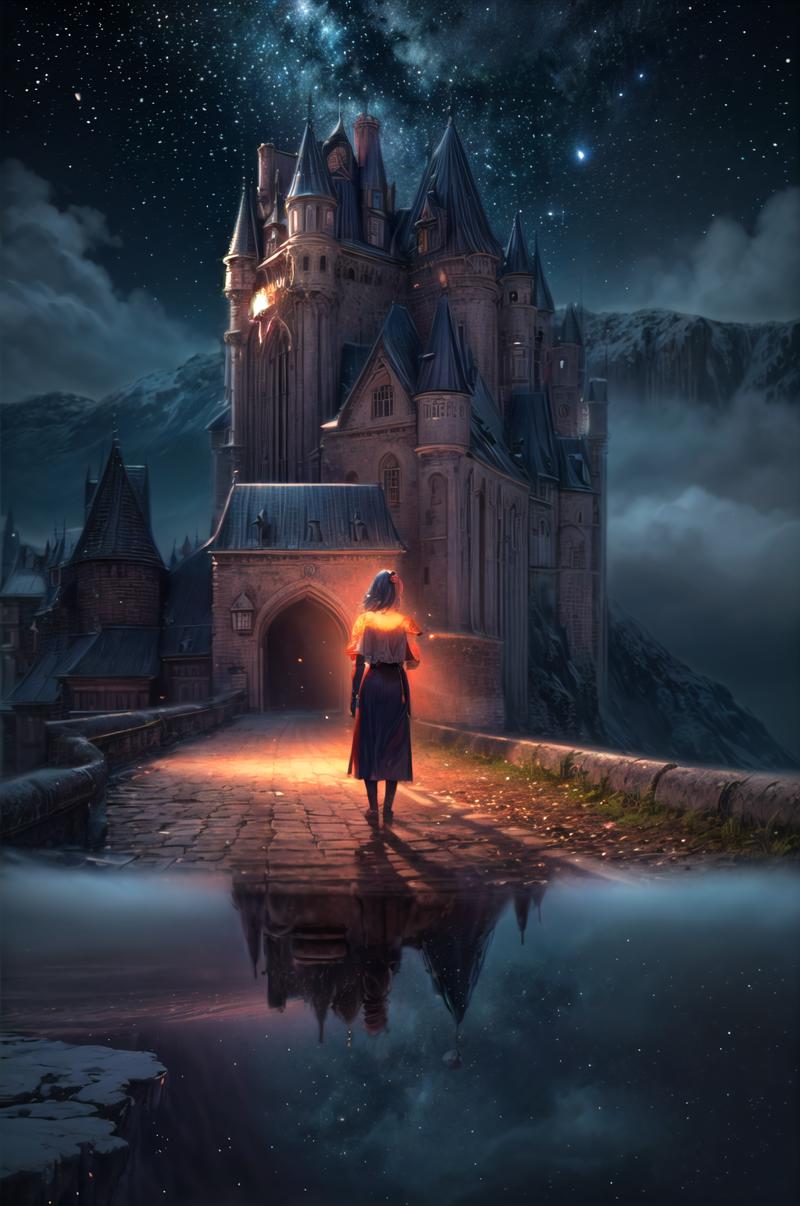
I'll pass the image to img2img to fix the issue with that head part. Usual inpainting.

Corrected the head part and the glow is also gone that looked like a lamp-head.

Now, time to upscale with multidiffusion at 2x with ultrasharp. Looks lit IMO.(let's not show the quack that I got 'cuz I forgot to lower denoise). Also this upscaled image is JPG 'cuz it went over 5 mb limit of the editor.
LGTM. Damn, I'm a pro Proompter, right?
Extras
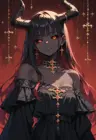
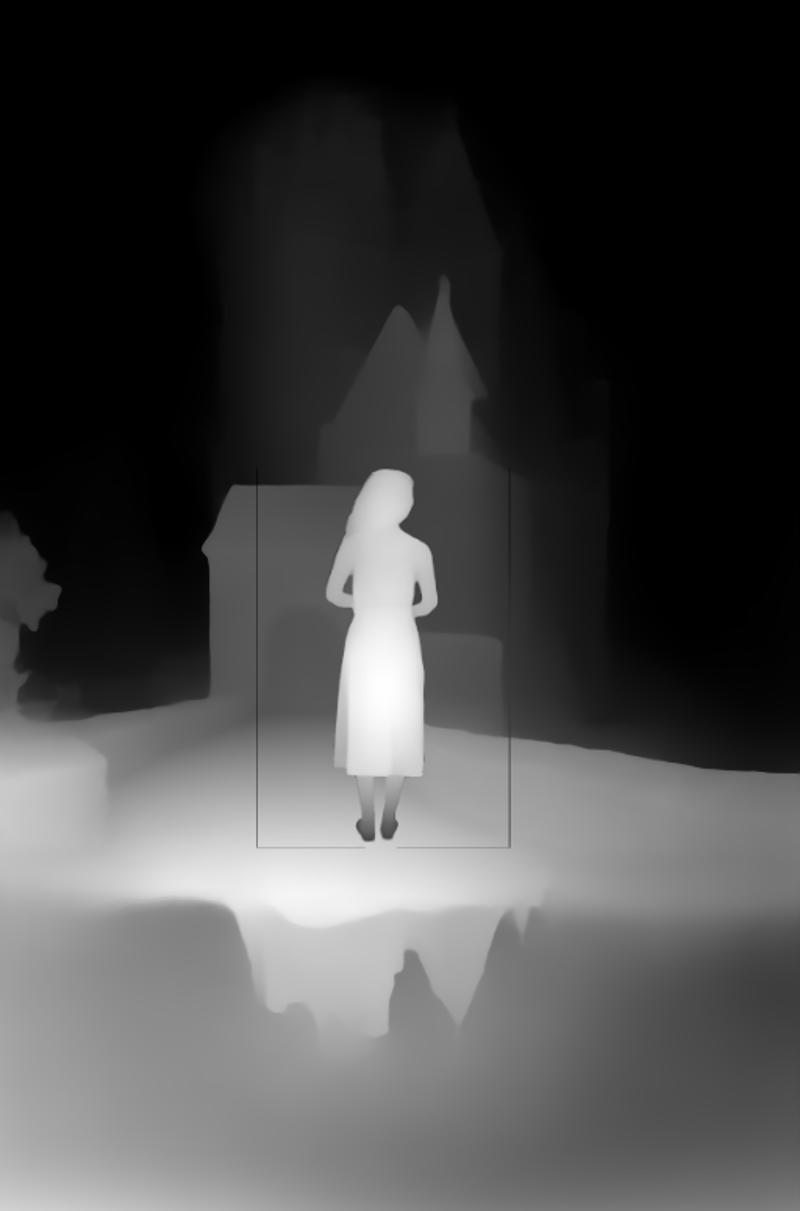
Same prompt as above but with depth instead. (and I just noticed I didn't clean the female image properly, lol. But hey, the result satisfies me.)

Another one with softedge.


Prompt
(highly detailed:1.3),
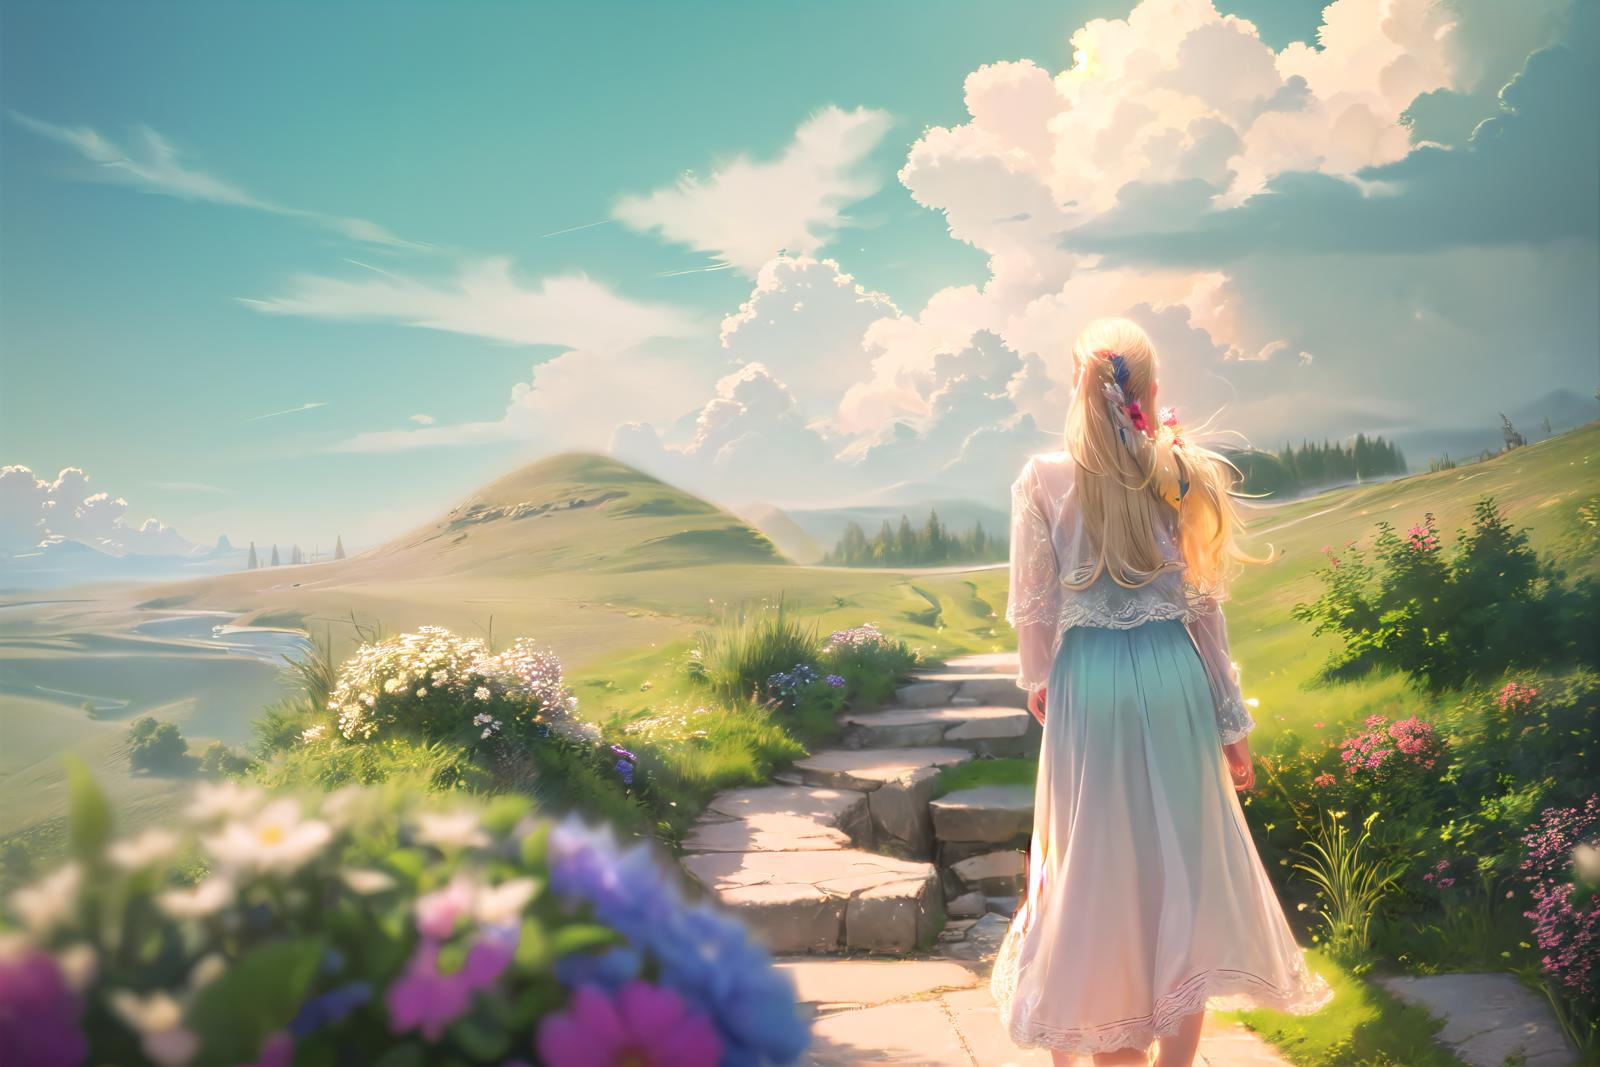
A fantasy Landscape, lush green grass, colorful flowers,a beautiful adventurer walking down a road, back towards viewer,
Ultra-detail,(highres:1.1),best quality,(masterpiece:1.3),cinematic lighting,
Negative prompt: FastNegativeEmbedding,(worst quality:2),(low quality:2),(normal quality:2),lowres,normal quality,((monochrome)),((grayscale)),bad anatomy,(hands hand fingers finger:2),
Steps: 32, Sampler: DPM++ 2M Karras, CFG scale: 5, Seed: 573324167, Size: 768x512, Model hash: ff5cb8e794, Model: animePastelDream_softBakedVae, Denoising strength: 0.4, Clip skip: 2, RNG: CPU, ControlNet 0: "preprocessor: none, model: control_v11p_sd15_softedge [a8575a2a], weight: 1, starting/ending: (0, 1), resize mode: Crop and Resize, pixel perfect: True, control mode: Balanced, preprocessor params: (512, 32, 0.1)", Hires upscale: 2, Hires steps: 10, Hires upscaler: 4x-UltraSharp, Version: v1.3.2For the nerds like me. Yes, It works in few cases where processed images are tad similar. Or you process them again. Here, I've mixed canny female with a softedge bg. Uses same prompt as above image.


Here, I processed it with softedge first.

But, the results can be a bit meh since the details from first processing diminished.
