Introduction
This article is less a tutorial and more a description of how I set up my dataset. There may be better methods out there, but this approach works for me. It's not perfect; I have several models that didn't turn out as expected and require revisiting. There are even some models I've published that I intend to go back to.
Below is an outline of my process for creating a LORA. Please excuse any lack of depth, as this is my first article.
Step 1: Gathering images For Dataset
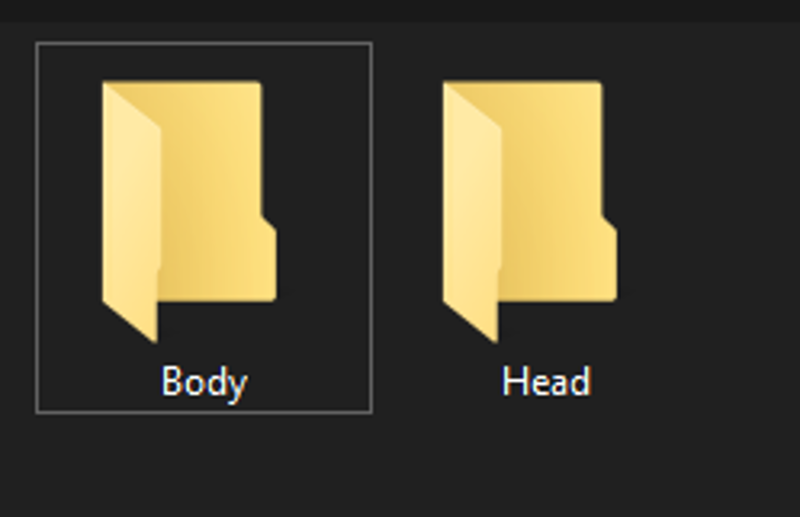
I have created two folders for images: one for headshots and another for body shots.
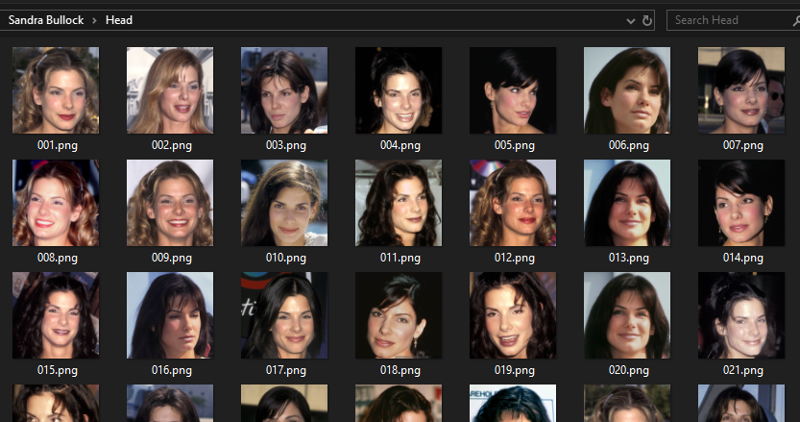
When searching for headshots, I prefer images from public appearances, such as movie premieres or speaking engagements, because they offer a more natural look compared to the airbrushed, photoshopped images found through a simple Google search. If I lack the necessary number of images or a suitable profile shot, I resort to using images from Google search.
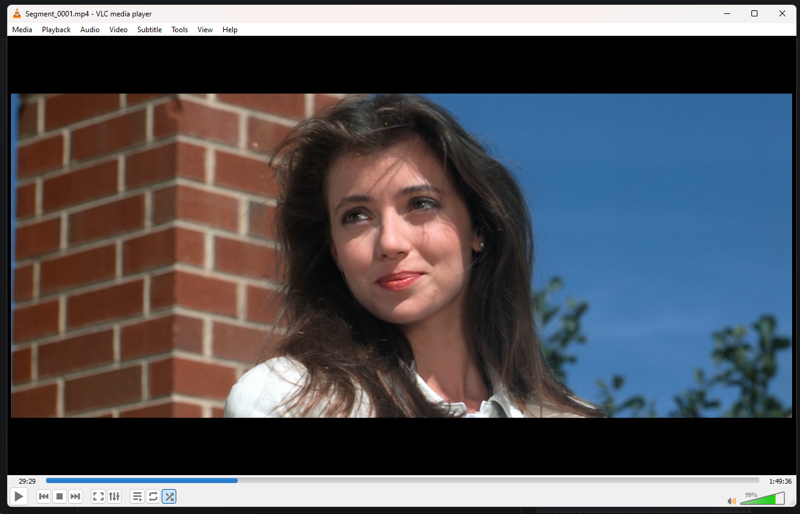
Additionally, I obtain images by taking screen captures from Blu-rays or video captures. This technique was employed for my Susan Oliver and Mia Sara models, where I export frames using VLC.
When possible, I strive for a specific aesthetic, such as a defining hairstyle or images from their 20s or 30s rather than their 50s or 60s, or vice versa.
I aim to gather up to 50 images or, if I'm overly ambitious and accumulate too many, I reduce the number to 63. The reason for this will be explained shortly.
I endeavor to capture a wide range of expressions and angles.
For the headshot images, I employ Photoshop to crop the head into a square format, ensuring the head and neck are included within the frame and that the size is at least 512x512 pixels. It doesn't have to be exactly that size, but at least a square of that dimension or larger.
I save the images in PNG format and then organize them in a photo manager, specifically Phase One Media Pro, previously known as iView Media Pro. I shuffle the images and rename them from 001 to 050 or 063.
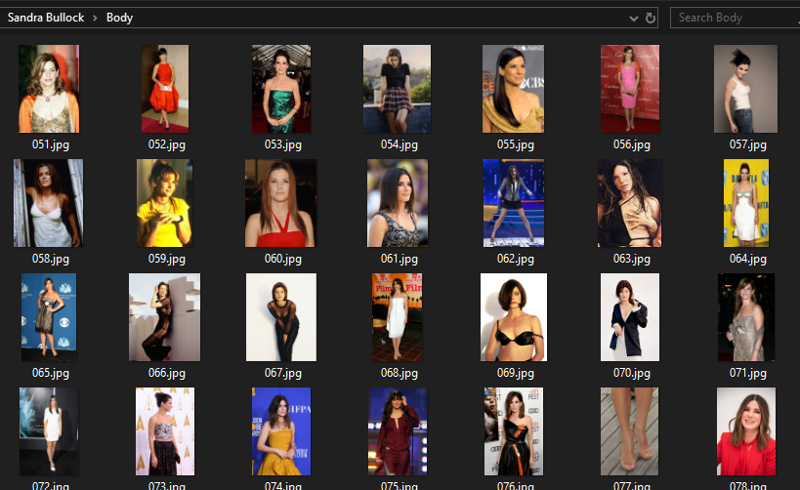
For compiling body images, I collect various pictures of the individual and place them in the body folder, ensuring there are no duplicates.
To highlight a specific body part, such as the legs, I select several images showcasing the legs and crop them accordingly. This method applies to other body parts like hands, chest, or torso as well.
Should there be a shortage of body images, I source images from another individual with a similar physique, omitting their head.
I store up to 250 images, with more details to follow on this process.
Typically, I maintain the images in a vertical or square format, with the largest dimension being at least 512 pixels.
These images are also randomized, starting with numbers such as 051 or 064.
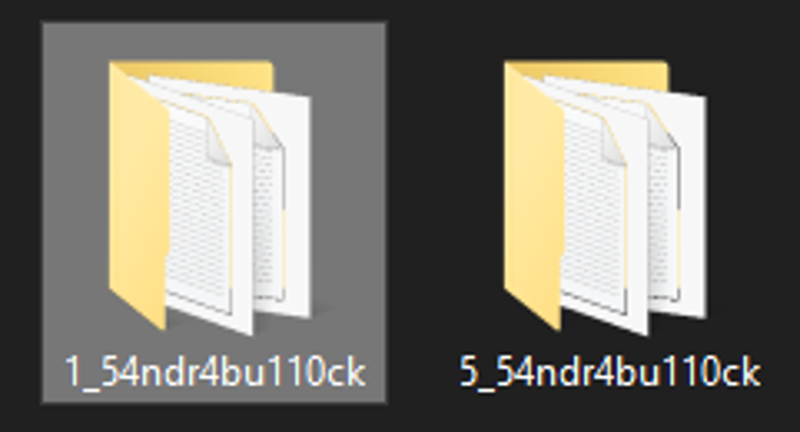
I rename folders according to the number of repeats and the trigger name. For example, the Sandra Bullock model has 50 headshot images, so I set 5 repeats and renamed the Head folder to: 5_54ndr4bu110ck.
For the Ashley Judd model, which has 63 headshot images, I used 4 repeats: 4_45h13yjudd.
(Note: I replace "L" with "1" and keep "i" as is, whenever I remember to substitute letters with numbers.)
Body images are labeled with 1 repeat: 1_54ndr4bu110ck and 1_45h13yjudd.
Next, I create four additional folders:
image
log
model
reg
I place my headshot folder into the image folder and the body image folder into the reg folder.
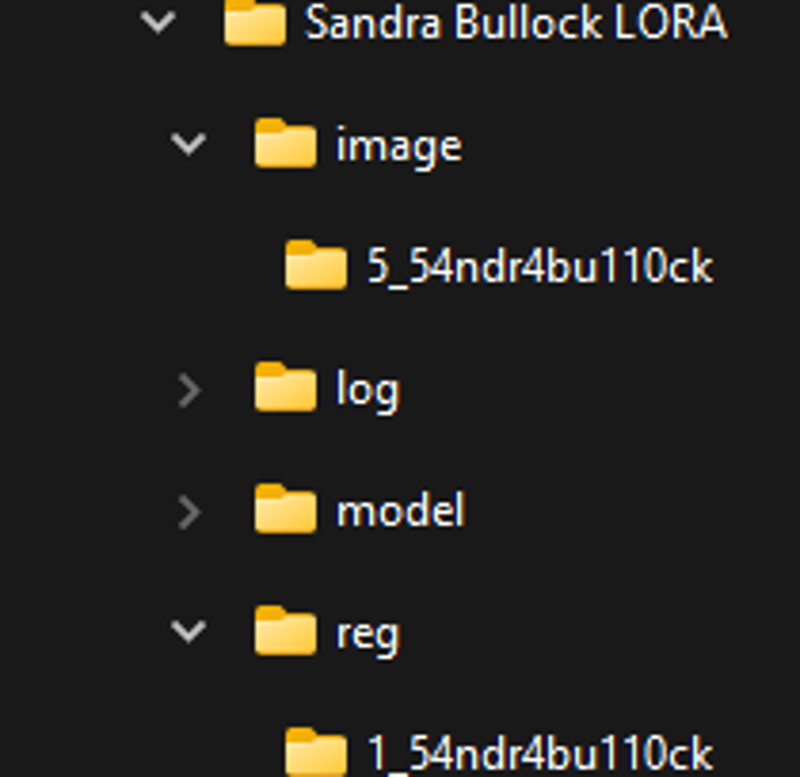
The way my models work best if I put the body images in the regularization folder.
Step 2: Kohya_SS and BooruDatasetTagManager
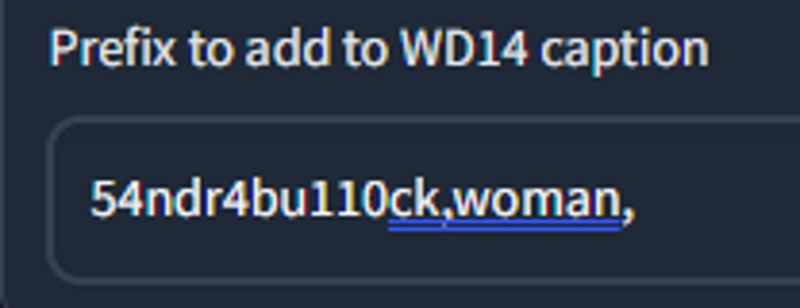
In Kohya_SS under utilities, I choose WD14 captioning and add the (trigger word),woman, to the prefix. I consolidate images into one folder and caption them.
After the captioning, I open BooruDatasetTagManager to remove undesirable tags.
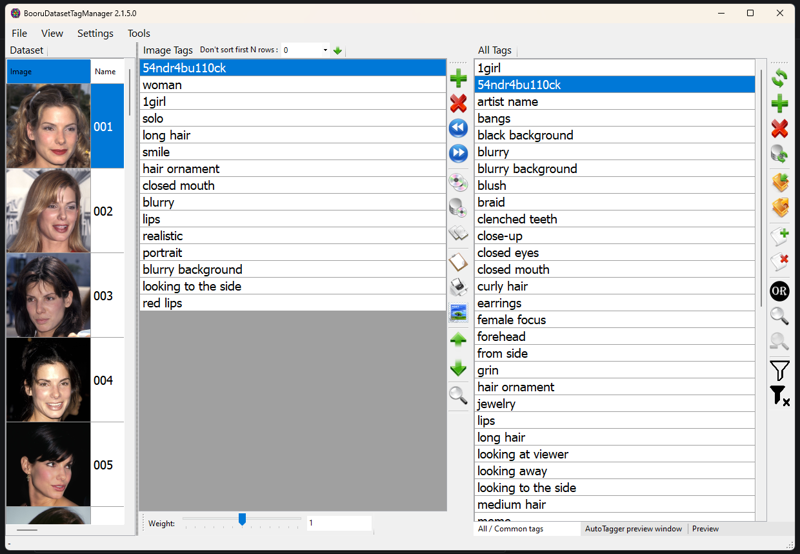
I remove tags related to male focus, hair color, and eye color. Then, I search for mislabeled tags such as holding guns or cellphones when the models are not holding either.
For tags like 'multiple people', '2girls' or '1boy', I determine if they are mislabeled or if they should be kept for individuals in the background. In such cases, I add a 'solo focus' tag. I retain these tags to help with the model if I want them included in a crowd scene.
At this point, I would separate the head and body images and text files I consolidated earlier.
Returning to Kohya_ss, and ensuring I'm in the LORA tab, I organize the folders for the model I am working on.
I won't go into all the settings I use, as you may have a more powerful system than mine; therefore, I use relatively low settings that suit my system. I've included a json file with my settings.
I use the standard 1.5 source model for the training.
My max resolution is set to '512,512'. It is low, I know. I leave my images larger than 512 and I enable buckets to conform the correct size.
I run 10 epochs, which results in 5000 steps for 50 images with 5 repeats, and 5040 steps for 63 images with 4 repeats. This is where the 250 regularization images are utilized. Exceeding this number causes the additional images to be omitted. The 250 images correspond to the 250 training steps:
max_train_steps (250 / 1 / 1 10 x 2) = 5000 (2 more regularization images can be used on 63 headshot images.)
Step 3: After the Training, Using the Model
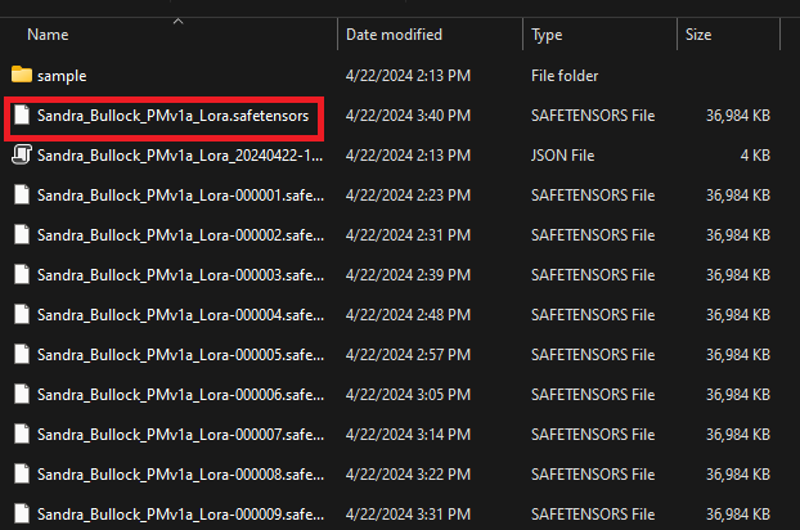
After the training is finished, I move the last epoch to my 'models' folder. The last epoch is the safetensors without the string numbers.
I use Automatic 1111 to test out the model. I had the best luck with photorealistic checkpoints using a weight of 1.3.
I hoped this helps you with your model. Good luck!

