I'll show you my usual workflow. I like to generate images with high resolution and detail, but the problem is that with my graphics card the process becomes eternal. That's why I never generate high-resolution images from txt2img.
In txt2img, I generate low-quality, low-resolution images, then move them to img2img. Although it might seem logical, most people either spend too much time on txt2img or settle for the first image.
I like to be able to quickly select and create different images with different compositions, colors, etc.
Small txt2img
For this reason, I generate them at 320x480 o 344x512. For the sampler, I always use DPM++2M Karras and 20 steps. For Batch size, I usually use 6, as it's very fast with this resolution. (In my case, 6 images in 8-9 seconds).
But it's not just about the time, since I could increase the size, but from the tests I have conducted, I prefer not to make it larger since in img2img at 0.5 denoising offers me better results.
For this example, I'm going to use the following prompt:
Cinematography by Roger Deakins, extreme close up low angle shot, of a young male scientist with a masculine face, short blonde hair, wearing a futuristic white jumpsuit with a helmet, standing in an abandoned broken down industrial building interior, liminal lighting, in a dark deslote desert lanscape, cinematic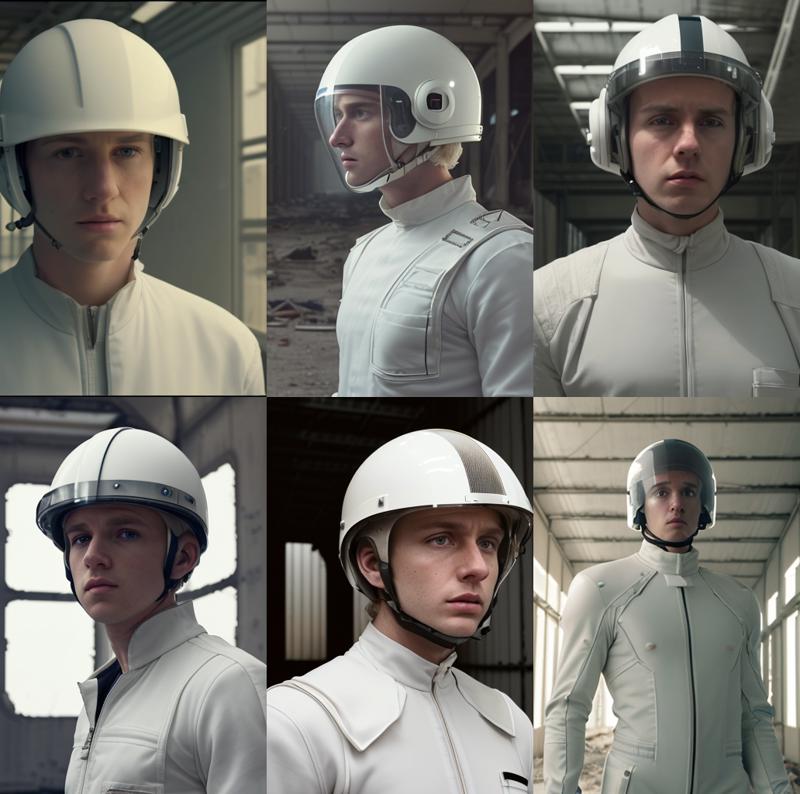
I usually generate many more images until I get the one I like or am looking for, as the generation is extremely fast.
Dynamic Thresholding
This is a clear example when I want more detail, as it's not always like this. For this reason, I use the "Dynamic Thresholding (CFG Scale Fix)" plugin, which allows me to significantly increase the CFG, obtaining a better response from the prompt and also with more detail.
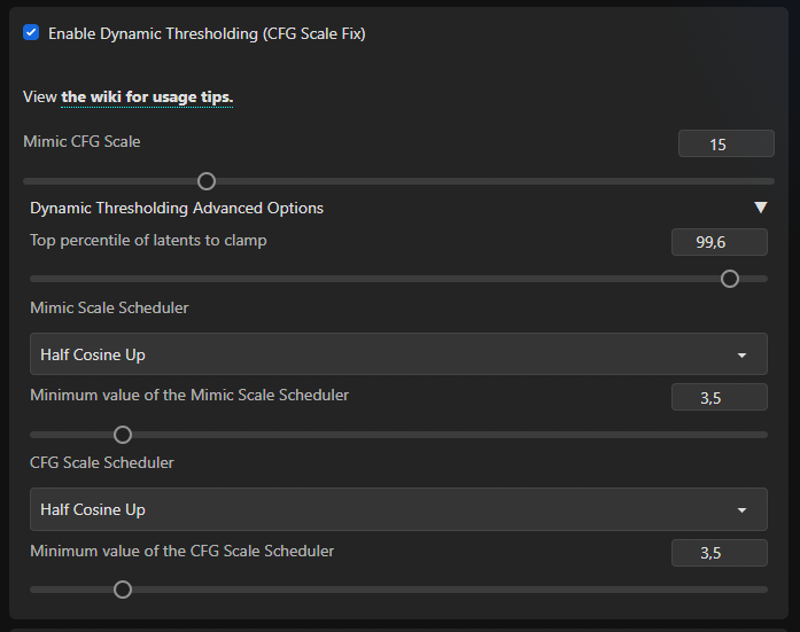
Steps: 20, Sampler: DPM++ 2M Karras, CFG scale: 60, Seed: 3672344587, Size: 344x512, Model hash: 9c59be761e, Model: difConsistency-1.0_fp16, Dynamic thresholding enabled: True, Mimic scale: 15, Threshold percentile: 99.6, Mimic mode: Half Cosine Up, Mimic scale minimum: 3.5, CFG mode: Half Cosine Up, CFG scale minimum: 3.5, Discard penultimate sigma: TrueThe result is as follows:
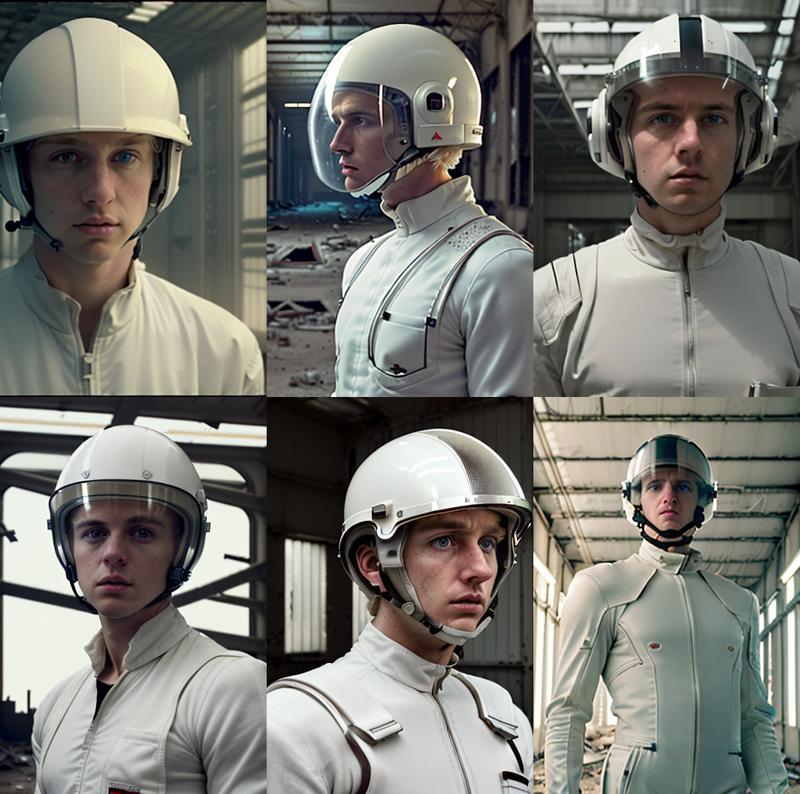
Clearly, the difference can be seen, there's no need to add anything else.
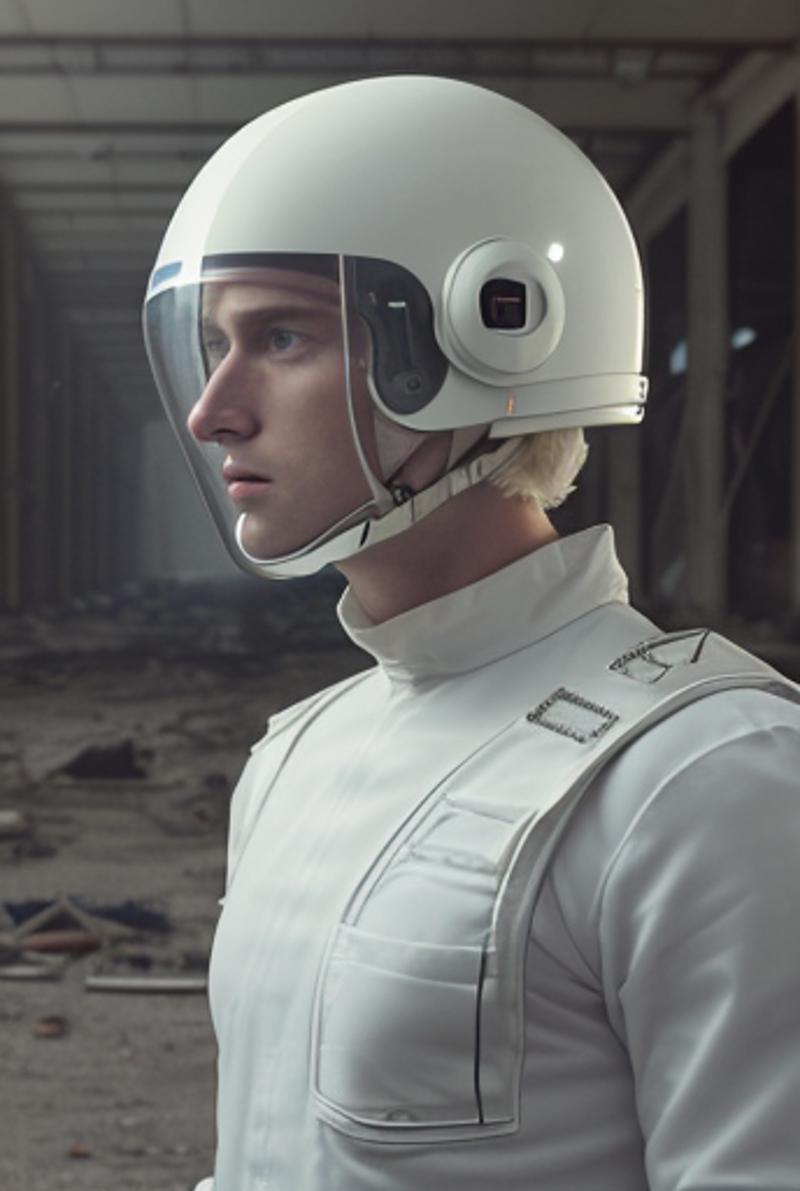
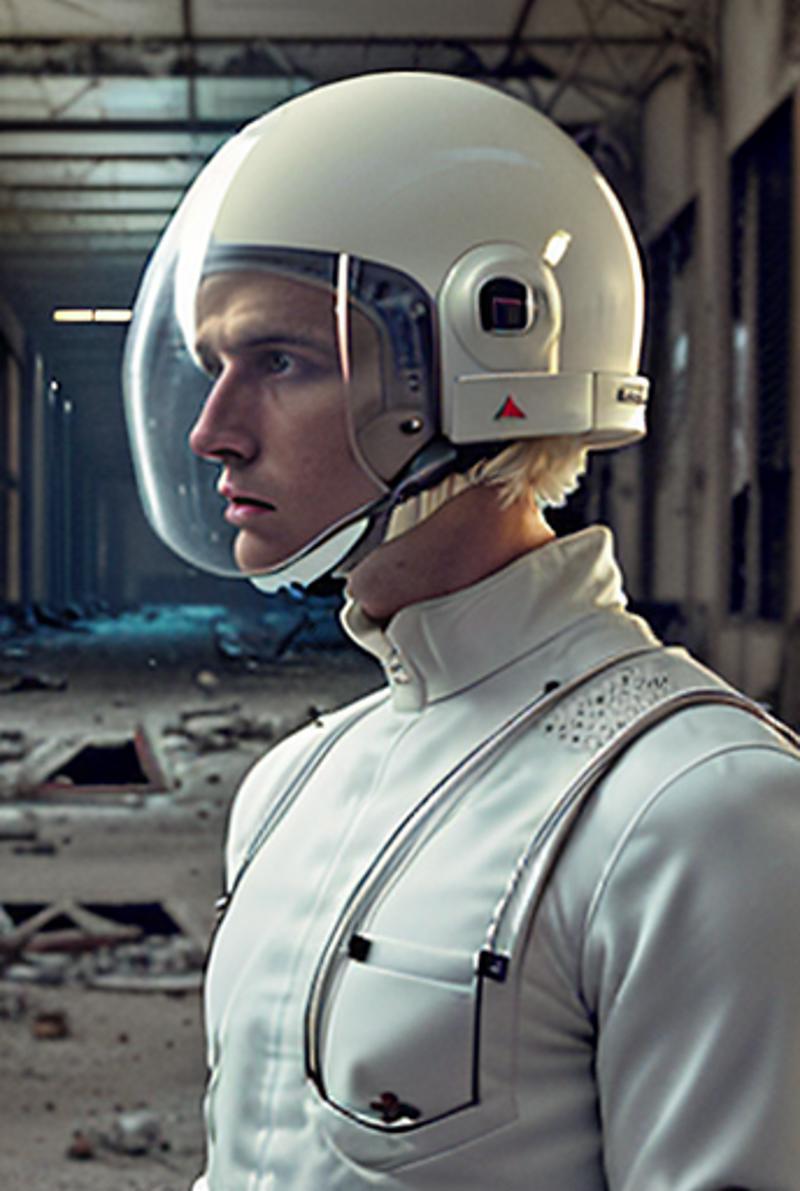
img2img
We move it to img2img using the button below the selected image.
In img2img, in my case I use styles, so I add <lora:difConsistency_photo:0.5>, and <lora:difConsistency_detail:0.75>.
In Negative, you can add whatever you consider necessary. I usually use difConsistency_negative or some generic prompt like "(monochrome) (bad hands) (disfigured) (grain) (Deformed) (poorly drawn) (mutilated) (lowres) (deformed) (dark) (lowpoly) (CG) (3d) (blurry) (duplicate) (watermark) (label) (signature) (frames) (text), (nsfw:1.3) (nude:1.3) (nacked:1.3)".
The configuration is the same; 2M Karras, 20 steps. But with the size 768x1280, and "Denoising Strength" at 0.5. I usually use between 0.4 and 0.6. Make sure the Seed is set to -1.
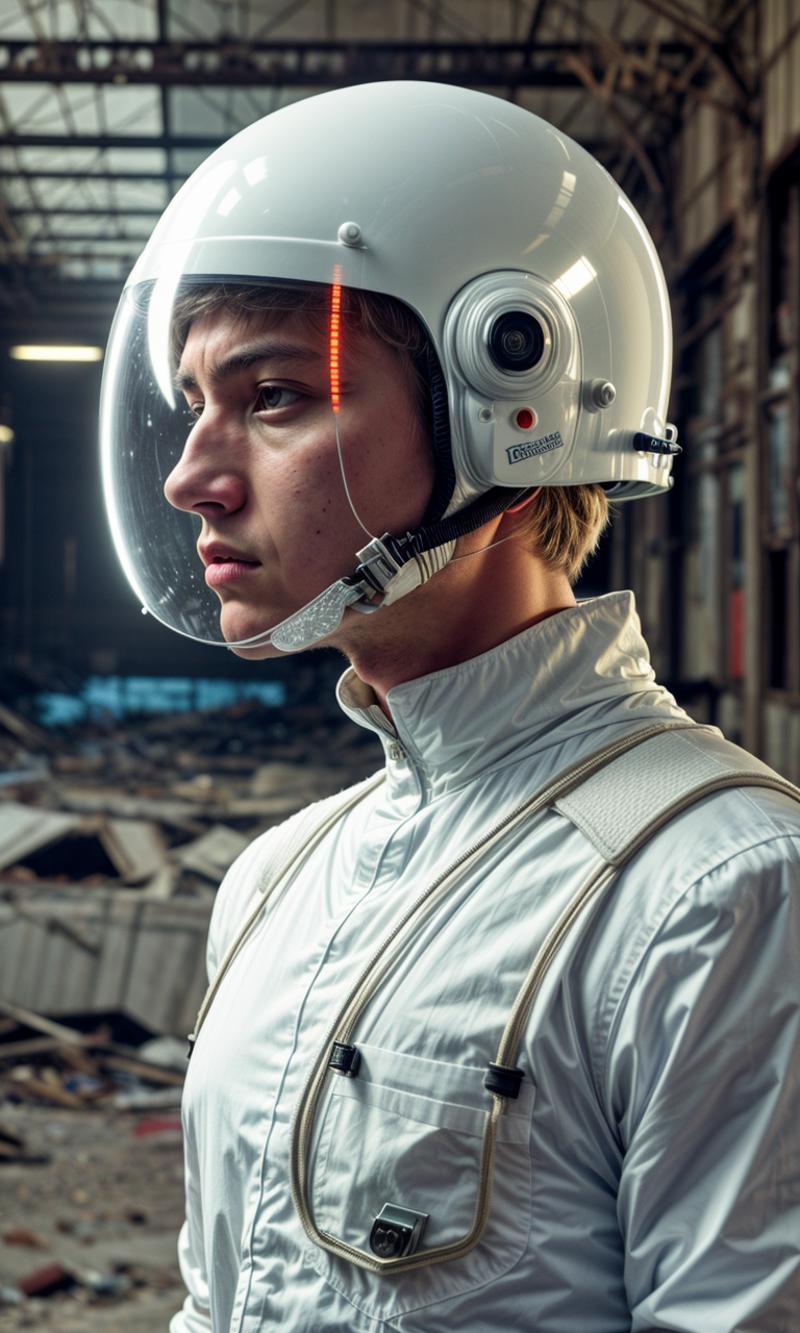
If you want more detail or definition, you can also include the "Dynamic Thresholding (CFG Scale Fix)" plugin, as we used before. In this case, due to the resolution, you can increase the CFG to 60 and Mimic CFG Scale to 30.
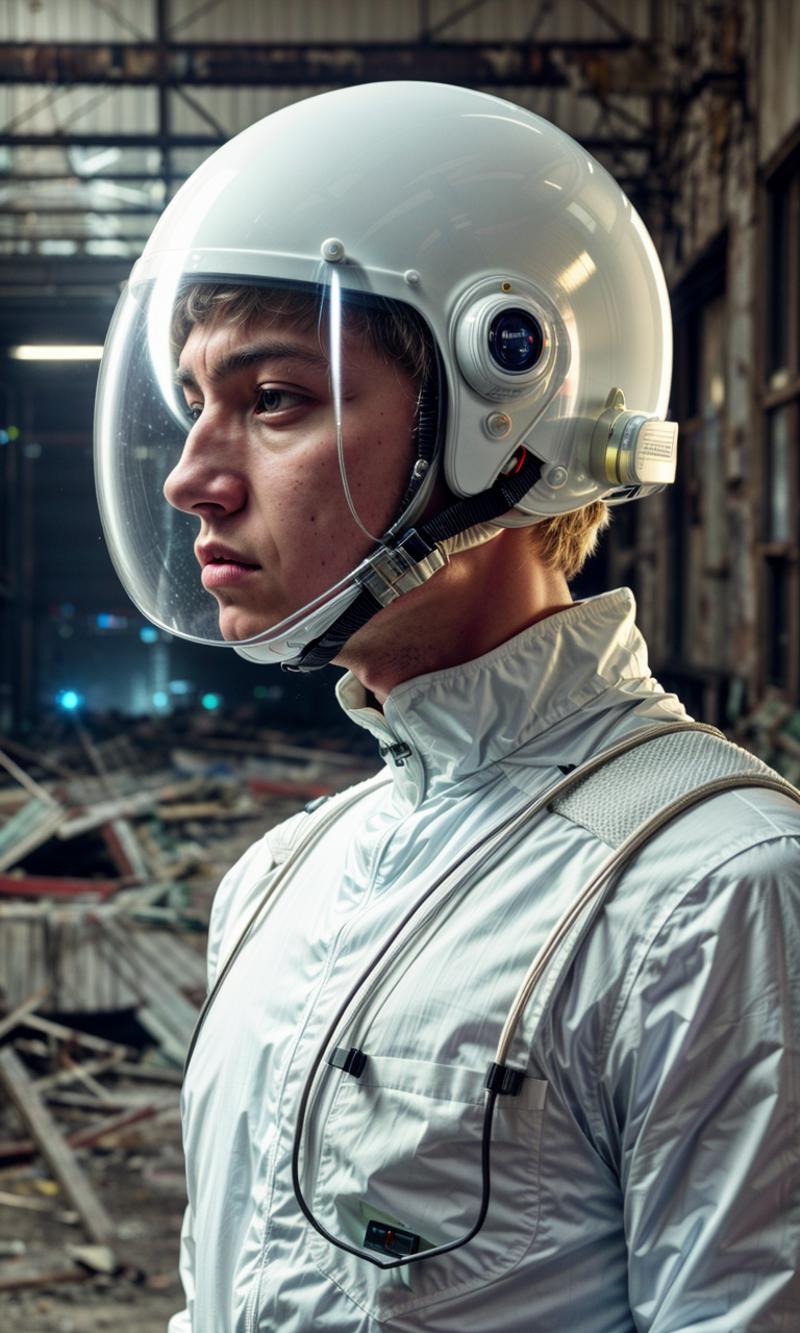
Steps: 20, Sampler: DPM++ 2M Karras, CFG scale: 60, Seed: 2172245913, Size: 768x1280, Model hash: 9c59be761e, Model: difConsistency-1.0_fp16, Denoising strength: 0.5, Lora hashes: "difConsistency_photo: 72c9a0b636e1, difConsistency_detail: 8345d21db180", Dynamic thresholding enabled: True, Mimic scale: 30, Threshold percentile: 99.6, Mimic mode: Half Cosine Up, Mimic scale minimum: 3.5, CFG mode: Half Cosine Up, CFG scale minimum: 3.5, Discard penultimate sigma: TrueDark Theme
I recommend doing some steps at the beginning, for example, if you're going to use Dark Theme, my recommendation is to apply it in txt2img, and not in img2img.
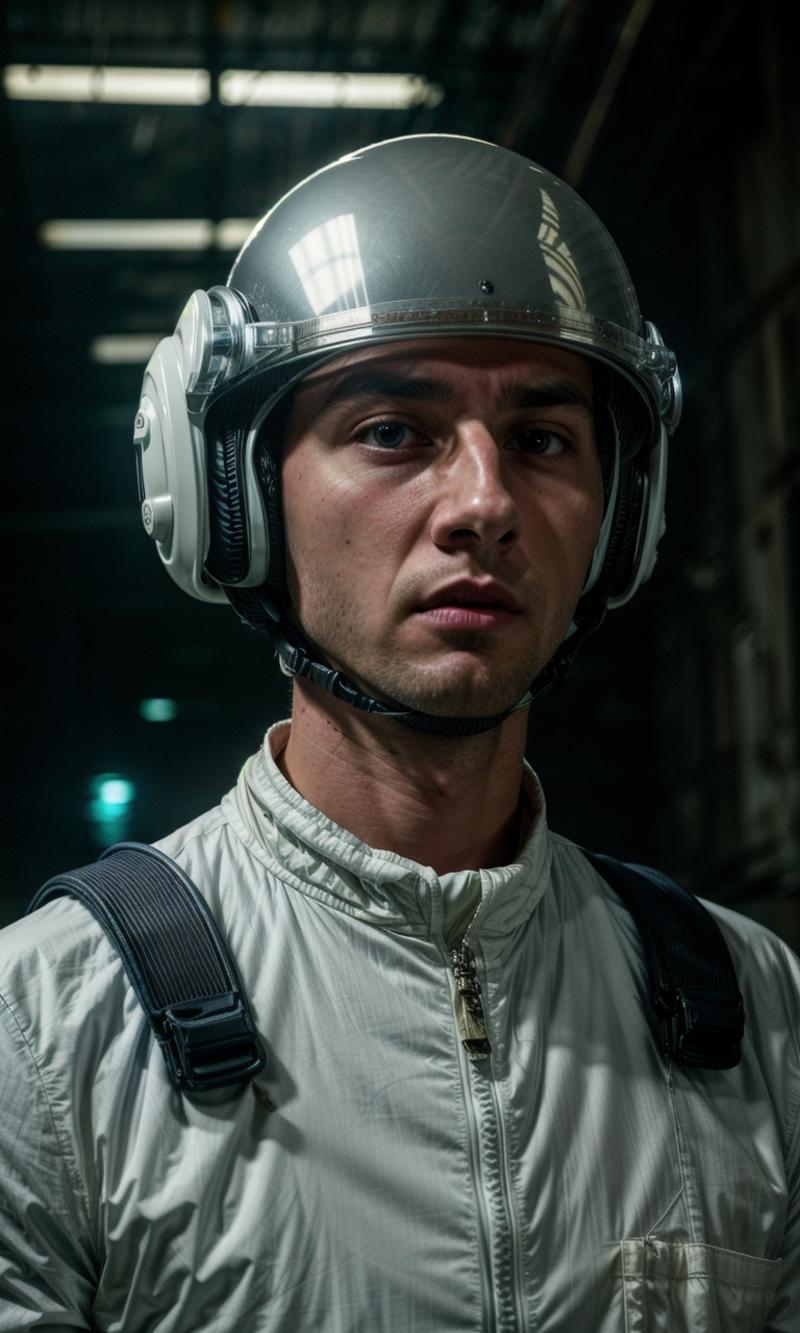
Steps: 20, Sampler: DPM++ 2M Karras, CFG scale: 59.95, Seed: 3672344586, Size: 768x1280, Model hash: 9c59be761e, Model: difConsistency-1.0_fp16, Denoising strength: 0.5, Lora hashes: "difConsistency_detail: 8345d21db180, difConsistency_photo: 72c9a0b636e1", Dynamic thresholding enabled: True, Mimic scale: 15, Threshold percentile: 99.6, Mimic mode: Half Cosine Up, Mimic scale minimum: 3.5, CFG mode: Half Cosine Up, CFG scale minimum: 3.5, Discard penultimate sigma: TrueFor instance, to improve faces, hands, with After detailer, it would be done in the img2img step, and Latent Couple for composition in txt2img.
Conclusions
What we see is that this workflow is better than using Hires.Fix, as we can select the result to our liking without wasting time generating high quality in txt2img.
Obviously, this is a simple workflow, as I also often use the Photopea extension to correct colors, contrasts, remove artifacts, etc. And sometimes Inpaint. Always returning to img2img to regenerate, ensuring consistency throughout.
For this example, the difConsistency model and the vae difConsistency_low_raw_vae have been used.
Examples
More exaples: https://civitai.com/posts/309122
