Introduction
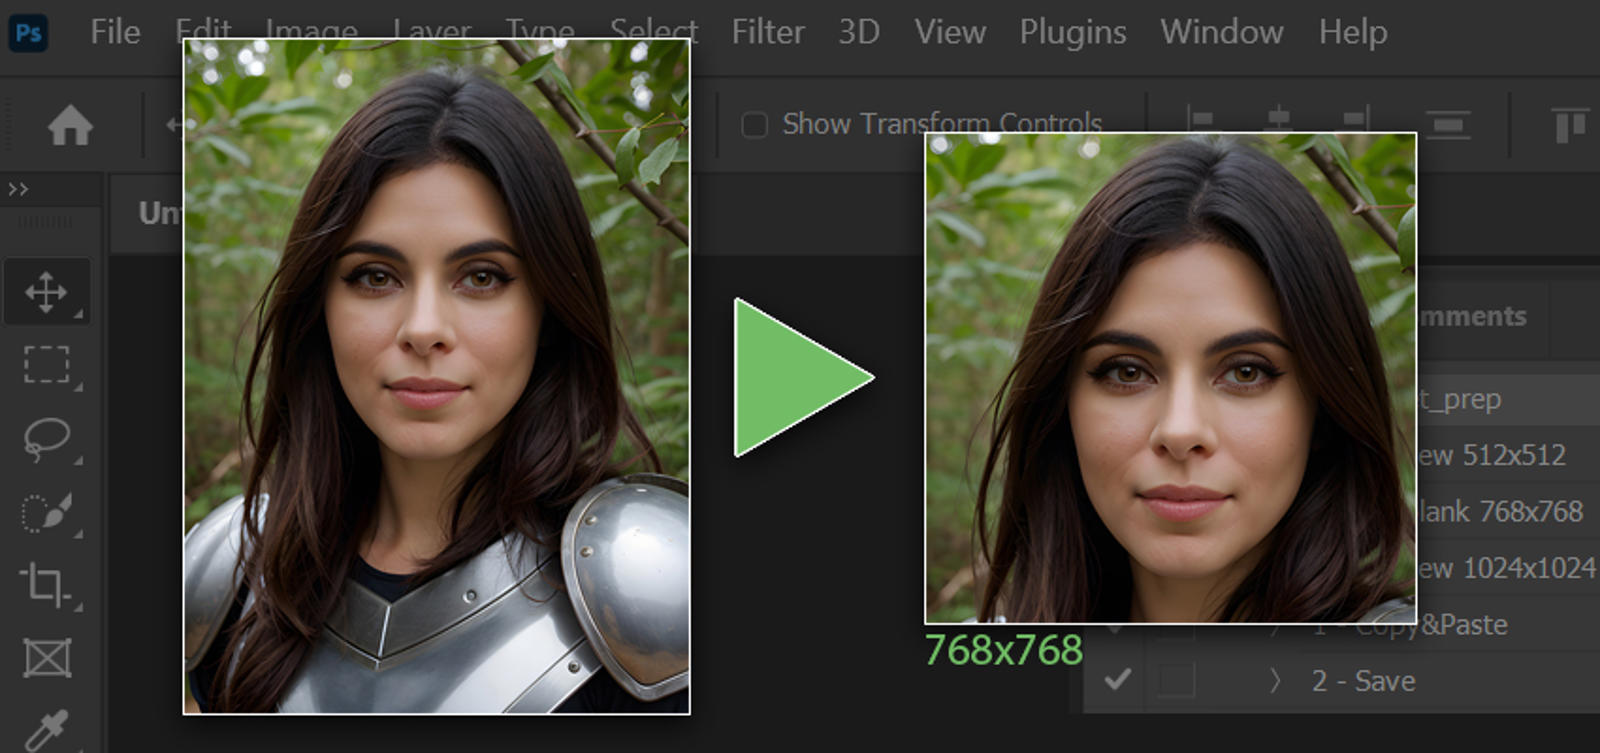
This article describes how to improve your workflow and maintain the image quality when creating dataset-images in Photoshop.
Background
I recently discovered that the online-services available for cropping and saving batches of .jpg-files are not really that reliable. For example, one batch didn´t crop some of the images in the way I cropped them in the web GUI and some was just looking really off from the original images. I also have had my doubts about the image quality when there has been re-scaling of the images. So, I started thinking about a way of doing it image by image in the shortest amount of time because, to be honest, batch processing of images is super boring..
The improved workflow
The new way of processing multiple images faster and with less manual input utilizes some standard functions in Photoshop called "Actions". If you are new to this, it is a way to record what you are doing in Photoshop and then the "action" can be played to do the same thing again and again. It is simple and saves a lot of mouse clicks and manual input.
My new workflow looks like this:
Open for example 100 images in Photoshop .
Press [F11] to run Action 1 to copy the image from the active window in to the 768x768 template file (and closing the source file).
If needed press [CTRL]+[T] to transform and resize (holding [SHIFT] while rescaling will maintain ratio in older Photoshop versions).
(No up-scale, always down-scale).Press [V] to use the move tool to move the pasted image to fit inside the template file.
Press [F12] to run Action 2 to save the output file automatically (with numbering) and close the active window.
Step 2-5 is repeated for all the images, much faster but only slightly boring.
How to create your own workflow
If you have read this far, you might be interested in how to create your own automated workflow like mine. I have put together some instructions how to achieve this.
Create the output folder
This is the folder that will be used for the template and output-files.
1. Create the output folder anywhere and name it to anything you prefer.
Import the Photoshop script
This section describe how to import the Photoshop-script used for automatic numbering of the output savefiles. Yes, you read that right, the script will save automatically to your output folder and number the files automatically without input like Output_0001.jpg, Output_0002.jpg etc.
Download the attached script file (saveAs.zip).
Unzip and place saveAs.jsx in your Photoshop scripts-folder (eg. Programs > Adobe > Adobe Photoshop MyVersion> Presets > Scripts )
Start Photoshop.
Template image preparations
This section describes how to create the template file. This will be used in the actions so that the final images always will be in the same resolution.
Create a new file with desired resolution. In this guide I will use 768 x 768 pixels.
Save as "Template_768x768.jpg" in your output folder.
Create Photoshop actions
This section describes how to create Photoshop actions in order to automate most of the workflow. Two sets of actions needs to be created.
Action 1 - Open and copy to your template
Open any jpg-file (not the template file!), this will only be used for recording the actions for the first time.
Open the "Actions"-tab from Window > Actions
Create a new action and name it, eg. "Action 1 - Template". Select a preferred hotkey, eg. [F11].
As soon as you create a new action, it will start recording the actions (red circle is showing).In the active window with the jpg-file, press [CTRL]+[A] to select all and then [CTRL]+[C] to copy.
Press [CTRL]+[W] to close the active window, if prompted to save press "No"
Press [CTRL]+[O] and open Template_768x768.jpg.
Press [CTRL]+[V] to paste the image from the source file.
Stop the recording in the "Actions" window.
Action 2 - Save with automatic numbering and close
Open the "Actions"-tab from Window > Actions
Create a new action and name it, eg. "Action 2 - Save & close". Select a preferred hotkey, eg. [F12].
As soon as you create a new action, it will start recording the actions (red circle is showing).Run the saveAs-script from File > Scripts > saveAs
Press [CTRL]+[W] to close the active window (the template file with the pasted content), if prompted to save press "No".
Stop the recording in the "Actions" window.
Check in the output folder to verify that a new jpg-file named Output_0001.jpg has been created.
Summary
The way my workflow and results has improved and with saving a lot of time in the image preparation have encouraged me for sure. Feel free to add extra actions for changing the white balance, colors, sharpness etc. too save you even more time. On a side note that I will not dig into too much, the way Photoshop interpolates images when re-scaling is always way better than the free web-based stuff you found out there. I hope that you have found this article useful and that it can improve the quality and consistency of your dataset image the same way it did for me.
