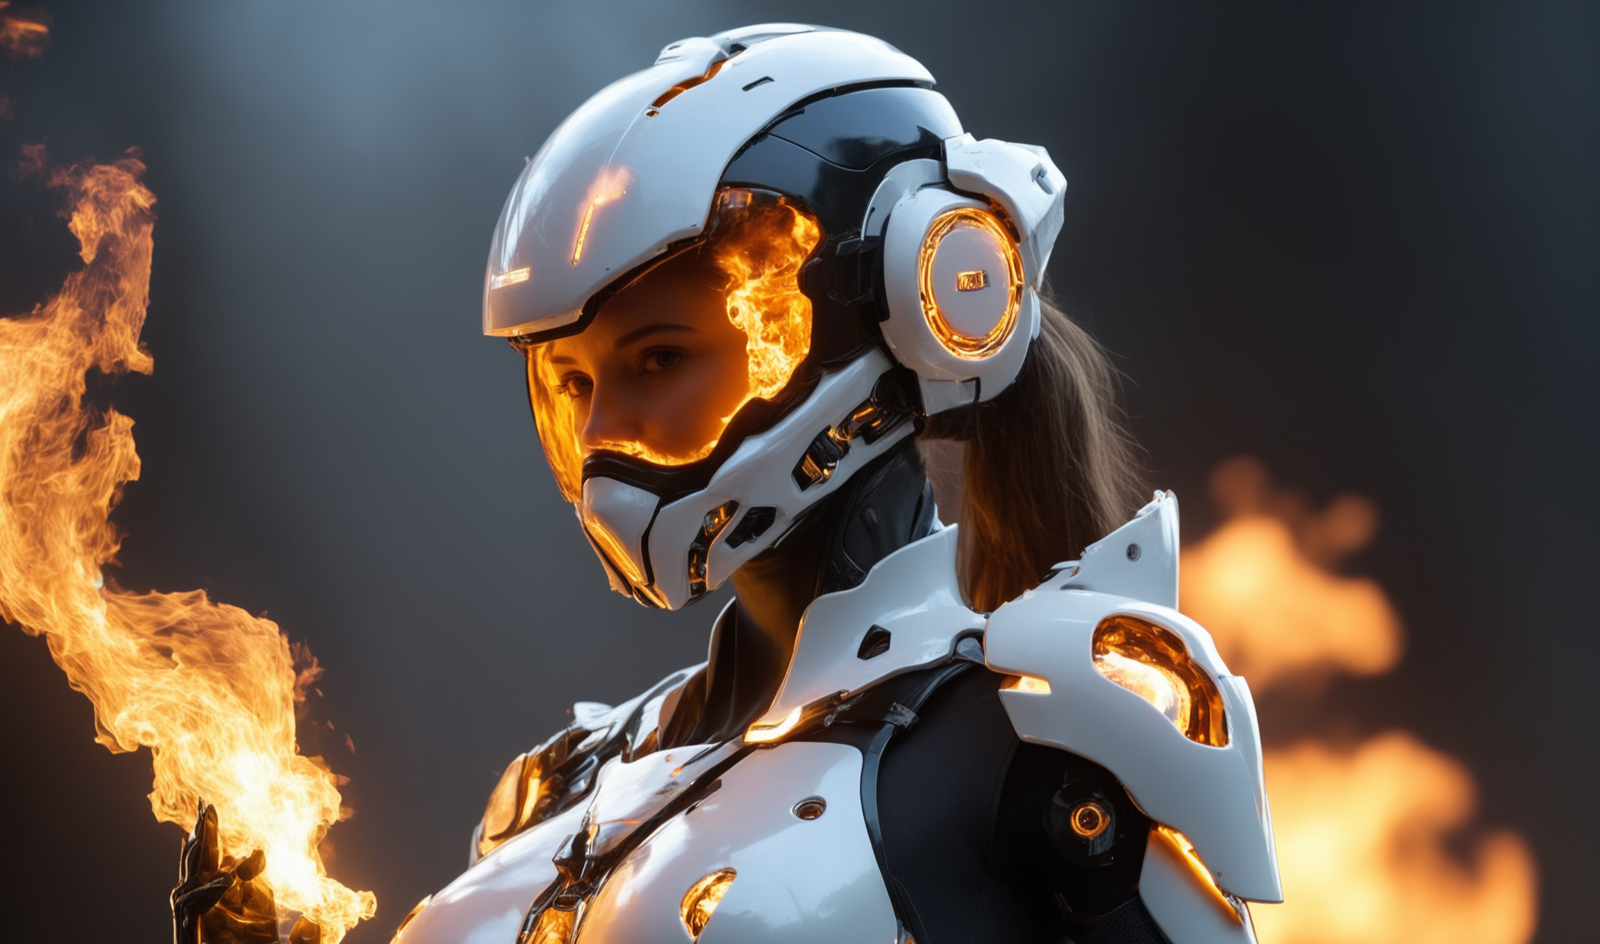
Today I'm sharing the upscaling workflow I used to generate my first featured image! -> Image posted by IceKiub (civitai.com)
Disclaimer - Significant amounts of VRAM might be needed depending on the size of your upscaling and if you're using SDXL; Tune down the settings if you run out of VRAM or deactivate a couple KSAMPLERS or use SD1.5 and you should be good. (Peak at 20gb after the 3rd Ksampler)
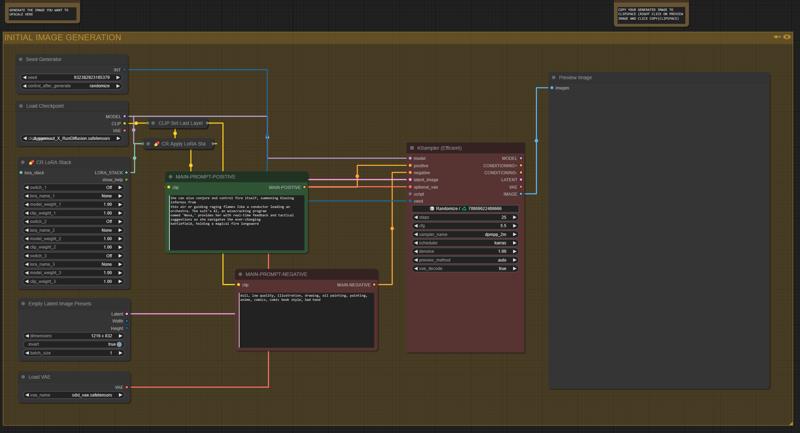
Part 1 - Generate the image you will upscale
This is a simple workflow that will generate your initial image - Pretty self explanatory - You've probably already done this if you use ComfyUI often.
You can skip this step if you already have an image to upscale but you will need your prompt or something close to it for the next step
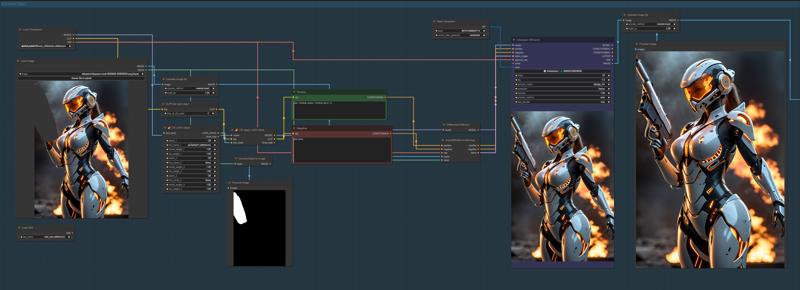
Part 2 - Upscaling
We now have an image we're satisfied with and we're ready to upscale it. Everything is annotated but here is a quick explanation :
1. Copy the image you generated to your clipspace and paste it to the image loader in the upscaling group (big one)
2. Reuse your prompts in the Green and red boxes, I'll let you figure out which one is Positive and which one is negative :D
3. You don't really have anything to change in the 3rd column (Starts with image resize by longer side) it should be pretty much plug and play but you can turn down some settings around if you want to reduce ressources consumption
4. Run the queue
5. (OPTIONAL) Pray you have enough VRAM
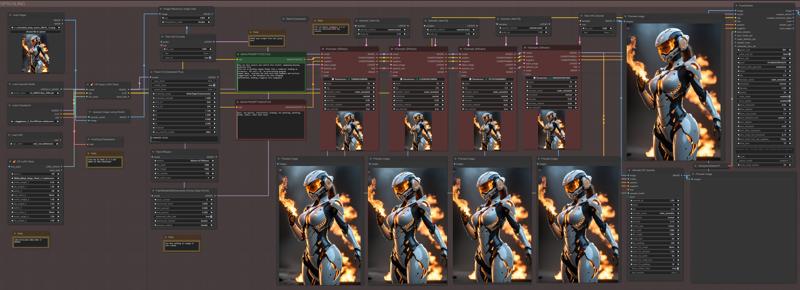
What's the hell is happening?
In the first column, we load in our image with our checkpoint, VAE, upscale model (4x_NMKD-SIAX_200K in this case but you can choose whichever one you prefer) and detailing LoRAs (Optional).
In the second column we upscale our image by 4x with the upscaling model and then we push it to the 3rd column where it gets resized, Tiled and encoded for the first KSampler.
FreeU, Tiled Diffusion & Kohya Deep Shrink seem to help with the generation but can be removed/Bypassed
From there every KSampler pass will add detail and upscale the latent size by 1.10 and we use a .25 denoise to keep the original image as close as possible to it's initial state
After the Ksamplers our upscaled image gets pushed into the ULTIMATE SD UPSCALER and this bad boy will do it's thing and finish the job. It is not needed but adds a good amount of detail.
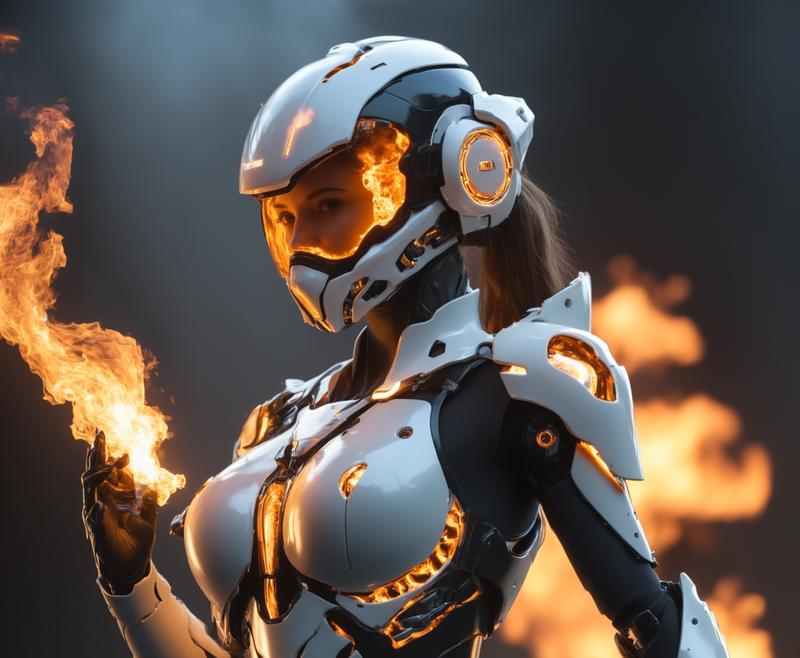
Here's a comparison
Before
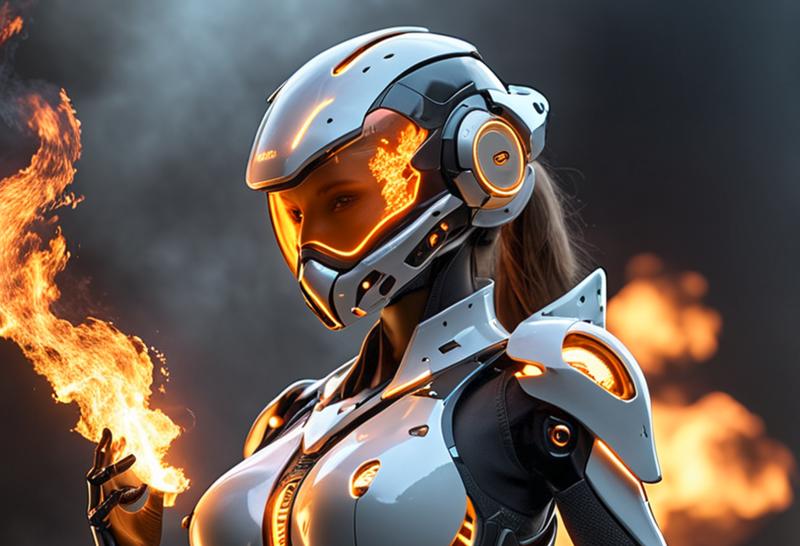
After
If you're satisfied you can stop there but I got more!!
Part 3 - Inpainting
You're actually probably better off doing this as the second step but it's up to you
Because we have a super huge image, we downscale it a bit for the inpainting and we scale it back after
Right click on the load image node and select open mask editor
Draw your mask on the element you want to change, select a checkpoint, put in your prompt and run the queue, pretty easy!
In this example I replace the fire with a gun but it works with pretty much anything.
That's it!
Ask me any question thru the comments or in DM and I will do my best to help you, enjoy and leave a like if this was helpful at all!