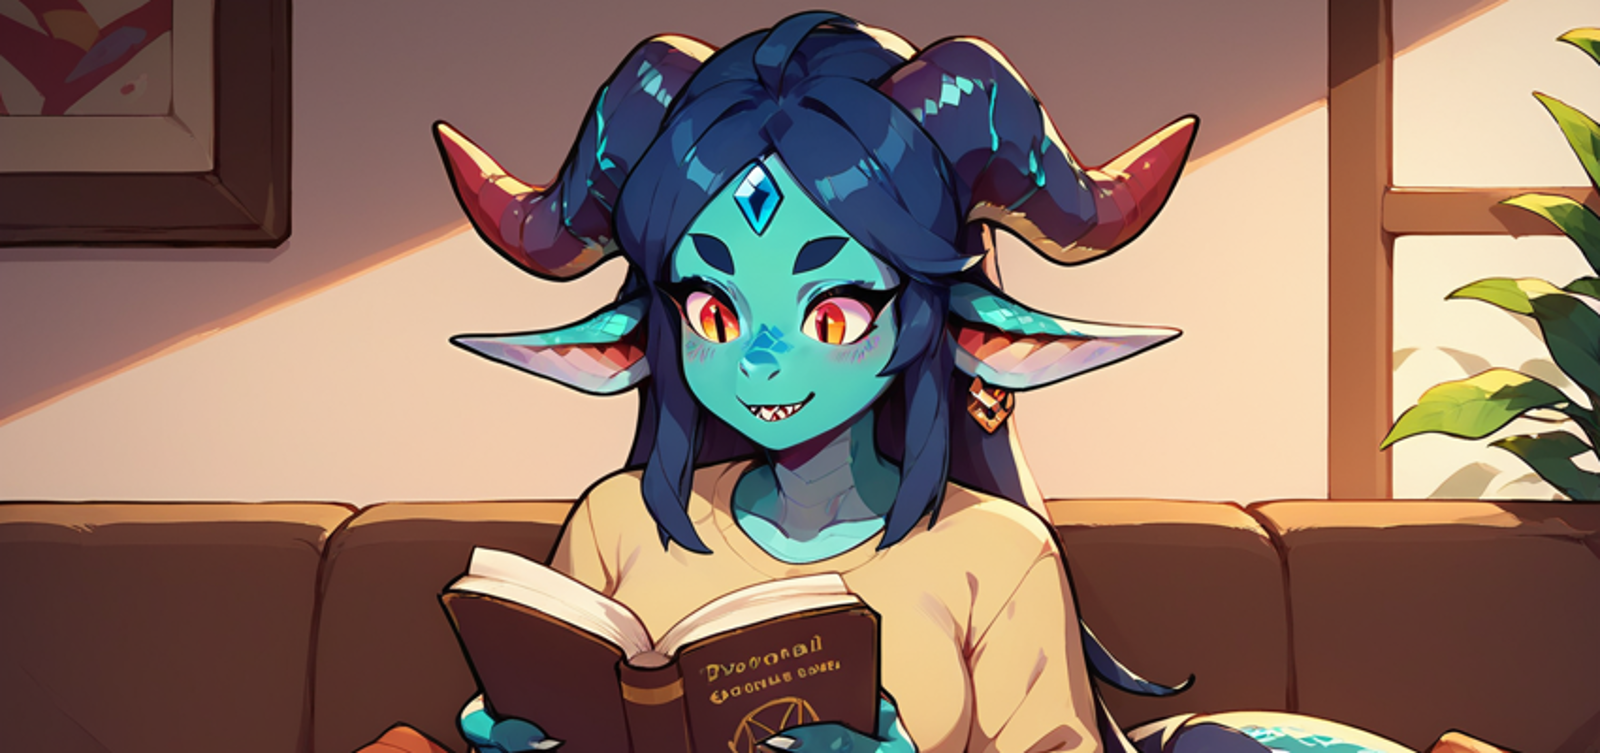
Do you want to make excellent generations without spending a ton of time developing prompts? Do you want to be more precise with your prompting? Do you want to know more about how prompting works? Are you looking for practical techniques to improve your prompting? Then this is the article for you.
This guide uses Automatic1111 for everything, but ComfyUI can do all this and much more.
I assume a very beginner level practical knowledge of prompting and generation. If you haven't already, you should go and find generated images you like on Civitai and copy their prompts. Most images have their image generation metadata attached, so you can drag them into the prompt window in Automatic1111 and press the "Read generation parameters from prompt" button to load the exact parameters and seed used. Then play around with some variations and use different seeds. A crucial note for beginners is that you can replicate the exact same image with the exact same parameters and seed, so you can vary the captions and parameters and see what would have happened differently, and thus understand how your changes affect your results.
Also try out some LoRAs that look appealing to you. Read what the LoRA author recommends and try replicating the sample images. After you do that (or if you've already done it) then proceed with this article.
This guide is going to use Pony XL for almost all of the examples, but this material should apply to ordinary SDXL and SD 1.5 unless specifically noted. The specific prompts will vary though.
Author's note: I am a hobbyist and software developer, so while I will try to back up what I say with sources or experimental results it is possible I may make technical errors. Please let me know in the comments if you spot any issues, but also I doubt any errors will require a substantial rewrite of this material.
My overall thesis (which is also apparent in my first article on Single Image LoRAs) is that you should train quick and dirty but hyper-specific models and clean up the results using good generation techniques and combining other quality models. This article is based on my extensive experience making absolutely garbage models perform well, and fits into this paradigm by covering how to get the most out of your models.
The Big Picture
Let's begin by getting on the same page about some big picture items.
Models
Generative AI models like SD1.5/SDXL are machine learning models that use deep learning neural networks to learn how to generate images from a text prompt (and potentially other inputs). These neural networks learn how to generate images during a training process where they are fed captioned images. After each training step (of learning a single image with the provided captioning), the neural network model has particular state of knowledge (checkpoint) and the model trainer can freeze that state (into a safetensors file) to save their model and potentially publish it to a site like Civitai or Huggingface.
Models ONLY know what they have been trained on. Highly general "foundation" models like SD1.5/SDXL have been trained on vast amounts of general data and so they (weakly) know about almost everything on the Internet. However, they will not have knowledge of anything not in their dataset at all, and also they will be undertrained on most concepts and thus perform poorly at generating them.
Where foundation models do perform well is when there was a lot of data about a particular subject, so for example they are okay at generating human subjects because so much of the available training data concerns humans, either directly or indirectly. More crucially, these foundation models understand digital images, photos, and artwork in general, so they have learned about things like 3D space perspective, shading, composition, etc. These basic skills then do not have to be re-taught over and over.
The better quality base models (on Civitai) have received additional training (called fine tuning) that makes them perform better at producing aesthetically pleasing images (as opposed to the Internet's kitchen sink) as well as teaching them additional concepts and strengthening their knowledge about broadly popular subjects. Unless you are training one of these base models from scratch, you should not bother with the foundation models, start with a fine tuned model.
However, even the fine-tuned base models can't know everything or perform well at everything. At the very least, since they are "frozen in time" at the end of their training they would require new training to learn to generate anything that first appeared after their training ended. In practice, they are only good at relatively common concepts or specific things that the base model trainer spent more resources training (like Pony's deep knowledge of My Little Pony: Friendship is Magic).
Instead of trying to train base models that know everything, it's better to do additional fine tuning that's even more specific to your needs. At this point, LoRA and variations like DoRA and LyCORIS (I will use LoRA to refer to all of them) begin to prominently fill this niche. It's possible to just continue to fine tune the base model with new data (and most of the "checkpoint trained" models on Civitai are this kind of fine tune, usually to add a style bias), but LoRA uses far fewer resources to train and use with comparable results for such small scale training.
The result of LoRA training is a patch to convert a specific base model into the new model that would have resulted from the further training, which can be added to the base model to get the new model. You can combine LoRAs by adding all of them onto your base model. For the rest of the article I'll refer to the result of adding your base model together with any LoRAs at specific weights as just a "model". This model is what you'll actually use to generate your images from your prompt.
Model Architecture
Before I get to captions and prompts, there's one last important note about model architecture. These neural network models can theoretically learn anything, but in practice they are sharply limited by their size and architecture.
The problem with size is pretty intuitive, if the model isn't big enough it simply won't have the capacity to learn everything in its training data. It will run out of space and forget knowledge that's less relevant to what it's currently learning. All SD1.5 models are the same size, and all SDXL models are the same (larger than SD1.5) size. Larger models require more storage (most notably VRAM) and computing power to run.
The details of model architecture are extremely technical, and honestly I don't actually know all the details in full, but the key is that a model's specific architecture determines what the model can learn easily versus what will require obscene resources to learn.
The architecture is perhaps the main contribution of the foundation model, and all models trained from the same foundation model will share the same architecture. That is, all SD1.5 models have the same architecture and all SDXL models (including Pony) have the same (different from SD1.5) architecture. These two specific models have a lot in common too, they're just different enough to be incompatible.
The important technical details for prompting and captioning are that the SD1.5 and SDXL architectures have several internal components, with the three involving prompting working in three distinct phases. First there's a tokenizer which takes the raw prompt string the user provided as input and splits it into tokens, which can be anything from a single character to an entire word. Then there's a Text Encoder neural network (or apparently two for SDXL) which specializes in language understanding, it takes the tokens and runs them through a neural network to output a vector (list) of numbers that represent the meaning of your prompt. Lastly, this result is fed into the UNET neural network which actually generates the images.
Our main objective with prompting is to get good results for that "meaning" Text Encoder output that UNET will use to actually generate the image.
Another important note for prompting is that these text encoders take exactly 75 token chunks at one time. For a shorter prompt, there are padding tokens added to bring it up to 75. For a longer prompt, it breaks the tokens off at 75 and processes those together. Then it processes any further batches of 75 tokens until it runs out of tokens. All of the resulting numbers are simply added together. There's a lot you can do with this, which I'll get to in a later article, but the important thing is that respecting chunk boundaries is important to effective prompting (and tools such as Automatic1111 give you readings on your prompt's token length for this reason). A related important tool is the BREAK keyword in Automatic1111, which will end a chunk and pad it if necessary. This allows you to more easily control chunk boundaries. You should make use of these tools or their equivalents in other systems.
Also note that while your prompt can be quite rich, it's not even close to the same size as an image, so your prompts will always be limited in how much influence they can have on the resulting image. A picture really is worth a thousand words. You should embrace this limitation and view prompting as a base layer that you can build more sophisticated techniques on top of.
Captions
As covered earlier, any given model only has specific knowledge determined by the training data. The core of that training data are many image + overall caption pairs. The overall caption undergoes similar processing as a prompt (at the very least, the tokenization process is the same) and prompts and captions represent two sides of the same coin.
Due to the way machine learning works, during training models will become precisely attuned to the specific captioning provided. Therefore, there is not one best prompting style (ex. Booru vs CLIP/prose style) and the best prompting style will generally be to mimic the captioning style of the training data as closely as possible. This will produce the best results for the given model.
Additionally, every little bit of context matters. Models will pick up even on seemingly irrelevant things like the length of captioning, and as we'll see later the results of short and long prompts vary dramatically as a result of common training practices. This is not possible to completely fix this once you're prompting, but it can be fixed during training using caption invariance/augmentation, but that is another article... (See the note at the end of this article if you are a model trainer this note piques your interest).
In theory, the entire overall caption/prompt is what matters, but in practice the text encoders of SD1.5 and SDXL are very limited and in practice they work more like the Booru tagging style rather than the CLIP style the foundation models were trained on (which is especially unfortunate as they also expect something approximating the CLIP style captioning to operate at 100%, so the best performing captions on the foundation models use fluff text between the crucial captions). These models definitely do not have the sophisticated language capabilities of a LLM, let alone a human.
Everything from here on in this article is only really applicable to SD1.5 and SDXL, because it assumes the limited text encoders of these models.
Due to the limitations of these text encoders, each model has specific captions that trigger known concepts (ex. "long hair" and "blonde hair") and the language model only has limited ability to compose them together (ex. it is able to understand that "long blonde hair" is the combination of "long hair" and "blonde hair").
Due to these limitations, you should think of each model as knowing a collection of captions it can accurately render. I will use the term "caption" to encapsulate both the concept (a subject, style, general concept, pose, etc.) and the associated caption text (which is often composed from multiple tokens) used to trigger the rendering of the concept. So, the model learns distinct captions during training, and your prompt is composed of one or more captions (which are comma separated in the Booru prompting style).
Thus, the first step you should take is to evaluate the model you plan on using to find which captions it knows well and which captions are undertrained (or even totally untrained). So let's get started.
Model Evaluation
Evaluating a model is a crucial first step to effective prompting because if you are using captions that don't work then you won't be doing anything. Even worse, if the captions you are using are doing something other than what you expected, they may be counterproductive. You need to know your models.
First you should pick a model to evaluate (remember, this potentially includes some configuration of LoRAs on top of specific base model). For beginners, if you can use SDXL then I would recommend starting with plain Pony without any LoRAs, it is a well-balanced base model with a huge library of LoRAs available. Pony won't be ideal for every use case (it is mediocre at photorealism), so if you have specific needs then go for that. For SD1.5 there is no all-around good model, so you should find one that appeals to you.
Once you have a model, you should start picking out captions to evaluate. Obviously, you don't need to evaluate EVERY caption for a particular model, so you should figure out what interests you and evaluate that. If you are a beginner, look around at what other people are prompting or even just think up a short key phrase (ex. "woman" or "cartoon" or "mage robes") describing what you want and go with that. After all, if there's a problem the following tests will uncover it.
Test 0: No Caption Prompts and Overall Model Evaluation
That said, before you evaluate specific captions you should start by evaluating the model as a whole. What are the model's fundamental biases? Is it attuned to short or long prompts? Which captioning style does it respond best to?
Start out by running with the parameters you plan on using for your main testing but with NO prompting at all. This is unlikely to result in a good generation, but it will give you information on the model you're evaluating.
Testing Parameters and Seeds
Here's what I'll be using for the non-prompting generation parameters for my examples:
VAE: sdxl_vae for SDXL/Pony and vae-ft-mse-840000-ema-pruned (these are the defaults on many models)
Clip Skip: 1 or 2 as appropriate for the model (2 for Pony and NAI derived models, or when noted by the model's documentation, and 1 otherwise), Note: this is not as important as it's made out to be, but it's better to conform to the base model's expectation for best results
Sampler: Euler (Uniform) - this is the most boring sampler, it is slow and convergent
Sampling Steps: 30 - the ideal value depends on the sampler (and model)
Resolution: 1024x1024 for SDXL models and 512x512 for SD1.5 models
CFG Scale: 7 (probably worth having an article on this topic)
These parameters are safe bets and are generally going to perform fine. Of these, the most important to experiment around with and find something you prefer is the sampler, since there is no optimum choice and some models are designed for a specific sampler or sampler family. One crucial split between samplers is between convergent samplers (like Euler), which converge on a specific result, and SDE/ancestral samplers, which introduce additional randomness. Convergent samplers are better for generating experimental results that you can replicate.
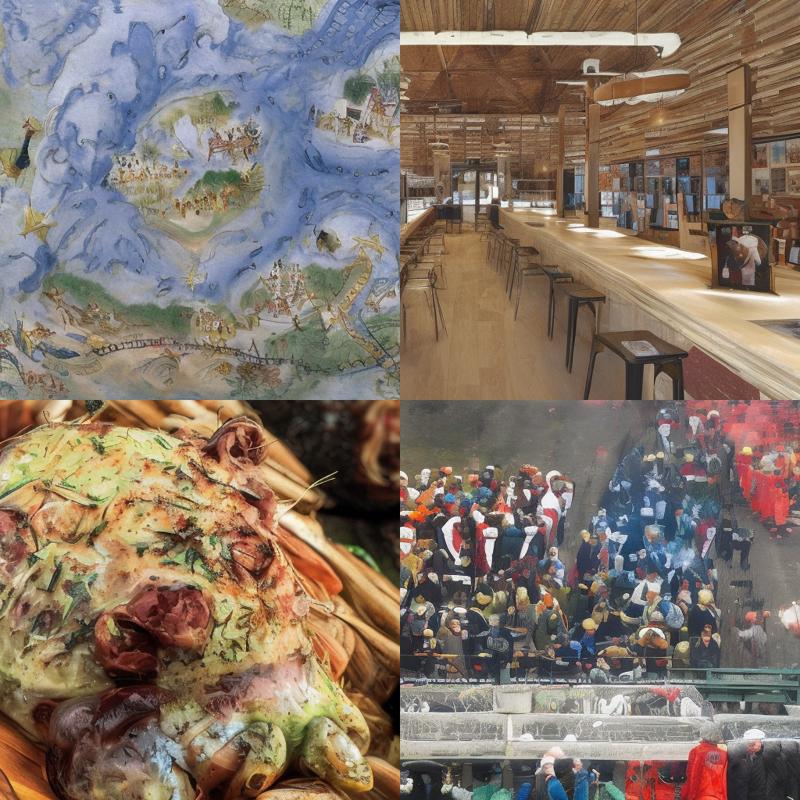
The seed I'm going to use for this article is 1481391314 which gives a stretch of 4 generations in Pony which produce a rough sketch of a human figure, a colorful patch, and two static images, which will gives a good spread of different examples.
For the purposes of keeping this article PG I will do some amount of cherry picking of results based primarily on content. I will try to keep the examples representative, and I highly recommend that you replicate my results anyway.
Also, the images embedded in the article should retain the generation metadata even after Civitai's resizing and optimization, so they can be copied and used for replication purposes. Additionally, I have provided zips of some of the raw data not directly included in the article as an article attachment. These zips may contain non-PG images as well. NOTE: As of writing the zips are not uploaded yet.
No Caption Prompting Examples
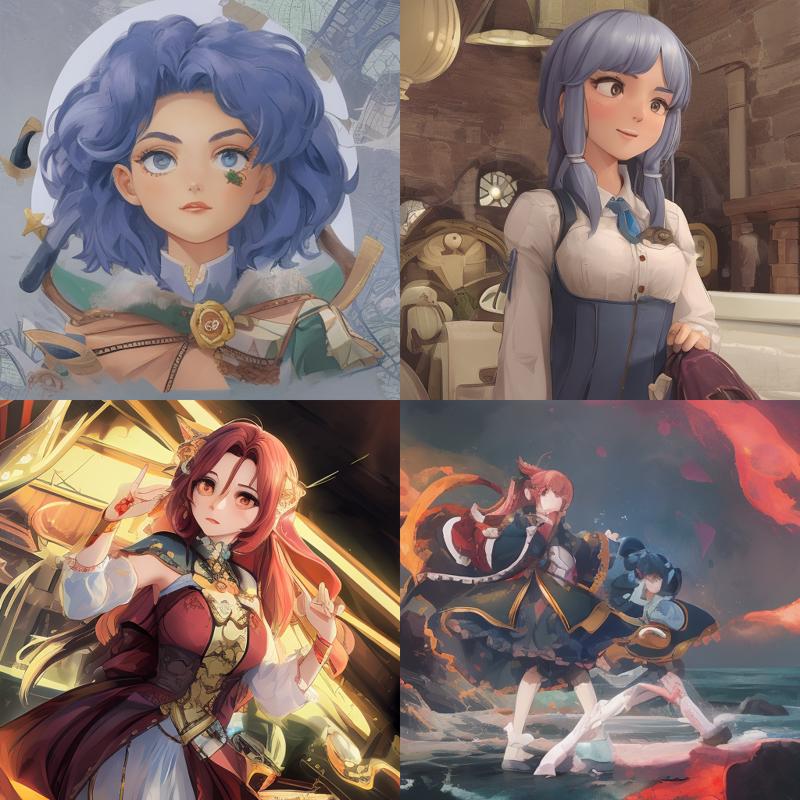
Let's dive into it. Here are some examples of prompting with NO captions. Here are some SD1.5-based examples:
SD1.5
Foolkat Cartoon 3D Mix (most NAI-based models look the same with small variations)
Absolute Reality v1.8.1 (Clip Skip 2 because Clip Skip 1 has a really weird 3rd one, but they're similar)
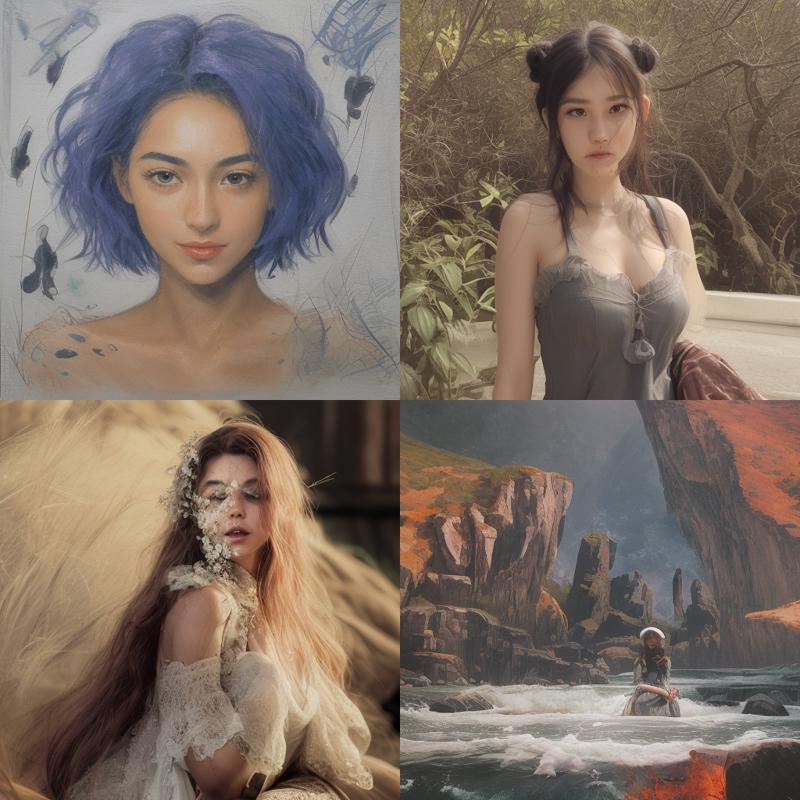
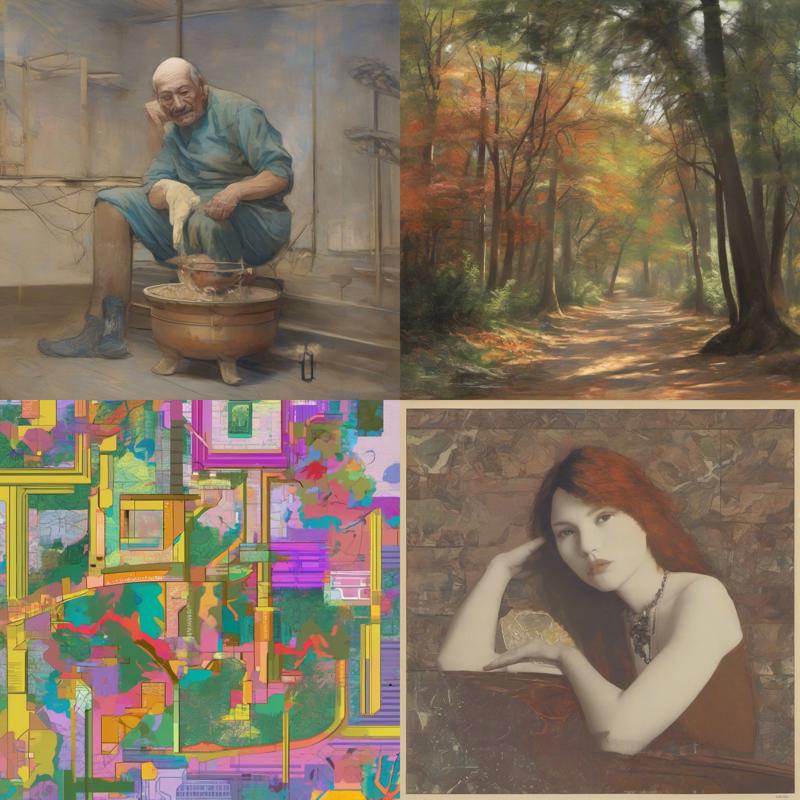
SD1.5 and derivatives are very biased and create halfway decent images without any prompting. Of course, this means these models are primed to make these specific images.
It's also interesting how little difference there is between the different SD1.5 models.
SDXL:
Pony:
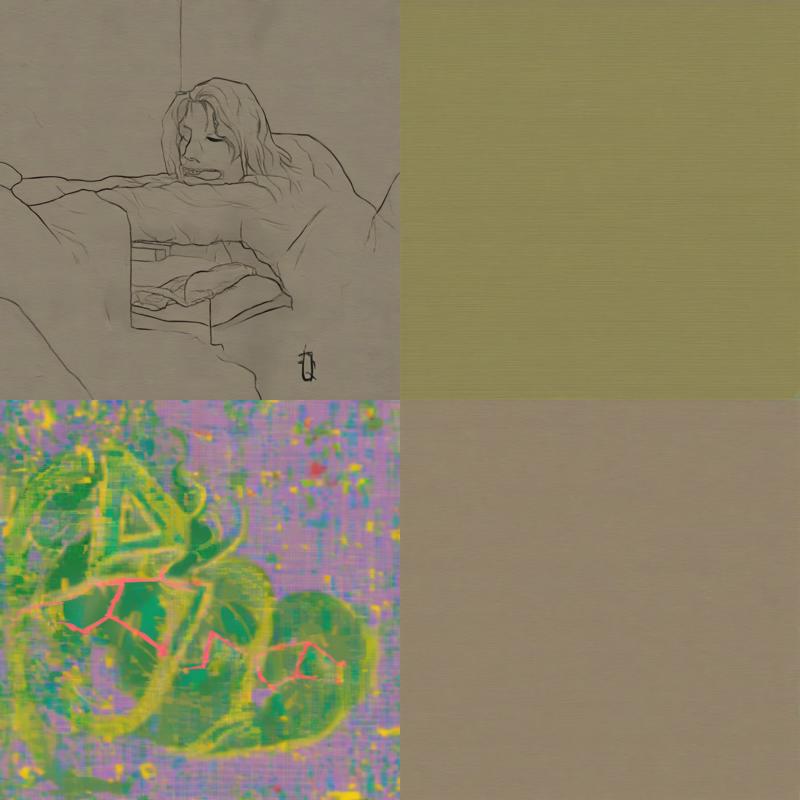
Pony is well balanced (and presumably mostly trained on long prompts) so it doesn't really have a strong bias towards anything when not given direction. While this makes for some pretty bad images without any prompting, it's actually a positive attribute for a general model like Pony because it makes it more capable of rendering different things.
Lastly, here's an example of Pony with a LoRA (specifically my Oatd Style LoRA at 0.8 weight):
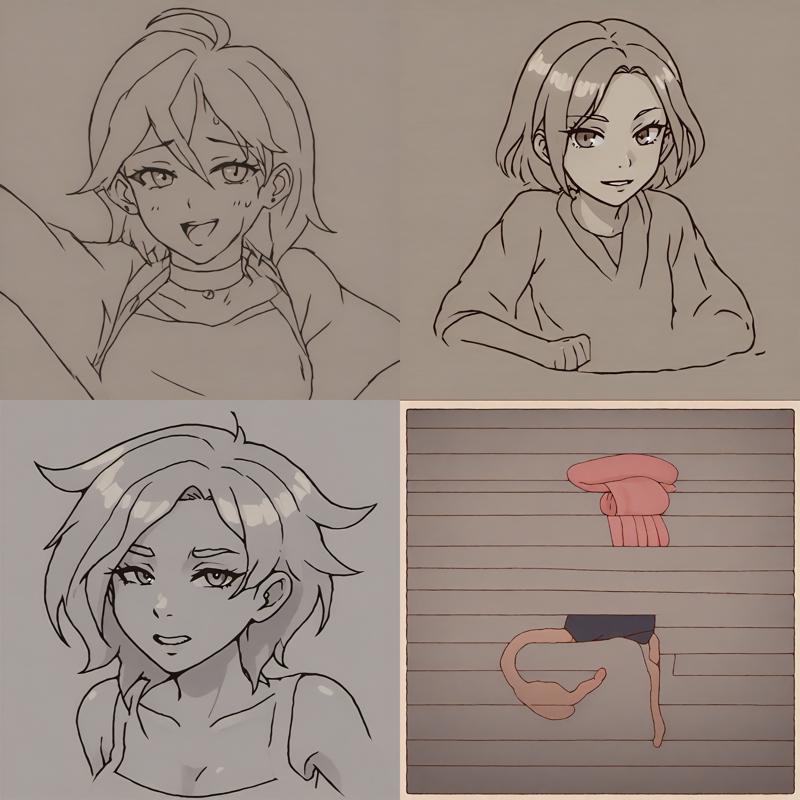
Unlike base models, this kind of heavy bias is typically beneficial for LoRAs. The Oatd model was trained entirely on cartoon drawings of solo women, so it's unsurprising that it would be extremely biased towards making such images. By the time you've decided to use a LoRA like Oatd that specializes in this kind of image, you are usually going to make such an image anyway, so the bias improves your chances of getting the desired result.
Single Caption Prompts
Using just a single caption will also usually not give good results, but it is important to see if the model's behavior changes dramatically.
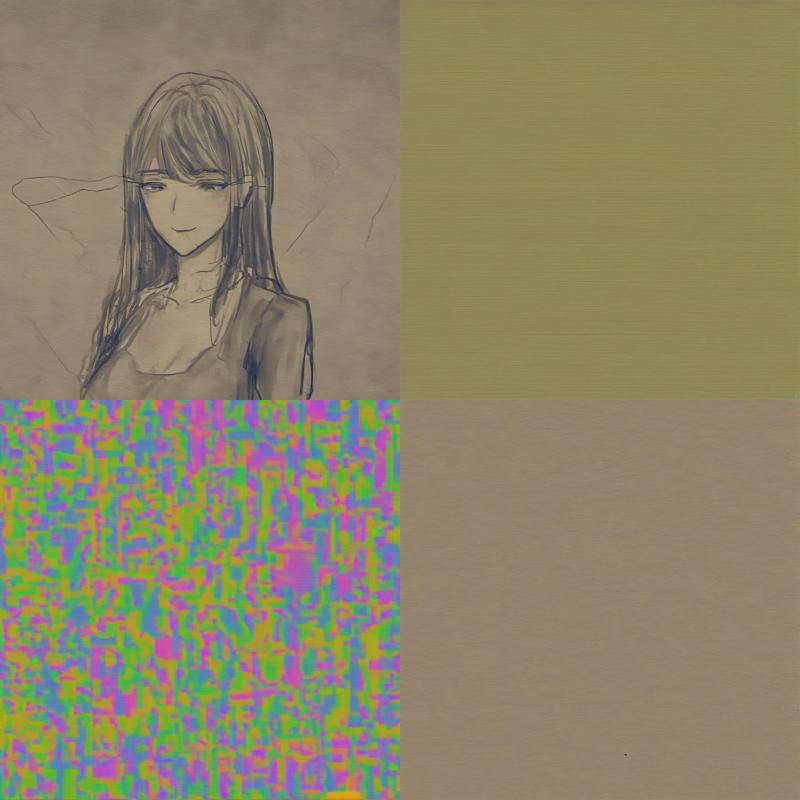
For instance, here's plain Pony with the prompt "woman":
Here's "red eyes":
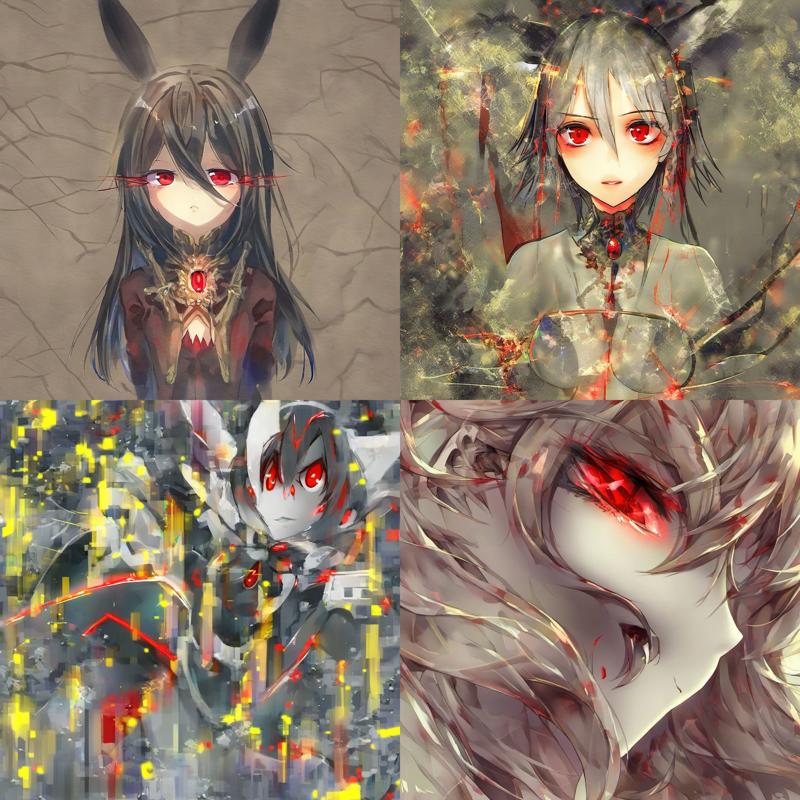
The difference here is that the caption "red eyes" is more specific, so it will be better at rendering it. "Red eyes" also requires more related concepts for support, because the model knows how to render red eyes on faces but not in isolation. It also is clearly biased towards human woman in an anime style.
This is a localized caption which is strongest around the eyes and the rest of the image is less impacted (which is clearly visible using a system like DAAM).
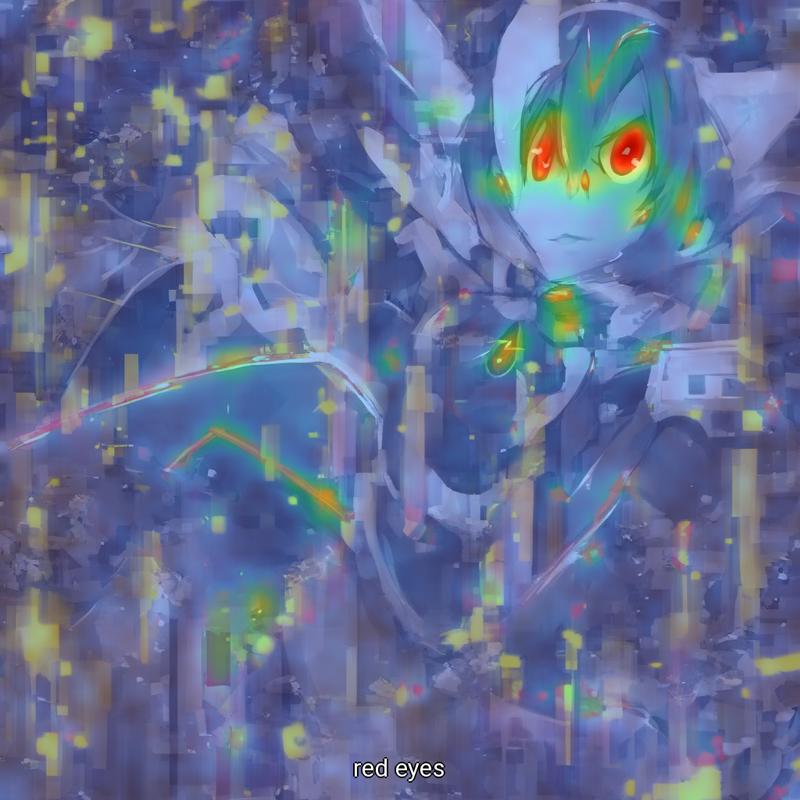
Since the effect of "red eyes" is localized, it's more or less random where the eyes will pop up. In the image above, there is a random red smudge in the baseline generation. Also note that DAAM does not show attention on the woman but that element was not in the baseline generation with no captioning, nor was it part of the prompt.
Here's "living room":
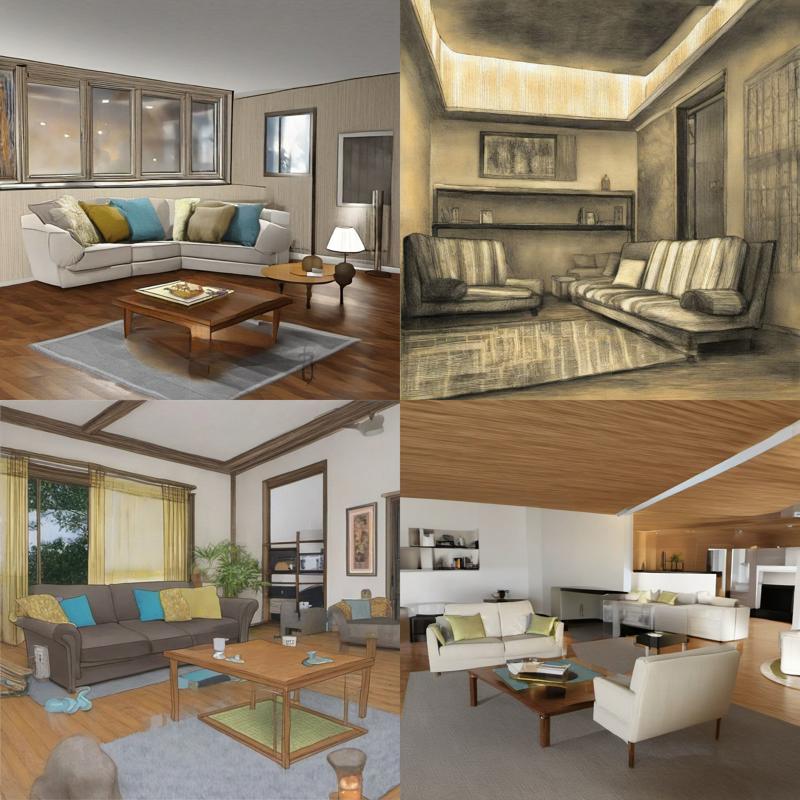
In addition to bringing in a lot of related concepts (ex. couch, windows, rug, chairs, indoors, etc.) this is a diffuse caption, which covers the entire image.
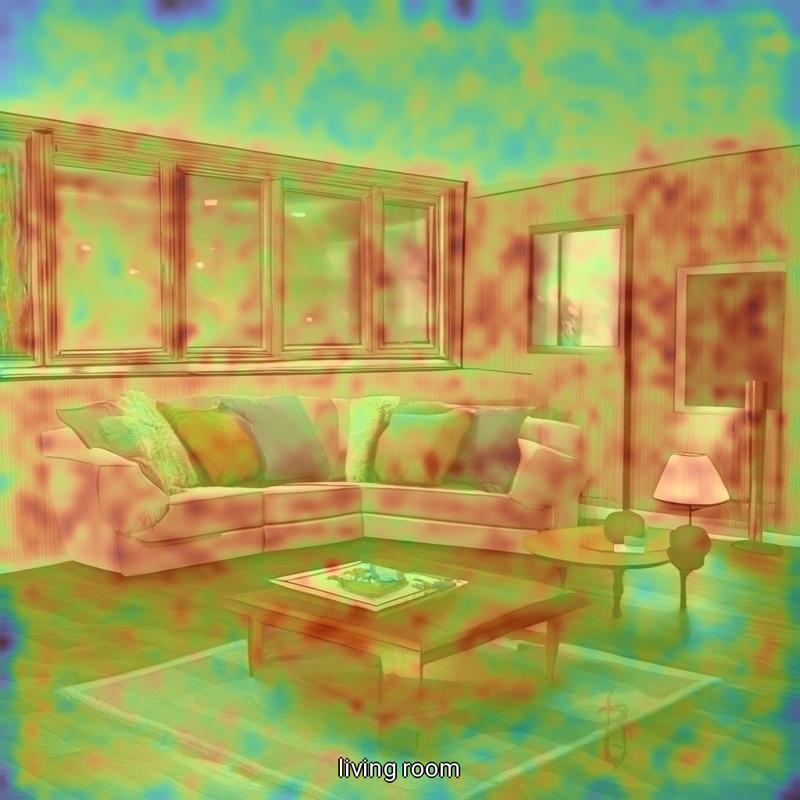
These are the elements needed for an accurate and pleasing rendering: full coverage of the image, dense relationships, and sufficient specificity. Combined with correct training and knowing the effects of each caption, you'll be able to get the results you want from your prompting.
Note that while DAAM is useful for evaluation, it's not an essential tool, you can generally tell the difference when you isolate it using tests like these. I would suggest having it on hand for more complex troubleshooting though.
Other Model Aspects
Before we move on to more deeply evaluating a specific caption, let's answer the other questions posed at the start of this section.
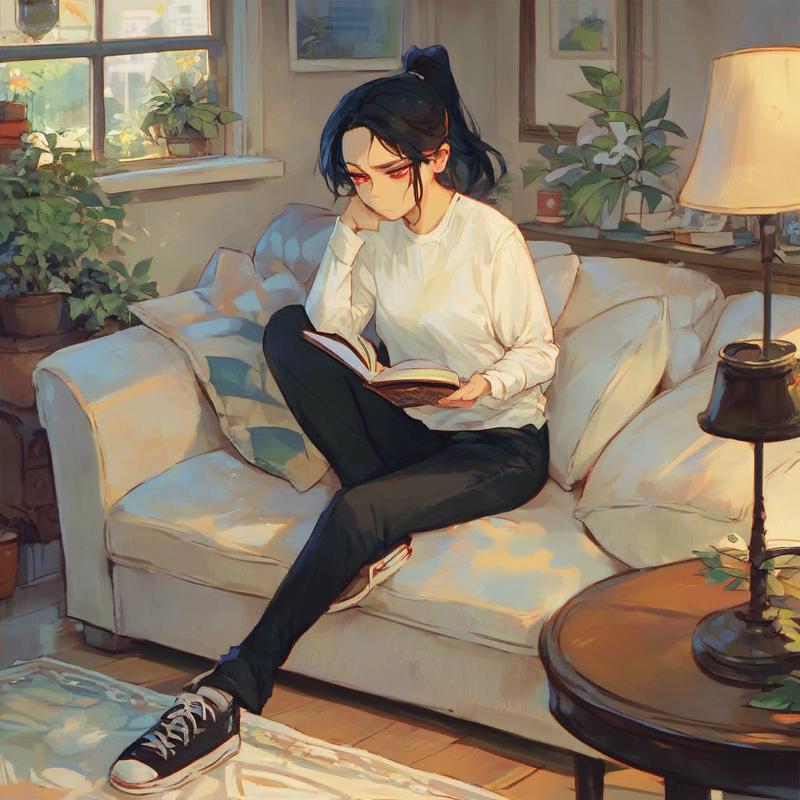
Pony is clearly attuned to long prompts, the poor performance of short prompts makes this apparent. Here's an example of "score_9, score_8_up, score_7_up, woman, red eyes, living room, sitting on couch, indoors, white shirt, bored, reading book, black pants, table, couch, window, garden, sunny, rug, lamp, sitting, black hair, ponytail, full body, shoes, woman, score_9" which takes 72 tokens:
Pony is also very likely trained using the Booru prompting style, because it respects commas as barriers. Here's the same scene in CLIP (which necessarily gets split over two chunks due to the longer length of stop words) "score_9, score_8_up, score_7_up, a woman with red eyes in the living room is sitting on couch, the woman has a white shirt and black pants, they are bored wile reading a book, the living room is furnished wih a table, couch, rug, and lamp, she has black hair in a ponytail, her full body is visible with shoes, there is a window with a sunny garden":
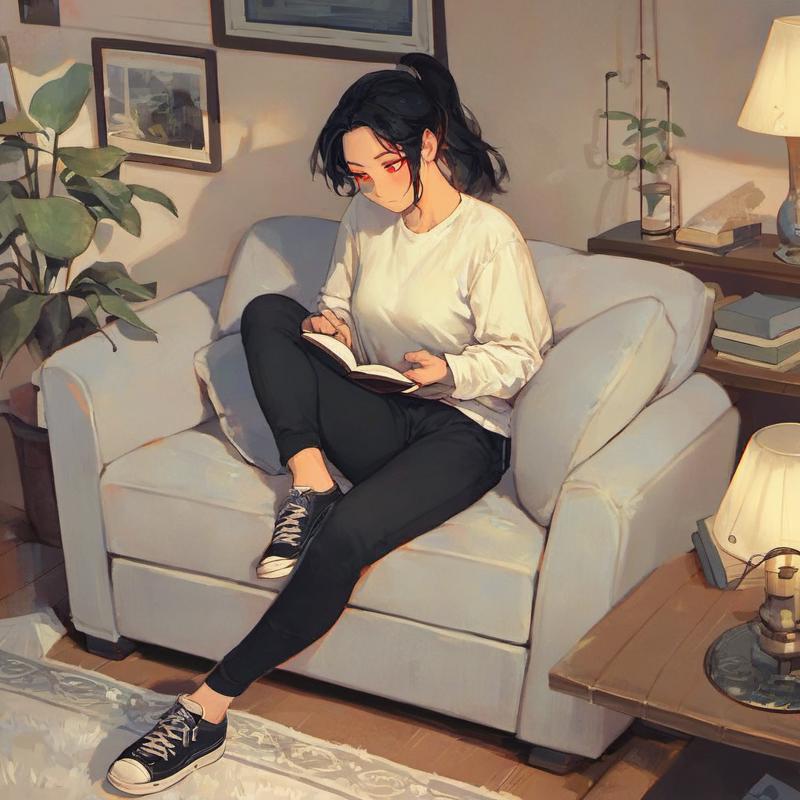
The two images aren't really all that different, and most of the differences come from the longer CLIP prompt taking >75 tokens to express, with the window falling into the second chunk and ultimately getting lost in this particular instance.
Test 1: Short Prompts
While these results are somewhat interesting, they aren't really getting us good results. We're also getting limited information viewing these captions in a vacuum, so we should start forming better prompts. As mentioned earlier, short and long prompts have dramatically different behavior, so we'll cover each case in turn, starting with short prompts.
You should develop a couple of short prompts that cover the whole image and bring in enough basic relationships to get decent results, but leave enough room for newly introduced captions to have a large effect.
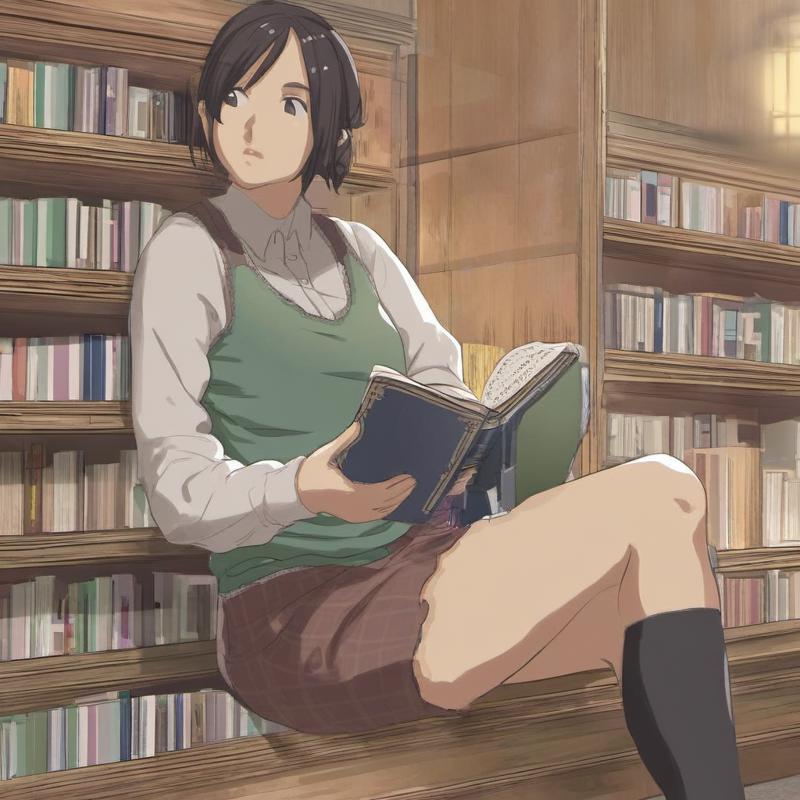
As an example, here's a baseline image for "woman, indoors, sitting, reading a book":
Here's "woman, indoors, sitting, reading a book, red eyes":
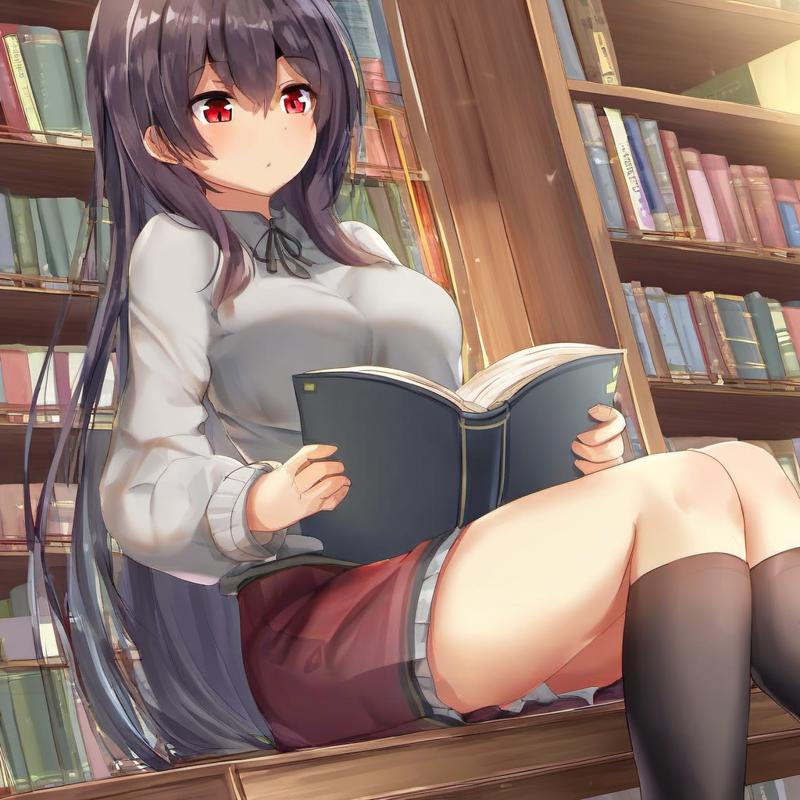
You can obtain similar information as the single caption prompt, with red eyes being relatively specific to producing red eyes, so there's usually no need to perform the single caption test once you've seen how the model generally handles such short prompts.
You can additionally see some other effects, like making the colors brighter and the skirt redder. You'll need to generate a few images to ensure these side effects are consistent, I suggest 4. (They are pretty consistent in this case.)
Here's "woman, indoors, sitting, reading a book, living room":
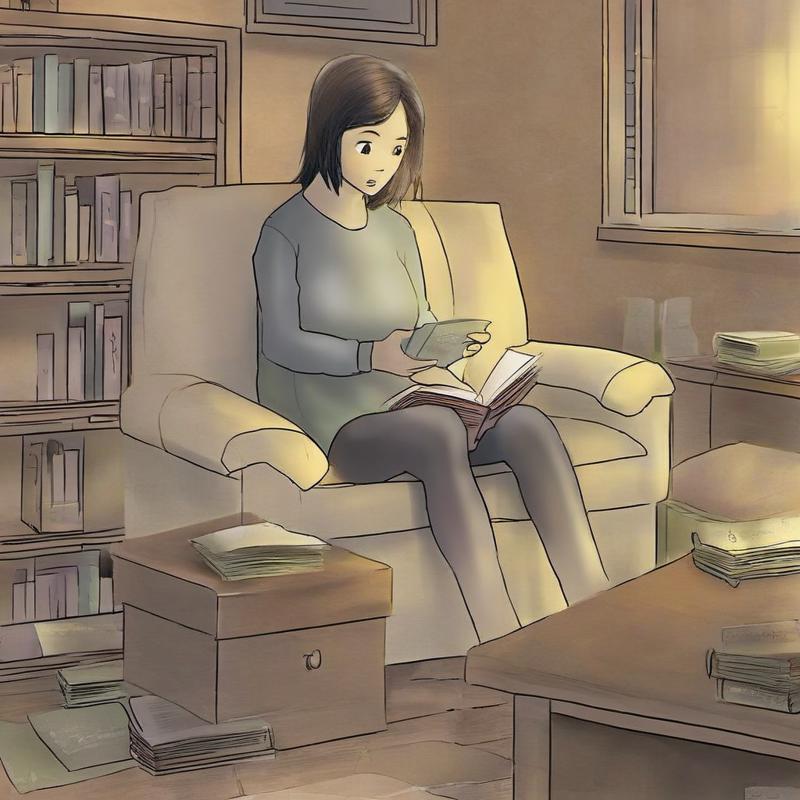
In this case the composition is much more dramatically impacted by the prompt. This shows that the caption is diffuse.
Note however that even nonsense can impact a short prompt due to the sparsity of the relationships in these short prompts, for example here's "woman, indoors, sitting, reading a book, vreem":

So, the main point of this test is to give the caption plenty of opportunity to have a large impact, so you can clearly see what kind of impact it has and whether it does anything close to what you expect.
CLIP vs Booru
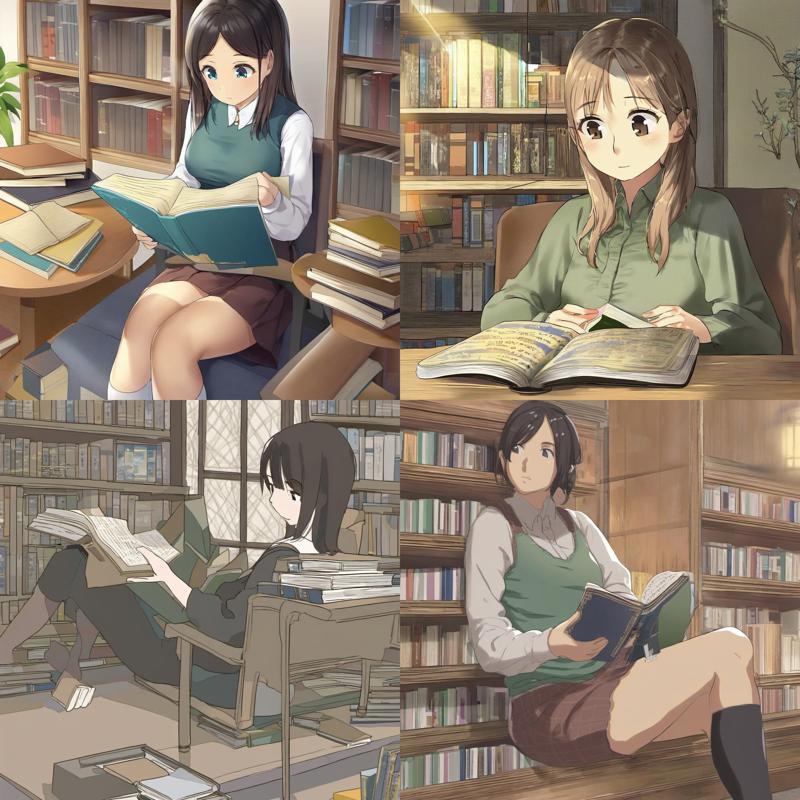
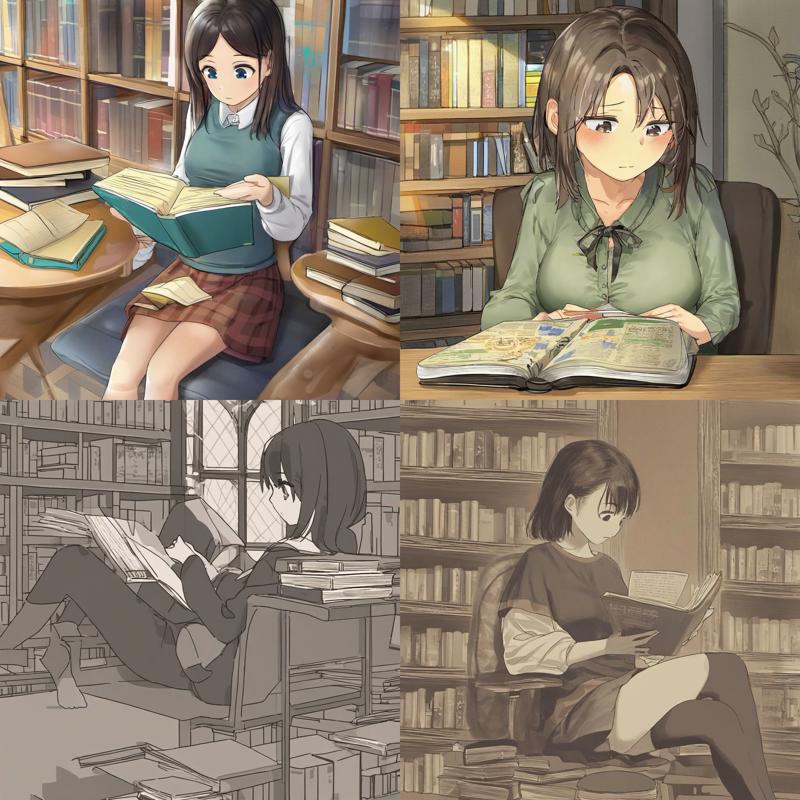
Before moving on to long prompts, here's the evidence that CLIP style prompting isn't really that different from Booru due to the language model limitations. The example I picked above is extra sensitive to change, so I'll need to show the run of 4 to demonstrate the difference properly.
Here's "woman, indoors, sitting, reading a book" (Booru):
Here's "A woman is sitting indoors, reading a book" (CLIP):
For comparison, here's the run of 4 for the nonsense "vreem" caption ("woman, indoors, sitting, reading a book, vreem"):
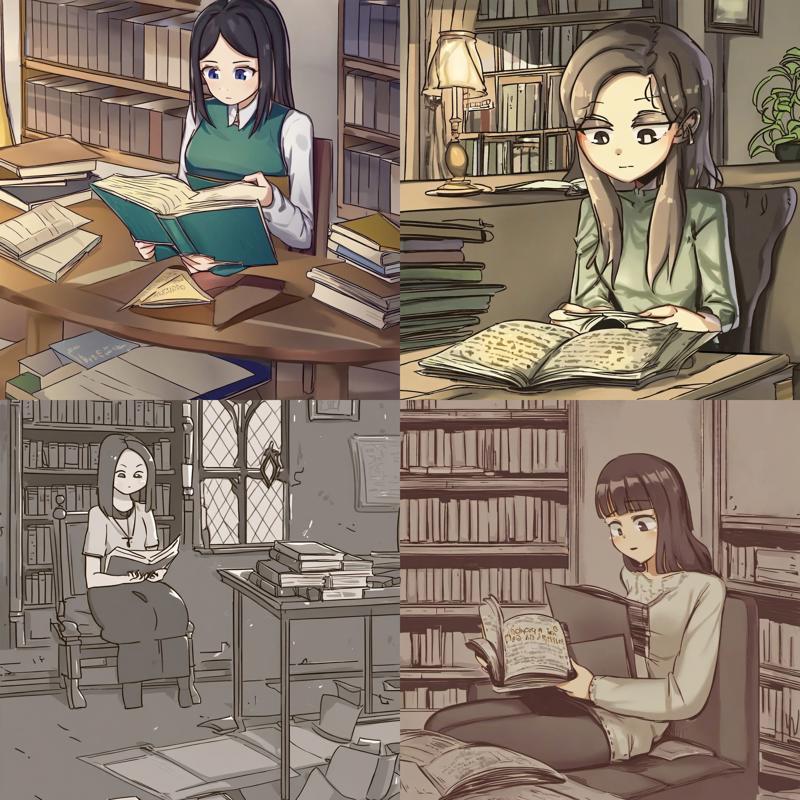
You can see that just adding a nonsense word like "vreem" has a much bigger impact in general than using the CLIP style. There are some changes of course, but this is simply because these short prompts are so incredibly sensitive to prompting changes. Long prompts are even less sensitive, for instance the earlier example of the woman reading a book on the couch that changed very little with a LOT of additional wording added in.
This is why I generally prefer the Booru style. Especially on models trained on it (like Pony), it requires fewer tokens to pack in the same number of captions to the same prompt, giving you a larger token allowance within a single chunk.
That said, as I've said a couple of times before, this doesn't mean the CLIP style is inferior. In particular for models trained for it, the fluff/stop words serve the same separation purpose as commas do for Booru prompting, and the model won't understand the importance of commas and permit a lot more bleeding if there's not the fluffy language between each key caption. Just keep in mind that the model is not really meaningfully reading the prose of your prompt.
SIDE NOTE: The CLIP style is also probably going to get a huge boost with better language architecture in modern models such as SD3, which may be able to actually follow written instructions if trained appropriately. Eventually, the convergence of LLMs/LMMs and image generation should allow for very sophisticated language abilities.
Using Short Prompts In Practice
While giving us good information about captions, short prompts may seem pretty poor performing in practice. However, this is because I've not been using rich style captions or negative prompts (both of which distort the results during this kind of model/caption evaluation) and because Pony is especially poor performing at short prompts by default. Using these techniques and/or other models better at short prompts can give great results, and the vagueness of short prompts allows for a lot of creativity to fill in the gaps, so you'll get a lot of interesting variety.
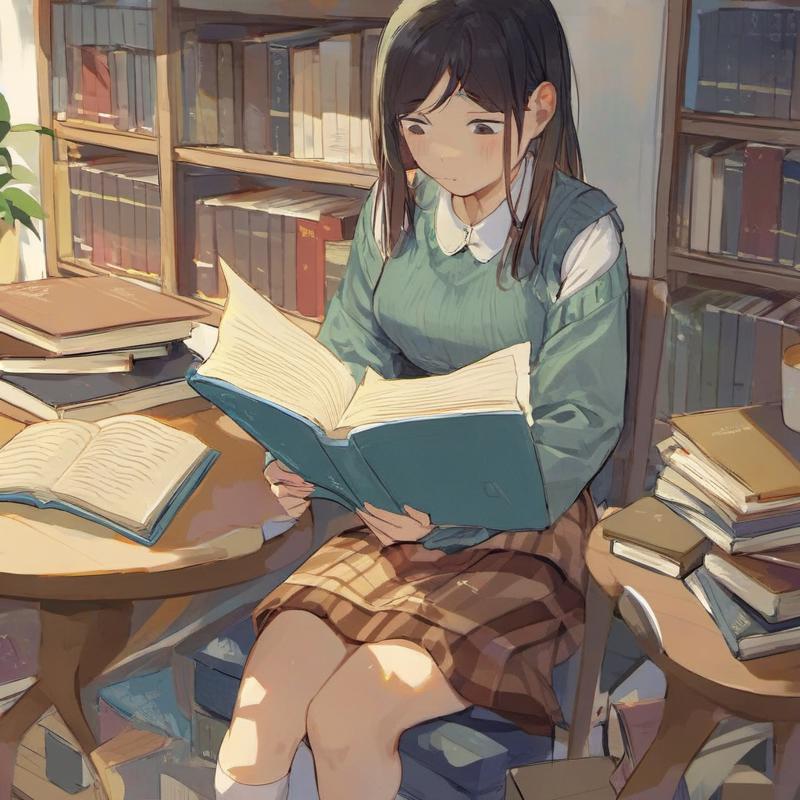
Here's an example using Pony's "score_9", a rich style prompt:
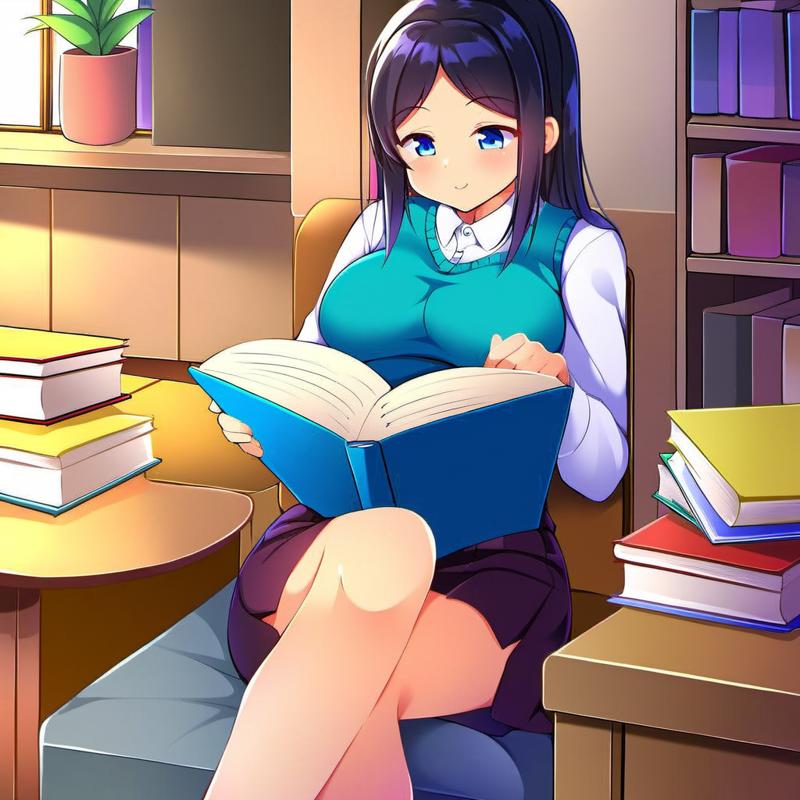
Here's an example with a well formed negative prompt:
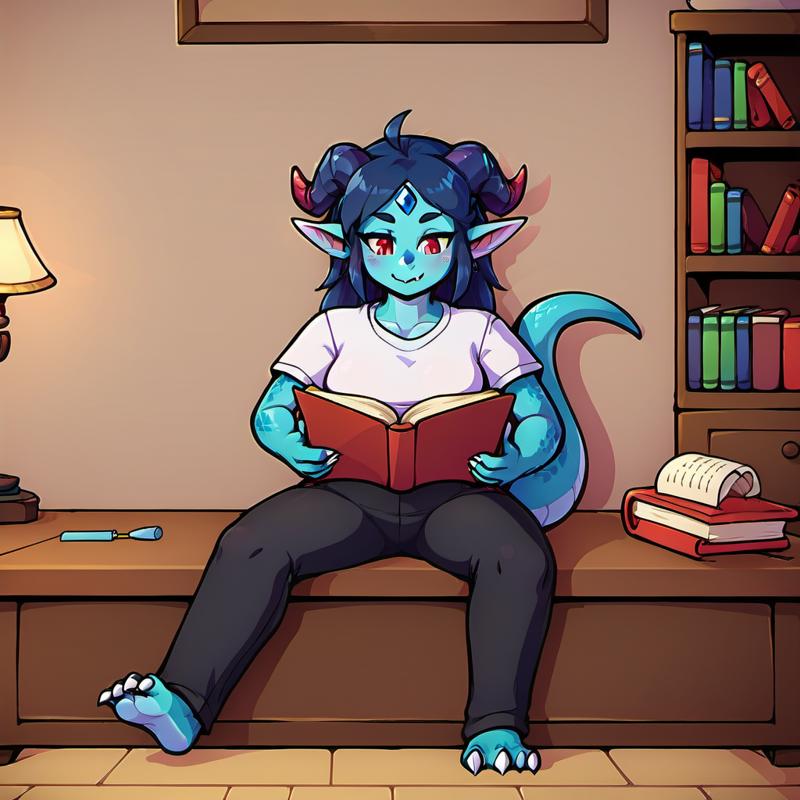
Here's an example using my Blue Dragon Lady LoRA, which was trained to be effective at short prompts:
I recommend using short prompts to get inspiration. You can always add more details later, and if you add captions that line up with the generation they're less likely to cause a big difference (or of course you can use the many other techniques available to touch up an already nearly perfect piece).
Test 2: Long Prompts
At last, we are at long prompts. There's really many possible lengths, but above 35 tokens we're getting into longer territory and by 50 tokens it's definitely long. These will tend to give the best results in Pony as it was largely trained on long prompts. However, the potential for creativity goes down as the results become more tightly defined and it's easy to cause problems with conflicting captions unless you know the caption landscape well.
To test a caption under evaluation on a long prompts you should have (or compose) one or more long prompts and add the new caption to the end. The main goal here is to see if it's effective even in a crowded environment and to see what kinds of relationships it has with other captions.
Also, keep in mind that I'm back to no quality improvers for these tests, so the quality will drop.
I'll use two baselines for this test, and I'll add the new test caption as the last caption. As I'll cover soon, the ordering of captions is either irrelevant or the last caption is in an especially strong position, so either way adding it last should have a decent impact.
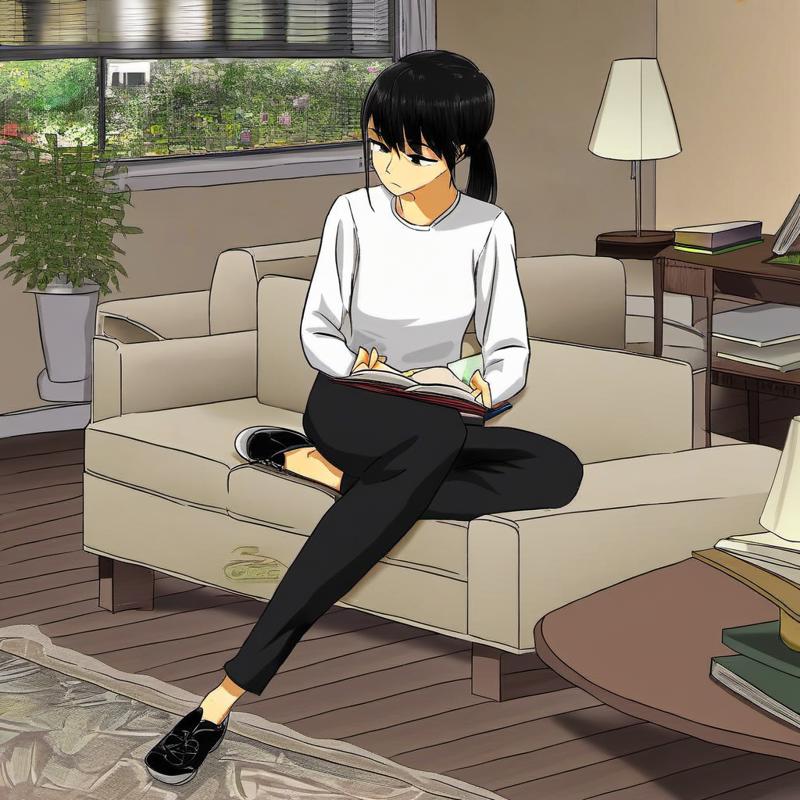
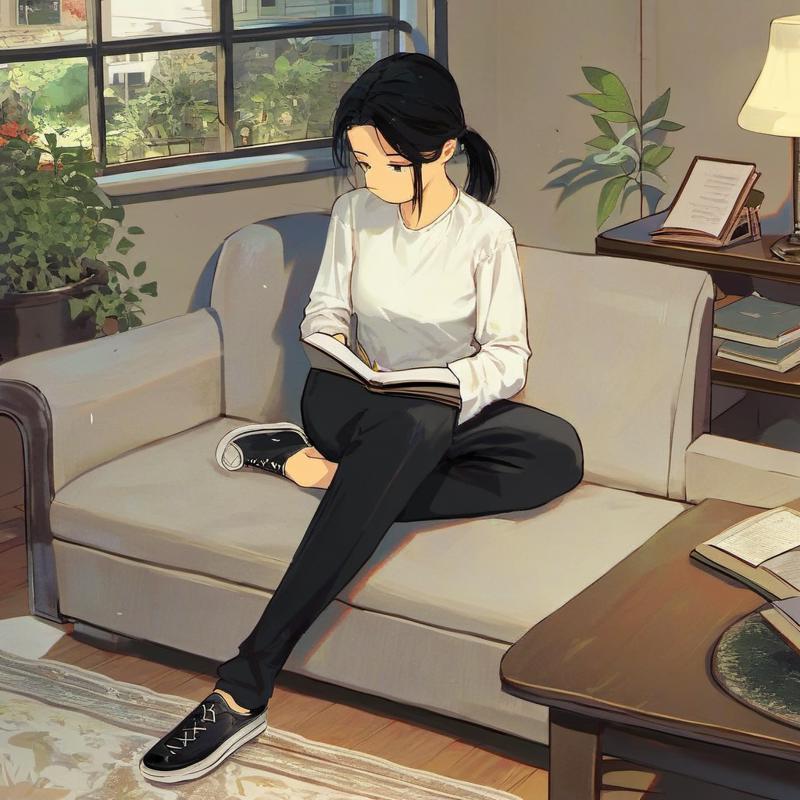
First is "woman, sitting on couch, indoors, white shirt, bored, reading book, black pants, table, couch, window, garden, sunny, rug, lamp, sitting, black hair, ponytail, full body, shoes, woman" (46 tokens):
Here's baseline one with the addition of "red eyes":
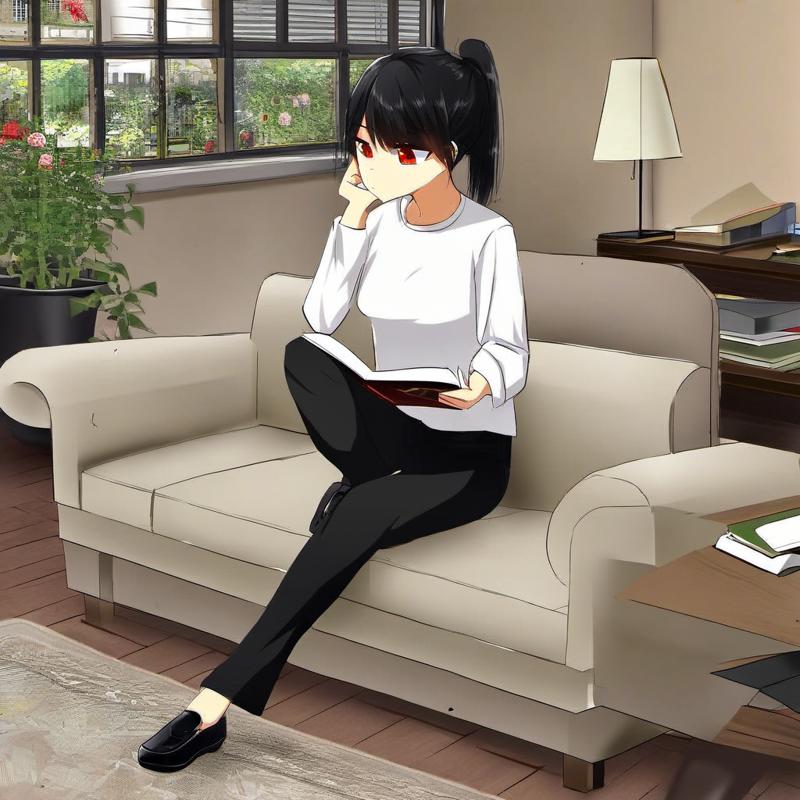
Yup, she has red eyes now. The effect is very specific as expected. This caption works well for its specific role. There are some tiny side effects like the roses being slightly redder, but it's very minor.
Here's baseline one with the addition of "living room":
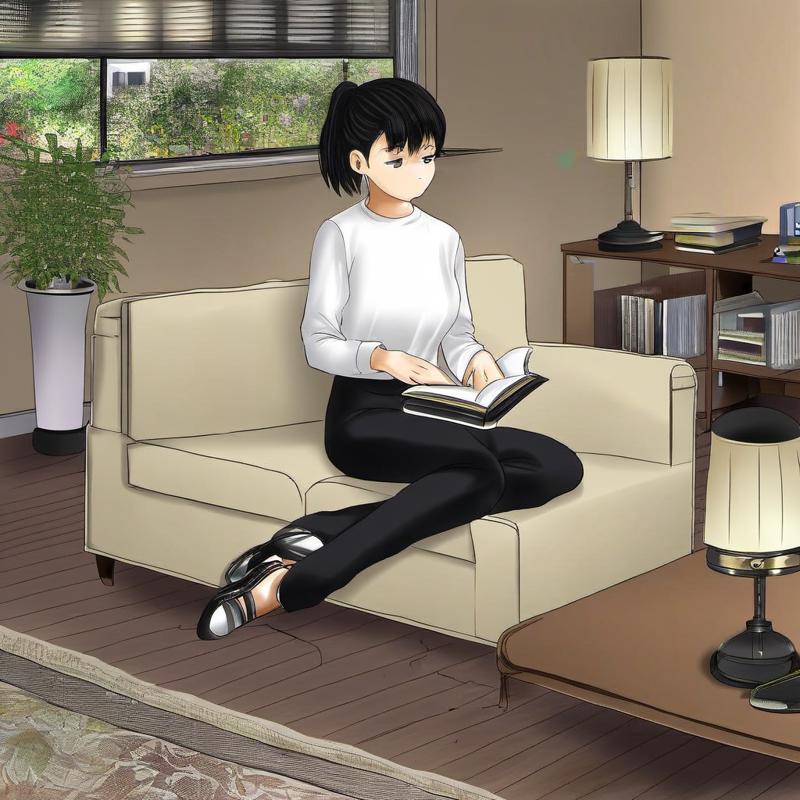
The effect is quite muted compared to the short captioning version, but this is because the prompt includes a ton of captions that describe a living room already, so there's not much to add. Note though that many of the details are richer, like the pattern on the carpet or the design of the lamps.
This also has the largest compositional difference, because it's a diffuse caption that impacts the entire image.
Here's baseline one with the addition of "vreem":
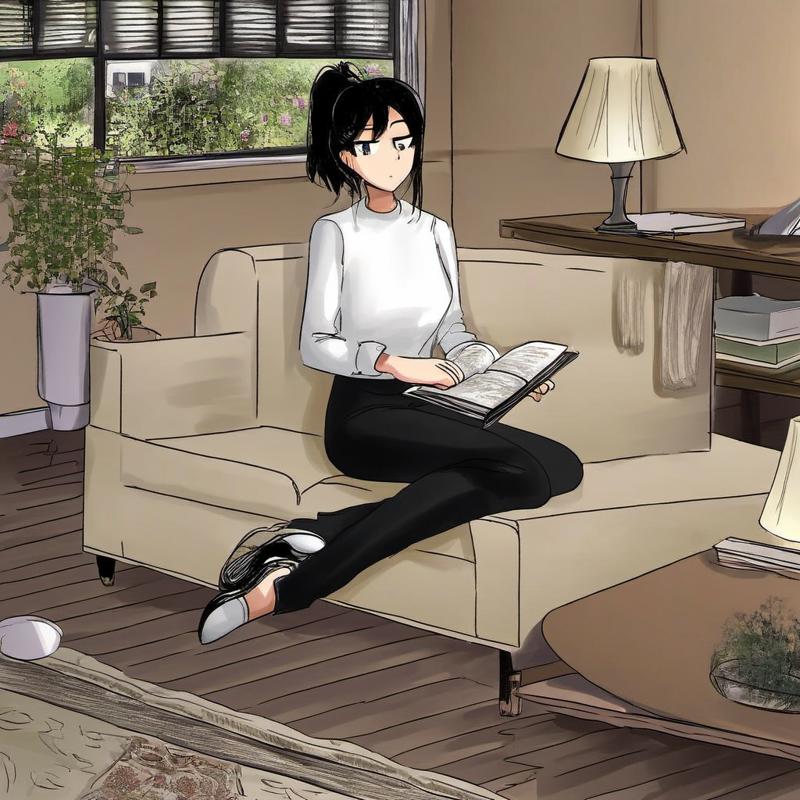
While this nonsense word is surprisingly influential, it's ultimately quite weak when you really compare it in detail to the others.
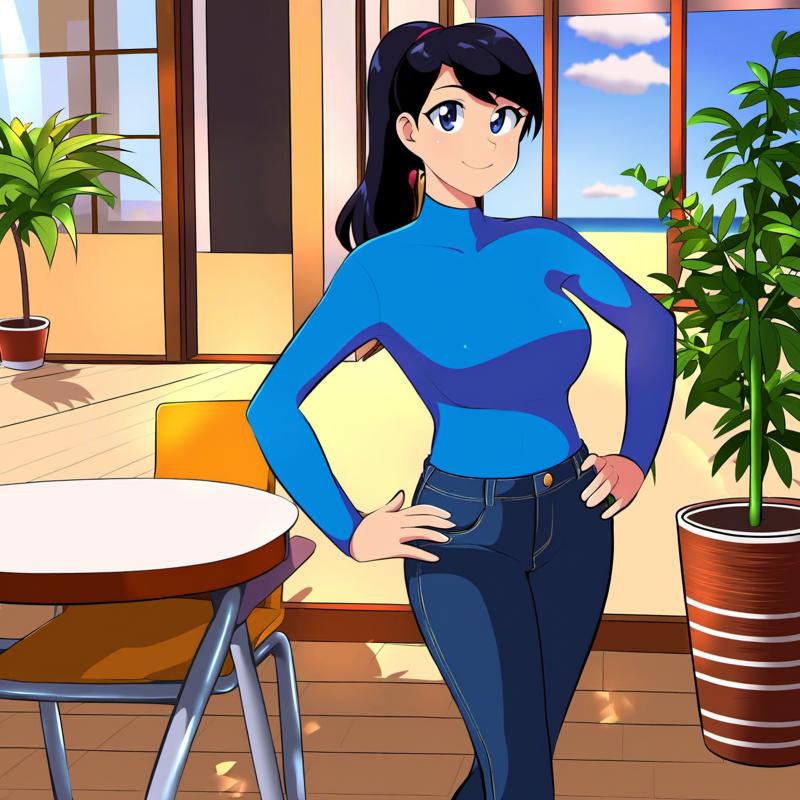
The second baseline is "woman, standing, hands on own hips, looking at viewer, smile, blue shirt, denim jeans, black hair, ponytail, table, window, garden, sunny, happy, woman" (37 tokens):
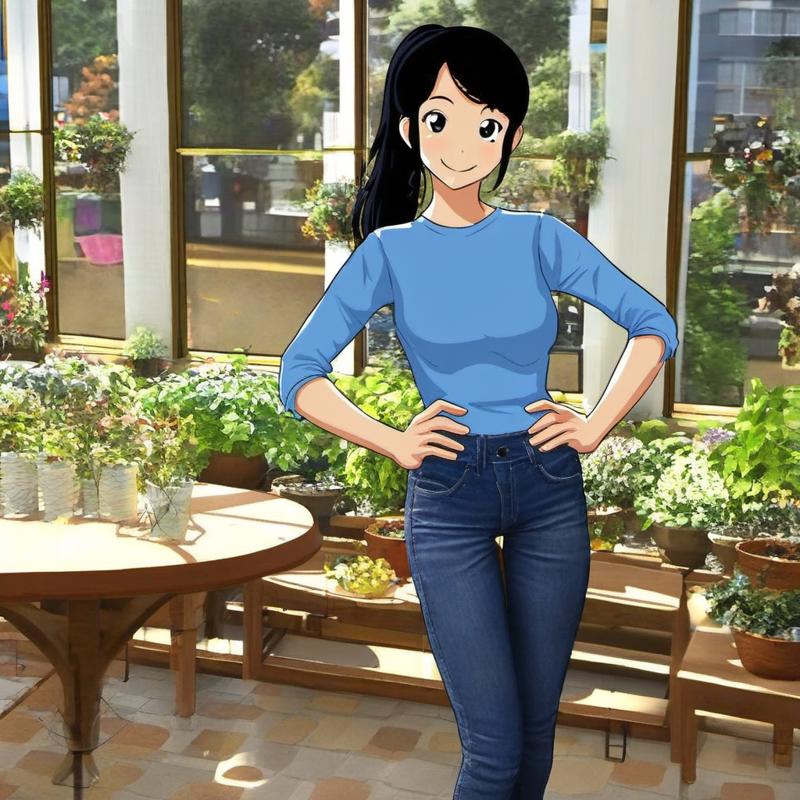
Here's baseline two with the addition of "red eyes":
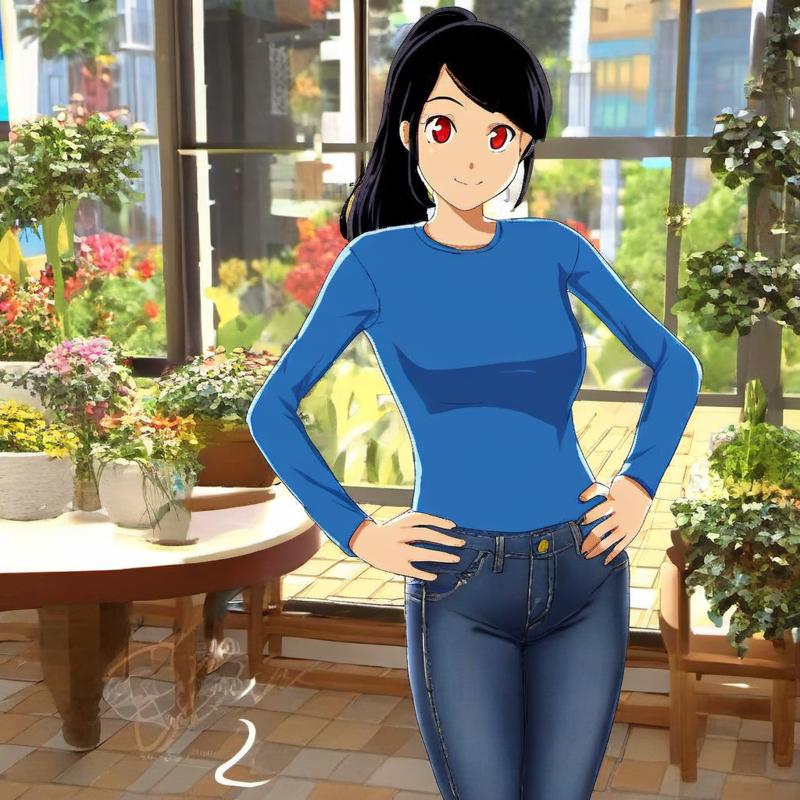
Yup, red eyes still works.
Here's baseline two with the addition of "living room":
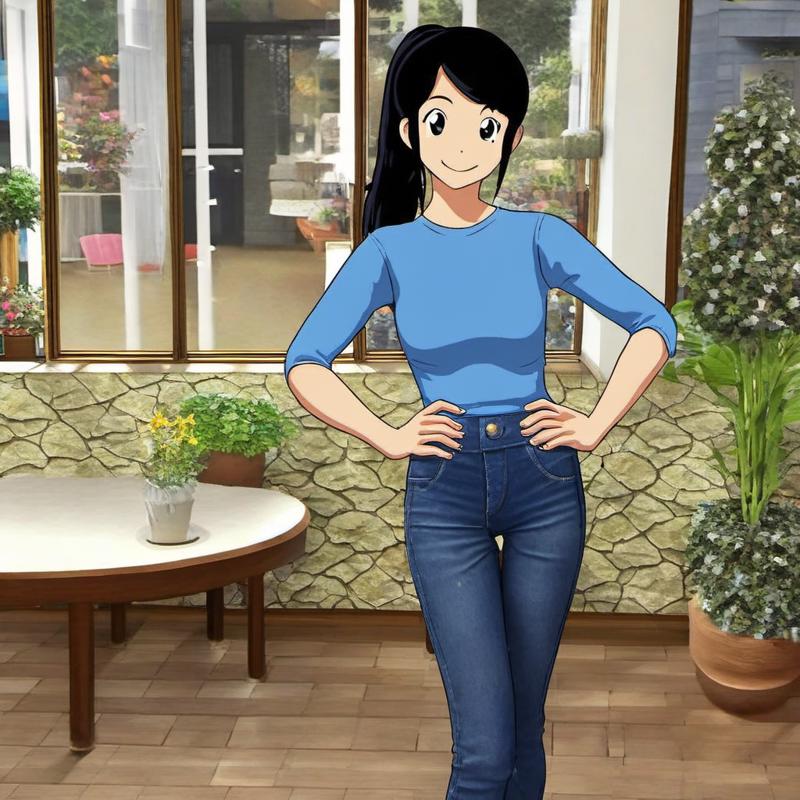
The garden greenhouse vibe is much reduced in this one, making it look more like an interior space, but it also it didn't drastically alter the composition by doing things like injecting a couch into the scene. Also note that the character hardly changed, this is because she's much better defined than the background in this prompt.
Here's baseline two with the addition of "vreem":
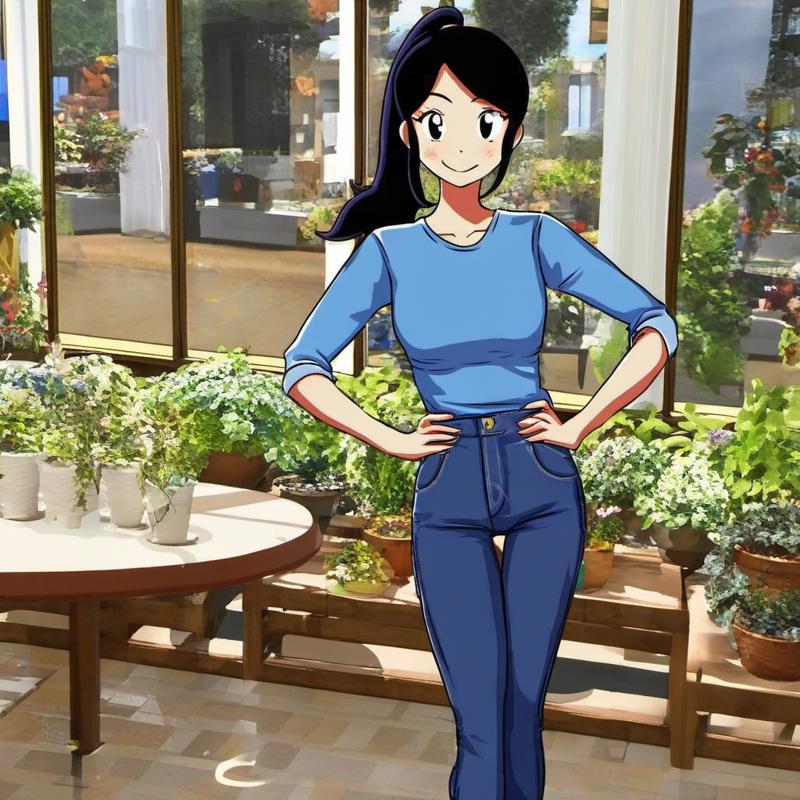
The effect is quite muted, but it does still add a slight sketch-like effect as in previous examples.
Rich Captions
Of particular value are rich captions, which are usually style captions but not always. The best known example is Pony's "score_9" and relatives, which I've been avoiding using in these tests because of their outsized impact.
Here's baseline one with score_9 at the beginning (the ordering of which is either irrelevant or strong, so it should have a substantial impact):
Here's baseline two with score_9 at the beginning:
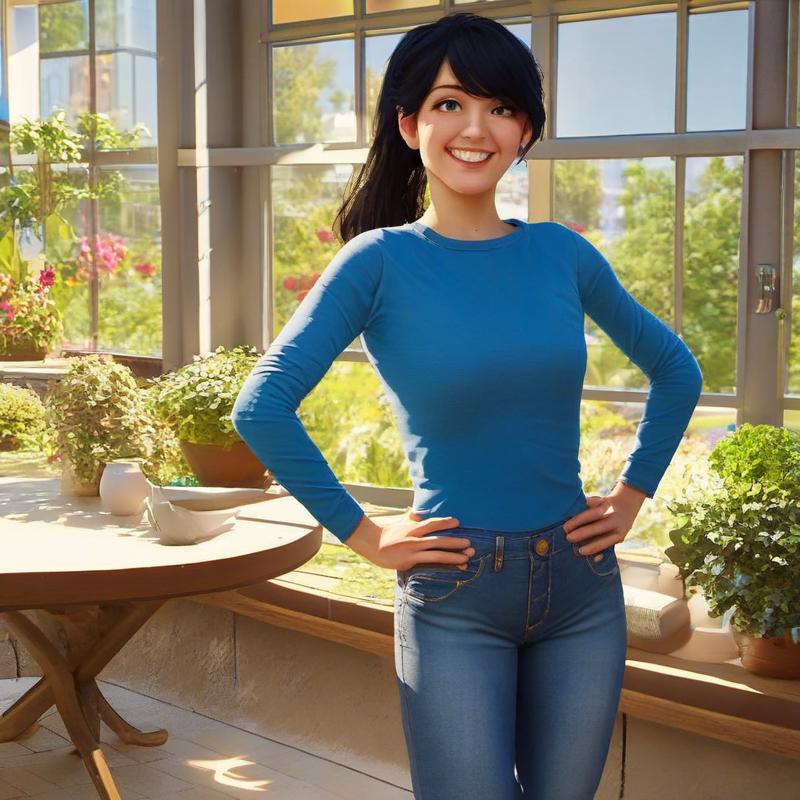
Why does this have such a massive effect?
Well, score_9 was trained across a huge percentage of Pony's dataset (and its relatives even more so), with the only common factor being high image quality. This means that it's well trained, it's densely related (it's related to almost every possible caption), and it's diffuse. It's basically impossible for it not to have a substantial impact and in many ways its an ideal caption.
Wonderful! So why not use it for everything?
Well, it has a specific style bias (towards richer shading and more complex compositions) and is more likely to create 3D scenes (though this can be fixed with negative prompting). It also has other, more subtle biases, and so you may want to avoid injecting these biases into a generation. If you have another style it will blend the score_9 style with the other style, leading to lower style fidelity.
One more crucial reason is that it messes up hands. If you carefully evaluate score_9 and its relatives you'll see this very clearly, the hands are generally lower quality with it present compared to when it's absent. This is also impossible to totally fix purely through negative prompting, though mixing it with other styles helps a lot. It also performs somewhat better when hands have definite positions defined in the prompt.
I'm not entirely sure why score_9 has this negative effect on hands, but my guess is that the sheer variety of hand positions it encountered in training without specific captioning confuses it and it's trying to make all hand positions at once.
Regardless though, score_9 and relatives (I prefer "score_9, score_8_up, score_7_up") are so good at boosting overall quality that it's usually worth the issues.
While score_9 is a great example of a rich caption, it's not unique. Most style captions are rich, and you can make non-diffuse rich captions. For instance, my blue dragon lady's version of "dragon woman" is a relatively rich caption by design, but it's not a style, it's a subject.
Here's baseline one with the LoRA active:
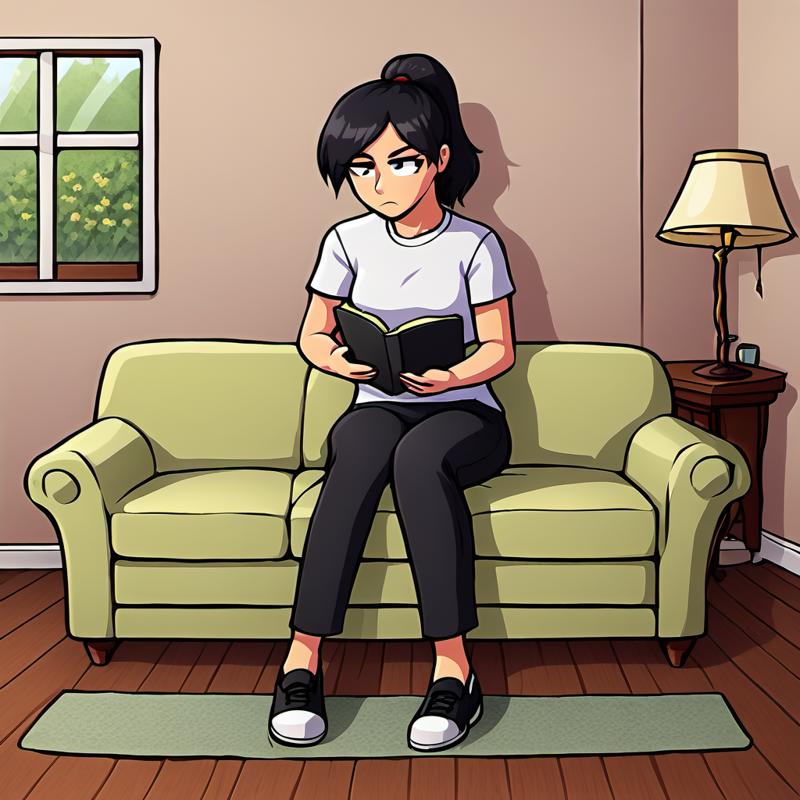
Here's the same generation with "dragon woman" replacing "woman":
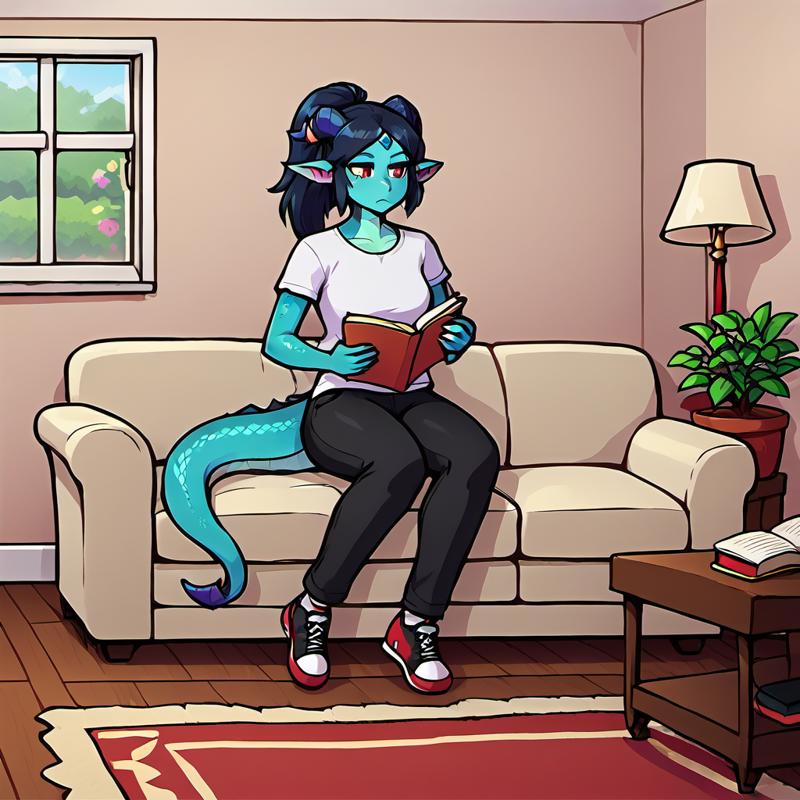
Despite being trained on a single image of the character (and the Oatd style regularization images which account for the different default style), it pulls in a large number of details about the subject when prompted with the "dragon woman" caption. It doesn't have to be told to include the ears, forehead crystal, horns, etc. However, due to caption augmentation those items have also been itemized so there is some control over them.
This LoRA is a very rough prototype, so there is huge potential here for training actually good rich captions.
Conflicting Captions
When you compose longer captions, one of the main pitfalls you may run into is conflicting captions. When two captions come in conflict, there's many possible resolutions but they're often undesirable. Thus I recommend avoiding these conflicts unless you're intentionally trying to generate a conflicting effect.
Here's some examples:
"woman, smile, closed mouth, open mouth, clenched teeth, angry, happy"
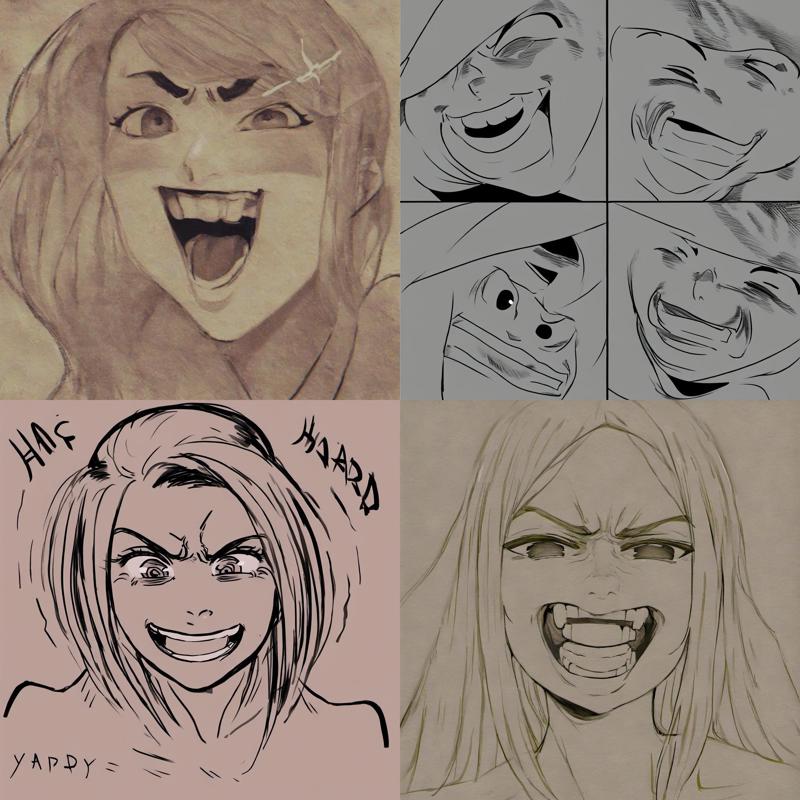
"woman, sitting at table, white shirt, smile, eating food, angry, frown"
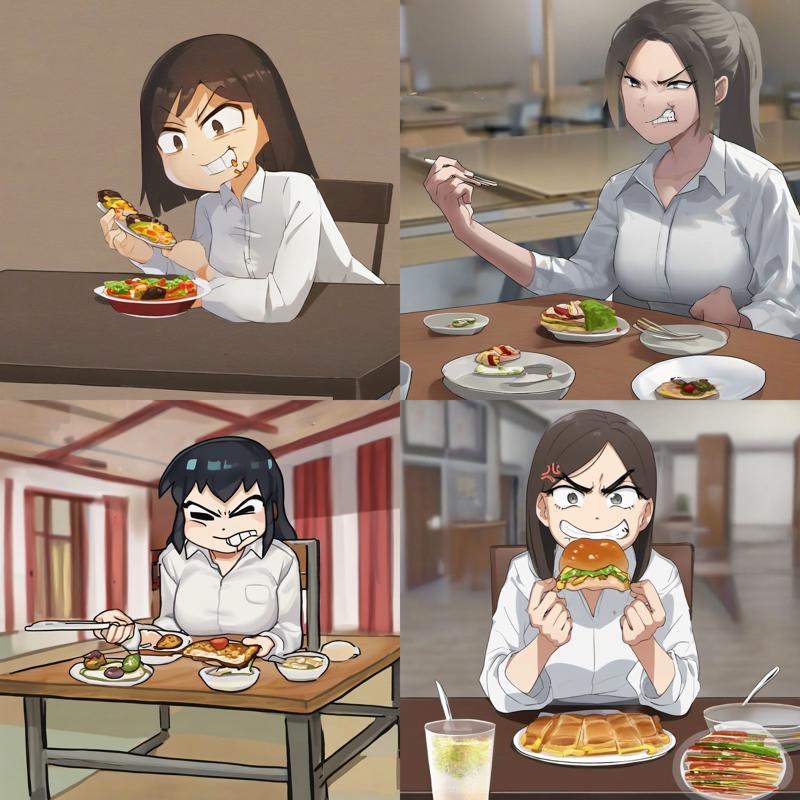
Some of these are honestly pretty funny. The score_9 version was pretty funny too:
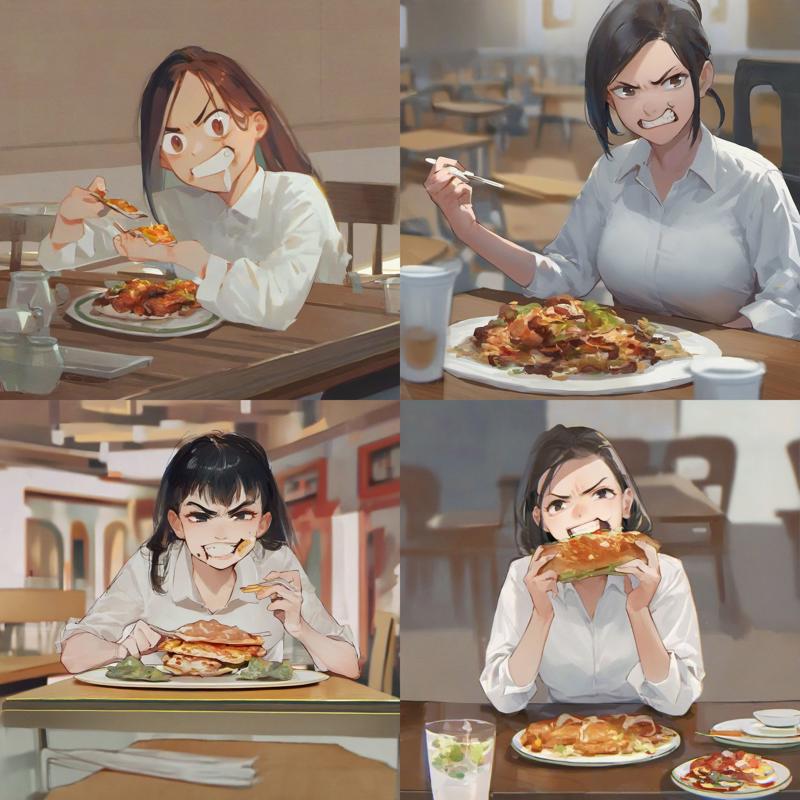
This shows that sometimes you can get interesting effects by mixing conflicting captions, but the results will usually be unpredictable and deranged-looking, so it's best to intentionally use only if you're exploring new creative possibilities.
This is another factor that underscores the importance of knowing the captions in for a specific model. You can't know what will likely conflict without knowing the effects of the individual captions.
One last note is that if you're getting really bad results around some detail that normally performs fine, that is a really strong sign that some set of captions are conflicting (with the other major possibility being that you've found an island of instability).
Caption Ordering Part 1: Rearrangement
Caption ordering matter only weakly, so you can usually re-arrange captions without worrying about the effects.
Here's some examples of scrambling baseline one to show the effect of the reordering is weak.
Original 4-run of baseline one "woman, sitting on couch, indoors, white shirt, bored, reading book, black pants, table, couch, window, garden, sunny, rug, lamp, sitting, black hair, ponytail, full body, shoes, woman"
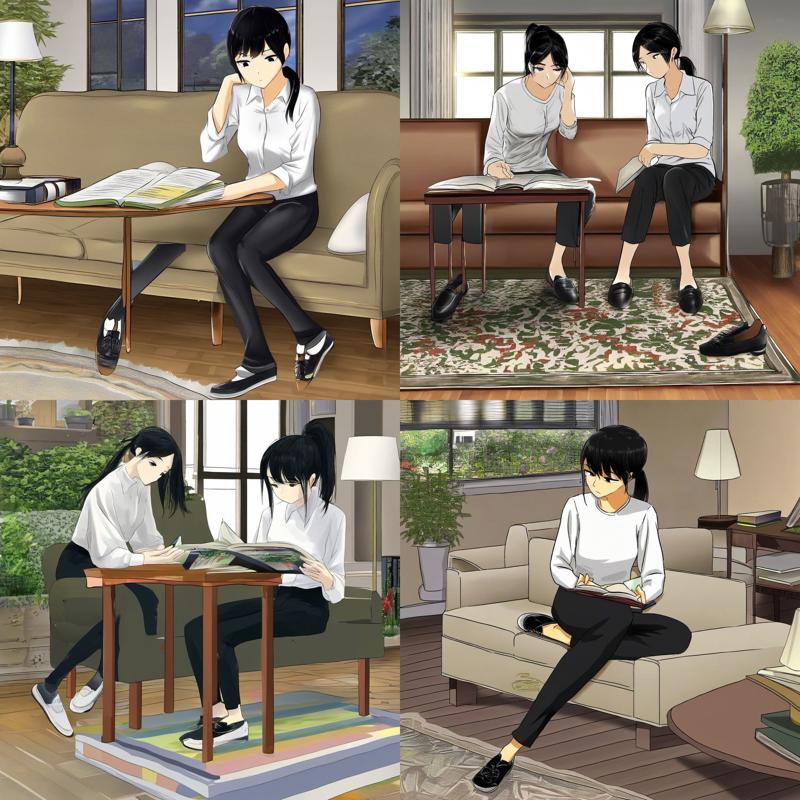
Reordered so setting is described in detail first "indoors, table, couch, window, garden, sunny, rug, lamp, woman, sitting on couch, white shirt, bored, reading book, black pants, sitting, black hair, ponytail, full body, shoes, woman":
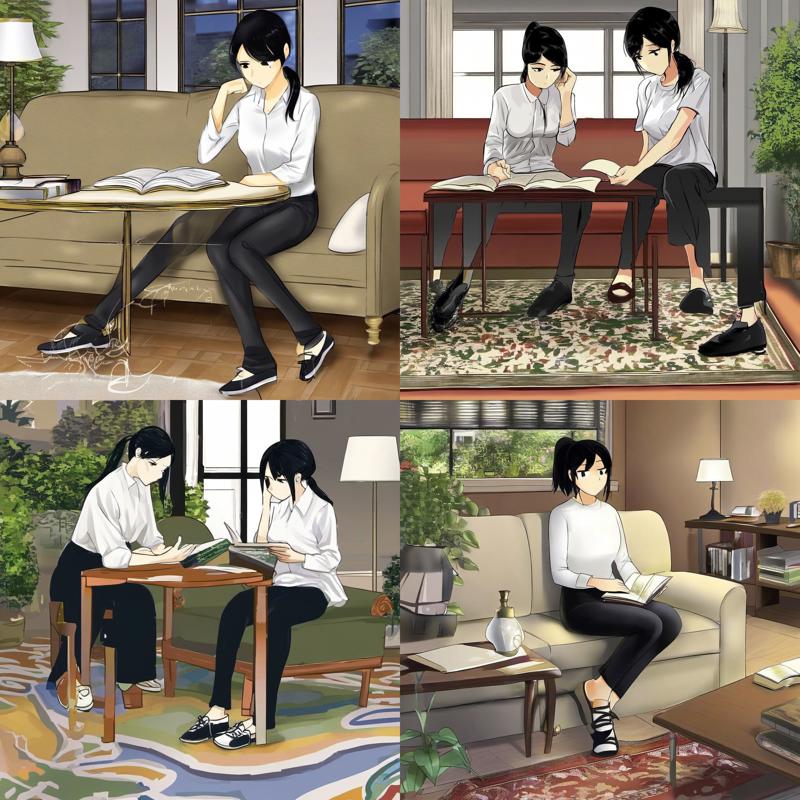
Random reordering "sitting, woman, reading book, table, black pants, white shirt, shoes, couch, sunny, bored, rug, woman, window, full body, ponytail, black hair, garden, sitting on couch, lamp, indoors":
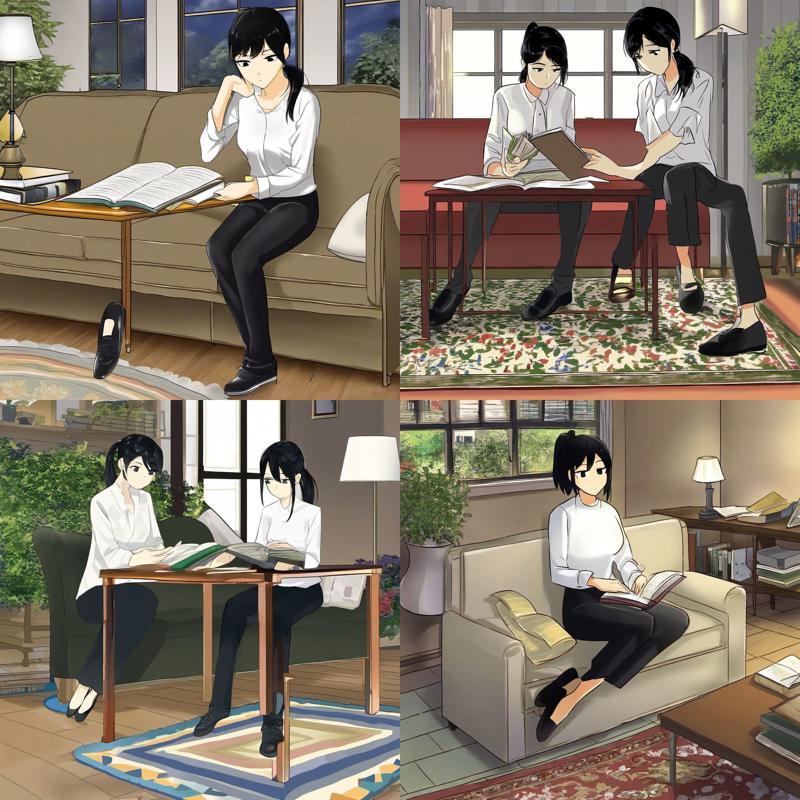
Random reordering "black pants, black hair, sitting, full body, couch, reading book, window, shoes, garden, sitting on couch, sunny, ponytail, rug, bored, woman, table, indoors, white shirt, woman, lamp":
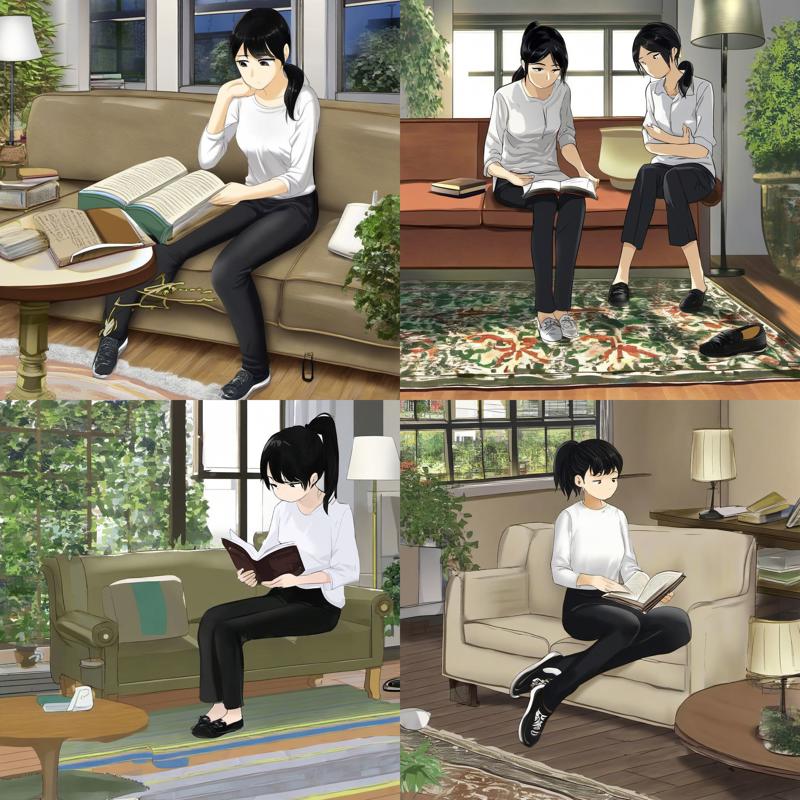
While it's definitely true that there are some differences, they are almost always small variations with the biggest differences being a second woman disappearing when the generation has such a feature. This is caused by the prompt not specifying two characters, so it's easy for the second woman to get lost early in the generation process.
There's two notable cases where inter-caption order matters:
Immediately adjacent captions can bleed into each other (most notable with colors, I'll cover this in more detail in a later article, or you can see my old post on the topic)
If the model was trained without caption shuffling it may be impacted by ordering more substantially (but such models are seemingly rare and I don't have any data on this case, so I'm just speculating here).
Using Long Prompts in Practice
Long prompts are pretty easy to make quality generations from, but I wanted to post improved versions of the baselines:
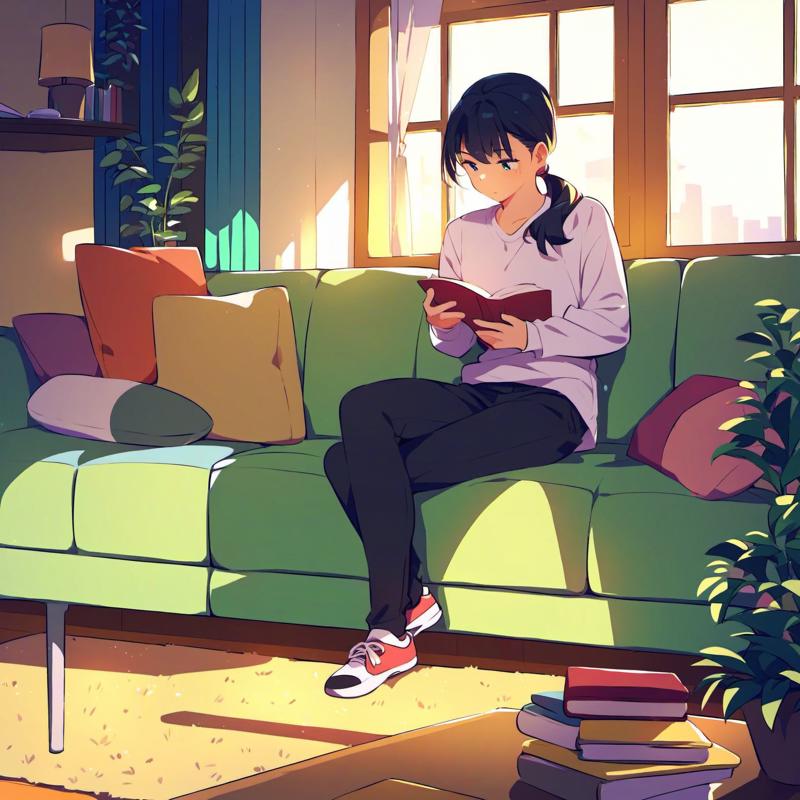
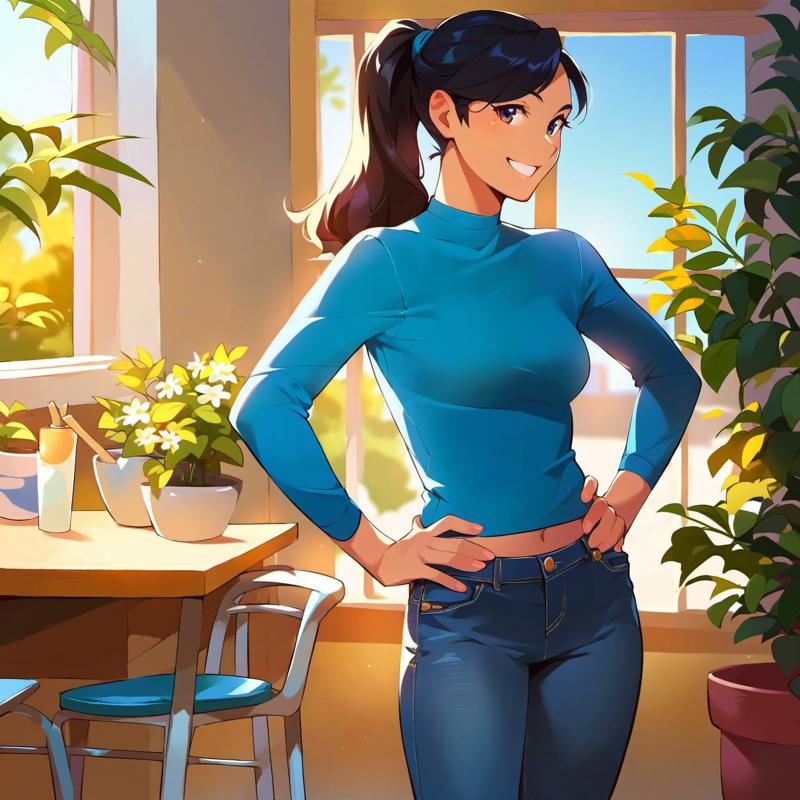
Plus, here's baseline 2 without "score_9, score_8_up, score_7_up":
Test 3: Repeating Prompts
One final test is to turn the caption up to 11 by repeating it over and over again.
Here's the grid for red eyes "red eyes,red eyes,red eyes,red eyes,red eyes,red eyes,red eyes,red eyes,red eyes,red eyes,red eyes,red eyes, ,red eyes,red eyes,red eyes,red eyes,red eyes,red eyes,red eyes,red eyes,red eyes,red eyes,red eyes,red eyes,red eyes":
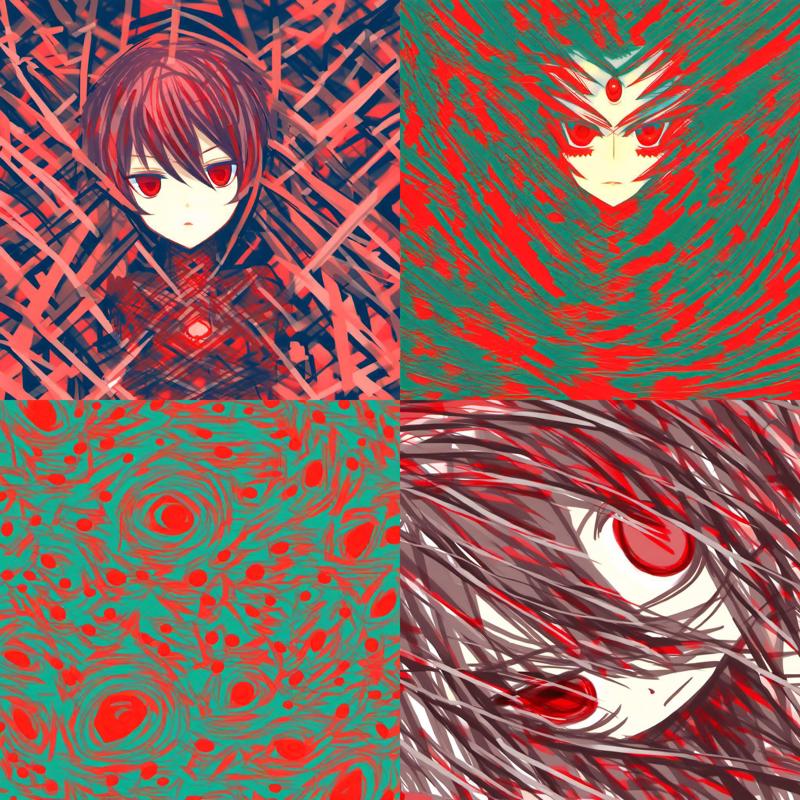
It's putting red eyes on EVERYTHING. This is a pretty good result for this kind of specific caption.
Quick note: there's a spare comma surrounded by whitespace in the middle of this prompt (and the next one). This is to ensure that all 75 tokens are filled up and the final tokens are target caption. You can use single commas surrounded by whitespace for padding. The whitespace is important, because double comma is a different token.
Here's the grid for living room "living room,living room,living room,living room,living room,living room,living room,living room,living room,living room,living room,living room, ,living room,living room,living room,living room,living room,living room,living room,living room,living room,living room,living room,living room,living room":
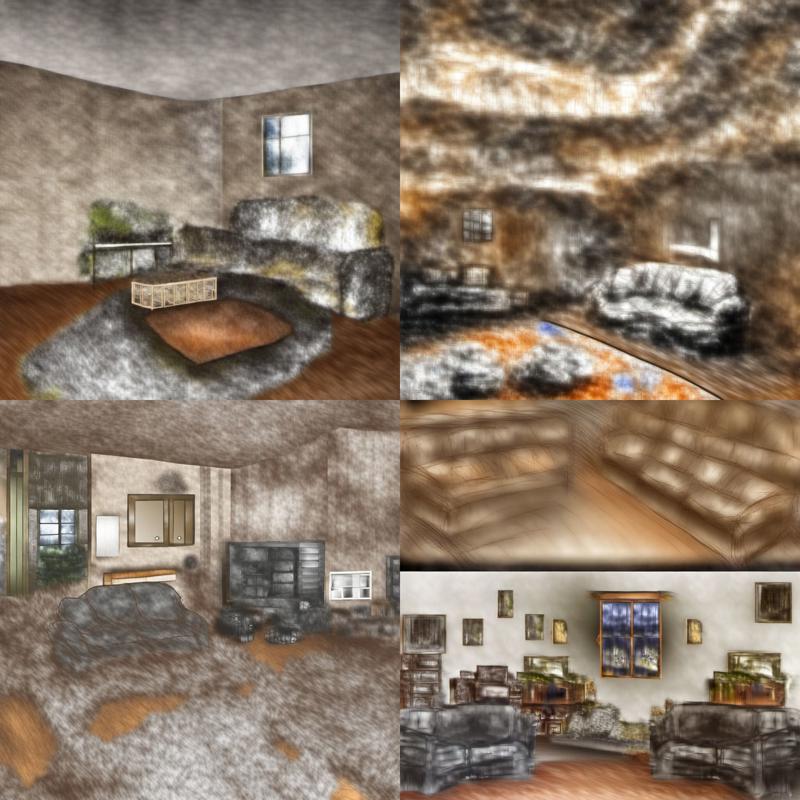
This result makes sense for a diffuse caption like this one, but you can also see it's breaking down under the pressure. The fuzzy effect might be a texture it learned for carpet/upholstery, but who knows really.
Here's the grid for score_9 "score_9,score_9,score_9,score_9,score_9,score_9,score_9,score_9,score_9,score_9,score_9,score_9,score_9,score_9,score_9,score_9,score_9,score_9,score_9":
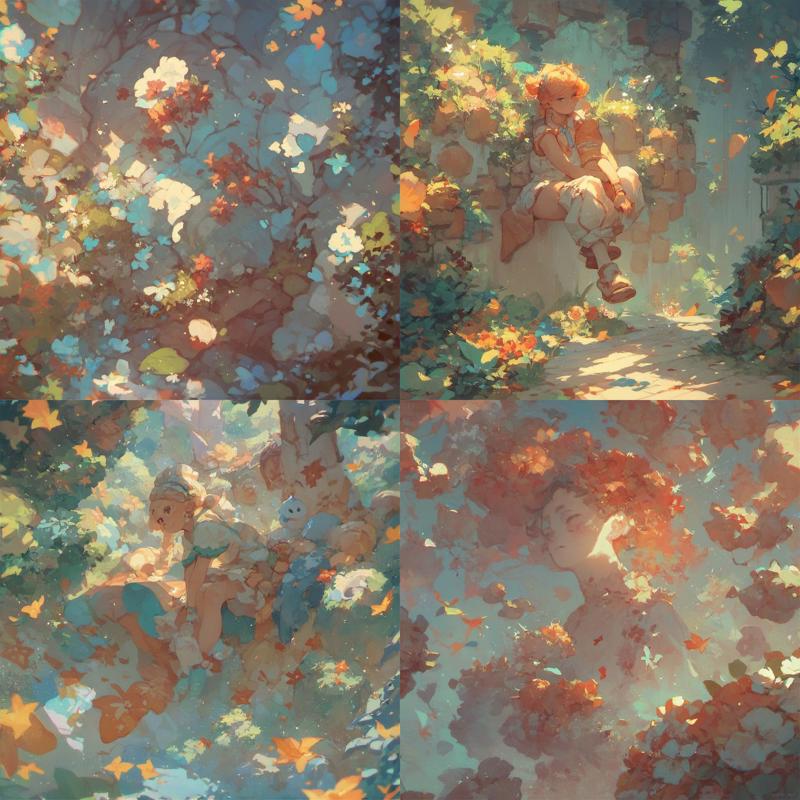
Score_9 really likes watercolor paintings of women in fields of flowers. Unlike living room it's not really breaking down because it's a much better trained caption. Its biases really shine through though, which is the most valuable part of this test.
"vreem" creates chaotic cartoon scenes that are vaguely violent. I can't really include any of them in the main article, but it's in the attached data.
If you get completely uninterpretable garbage results (ex. static or colored blobs), then try reducing the repeats. I'd recommend halving the number of repeats until you get something or give up. In some cases there isn't anything to learn here.
Analyzing the Effect of Repeats
While these results speak for themselves, you might be wondering what's going on here.
If you take a well defined caption and keep adding more and more copies, you'll see that each individual repeat creates very little difference, but the sheer weight of many of them eventually adds up. However, unlike weights it does not usually cause major distortions, so it's relatively safe to keep adding more repeats of the same caption.
As an example, here's my dragon lady starting with one repeat and adding more and more copies of "dragon woman":
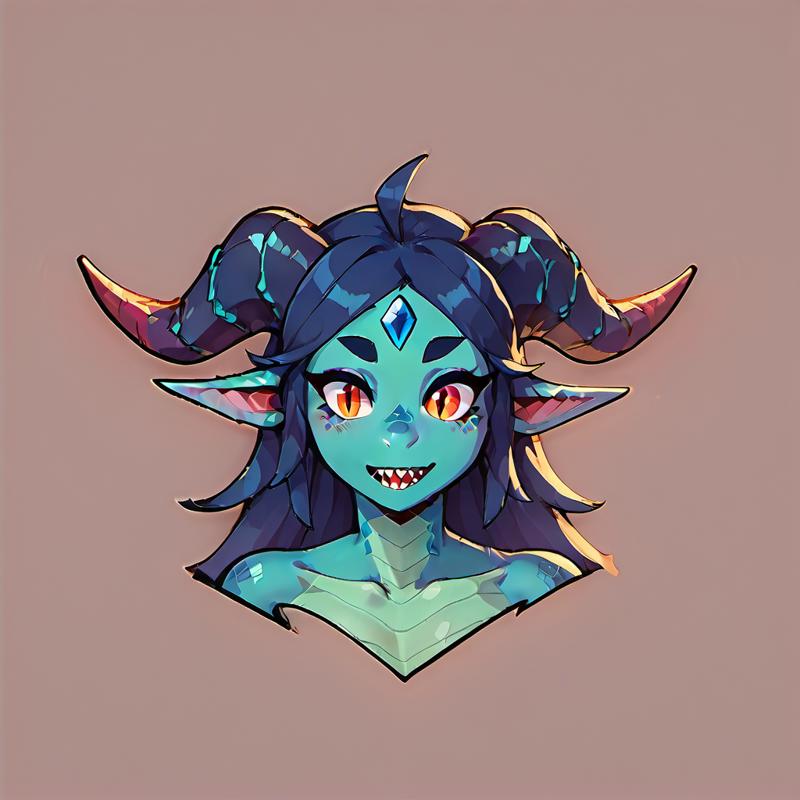
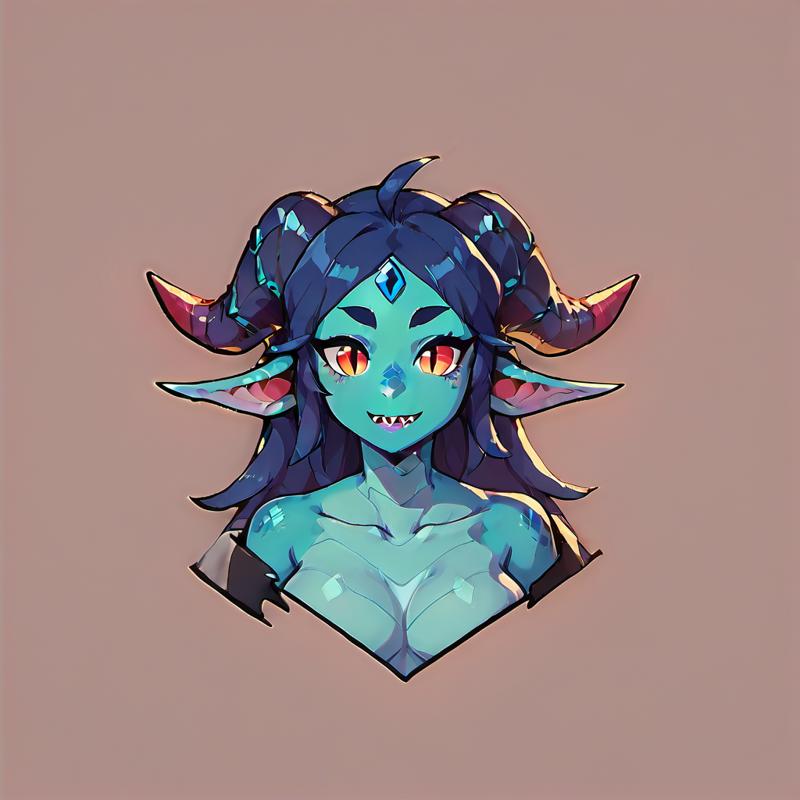
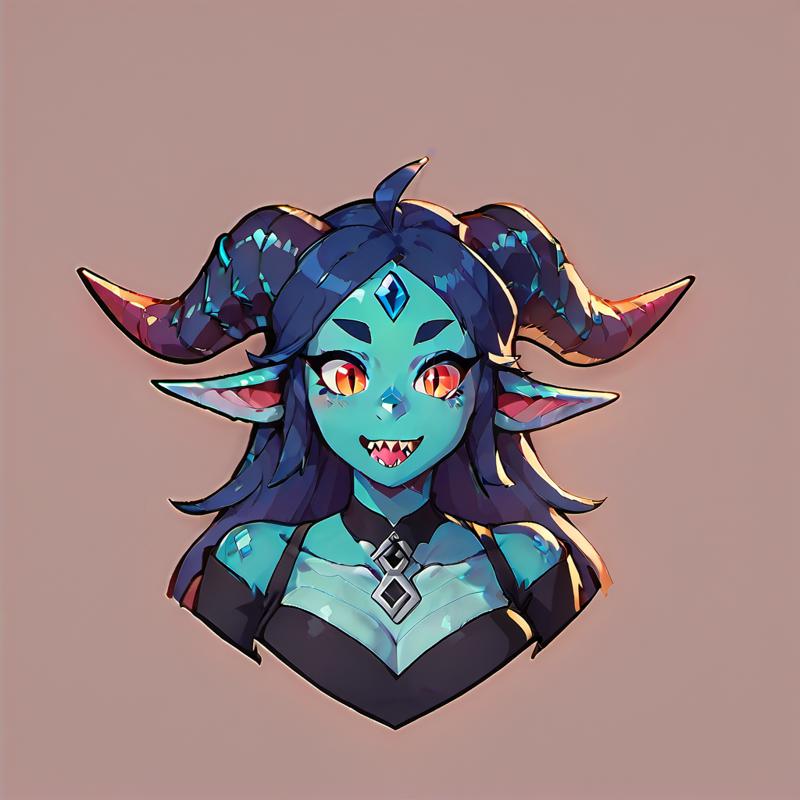
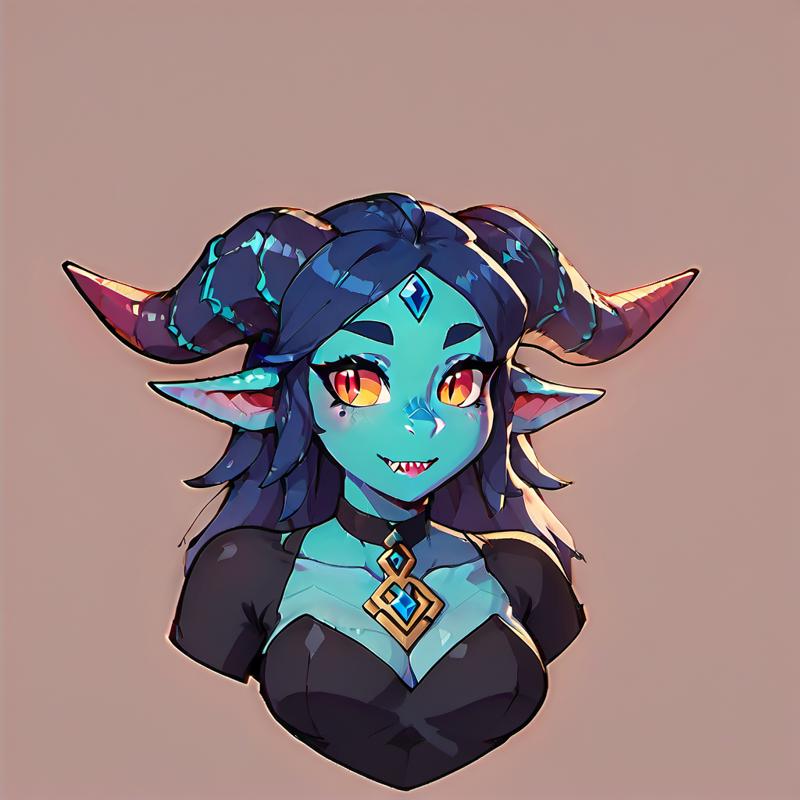
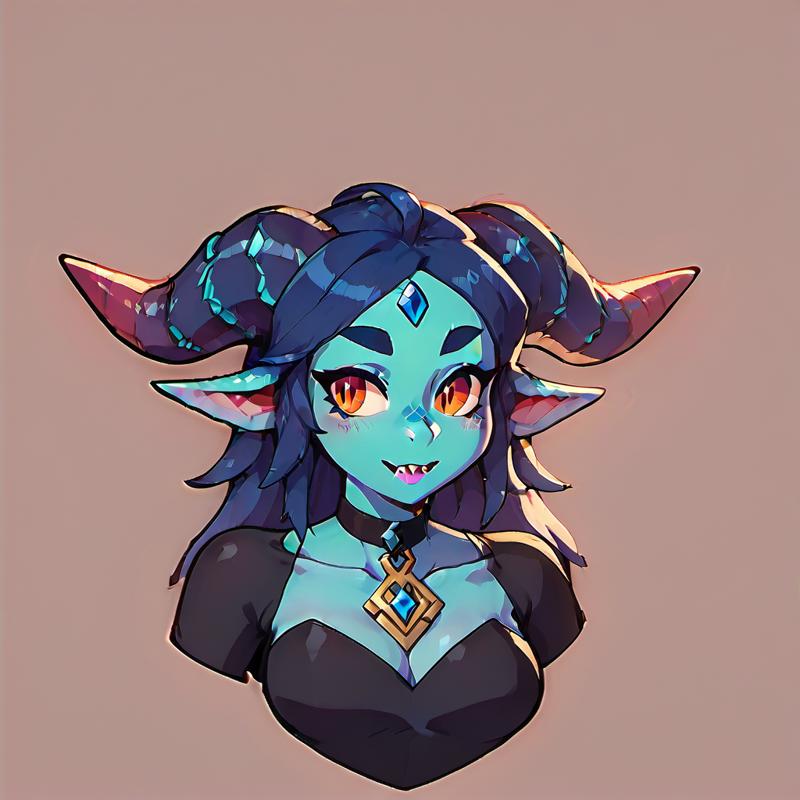
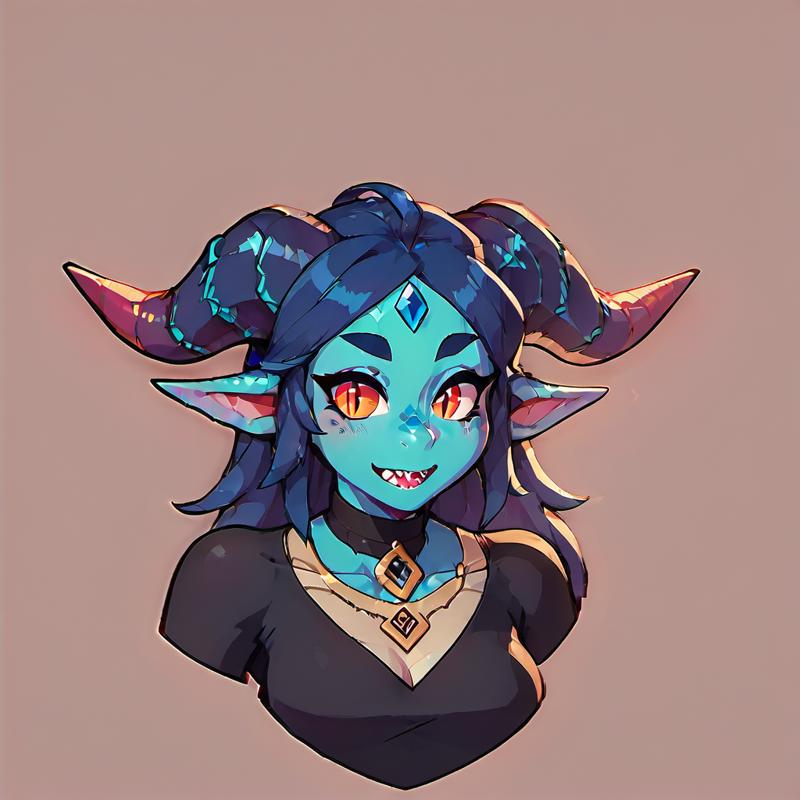
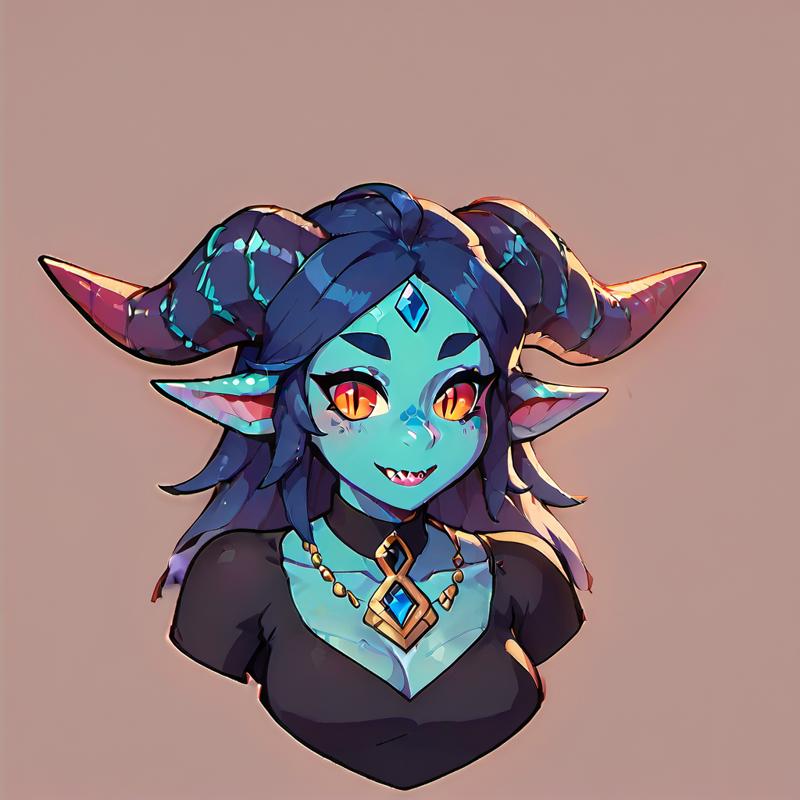
After this last one (7x repeats), additional repeats goes suddenly goes to a full body bikini/underwear composition, and anyway I'm sure you get the idea. It's slowly progressing and becoming more detailed. The full run is in the additional data.
However, it's worth showing the last few repeats (20x-25x) as well because it shows another effect:
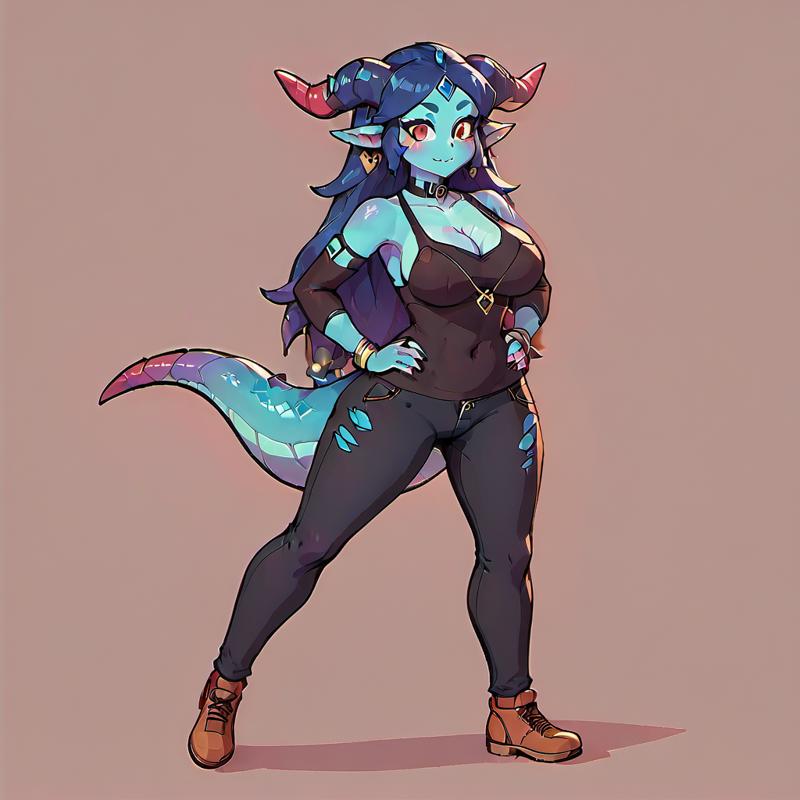
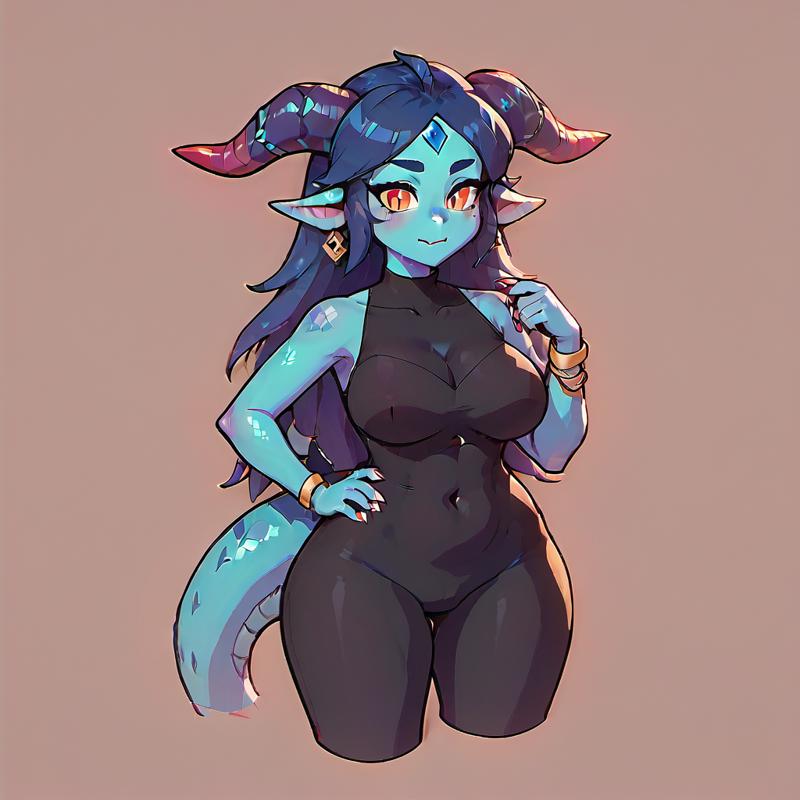
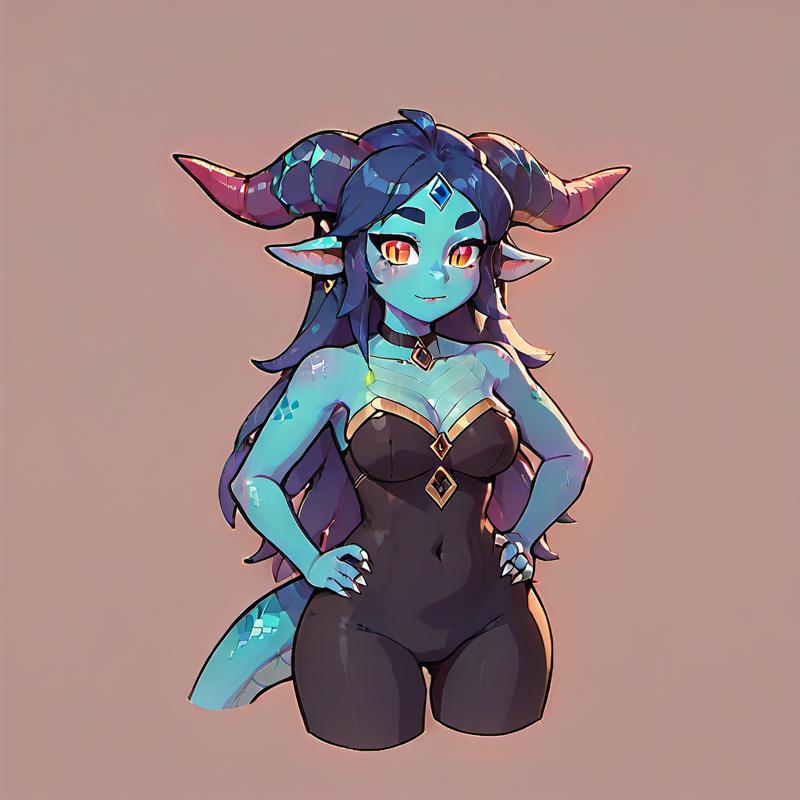
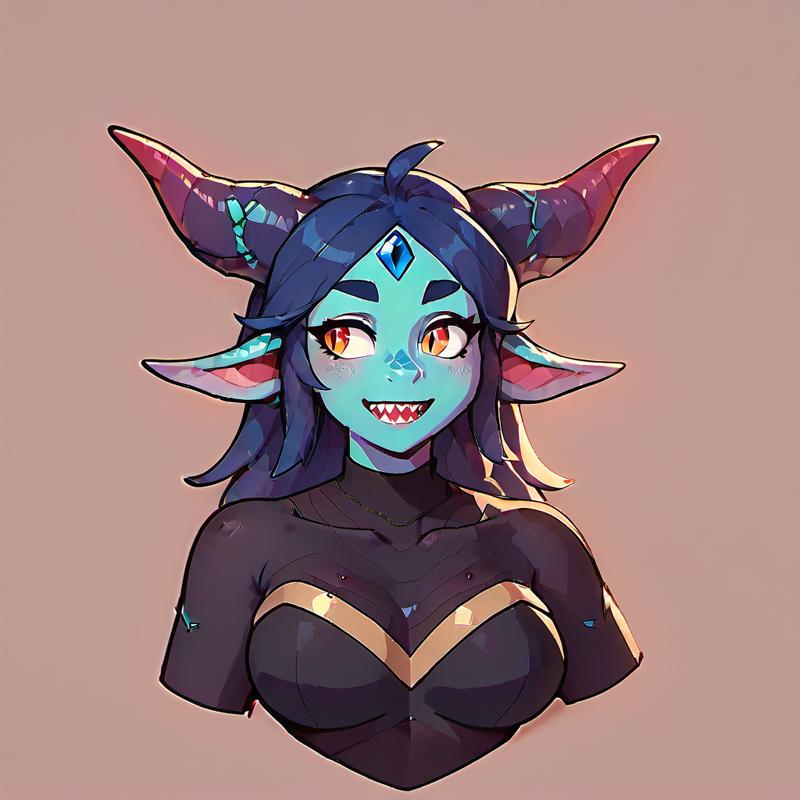
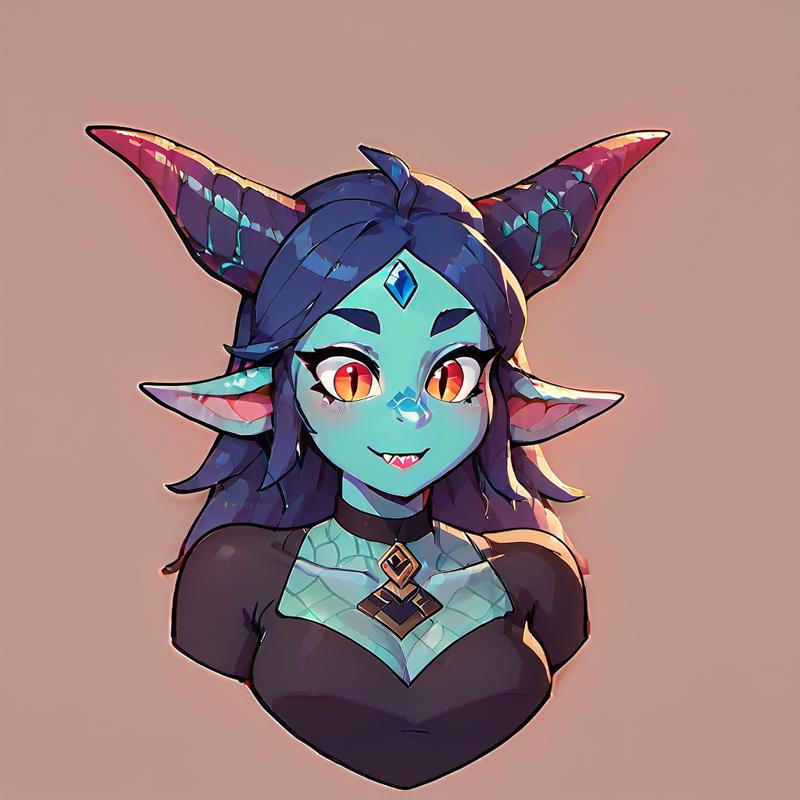
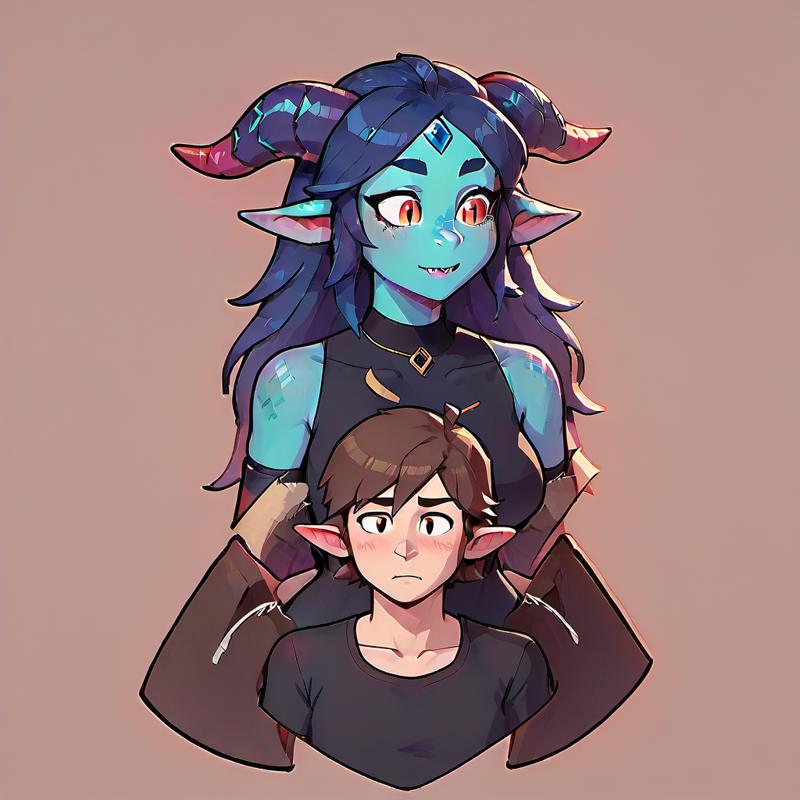
After a long run of relative stability, it starts to go in a new direction as the chunk gets close to being completely full, even adding new characters (or other elements) into a basically full chunk.
I have no idea what causes this, especially now that my experiments suggest that caption weight doesn't consistently vary with position. More research is needed here.
Regardless, what matters is that you can keep adding existing captions to strengthen that specific caption slightly with little risk to the overall composition until you reach absurd numbers of repeats and/or extreme token positions, and even then the results should be reasonable.
Repeats vs Attention Weights
Of course, the main downside to repeats is that they use a lot of tokens, especially if the caption is token-expensive in the first place. This is highly desirable when your objective is padding out your prompt, such as when you want to fill up an entire chunk.
However, if you're looking for something more compact, each token has an "attention" weight which by default is 1.0 (100%). This increases the "strength" of the caption in relation to other captions, but outside of specially trained sliders this is usually pretty limited as it is common for things to start to break down by 1.5 (150%), though this is just a rule of thumb.
Most of my experimental results here were unsettling, but "dragon woman" was starting to get melty by a weight of 2.0 and was totally incoherent by 3.0, in stark contrast to 25 repeats being just fine. Longer prompts were seemingly able to absorb more weight, but they were still melting down pretty bad by 3.0. Even a single very high weight instance of the caption can melt down the entire generation. Figuring out the precise interactions between repeats and attention weights is an interesting area of study.
Despite this limitation, attention weights definitely have their value. They're usually pretty safe to use a weight below 1.5 (including below 1.0 or even negative, though be aware that sub-1.0 weights can readily cause instability). Some special captions are designed to use very high weights and will work across absurdly large ranges. They're much more compact than repeats and they can have very interesting effects. Lastly, weights can be changed over different steps of a generation and this is a very powerful technique.
As a recommendation, since repeats are much safer to use if you have the token budget (or are willing to use more chunks), if you want to strengthen a particular caption then you should start by adding repeats of the caption before playing around with the weights.
Caption Ordering Part 2: Note On Ordering Weight
For most of the writing of this article I thought that the start and end of the prompt have higher weight than the center. However, when I did rigorous experiments to demonstrate this I really wasn't getting consistent results, so I had to scrap the original section of the article and write this version.
If there are strength differences due to captioning ordering, it's at both ends and not just the beginning (though whether the end is the prompt end or chunk end is unclear). This is plausible since this "lost in the middle" effect is well known in machine learning. However, there's a good chance this whole thing is just confirmation bias, so you should be skeptical of any cherry-picked example(s) that prove such an effect.
Instead what my initial experimental results showed was further evidence for the effects I already demonstrated earlier: re-arrangement usually doesn't matter but does cause subtle variations and that repeating the same caption has a slight strengthening effect.
Two other notable things I found examples of when high or low attention weights were used:
A re-arrangement can rarely cause large effects. The only examples I found were at the beginning and end, but my search was focused there so perhaps this can happen anywhere in the prompt.
A re-arrangement can rarely cause an otherwise working caption to run into an "island of instability" where everything melts down. This can usually be fixed by re-arranging captions or moving the attention weights towards 1.0.
More investigation is definitely needed.
Other Tests
There are plenty of other tests you could run during model evaluation to gain even deeper insight into a caption if desired. I would suggest trying these out and seeing what works well for you:
Instead of filling an entire chunk with just one caption, use a short prompt and then fill the rest with repeats of your caption
Use fewer repeats, this is especially valuable if the results of filling an entire chunk are just unintelligible noise, blobs, or other mess
Take a short or long caption, add your target caption once or twice to relate it to the main composition, and then fill ANOTHER chunk entirely with the target caption
Use prompt editing to limit your caption's influence to just the start or end steps of generation, doing just a few steps at the beginning of the generation is especially valuable if the caption makes interesting compositions but then ruins the quality of the final results, while the end is better for adding the touch of an effect without changing the composition
Bringing it All Together
Once you understand what each caption is doing, you can then use them much more effectively. I recommend deeply exploring your favorite base model to understand what's going on with the available captions.
It's good to focus on captions (or caption patterns, like "holding X") you plan on using heavily, which makes it easier to informally evaluate new captions on the fly.
There are commonalities between different models, in particular most LoRAs applied to a base model will work almost entirely like the base model except in cases of captions where the LoRA received specific training. At the end of the day though, you can only guess what the results will be until you experiment, so do experiments and get to know your models, including LoRAs.
Before I wrap up, here are a few more key details and some practical recommendations:
Negative Prompting
Negative prompting is very important for generating good results, but it's not magic either. You will need to create a good positive prompt for your negative prompt to be effective.
Negative prompting (essentially) works by, at each generation step, computing the changes that would be caused by the positive prompt alone and negative prompt alone, and then subtracting the negative prompt's changes from the positive prompt's changes.
This process can't guide your generation towards having (for instance) good hands, but it can eliminate unwanted elements or defects that the model does know how to produce if you provide a caption.
One of the main issues I see with negative prompts is that very low effectiveness captions are very commonly used, which then have very little impact. I spent some time exploring bad captions in Pony to come up with a generally more effective prompt. Here's an example you can copy:
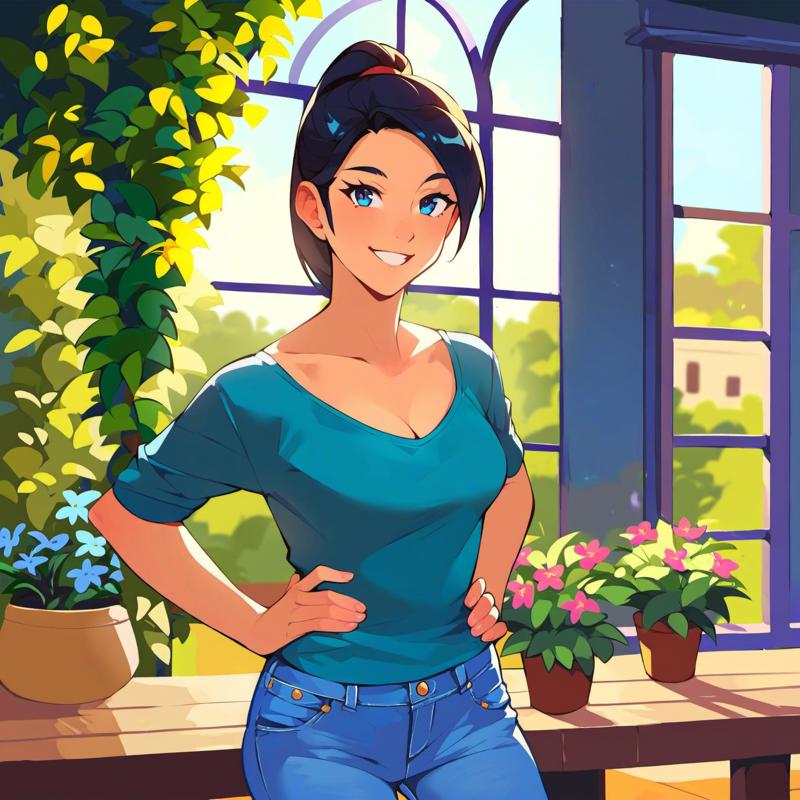
Most of the captions in this negative prompt are things that should be rarely if ever desired, but be sure to clear out anything you actually do want in your generation.
Of particular importance to consider excluding if you use this particular prompt is are the "unfinished sketch" and "monochrome" captions, which produce the vibrant colors of the examples I used negative prompts for. If you want more muted colors or sketches, then simply omit these two captions from the negative prompt.
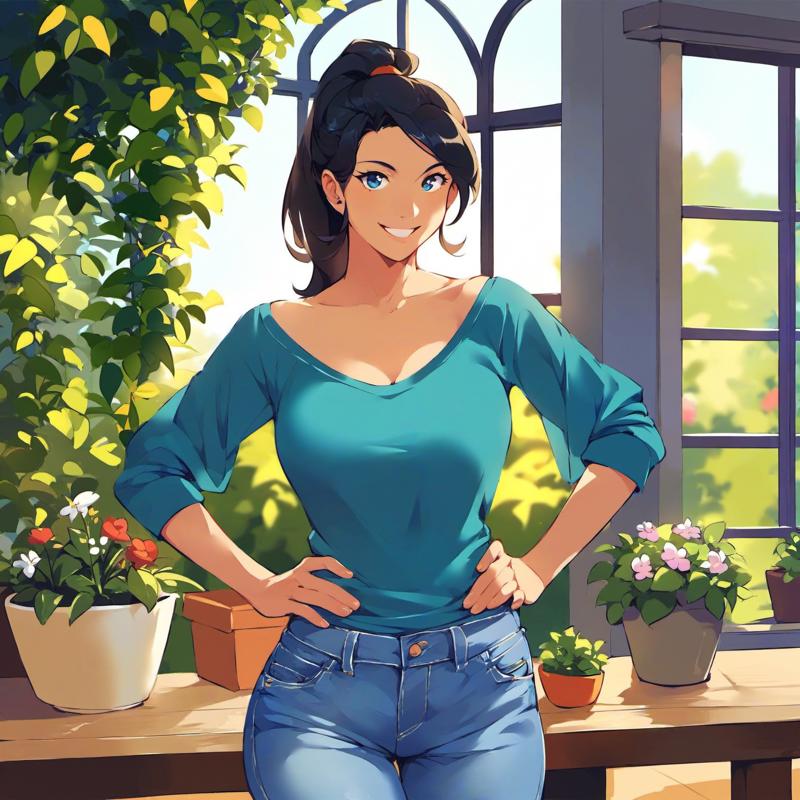
You should, of course, also add any specific elements you do not want appearing in your generation. even if they produce high quality results.
One more key detail is that, in Automatic1111 the LoRAs for positive and negative prompts are independent, so you have to include any LoRAs you want in the negative prompt.
One interesting option is to use LoRAs that produce deliberately BAD results in the negative prompt. These can lead to more effective negative prompts. Also note that you can use high weights, even if this would normally cause bad results, because bad results are kind of the point here.
That said, one problem with setting the terribleness of a negative prompt to maximum is that at some point it stops guiding the generation in any reasonable direction. If just producing blobs and artifacts, then sure it'll be good at removing those effects, but it won't be any good at fixing up finer details.
In particular I highly recommend including your positive LoRAs in the negative prompt. While this initially seems like it could lead to issues, as long as you are careful about which key captions you include from your positive prompt (usually none of them, but it depends on your needs) it usually reduces LoRA bias and does a better job guiding the generation in a better direction. You should definitely play around with it. Without the positive LoRAs it tends to reduce the base model's influence instead.
Positive Quality Prompting
Somewhat related to the topic of negative prompting is that there are really few "general" quality improvement captions. They are almost always are either weak or biased. I would generally recommend avoiding them. The most important caption you can include for quality is the overall style (including something like score_9).
Using More Chunks
I'll write an article about this topic, but you should definitely try using more than one chunk. Simply be careful about the chunk boundary, since it can split a caption haphazardly. I highly recommend using BREAK to organize chunks.
The most valuable things you can use multiple chunks for are either continually adding more and more new captions, or strengthening captions even further than you normally would.
Also keep in mind that the text encoder will only process relationships within a single chunk, so while I don't have all the details worked out here, my initial recommendation is to keep each chunk about a cohesive topic (ex. background and subject), and include a few key captions from other chunks to help establish relationships across chunks. At the end of the day though all the chunks will get added together. Definitely more research is needed here.
Practical Recommendations
Finally, to bring it all together, here's my practical recommendations on prompting:
You should know your models and available captions before you start prompting, experiment to find out what is really going on
Select your LoRAs first (and add them in any order, as order really does not matter), since this sets up the specific model
Add your key captions in any order (you might keep the most important ones near the start or end of a chunk, but as covered earlier I'm unsure if this is a real effect)
In particular, consider adding a style caption (or LoRA) and a main subject
Add your negative caption, you can start with a standard one and then tailor it to your needs
Remember to add any relevant LoRAs to your negative caption, since they are separate from the LoRAs of the positive caption
If desired, add more detailed captioning in any order
Repeat some key captions in any order, in particular two repeats will usually get you most of the benefits of caption repeats
If desired, fill out additional chunks
If desired, adjust the weights
After generation, play around with any initial results you like, rearranging, repeating, weighting, or adding captions can make interesting variations
Individual Topics - Prompting Techniques: Coming Soon
I originally intended for this to be one unified article, but the length is getting pretty absurd and I still have quite a bit of material left to cover.
More on effective negative prompting
Avoiding color/concept bleeding
Differing weights over generation steps
Differing LoRAs over generation steps
An overview of techniques you should use when you need more control
More about the influence of language (ex. how related words train together) and the influence of sub-parts of captions
More about caption modifiers and some highly general captions like "holding X" (and why they sometimes struggle)
More about context, short and long range
More about relationships and token correlations
Using multiple chunks
Exploring commonalities/compatibilities between models in more detail
Probably more stuff as I think about it
My plan is to write a bunch of smaller individual topic articles and link them here, that way I don't end up writing an article that has valuable information without being able to release it for ages while I work on later parts.
Addendum: Various Details
Here are a few details that didn't fit nicely elsewhere:
Whitespace (such as spaces) is not a token and instead it just serves as a boundary. Note that tokens may also have boundaries inside words, so it's not just whitespace that ends tokens.
Underscore is a token, so it is different from whitespace. Make sure to keep them straight if you're publishing a model. Using an underscore instead of a space when it's inappropriate works for the same reason that many spelling errors aren't immediately fatal, but the system will perform slightly better if you use the right tokens.
Note that you can create a LoRA from a full model or create the same kind of "model difference" patch to combine full models as well, so this combination aspect isn't specific to LoRA. LoRA more accurately refers to the method of compression that keeps LoRAs small, and the variations are different forms of model compression.
If you are a model trainer, please start using caption augmentation right away in your training process. I'm going to write a full article on it but it has the largest single impact of any training technique I've investigated. It's very simple to implement: you do not have to limit yourself to a single caption per single image, so simply include multiple copies of the same image with different captioning in your training data. I recommend including a "short" and "long" version of the same overall caption, with the short caption including only essential captions and the long caption including full details. This works for the same reasons as other forms of training augmentation.
Speaking of, you should also consider using resolution augmentation: same basic idea but you include multiple copies of the same image and captioning at different resolutions. It has a substantial impact on other resolutions and including high resolution data in particular may improve overall quality at the cost of more expensive training.
End Cap
Follow me on Civitai and AI Pub (Mastodon). I post new material to both locations from time to time, so if you're interested in seeing my progress on later articles or my artwork then definitely check it out.
I also plan on writing some articles on model training that will cover the other side of the coin.
Thank you for reading my article!


