*****************************************************************************
if you are already using webui forge just
git checkout latest
git pull
git checkout 3c4eb78 #check out latest stable comment from project as shown below
python launch.py
###################################################################
Installation Guide for stable-diffusion-webui-forge
This guide provides step-by-step instructions for installing and setting up the latest version of stable-diffusion-webui-forge.
Prerequisites
- Git
- Python 3.10 (tested)
- (Optional) Conda for environment management (better if u using multiple python versions)
Installation Steps from scratch
1. Clone the Repository
git clone https://github.com/lllyasviel/stable-diffusion-webui-forge
git checkout latest
git pull
2. Checkout the Latest Commit
https://github.com/lllyasviel/stable-diffusion-webui-forge
As of the latest update, use the following commit:

git checkout 3c4eb78*****uninstall xformers if u faces any error related to it
3. Download the Models
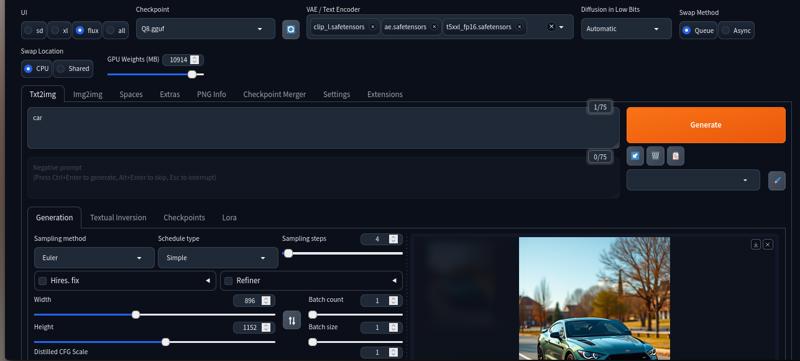
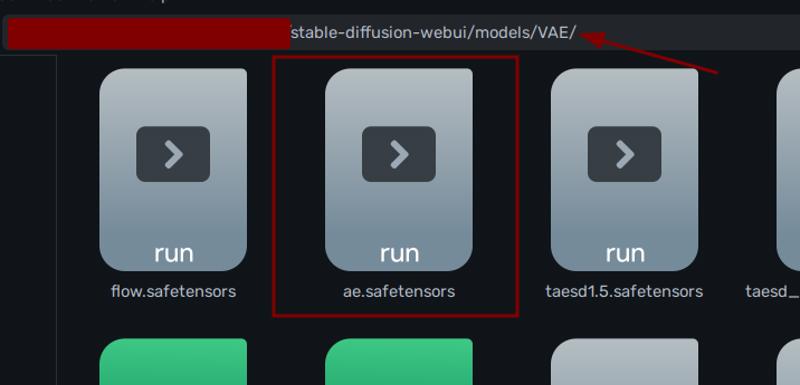
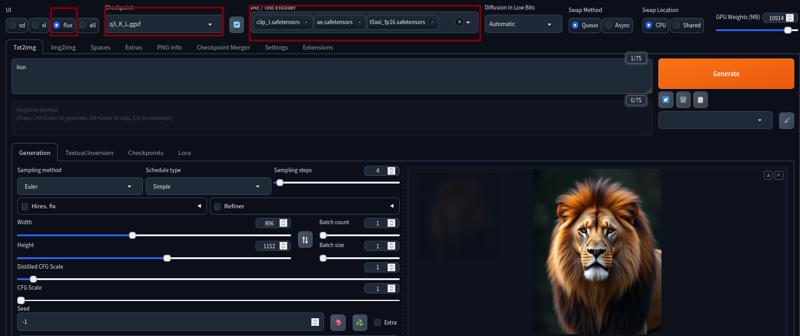
1(models)

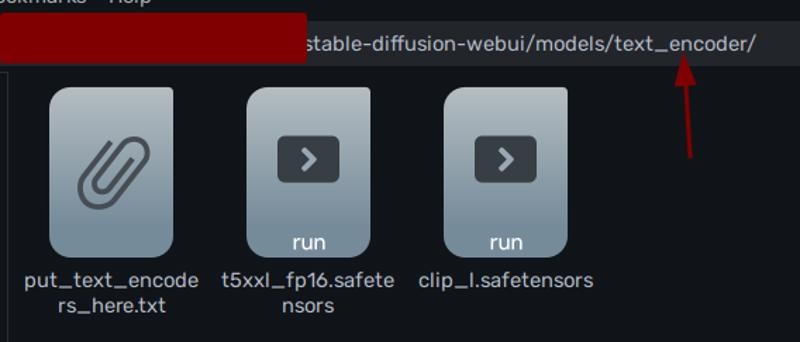
2 (clip+t5xx)

4. Set Up the Environment(use a or b)
Choose one of the following methods:
Option A: Python Virtual Environment
python -m venv .venvsource .venv/bin/activate# Note: Use .venv/bin/activate.fish or .venv/bin/activate.zsh for Fish or Zsh shells respectivelyOption B: Conda Environment (Recommended for flexibility)
First, install Conda following the official guide: [Conda Installation Guide](https://conda.io/projects/conda/en/latest/user-guide/install/index.html)
Then, create and activate a new environment:
conda create -n stableforge python=3.10 -yconda activate stableforge5. Initial Launch
After setting up your environment, run:
python launch.pyThis will install necessary libraries and dependencies. Wait for the WebUI window to appear.

time period on rtx 3060 12 g GPU
6. Subsequent Launches
For future runs of the same version, use:
python webui.py7. Updating
To update to a new version:
1. Activate your environment (if not already activated)
2. Checkout the new commit
3. Run the launch script again:
git checkout [new-commit-id]python launch.pyNote
~~~~ i'm comfyui user ~~~~
Always ensure you're in the correct environment before running any commands or updating the installation.


