Intro
Hey guys and gals I always get questions related to how to train lora's so I figured finally I should create an article walking through the process of it. Please note that in my eyes the process is really simple and I do really basic things with no real thought to them and probably won't be able to explain as well as I used to be able to.
Datasets
Majority of the time when training lora's the most important part of a lora is the dataset however there are some cases where the dataset does not really matter and there is not much you need to do with it but this case will assume you need to do things to the dataset.
Obtaining Datasets
What do I use for obtaining large quantities of images to build my datasets? I am sure some of you have noticed I always include the image quantity used in the lora's I release and some of them have really large quantities. I use imgbrd-grabber or grabber.exe https://github.com/Bionus/imgbrd-grabber
This thing in has saved me countless hours of work by enabling the scraping of images from gelbooru with the tags included as .txt files. Make sure to have these settings.
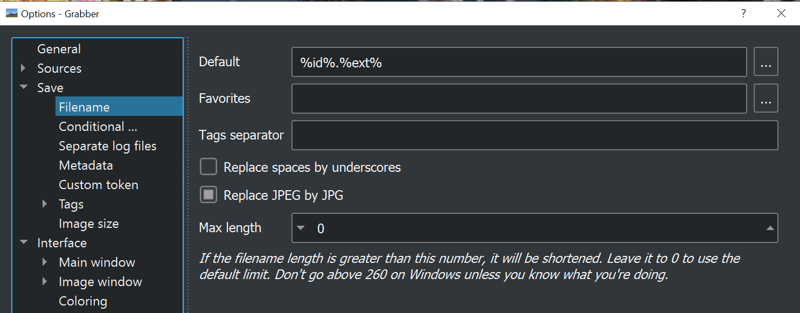
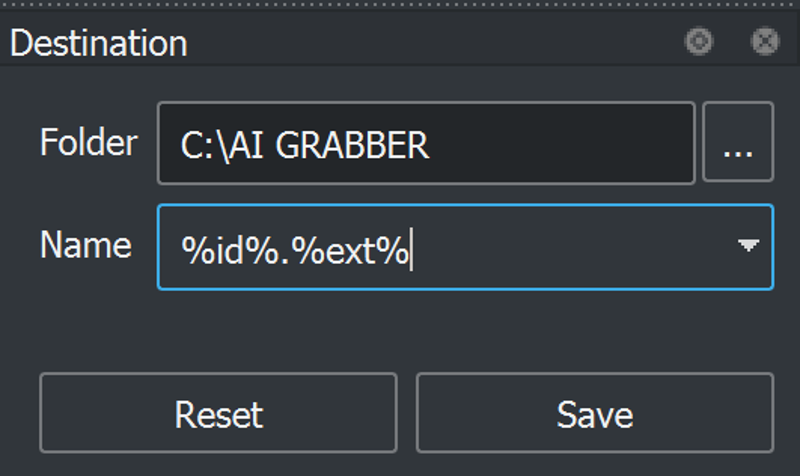
The folder is the spot that all of the images go to it can be any folder name you want.
There also is another folder called text output that stores all the .txt files that are named the same as the images and stores their tags which are needed for training.
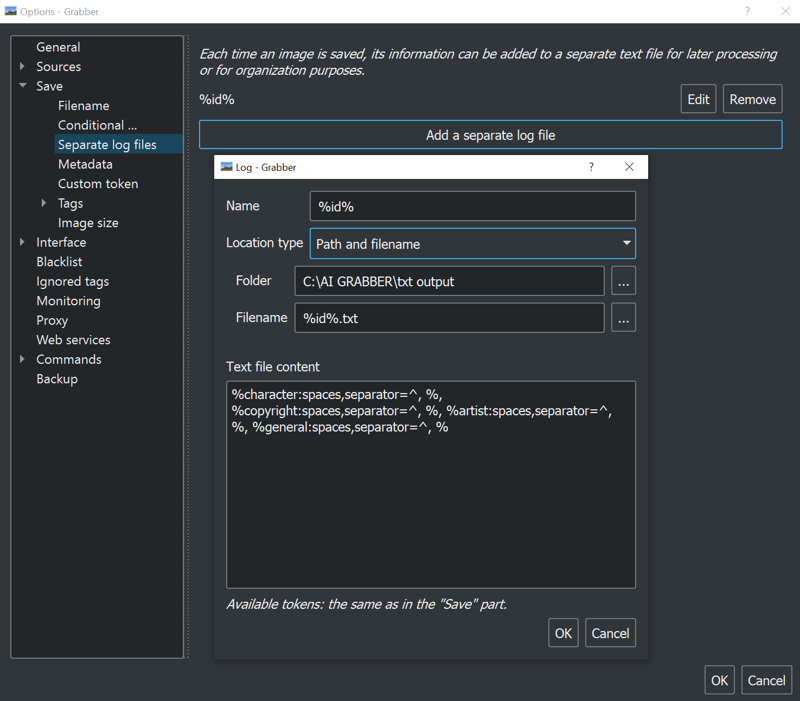
Also don't forget to go to sources and select the source you want. Some sources require credentials so please be aware of that.

When searching for images make sure to have these negatives

-animated -3d_(artwork) -webm -gif -video -real_life -6+girls -comic -sketch -english_text -japanese_text -text -speech_bubble -photo_(medium)
These negatives are what I have found to have negative effects on training or are not useful for training. real_life / photo_(medium) negatives are there because I don't do realistic lora's and can be removed if that's what you are aiming to make.
When you are done selecting what you want or just get all of them you can go to the downloads tab and start the download.
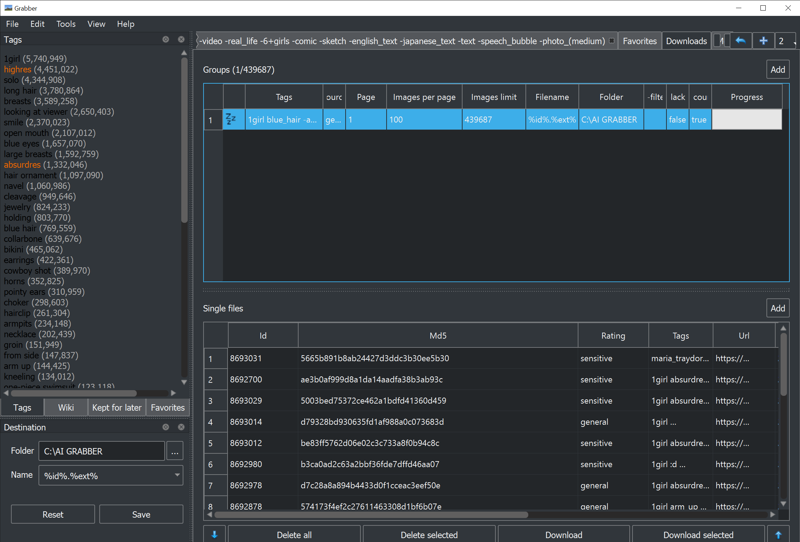
When the download is done it may prompt an error to redownload missed files I would just press no. The app plays a noise when all the downloads are done which is useful for multitasking so you don't have to stare at it until it finishes.
Pruning Dataset Images
Please note that for large data sets those with multiple thousands of images don't necessarily need images pruned.
Ok so you've made it this far by now you have a folder of 1: Images 2: Text files now what?
So first off what I do is I combine both of these folders so that the images and text files are mixed in with each other. This makes it easier to delete both the image and the correlating text file at the same time.
With how many lora's I've released and if you are an avid user of them by now you probably have noticed my usage of prompts to call outfits such as harunadef, harunakim, harunagym, harunaswim, harunarnd, . The questions "What do these do?" and "What do these mean?" will be answered partly in this section and partly in the Pruning Dataset Tags section. First off "What do these mean?" these prompts are indeed the outfits of the character.
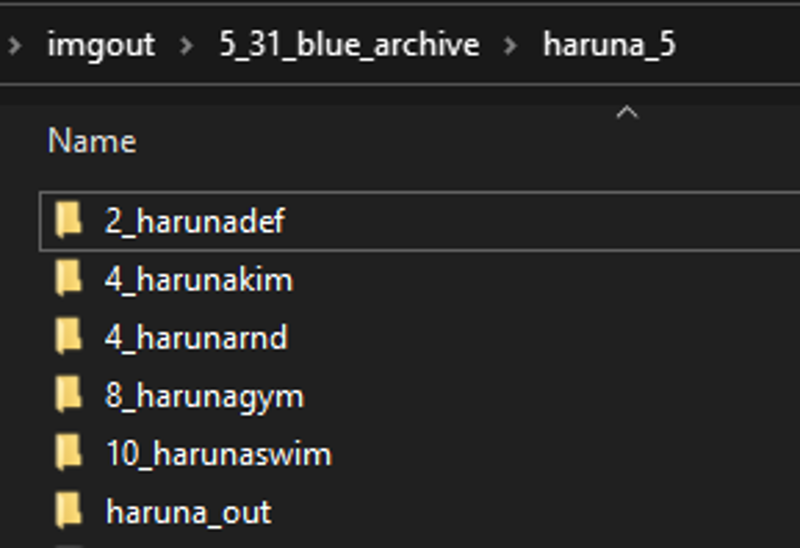
What I do is make a new folder for every major outfit a character has and give it a custom name in the majority of the cases I use the characters name+outfit abbreviation. This allows me to quickly recognize what images need to be in these folders and later in the Pruning Dataset Tags section apply the name as a prompt to the images .txt files en masse.
So after I have made a folder for each outfit that I see has enough images to be possible to train into the lora I then meticulously go through the main folder of images taking both the image and txt file of that outfit and putting it in the corresponding folder.
What is the rnd folder?
The rnd folder is the initial large dataset that remains after sorting all miscellaneous images are left in here for flexibility.
During this sorting process I delete bad images from the data sets. These are not limited but include: ugly art (art you don't think represents what you are training), sketches (not really useful due to lack of color but can be left alone if your dataset is on the larger side), images with large numbers of people, confusing images (If you are confused what the image is or it looks messy the AI is probably gonna be confused too).
Pruning Dataset Tags
Congrats you now have at least 2 folders rnd and def of your character now is the time to prune tags. First you will want this SD extension installed https://github.com/toshiaki1729/stable-diffusion-webui-dataset-tag-editor
This is by far the best dataset tag editor out there.

Make sure to untick this box.

Paste in the location of the image folder 1 at a time follow next steps and repeat for the other folder.
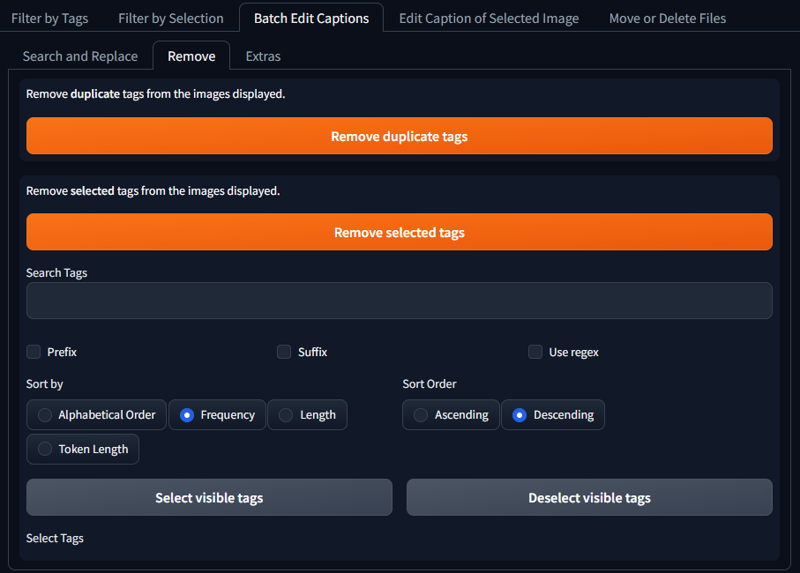
Now go to batch edit captions / remove select frequency and descending such that the most common tags appear first.
What do I prune?
Well first off you have your default / rnd / extra outfits folders.
default and extra outfits can apply the same rules while rnd has slightly different rules.
For default / extra outfits you want to prune out these tags: outfit/clothes tags, hair color, eye color.
For rnd you want to prune out: hair color and eye color.
Pretty simple. Just don't prune poses / nudity / breast size.

remove selected tags

save all changes
Adding Prompt Trigger
Now that all the tags per outfit are pruned you will want to add in the prompt that triggers that outfit which we discussed earlier when we organized the images into folders.
What do I use to do this?
I use a custom python script to prepend the prompt trigger to all the .txt files in a folder all at once.
import os
FOLDER = "C:/Users/Neb/img-folder/4_flood"
KEYWORD = "flood"
txt_files = [f for f in os.listdir(FOLDER) if f.endswith(".txt")]
for txt in txt_files:
    with open(os.path.join(FOLDER, txt), 'r', encoding='utf-8') as f:
        tags = [s.strip() for s in f.read().split(",")]
    tags.insert(0, KEYWORD)
    with open(os.path.join(FOLDER, txt), 'w', encoding='utf-8') as f:
        f.write(", ".join(tags))
    print("Done: " + txt)
In this case this was my flood lora I have my path pointing to my flood dataset folder the keyword "flood" is the prompt trigger being applied.
You open a cmd window and run python nameofyourscript.py and it will run the code above.
Training
Writing this now and scrolling up it makes me realize how much work can go into every lora I make before I even get to training the thing...
So now you have multiple folders with your dataset with pruned .txt files where within every .txt file you have the new prompt trigger word and now you are ready to start training.
But first we need to talking about image repeats.
By now you have probably asked but Numeratic what are those numbers attached to the front of the folder names...
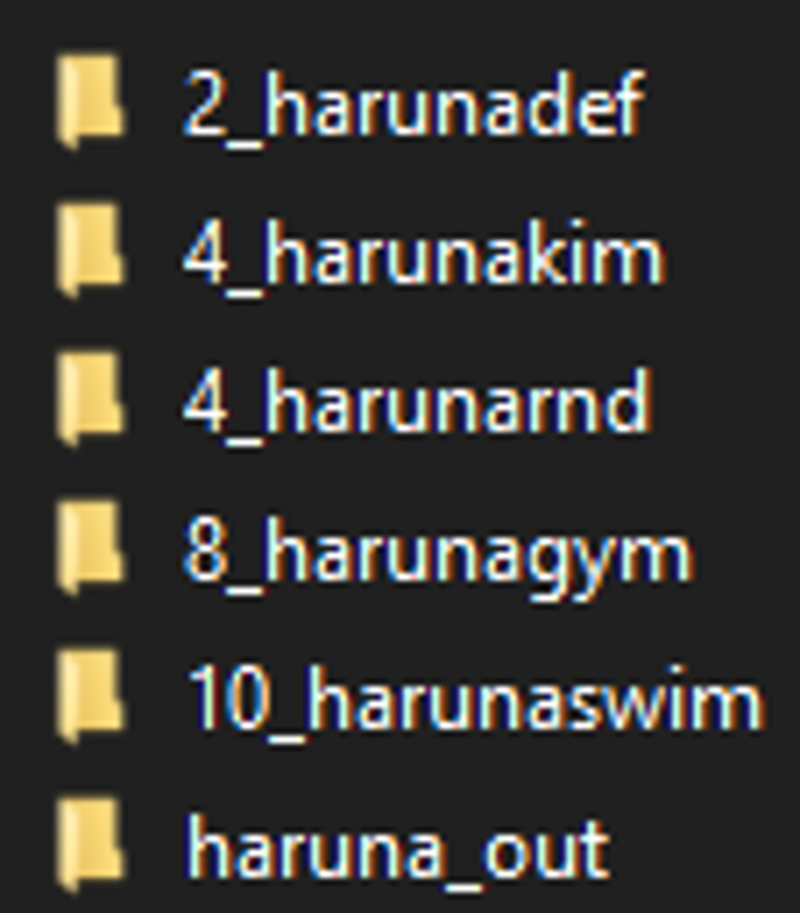
Those are the number of times the images in that folder repeat during training.
How do you find the right number to put there?
Well when figuring this number out I always aim for 400 images in a folder if its near to that number its fine you don't necessarily have to beat it to reach it.
In this case there are
150 images in def / 108 in kim / 98 in rnd / 50 in gym / 31 in swim
That calculates out to 300 / 432 / 408 / 400 / 310 images per folder
Make sure to create a folder with a name_out such that it stores the output epochs.
Big shoutout to Derrian and his lora training scripts
I use v6 of his easy training scripts although he does have a new one that I haven't touched yet.
https://github.com/derrian-distro/LoRA_Easy_Training_Scripts
You should use his latest one ^ because his old one is outdated and this new one has a fresh UI to it.

First thing you'll see is this...
I press no but occasionally I'll say yes if I'm being productive and train in bulk.
So first up click no.

I click no again unless I saved one and am redoing training

I normally click no because trainings don't fail too often but you can save it if you want.

Path find to your Novel AI model or the model you intend to train on I always just do NAI.
Select the folder that contains the image folders

Select the name_out folder we made earlier

Put yes and name it what you want probably the character name

Optional I put no.

Put no unless you are

No unless you are

Put no (Idk what it means tbh)

Select AdamW8bit default
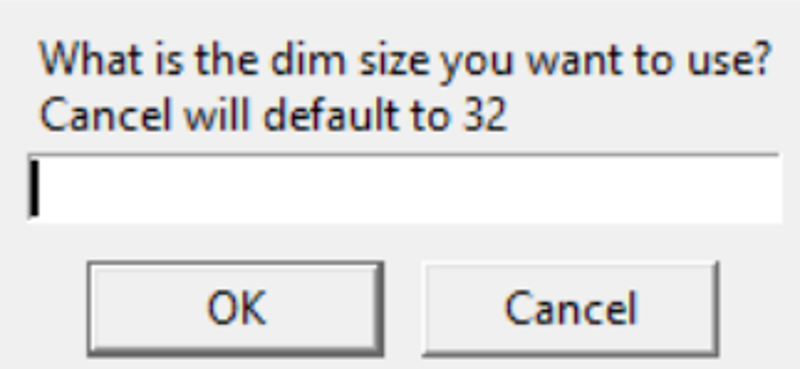
The big question what is dim size what is the best dim size etc? Should I use dim 128?
No you should not use dim 128 whoever says that does not know what they are doing...
Dims are layers that basically store the information of the character I guess.
So what I do is put 32 in this field because it basically just covers most of what we need. You can always resize a lora later anyways
The lower dim the less detail the higher dim the more detail too much dim and it'll learn stuff you don't want / need.
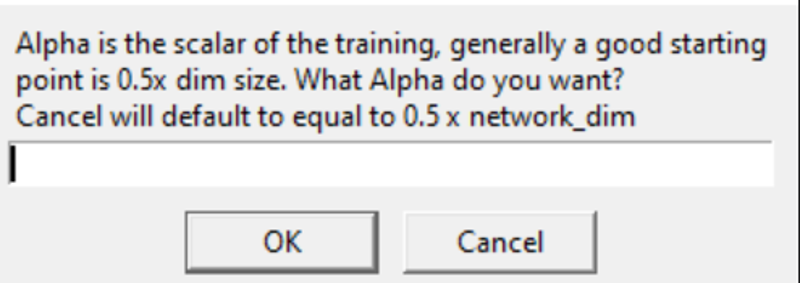
Cancel

Lora

Press cancel unless you know what you are doing
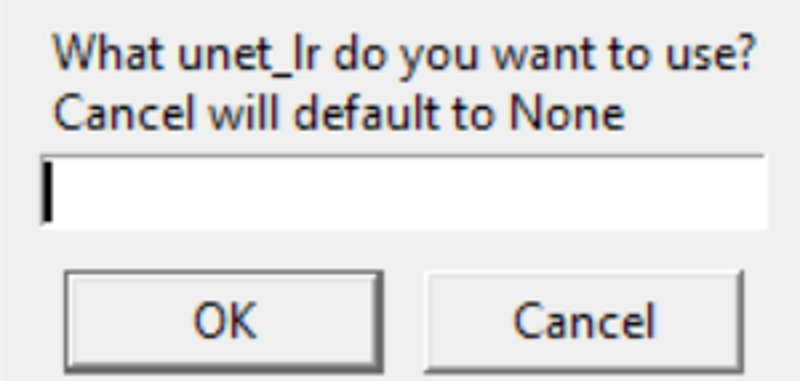
Cancel
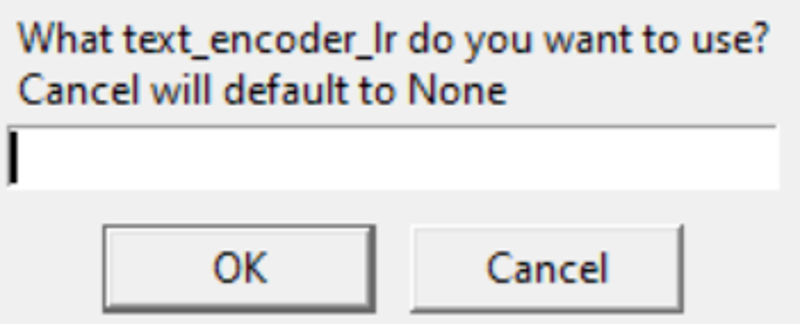
Cancel
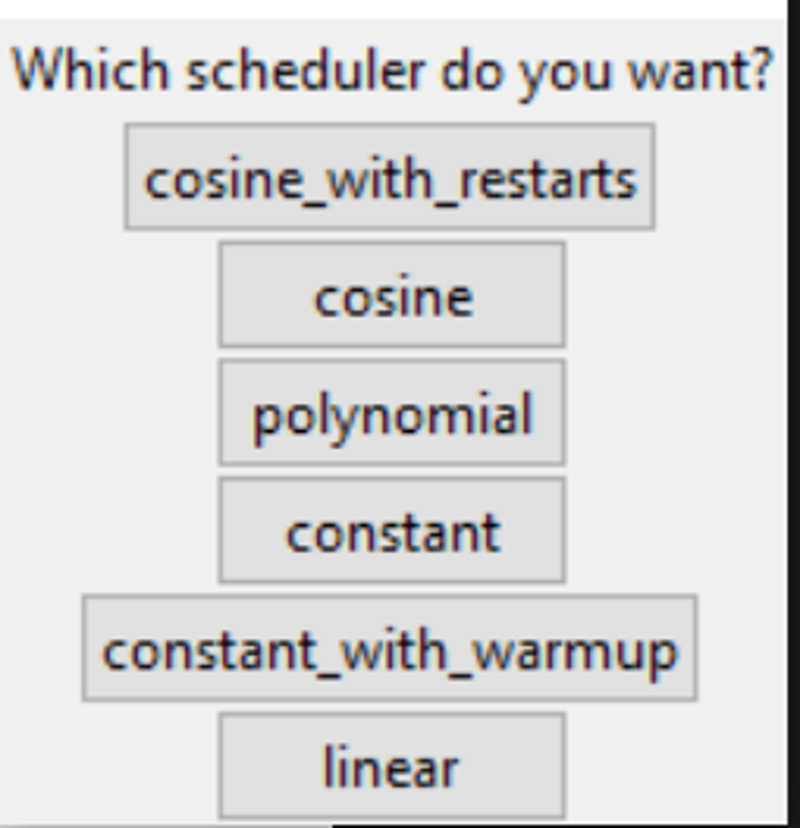
Cosine with restarts (honestly can probably just do cosine)

I put cancel on this so it basically does nothing lol so that's why I said you can probably just do cosine above.

Cancel unless you know what you are doing ie 768x768 training etc.

Same as above

I have a 3070 ti 8gb so I put 2 in this field if you have less vram just press cancel or put more if you have more vram.
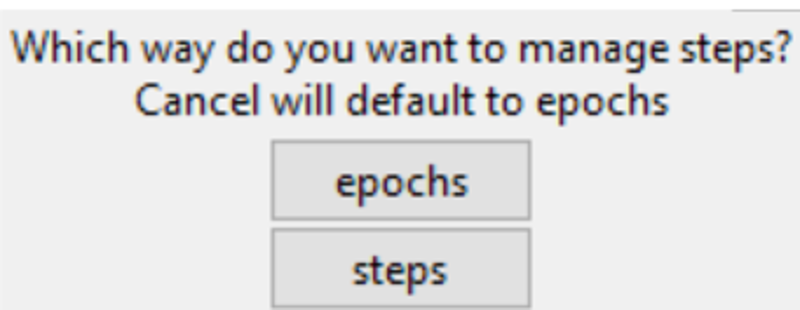
I click epochs
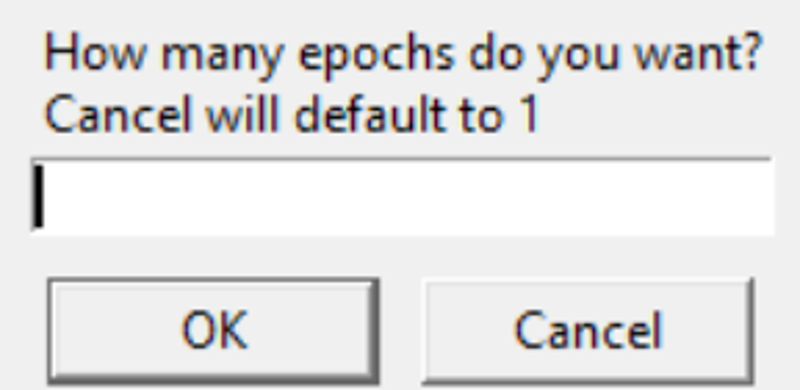
I put 10

Yes you want to save what you train

Cancel

No

No unless you know what this does.

If you put yes to shuffle put yes if not then no
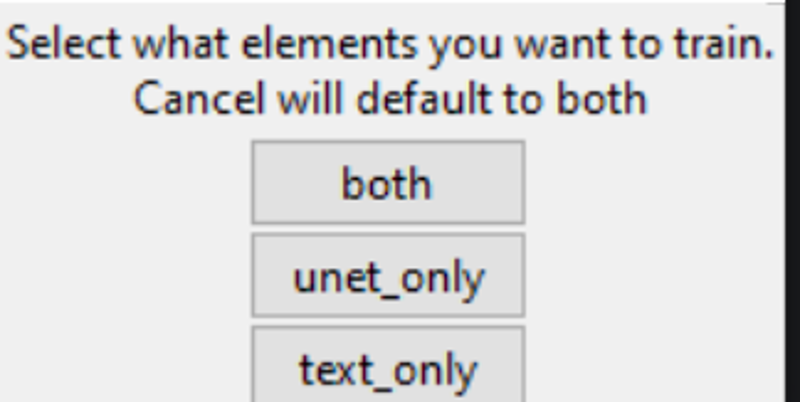
Both

Put no unless you know what you are doing.

No unless you feel like it

No
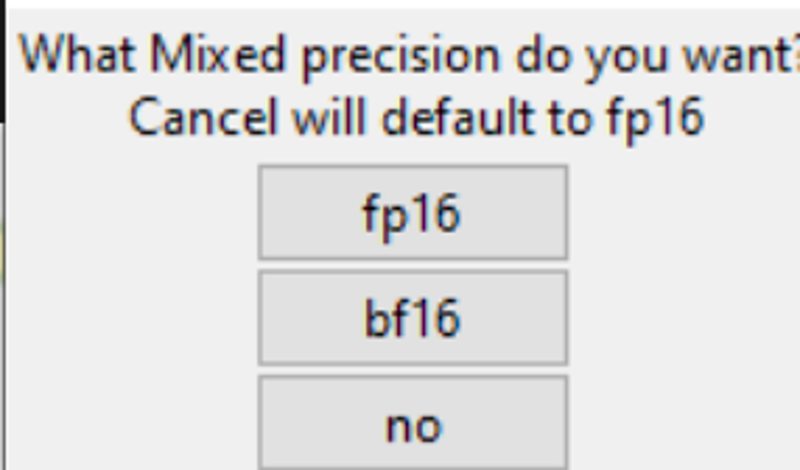
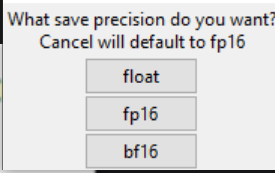
fp16 for both

Cache latents

No
Now the training should run.
Afterwards you should find the epochs in the output folder
You then compare the epochs in a grid and find the best epoch by looking at the images it generates. Avg epoch is 3-10.
If you like this guide and feel like supporting me and my work you can support me here and buy me a drink.


