This guide is designed to help you run Flux on a lower-end machine using ComfyUI, with simple and straightforward steps.
Prerequisites:
Install ComfyUI:
ComfyUI GitHub RepositoryInstall ComfyUI Manager:
ComfyUI Manager GitHub Repository
Workflow and Custom Nodes:
1. Download the GGUF Flux Workflow:
We'll be using GGUF Flux models for their efficiency and quality. You can download a simple, ready-to-use workflow here: Super Simple GGUF Quantized Flux LoRA Workflow
Download, unzip, and load the workflow into ComfyUI.
2. Install Custom Nodes:
The most crucial node is the GGUF model loader.
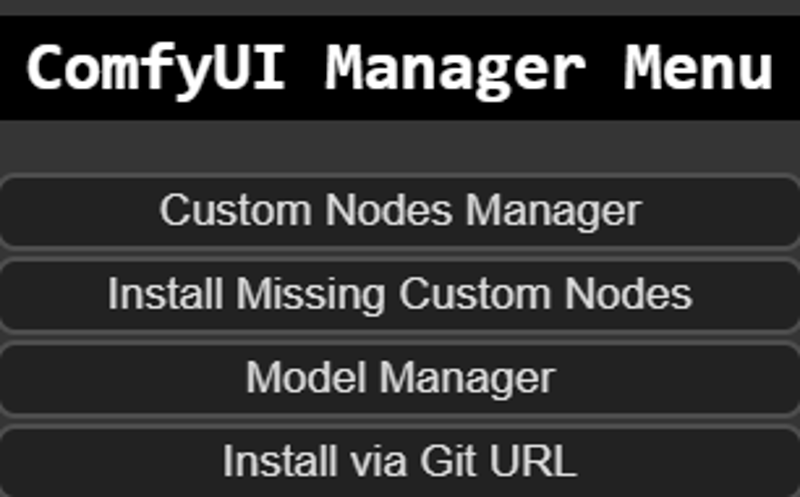
Open ComfyUI, click on "Manager" from the menu, then select "Install Missing Custom Nodes." ComfyUI will automatically detect and prompt you to install any missing nodes. Just click install.

3. Manually Install GGUF Model Loader (if needed):
If you don’t see the GGUF model loader in the list, install it manually via the URL:
GGUF Model Loader
Getting the Models:
1. Required Models:
Download the following models and place them in the corresponding model folder in ComfyUI. If you're new to ComfyUI, use the "Model Manager" under the "Manager" menu to search and install these automatically:
ae.safetensors- Black Forest Labs HF RepositoryClip_l.safetensors- Comfyanonymous HF Repositoryt5xxl_fp8_e4m3fn.safetensors- Search for "t5xxl_fp8" in the Model Manager if the full name doesn’t appear.
Comfyanonymous HF Repository
2. Download Flux Models:
Flux Dev: Flux Dev GGUF
Flux Schnell: Flux Schnell GGUF
3. Choose the Right Model Based on Your VRAM:
8GB VRAM: Download the Q4 model version and place it in
ComfyUI\models\unetfolder.6GB VRAM: Download the Q2 or Q3 model version.
You can also search for GGUF Q4/Q3/Q2 models on CivitAI. However, the models linked above are highly recommended.
Final Steps:
Once everything is set up, enter your prompt in ComfyUI and hit "Queue Prompt." You're ready to run Flux on your machine!
On my Laptop RTX 3070m 8GB it takes ~10 seconds per step.
And the quiality is this:


