


English Version
Introduction
This workflow is designed to simplify the process of downloading and importing AI models directly from Civitai using URLs. By leveraging an integrated system of custom nodes, users can effortlessly pull models from Civitai and seamlessly integrate them into their projects. This workflow is particularly beneficial for those who frequently work with models and want to avoid the hassle of manual downloading, verification, and importing. With automatic preview generation and a streamlined setup, this workflow significantly enhances efficiency and user experience.
Required Nodes
was-node-suite-comfyui: Provides essential utilities and nodes for general operations.
ComfyUI_Comfyroll_CustomNodes: Adds custom functionalities tailored to specific tasks within ComfyUI.
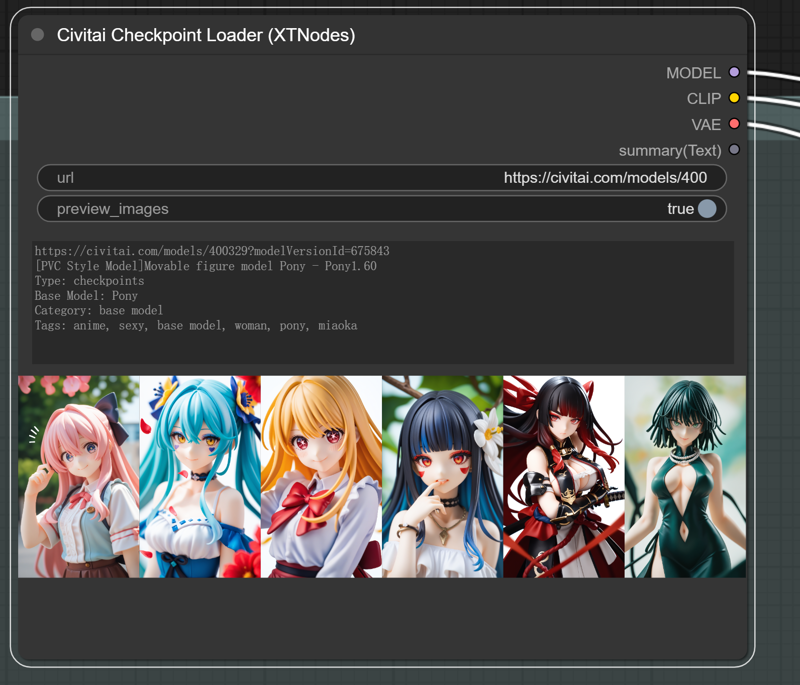
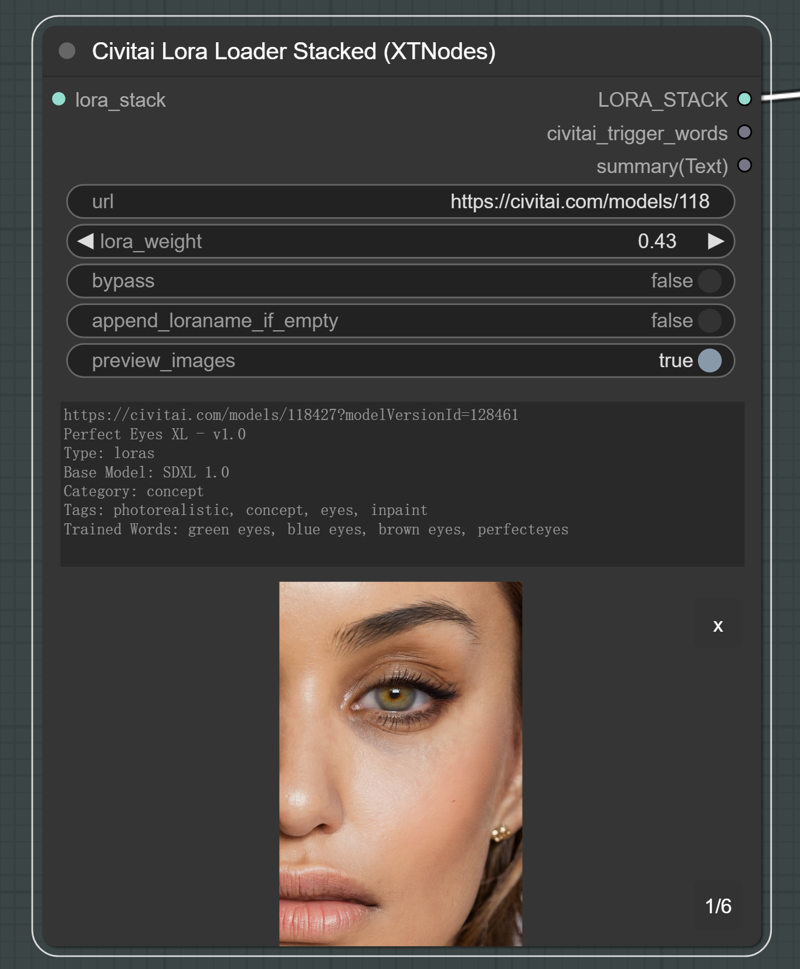
ComfyUI-EasyCivitai-XTNodes: The core node suite that enables direct interaction with Civitai, including downloading and importing models via URLs.
ComfyUI-Easy-Use: Simplifies the overall workflow by providing user-friendly interfaces and tools for easier management and manipulation of models.
How to Use
Setup: Ensure that all required nodes are installed (see installation instructions below).
Configure: Open the workflow and input the desired Civitai model URL(s) in the appropriate node(s).
Run: Execute the workflow. The system will automatically download the specified models from Civitai, generate previews, and integrate them into your project environment.
Verify: Review the generated previews and loaded models to ensure accuracy and correctness.
This workflow is ideal for users who want a hassle-free method to quickly integrate Civitai models into their work without manually handling each step.
Installation Instructions for ComfyUI-EasyCivitai-XTNodes
Method A: Install via Civitai Manager
Open Civitai Manager.
Install via the git URL:
https://github.com/X-T-E-R/ComfyUI-EasyCivitai-XTNodes.
Method B: Manual Installation
Clone the repository:
git clone https://github.com/X-T-E-R/ComfyUI-EasyCivitai-XTNodesInstall the required dependencies:
pip install -r requirements.txtAfter installation, configure the system by modifying the following configuration files:
settings.toml: Contains general settings for the application..secrets.toml: Initially provided as.secrets.toml.example, needs to be copied and renamed to.secrets.toml.
Note: An API token is required to download some NSFW models from Civitai.
Screenshot
中文版本
介绍
此工作流旨在简化从Civitai直接通过URL下载并导入AI模型的过程。通过整合一系列自定义节点,用户可以轻松地从Civitai获取模型并无缝地将其集成到项目中。此工作流尤其适合那些经常使用模型且希望避免手动下载、验证和导入繁琐过程的用户。借助自动预览生成和简化的设置,此工作流大大提高了工作效率和用户体验。
所需节点
was-node-suite-comfyui:提供基本的工具和节点,用于一般操作。
ComfyUI_Comfyroll_CustomNodes:添加了针对特定任务的自定义功能。
ComfyUI-EasyCivitai-XTNodes:核心节点套件,使得与Civitai的直接交互成为可能,包括通过URL下载和导入模型。
ComfyUI-Easy-Use:通过提供用户友好的界面和工具,简化整体工作流程,便于管理和操作模型。
如何使用
设置:确保所有所需节点均已安装(请参阅下文中的安装说明)。
配置:打开工作流,并在相应节点中输入所需的Civitai模型URL。
运行:执行工作流,系统将自动从Civitai下载指定的模型,生成预览,并将其集成到您的项目环境中。
验证:查看生成的预览和加载的模型,以确保其准确性和正确性。
此工作流非常适合那些希望快速将Civitai模型集成到工作中的用户,无需手动处理每个步骤。
ComfyUI-EasyCivitai-XTNodes安装说明
方法A:通过Civitai Manager安装
打开Civitai Manager。
通过git URL安装:
https://github.com/X-T-E-R/ComfyUI-EasyCivitai-XTNodes。
方法B:手动安装
克隆代码库:
git clone https://github.com/X-T-E-R/ComfyUI-EasyCivitai-XTNodes安装所需依赖:
pip install -r requirements.txt安装完成后,通过修改以下配置文件来配置系统:
settings.toml:包含应用程序的一般设置。.secrets.toml:最初作为.secrets.toml.example提供,需要复制并重命名为.secrets.toml。
注意:某些NSFW模型的下载需要API令牌。