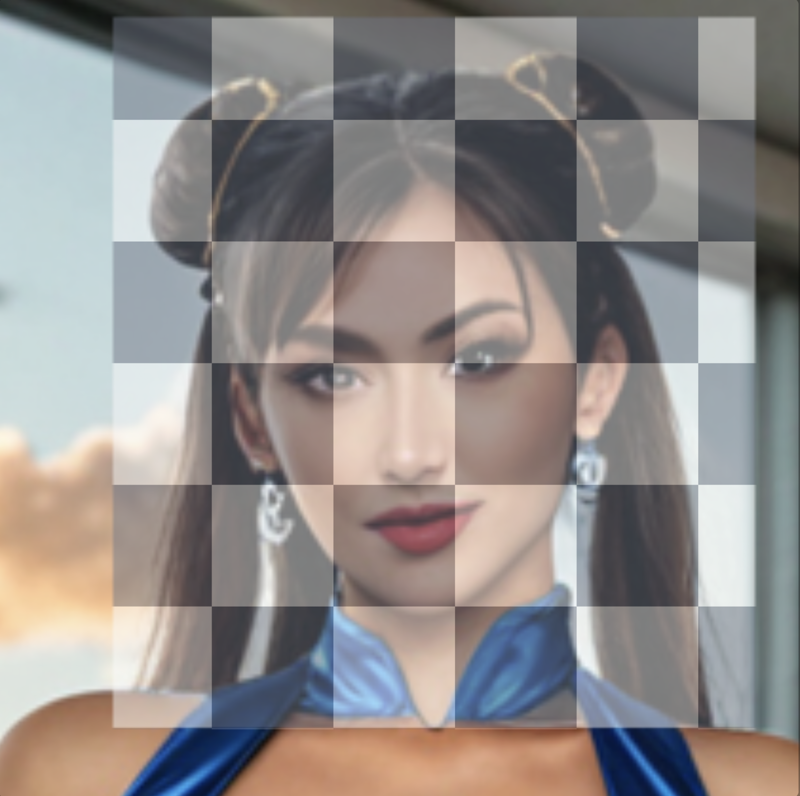
I would recommend using face image-to-image from 40% to 60%. It's not really visible in the example images below but going above 60% can cause issues in the overall coherence and blending of the image.
It's generally not worth going above 40% denoise if your final image is being output at around 1024x1024 or 832x1216 resolution. The extra detail gained from a high denoise setting will mostly be lost to blur when the mixed pixel density image is downscaled. This is why you'll notice a significant difference in detail for the first set of images, but not the second. The difference between 40% and 60% denoise is much more pronounced in mixed pixel density images. I would have uploaded the 4983x4983 mixed pixel density images, but at 25MB per image, they exceed the 5MB per image limit.
Settings for initial image and face image-to-image.
Model: Real Dream 11 Lightning (8-bit)
Image size: 1024x1024
Steps: 12
Guidance: 2
Sampler: DPM++ 2M Trailing (Trailing = SGM Uniform)
Mask Blur: 15
10% strength is the same as 0.1 denoise.
Image mask
0%

10%

20%

30%

40%

45%

50%

55%

60%

65%

70%

75%

80%

85%

---
0% full

10% full

20% full

30% full

40% full

45% full

50% full

55% full

60% full
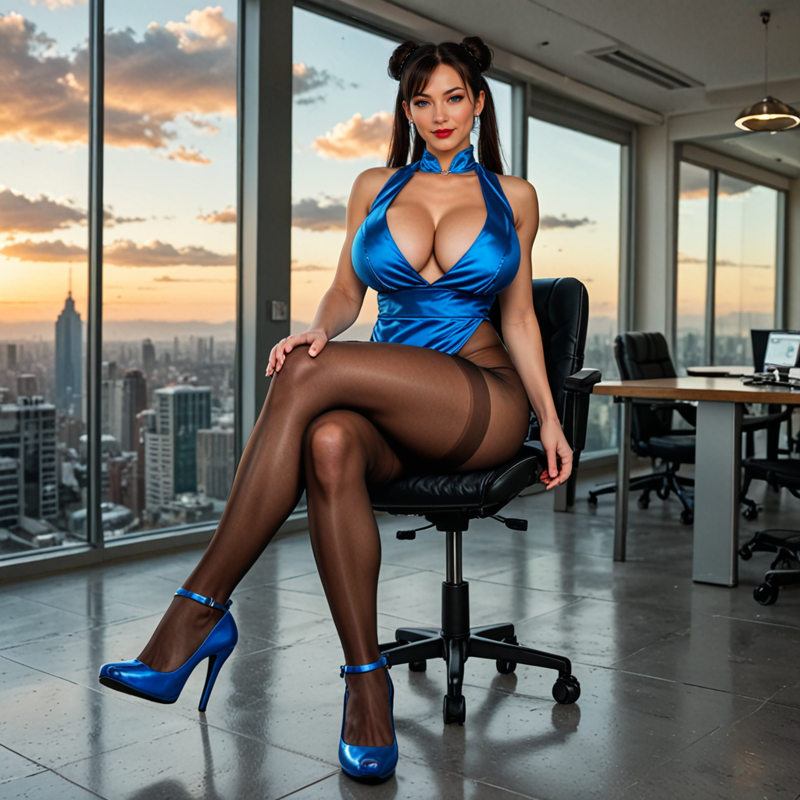
65% full
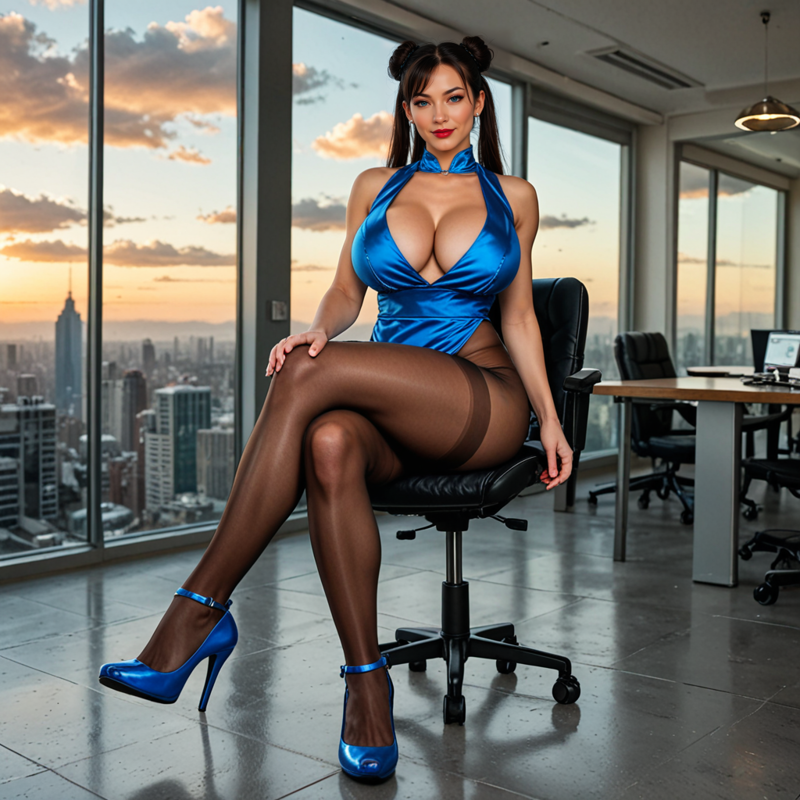
70% full
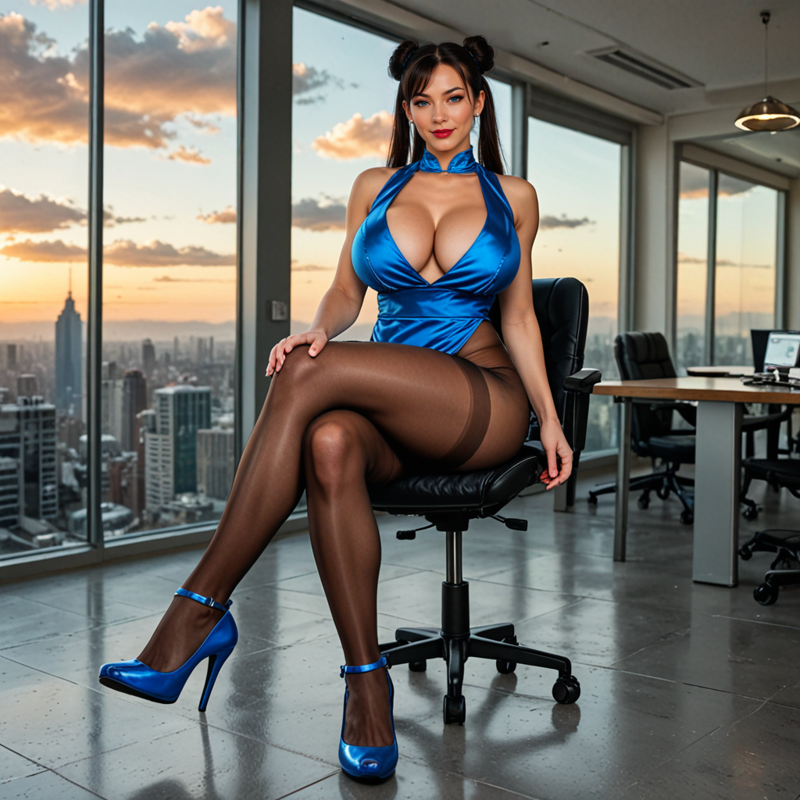
75% full
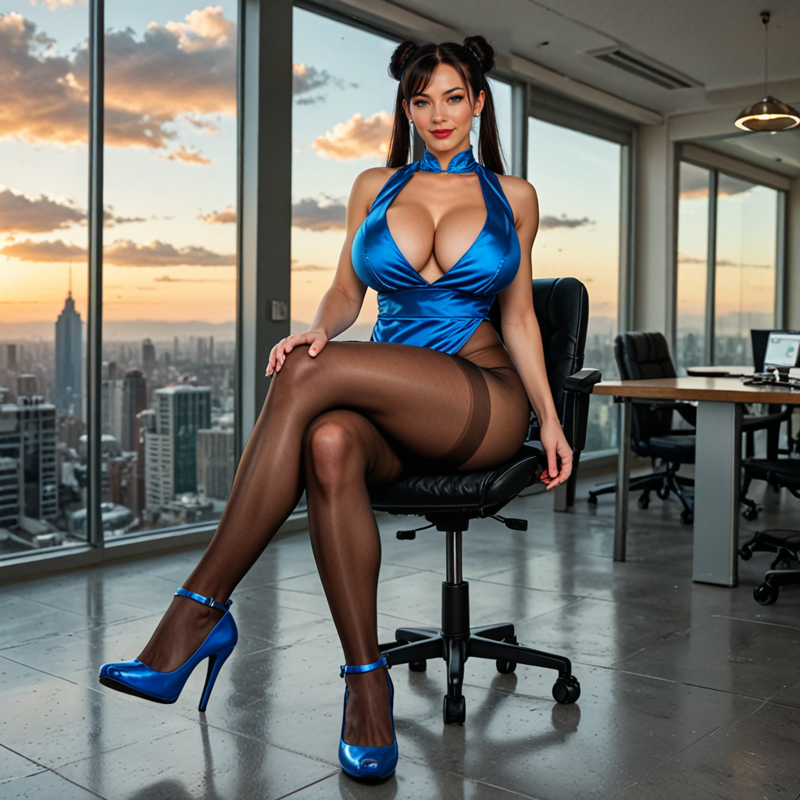
80% full
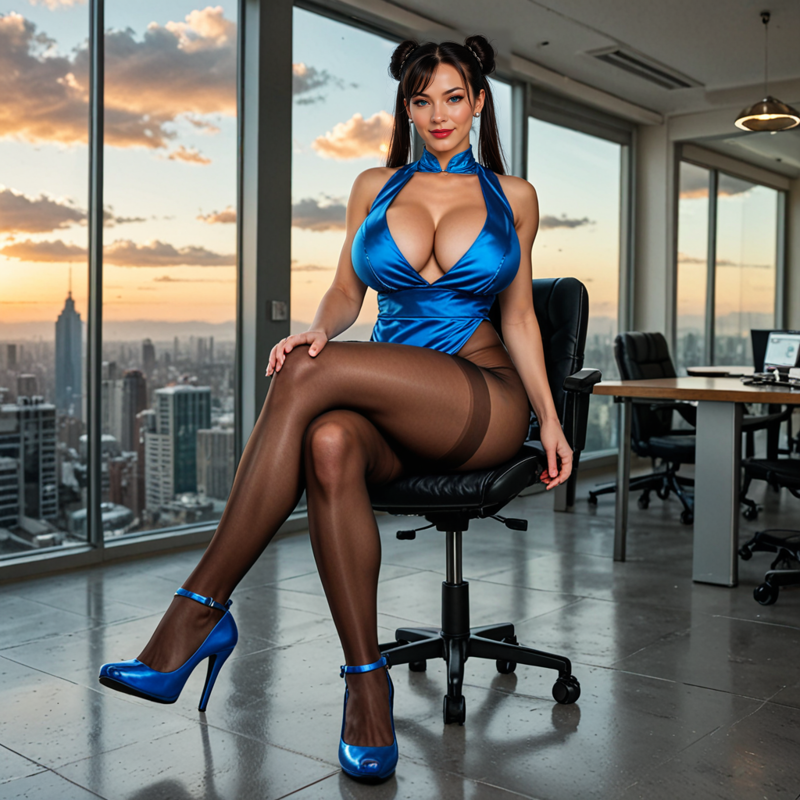
85% full
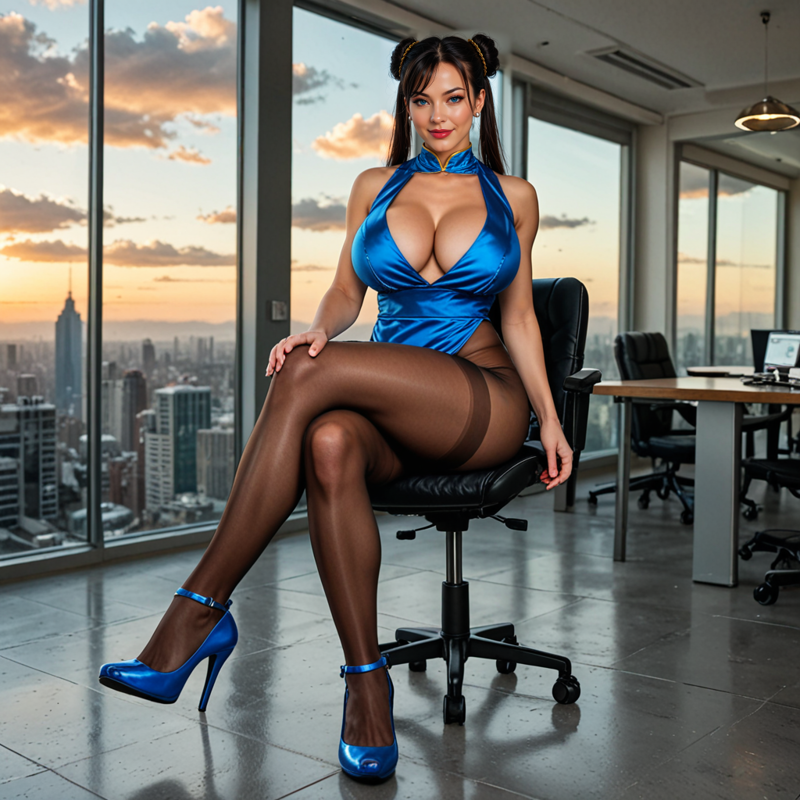
Fortunately, Civitai offers a similar feature. At the top of your screen, click the blue "Create" button, which will open a sidebar on the left. In the top left corner, under 'Workflow,' change 'Text-to-image' to 'Text-to-image Face Fix.' Next, scroll down in the sidebar to the 'Advanced' section, where you'll find a new option called 'Denoise.' This setting functions like the 'Strength' option mentioned in the article. Set the 'Denoise' value to around 0.4 to 0.5.

