

Do you want to generate more interesting art? Are you trying to generate novel data for training or as templates to run through img2img/inpainting? Do you like SD1.5's random vibe and want to replicate that in better models? Then this article is for you.
The core idea here is that you can generate better randomness by making something random but with a bit more variation/structure than the pure noise that txt2img usually uses for the latent image. This could simply be lower/multi resolution noise (which will have more variability) or the results of other random or semi-random processes. Then run that through img2img with a high denoising strength to produce more creative generations.
A related concept is to use img2img to chain together a bunch of different images/styles/LoRAs/models/prompts (as well as complex, possibly messy prompts) in an iterative process that injects a ton of randomness over several steps, then generate what you actually want.
Examples
I'm going to include some command lines for ImageMagick to generate noise. You do not need to use these and they are just there for the benefit of people with ImageMagick.
Let's just jump straight into it and show some examples.
Baseline (txt2img)
First, we need to establish a baseline so you can see the difference. txt2img uses a latent image that is pure random noise. Ironically, the purity of this randomness leads to fairly predictable results at the scale of a 1024x1024 image (like that used by SDXL/Pony), and at even larger resolutions the effect would be even more predictable.
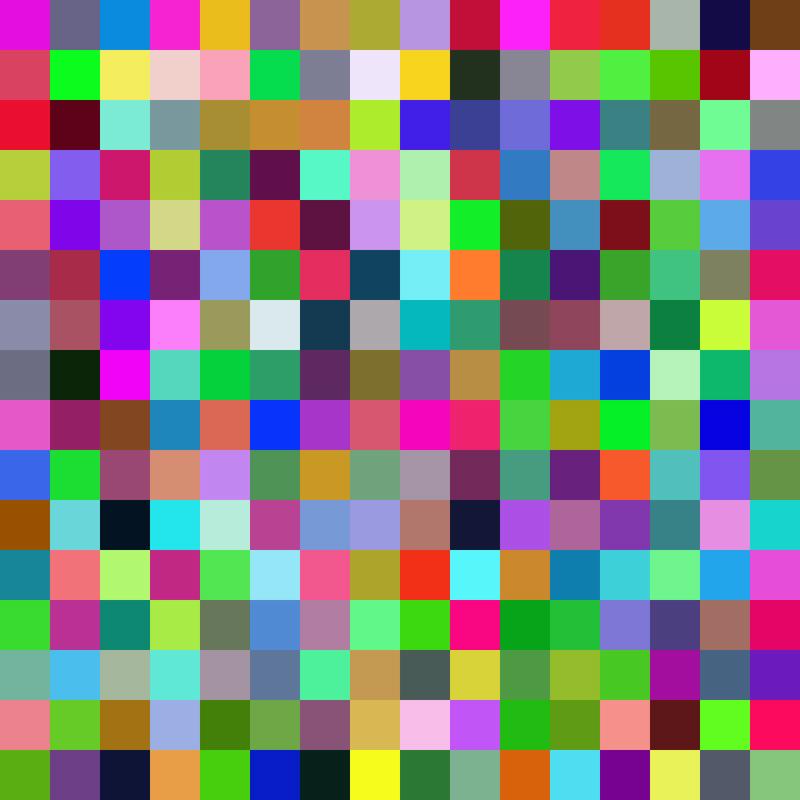
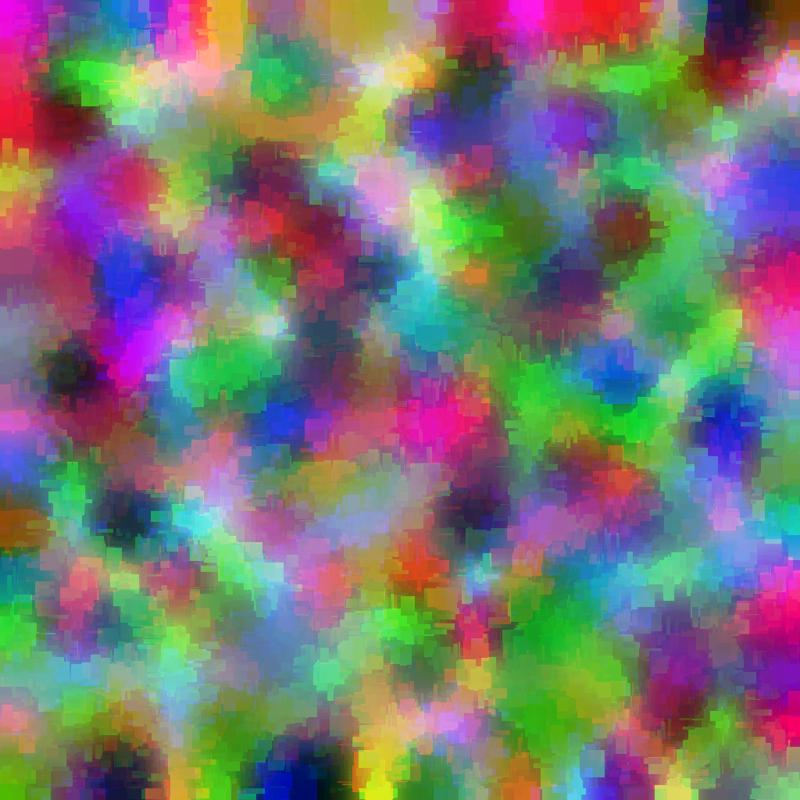
Here's what 1024x1024 of random noise looks like:

(Note: this had to be saved as a JPG to get under Civitai's image upload limit, but it works fine for illustrative purposes as it still looks the same.)
It looks noisy, but at the level of the entire image it's approaching a flat gray color.
Here's the ImageMagick command to make 1024x1024 of random noise in case it's useful to you:
convert -size 1024x1024 canvas: +noise Random noise.pngTo make a baseline, here's what txt2img would produce with the following parameters:
Sampler: Euler Uniform
Steps: 30
Seed: 1599757078
CFG Scale: 7
Model: Pony
VAE: sdxl_vae.fp16.safetensors
Clip Skip: 2 (Pony uses CS2)
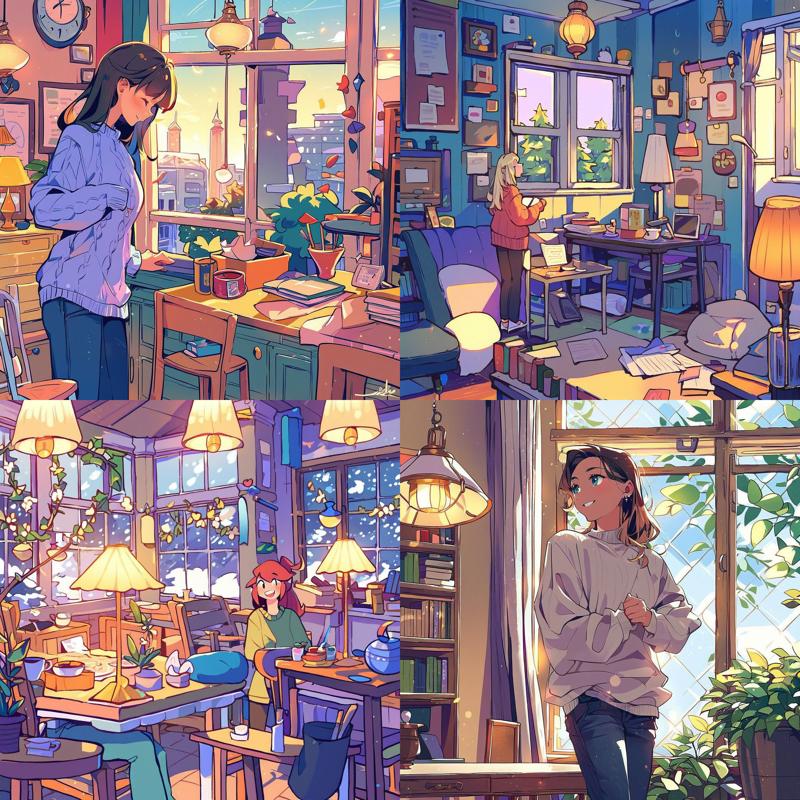
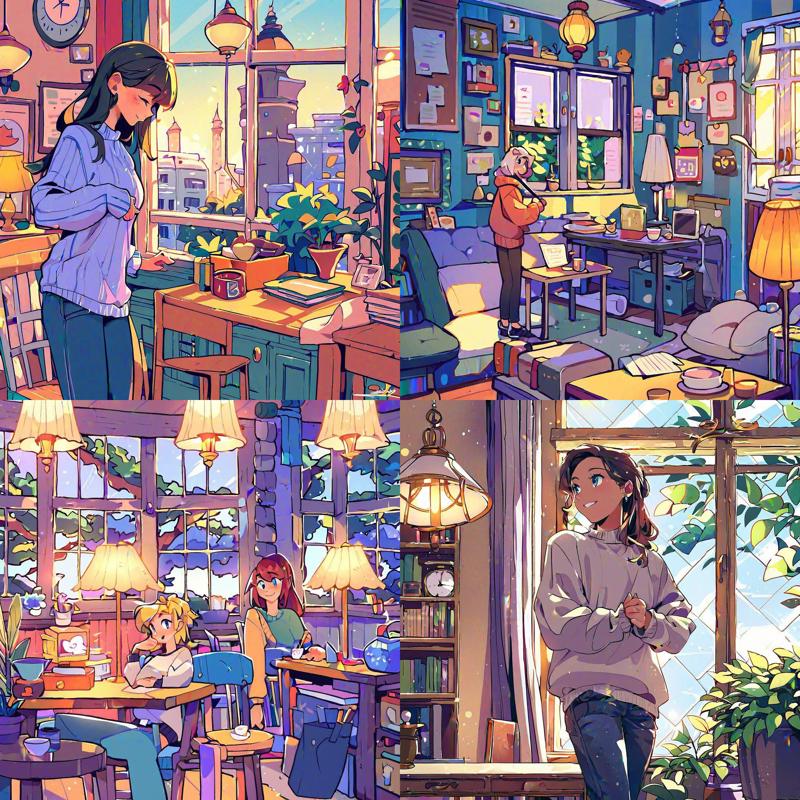
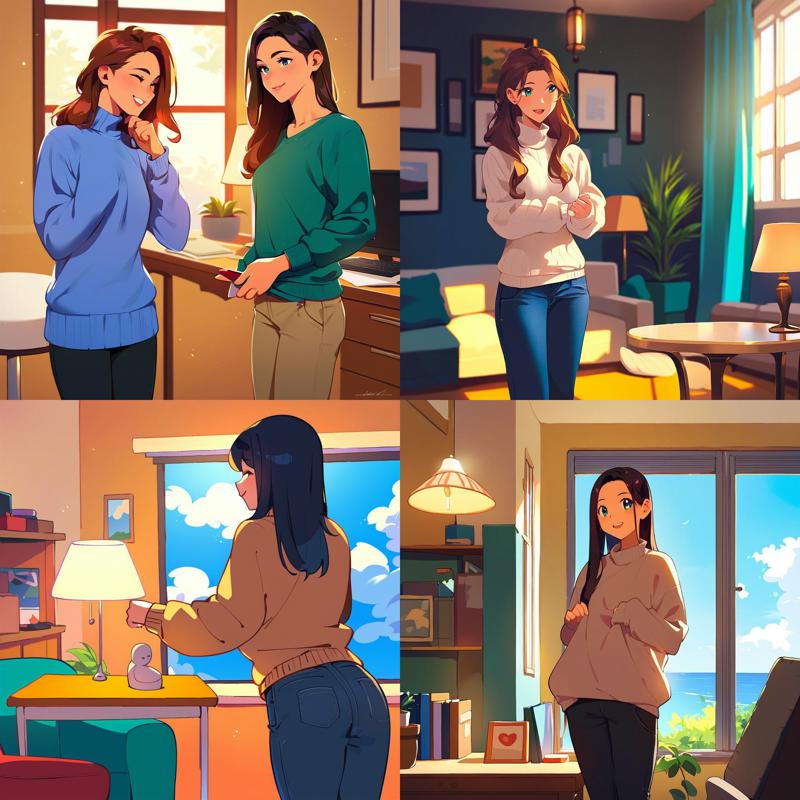
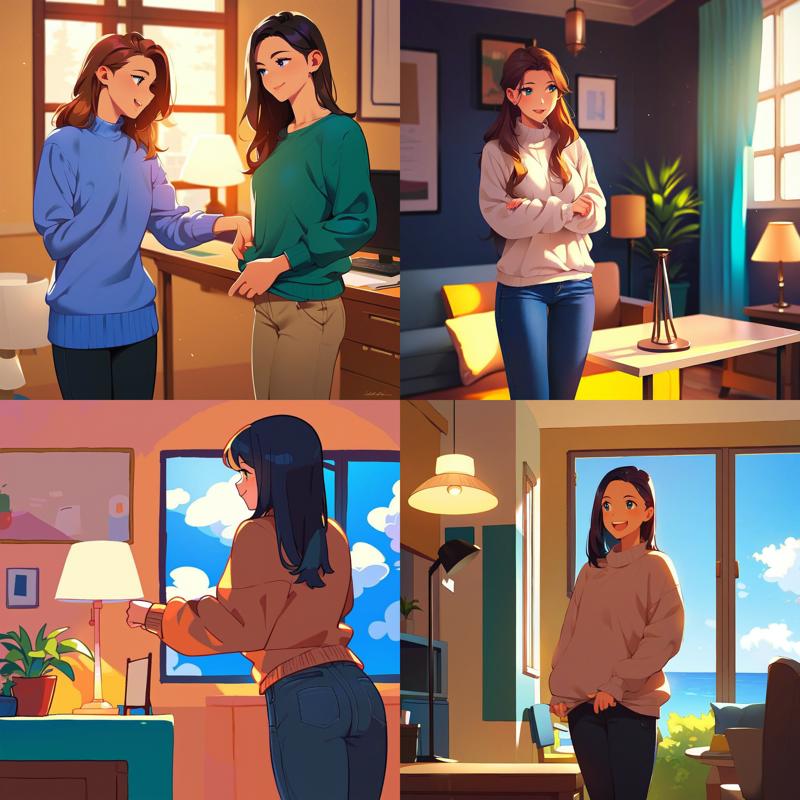
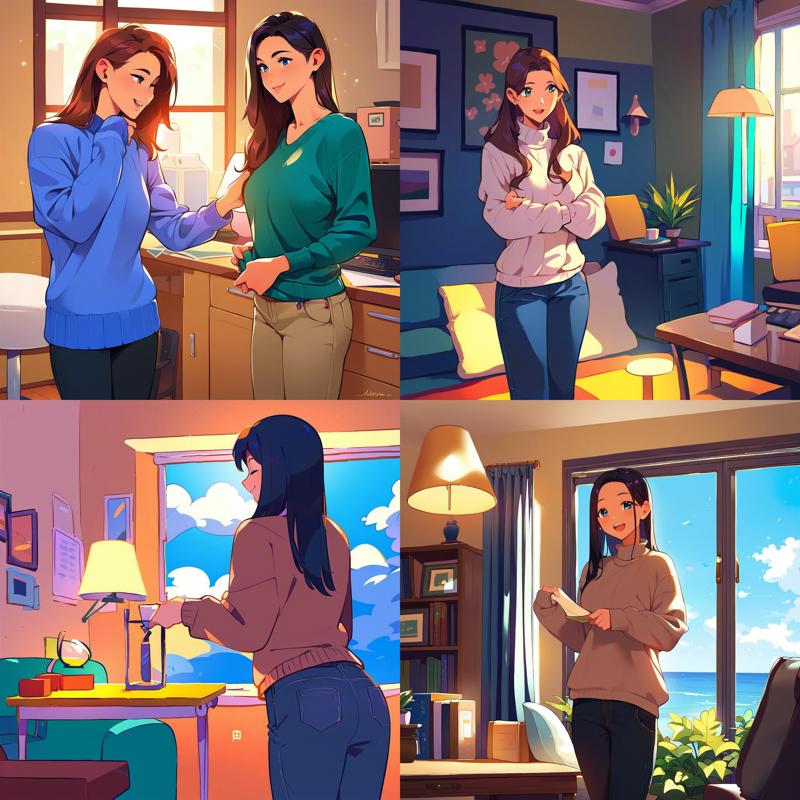
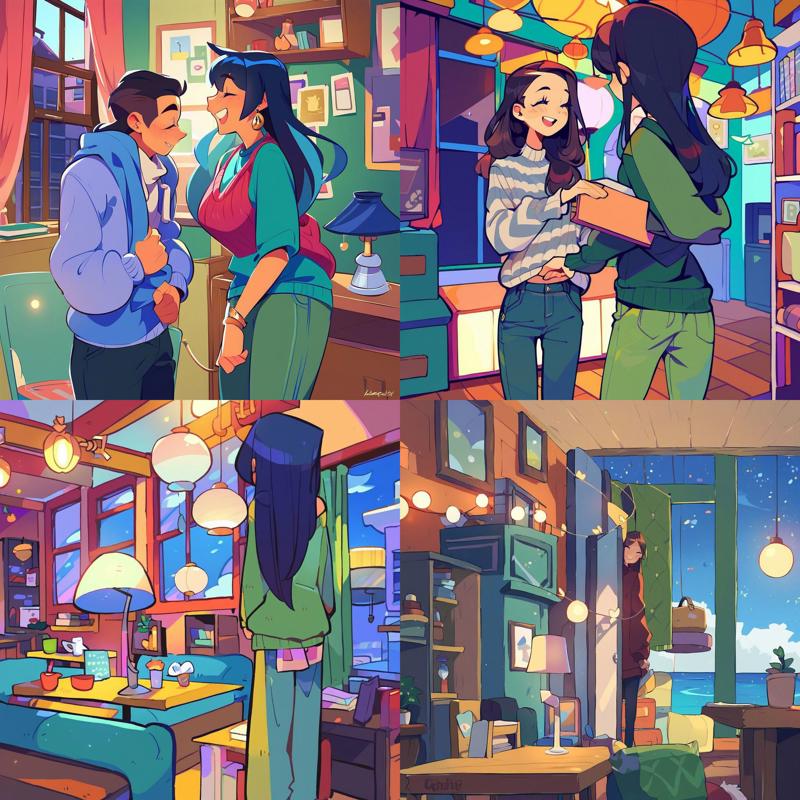
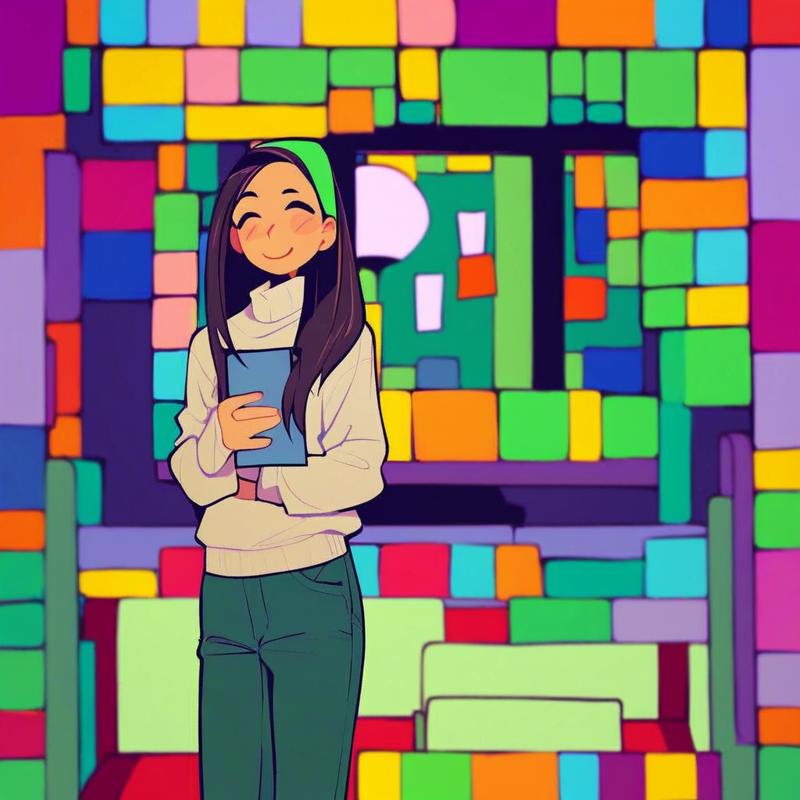
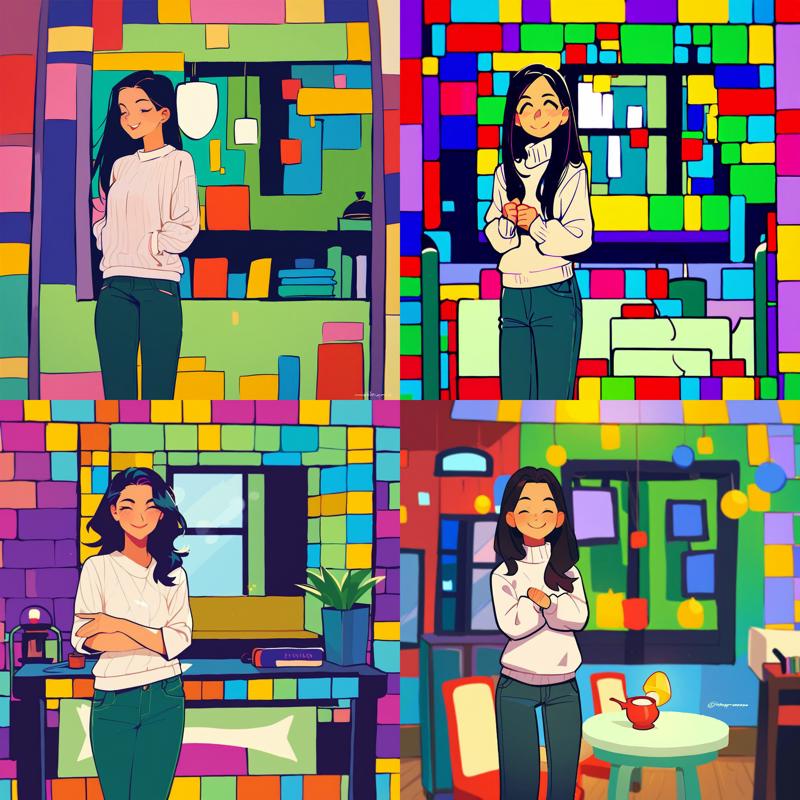
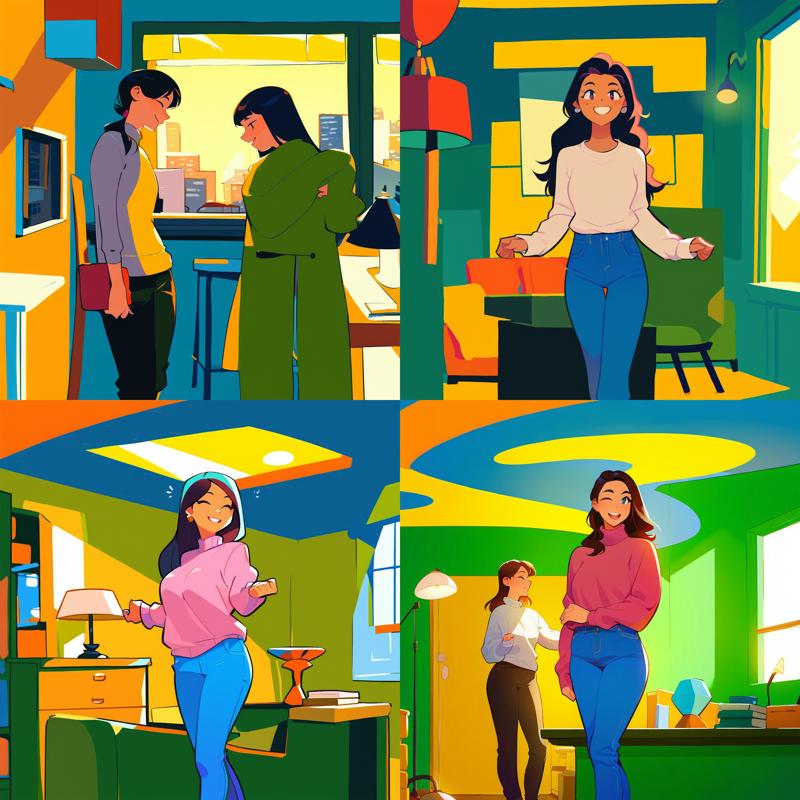
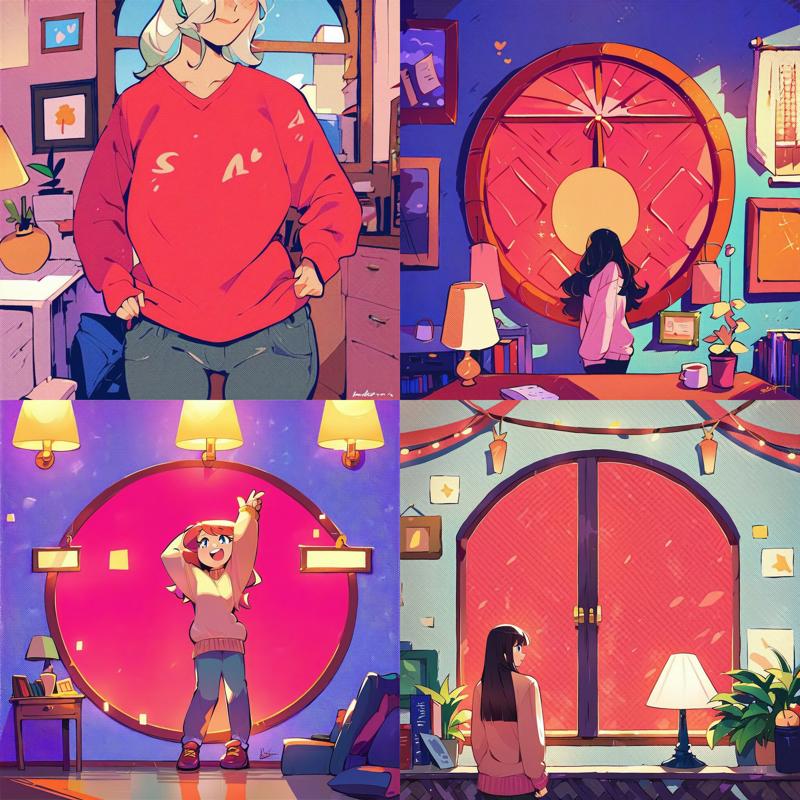
score_9, score_8_up, score_7_up, woman, sweater, pants, long hair, jewelry, standing, happy, indoors, table, window, lamp, decorations, cozyHere's the result of that prompt:
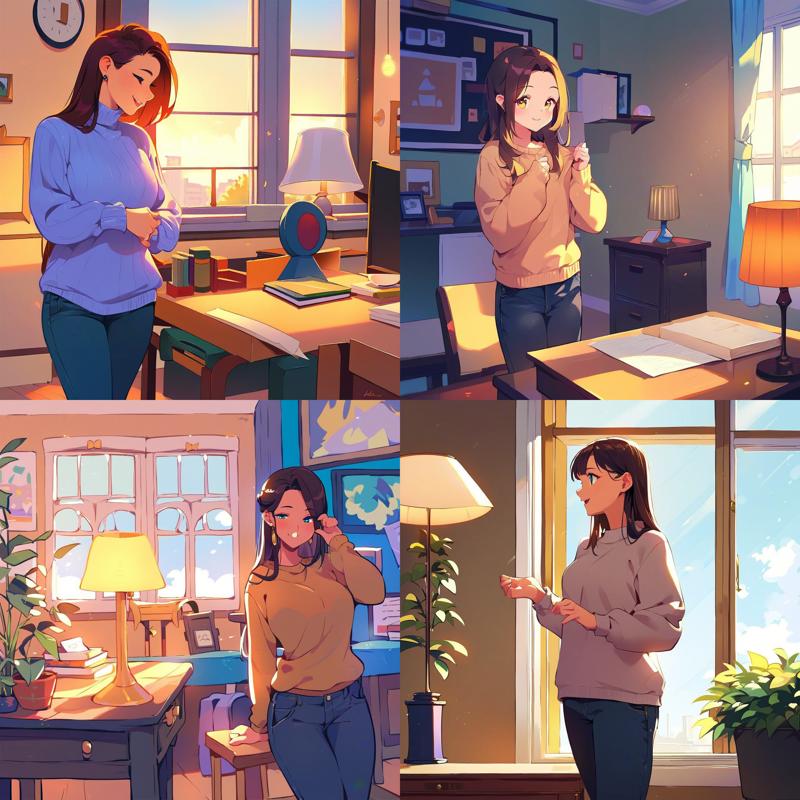
I've also included a standard negative prompt to make them look nicer, you can find it in the image metadata.
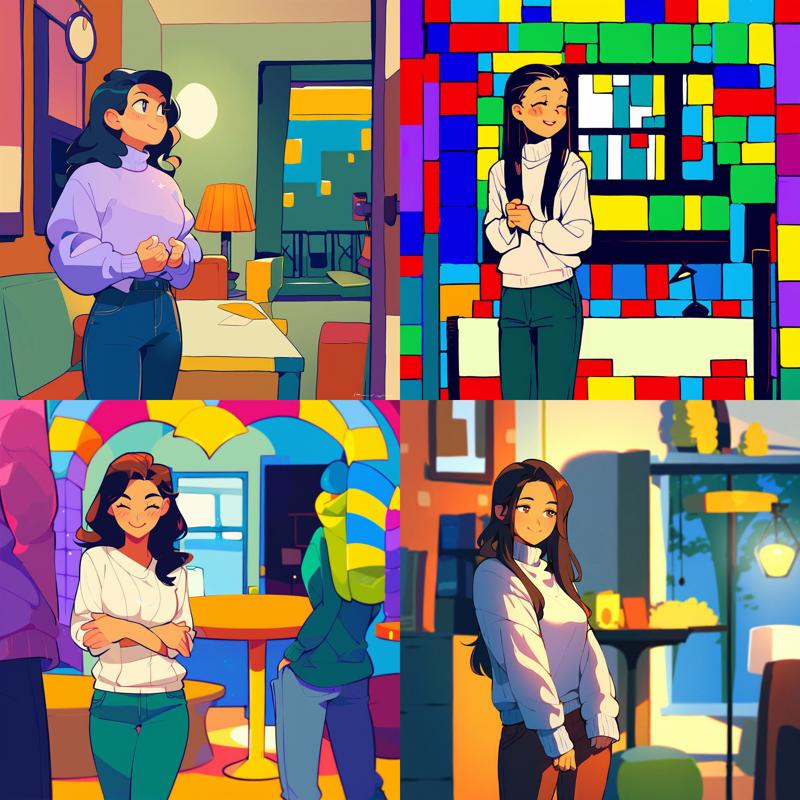
There's nothing wrong with this baseline, and they are well refined images. As we'll see as we proceed though they're fairly boring images. They all have beige sweaters (except for one blue sweater), jeans, brown hair, a centered subject or following the rule of thirds, etc.
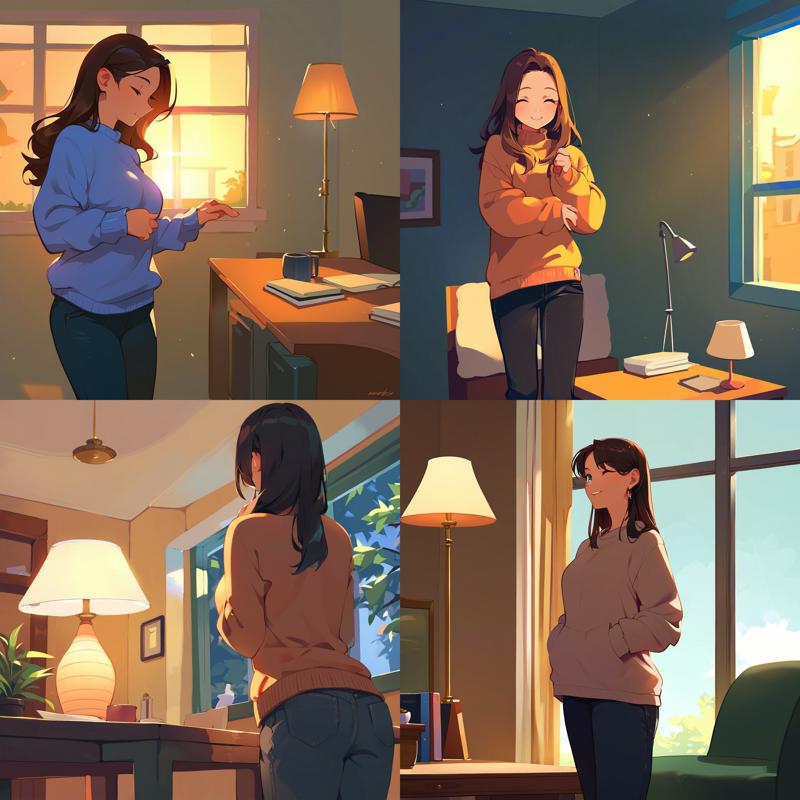
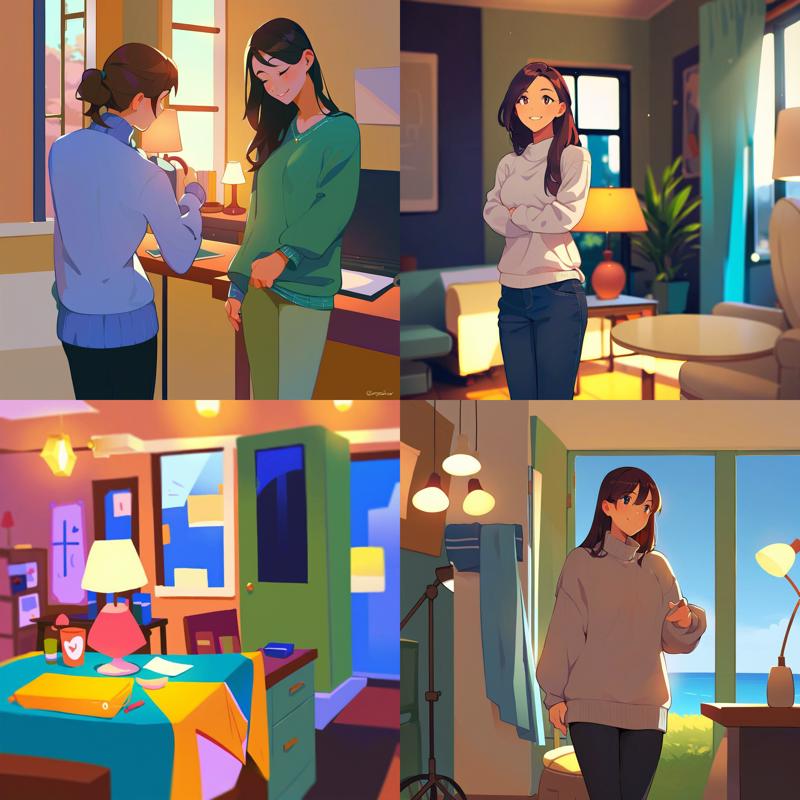
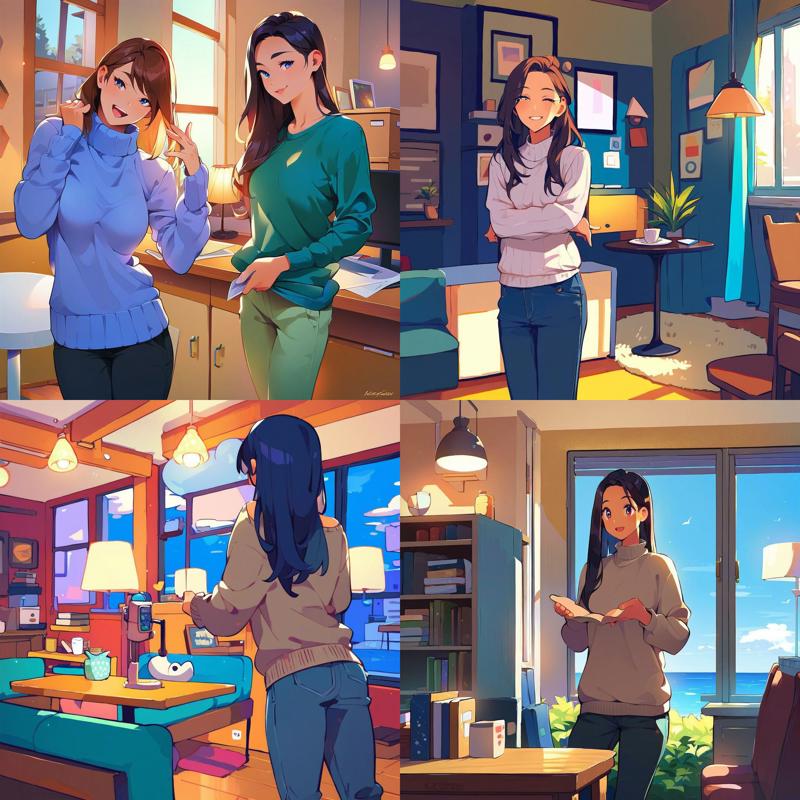
Here's the same generations run through img2img with the full 1024x1024 noise I posted as the starting point. The denoising strength is set to 1.0 (which as we'll see later is not actually perfect noise):
It's not exactly the same because it's layering two different noises on top of each other but you can see that the effect on the final result is minimal.
Interestingly, a solid neutral gray color has a larger impact
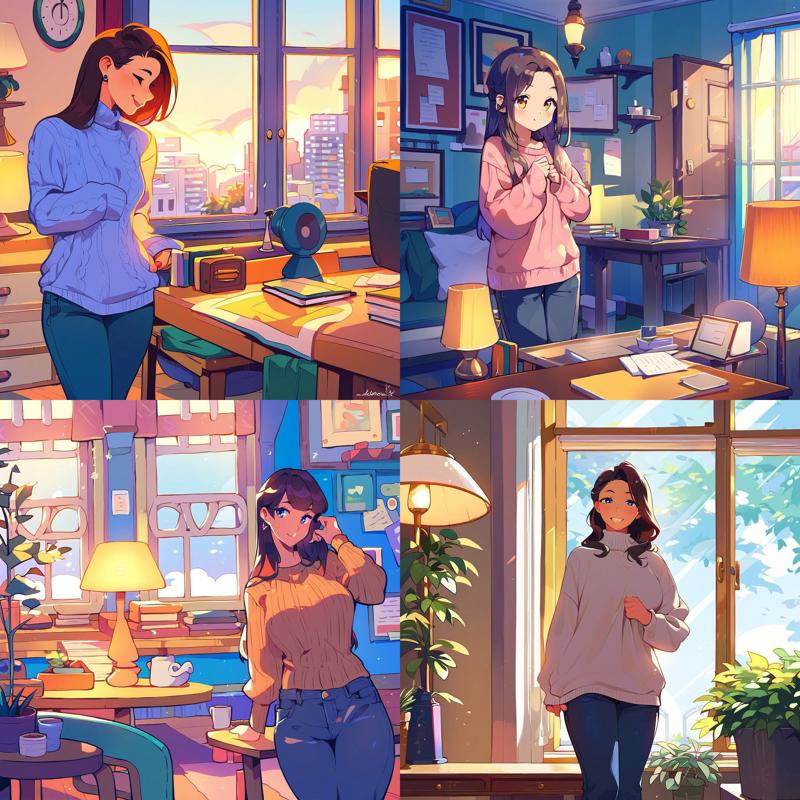
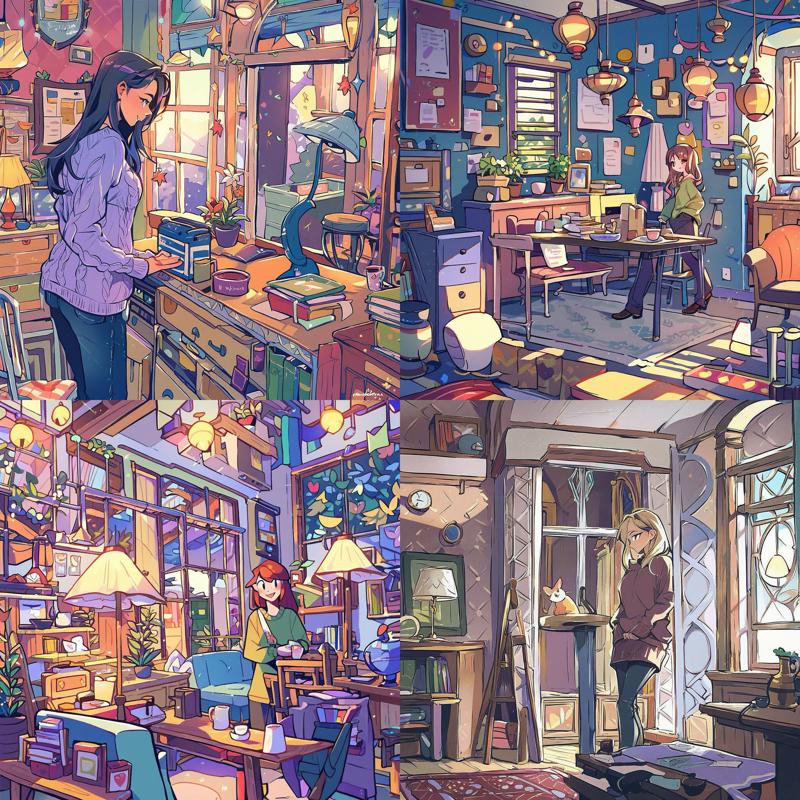
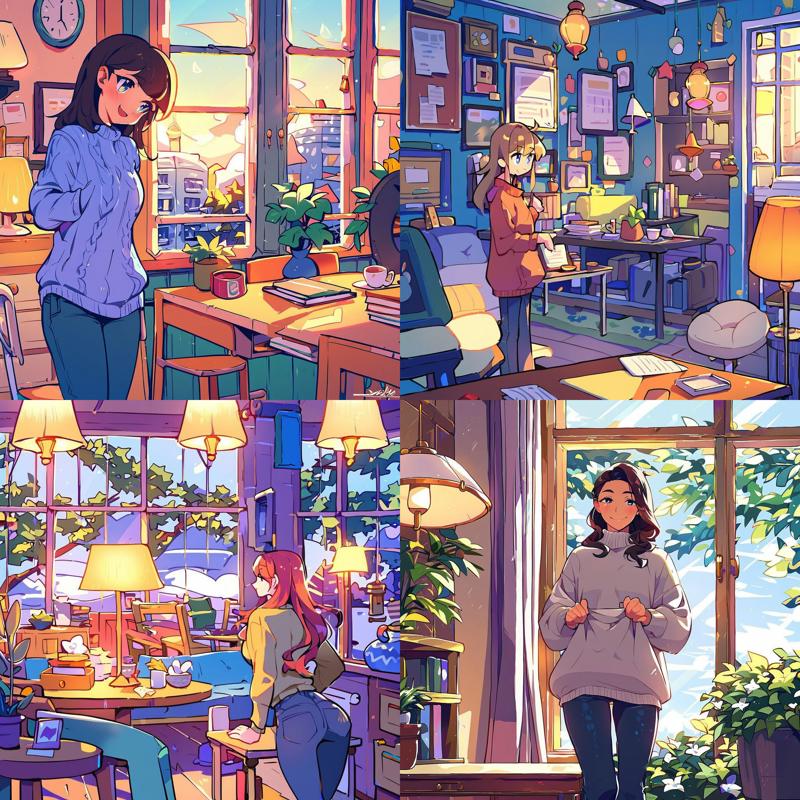
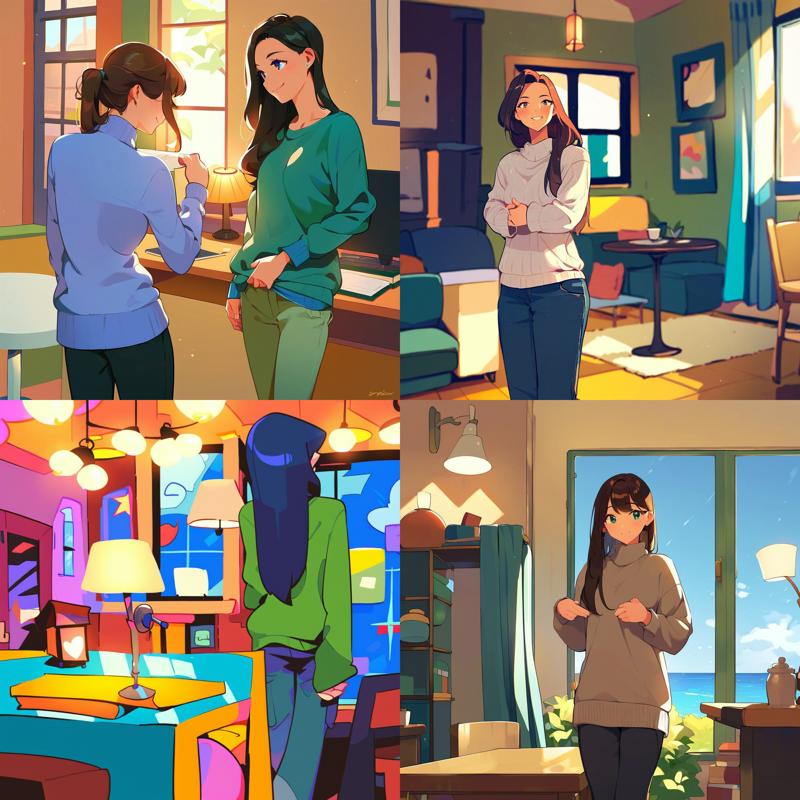
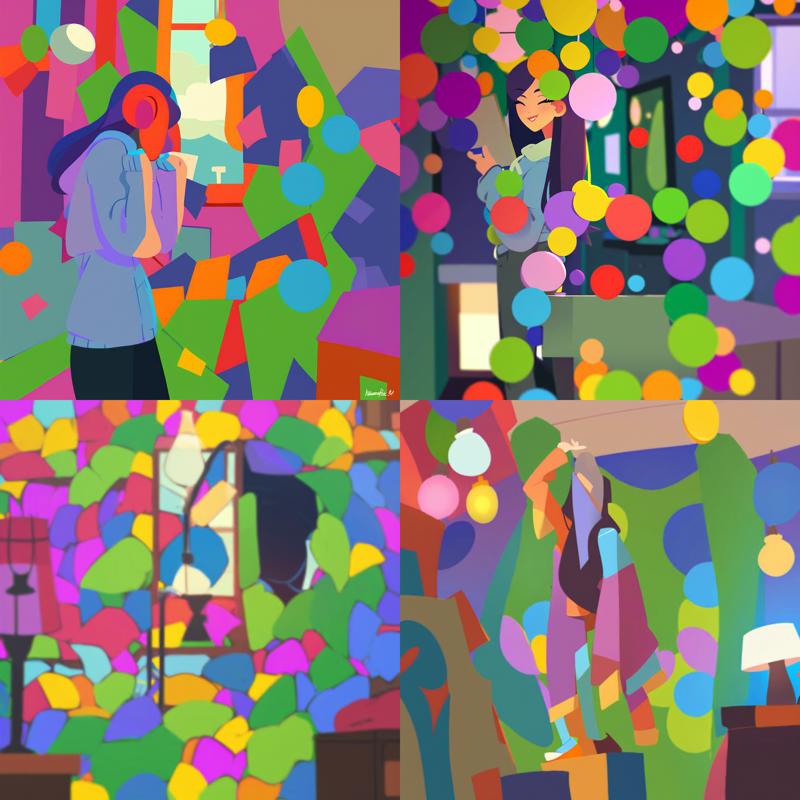
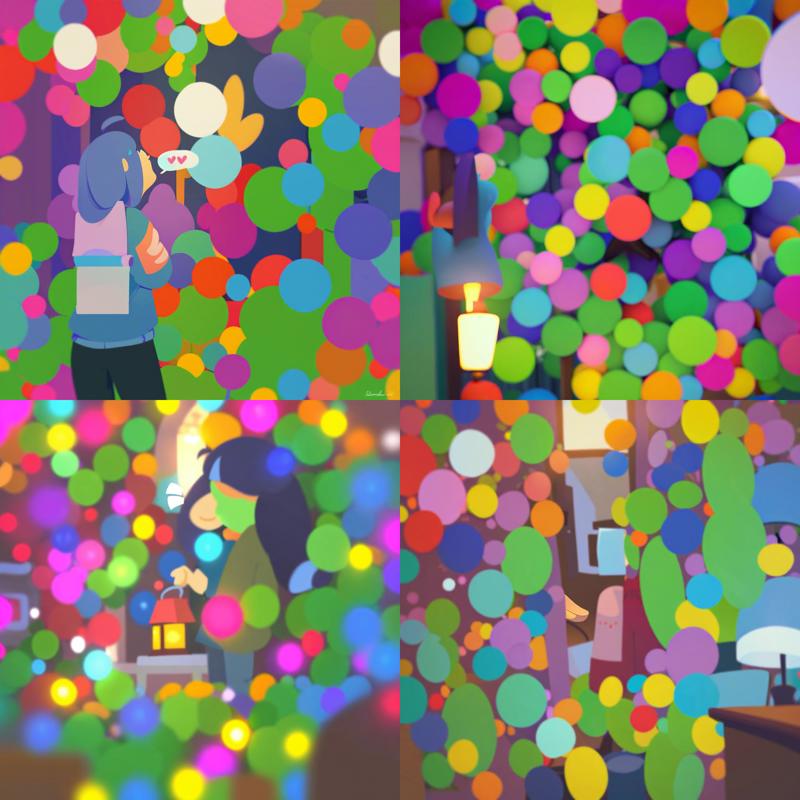
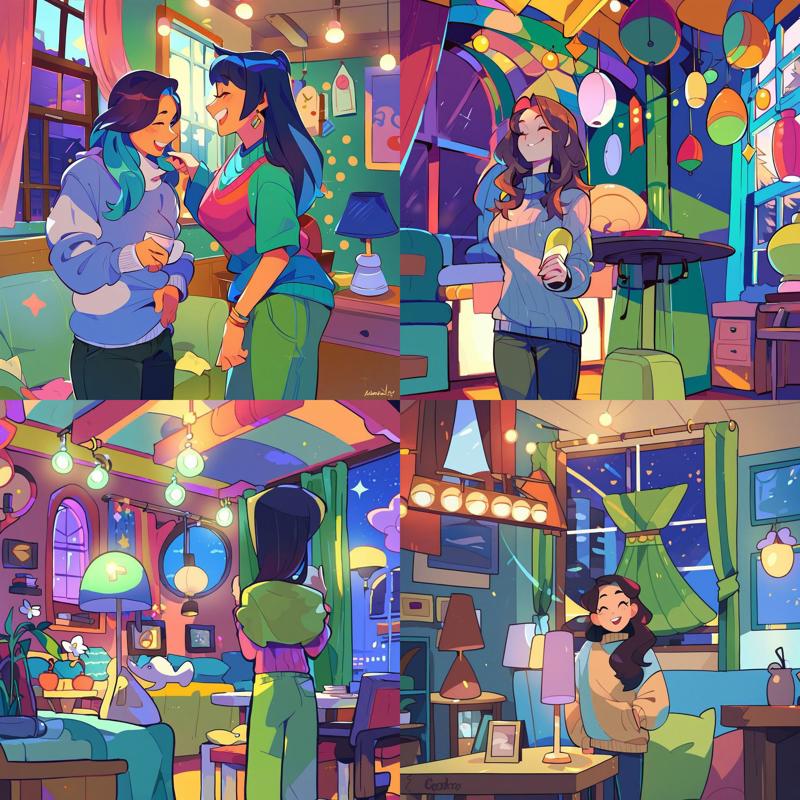
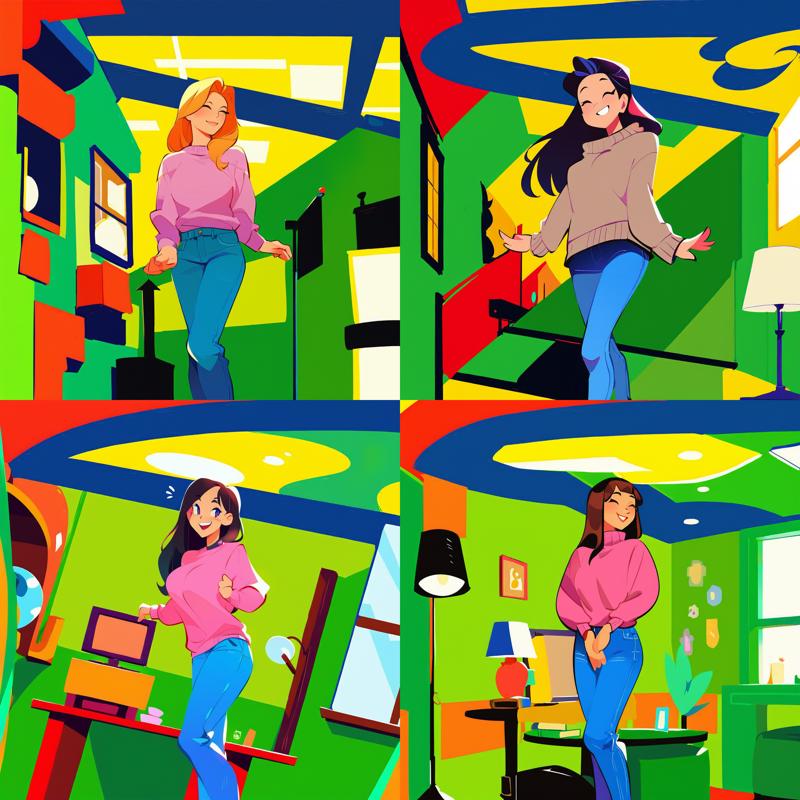
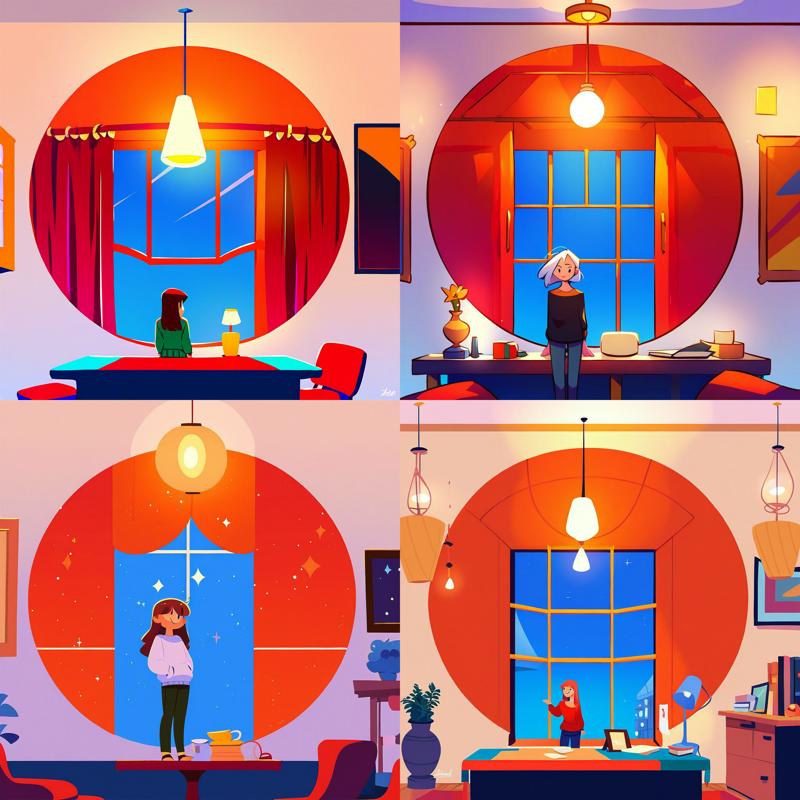
For later comparison, here's pure noise at 0.9 denoising strength:
You can already see the fruitfulness of doing this instead of using the stock txt2img noise. These images are far more detailed and varied. They're not quite as polished, but that can be fixed.
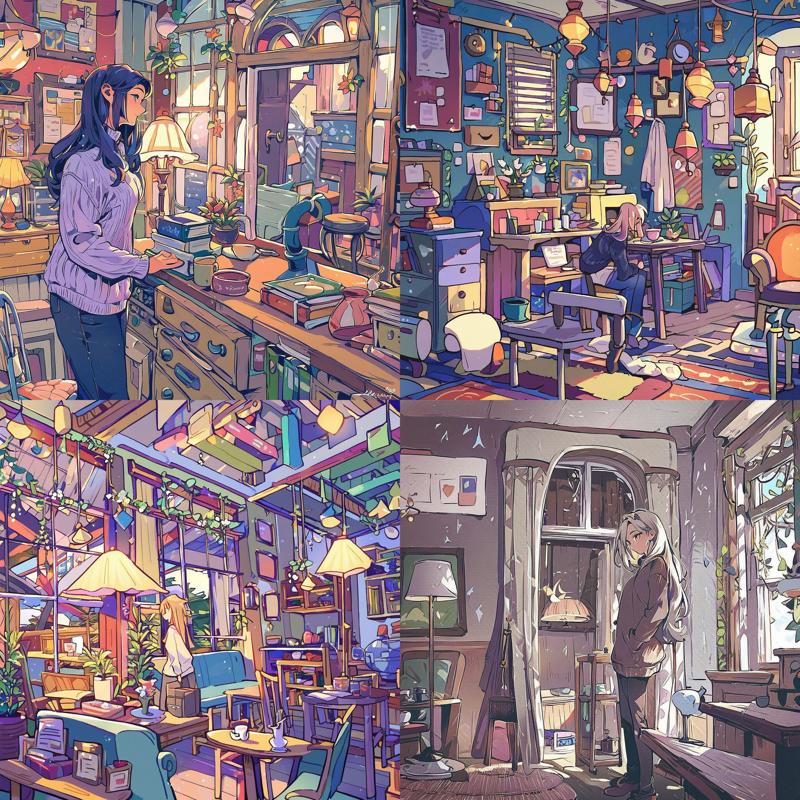
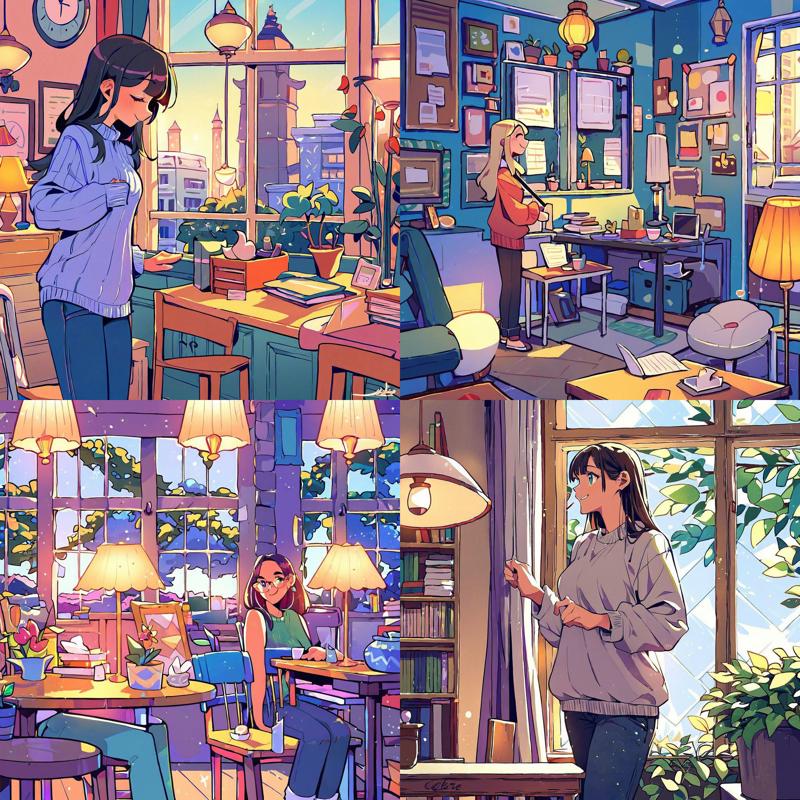
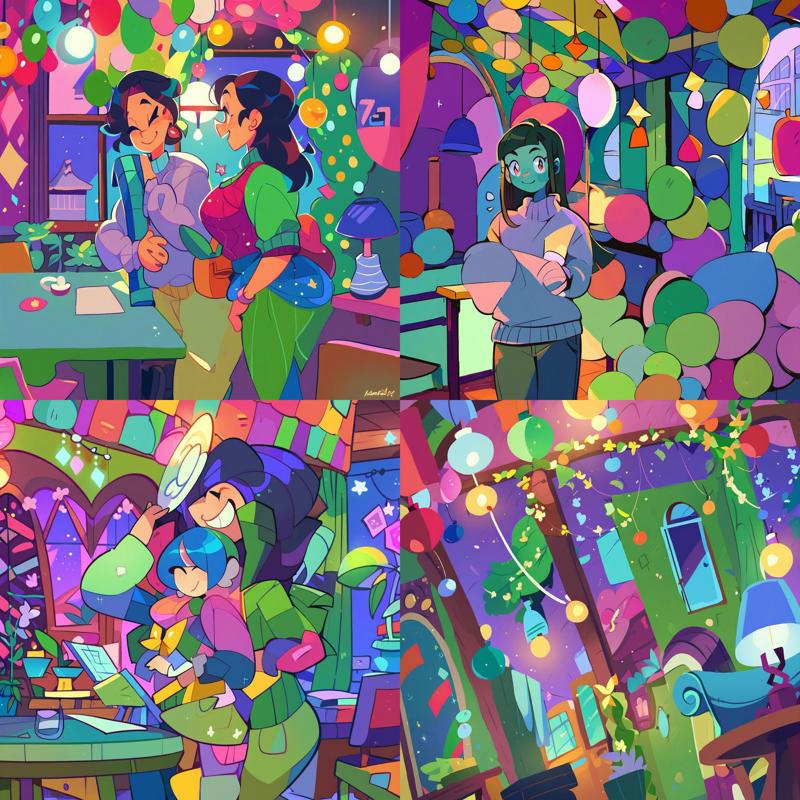
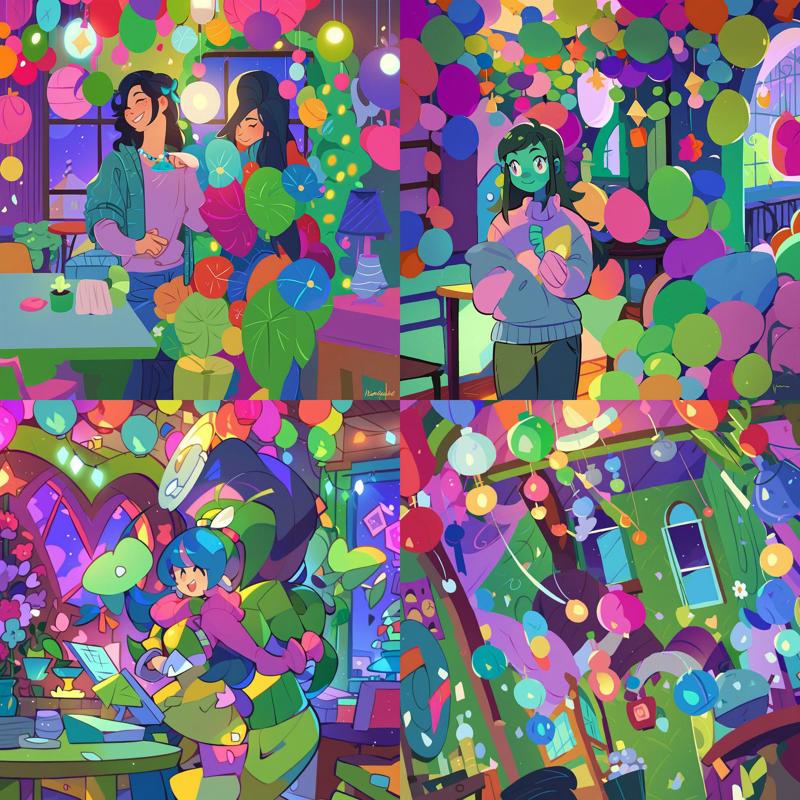
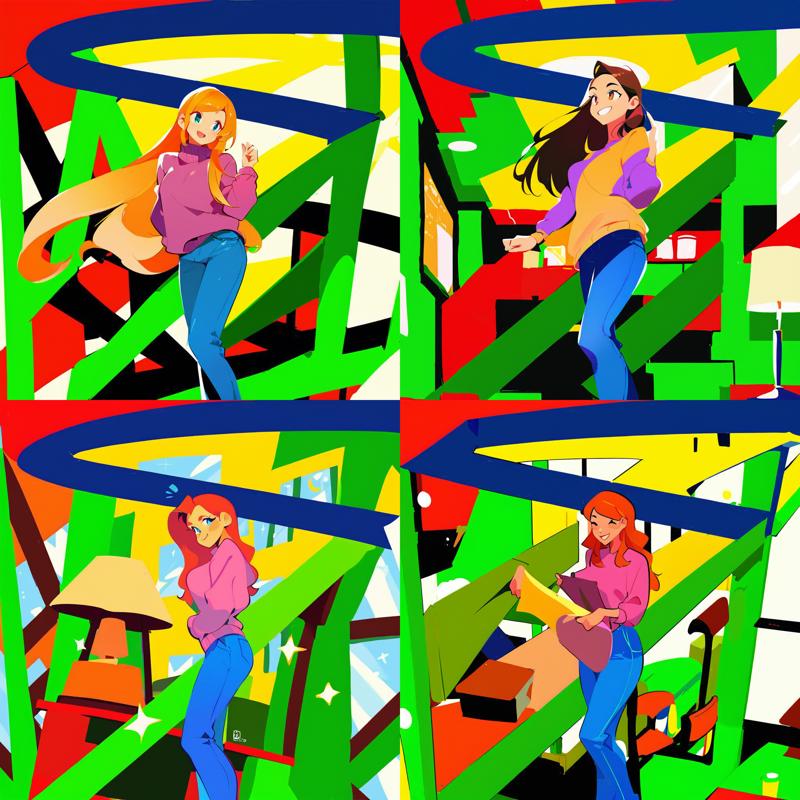
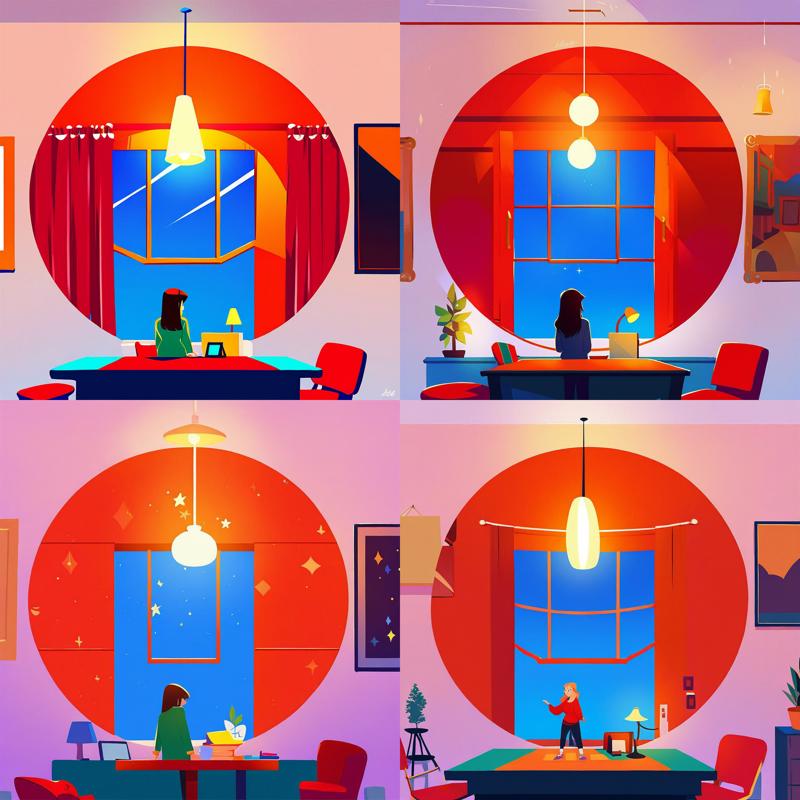
0.85:
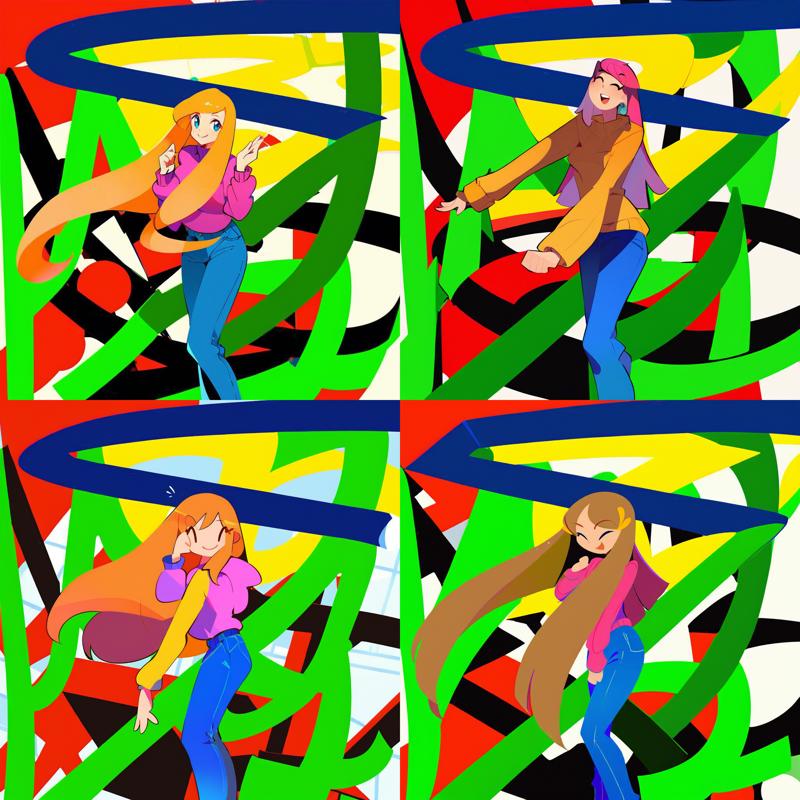
0.8:
0.75:
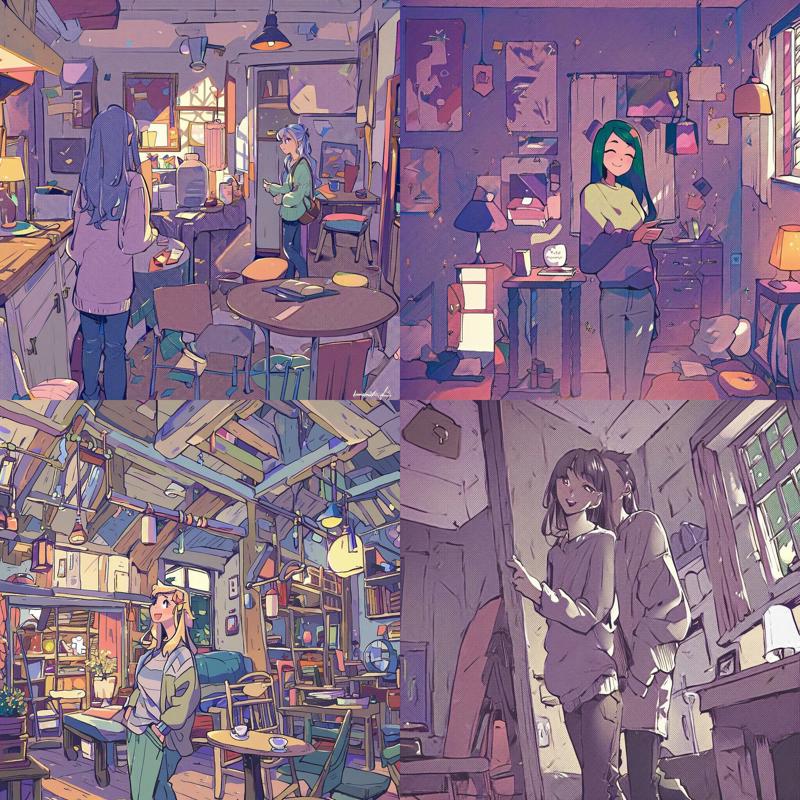
0.7:

At this point the resulting images are starting to fall apart, they're becoming more inherently noisy and washed out. The noise is from the model not having nearly as much time to wash out the starting noise, and if you look closely at the images at full resolution they all share this attribute (though it's hardly noticeable at 0.9).
Also, though this is supposed to be part of the baseline, using full noise and skipping over the first few steps using img2img is an interesting technique in its own right.
Side Note: Samplers/Schedules
Due to these techniques messing with the normal input and schedule, different samplers and schedules have a substantial impact on the final results. For instance, here's some convergent samplers (which means they normally have more or less the same output as Euler given enough steps) run at 0.9 denoising strength.
DPM++ 2M Uniform:
DPM++ 2M Karras:
Heun Uniform:
I'm gonna stick with the baseline parameters, but you should play around with these settings.
Lower Resolution Noise
So, using full-scale random noise and skipping the first few steps is good if you're going for the maximalist aesthetic. What other options are there?
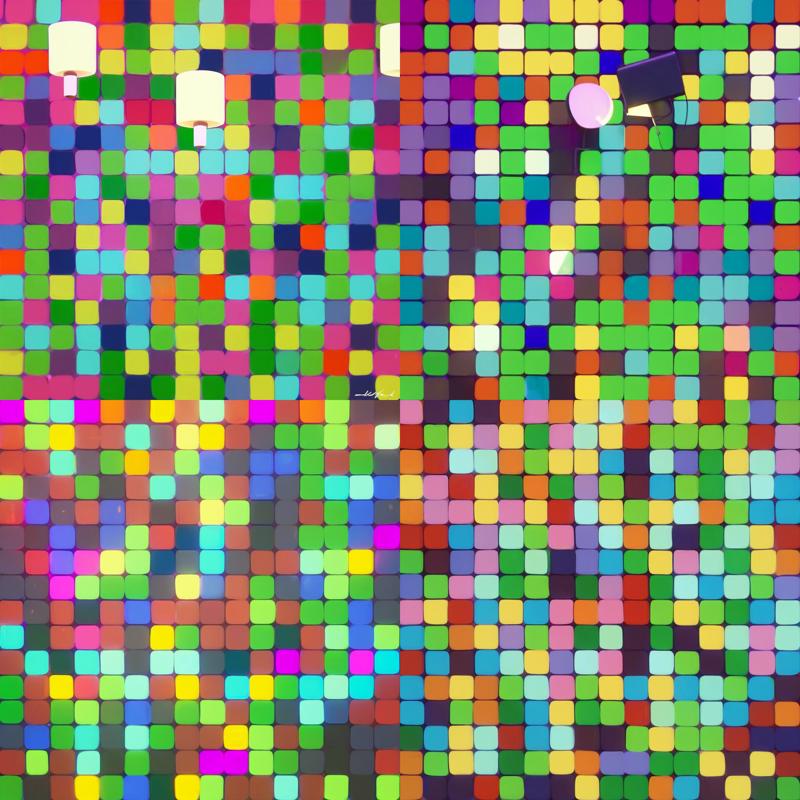
The first obvious option is to use lower resolution noise (or multi-resolution noise, but I won't cover that even though it's common in training). There's a few ways to do this, but the basic idea is that you pick a lower resolution and upscale it. I'm going with 16x16 in my examples, but you can use any resolution you like (and likely higher resolutions will perform better as noise, but be less dramatic, but dramatic effects are my goal in this article). Here's my 16x16 random noise:

It's tiny but you can see it if you squint.
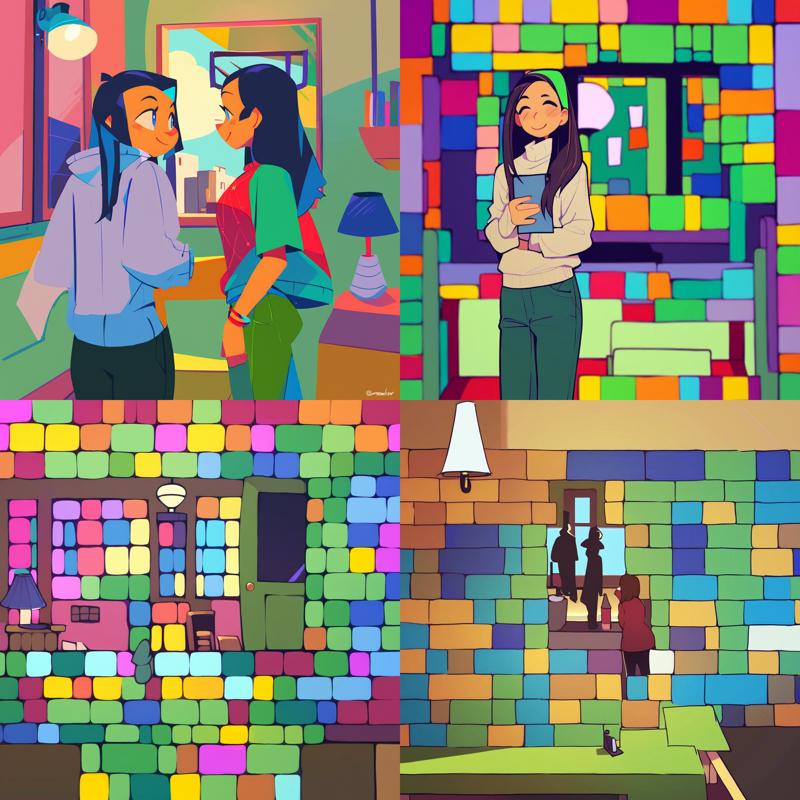
Point/Box Noise Upscaling
This upscaling does not attempt to smooth out the lower resolution at all, leading to this kind of result:
The ImageMagick command for this was:
convert -resize 1024x1024 -filter Point random.png big_random.pngThis leads to some interesting and varied results but breaks down quickly due to the huge, blocky color regions. This is good if it's the effect you're going for and would probably work better at higher resolutions.
1.0:
0.9:
0.85:
0.8:
Ordinary Upscaling
Next up is using one of the ordinary upscalers available in your image editing tool, leading to this kind of result:
This is similar, with a more circular effect rather than a blocky one at lower denoising strengths.
1.0:
0.9:
0.85:
0.8:
Upscaling with Mode
One more option I'll explore in this article was something I found in ImageMagick, which is to use the mode feature (described as "Make each pixel the predominant color of the neighborhood" in the documentation), leading to a result like this:
The ImageMagick command for this was:
convert -resize 1024x1024 -mode 32x32 random.png big_random.pngOne downside to this approach is that it's really expensive, this takes 46 seconds on my machine (though a mode of 16x16 only takes 8 seconds) and larger modes take even longer. However, the results are nice, and you can go deeper into lower denoising strengths. Here's the results:
1.0:
0.9:
0.85:
0.8:
0.75:
0.7:
Multiple Iterations
Another key technique is to use a first generation image to produce a more refined version. This can also reduce the number of colors if a more limited palette is desired.
For instance, consider this one:
Here's another iteration at the same 0.85 that produced the original:
Note that the top right one (#2) is the exact same seed, so that's why it hardly changed. The others have a very similar character but are more moderate, and a few more iterations would likely remove the blocky appearance entirely (if that was what was desired). Also, note that you can use inpainting to focus on changing the background, or copy/paste elements to re-arrange them.
Here's an iteration on the original at 0.9 instead:
Iteration can be used to help find balance between randomness and the order of models, prompting, etc.
(Semi-)Random Processes
Random noise is fine and all, but why limit yourself to just noise? Any random or semi-random process that you can apply to an image can be used as a starting point.
Hand Drawn Scribble
I drew a scribble!
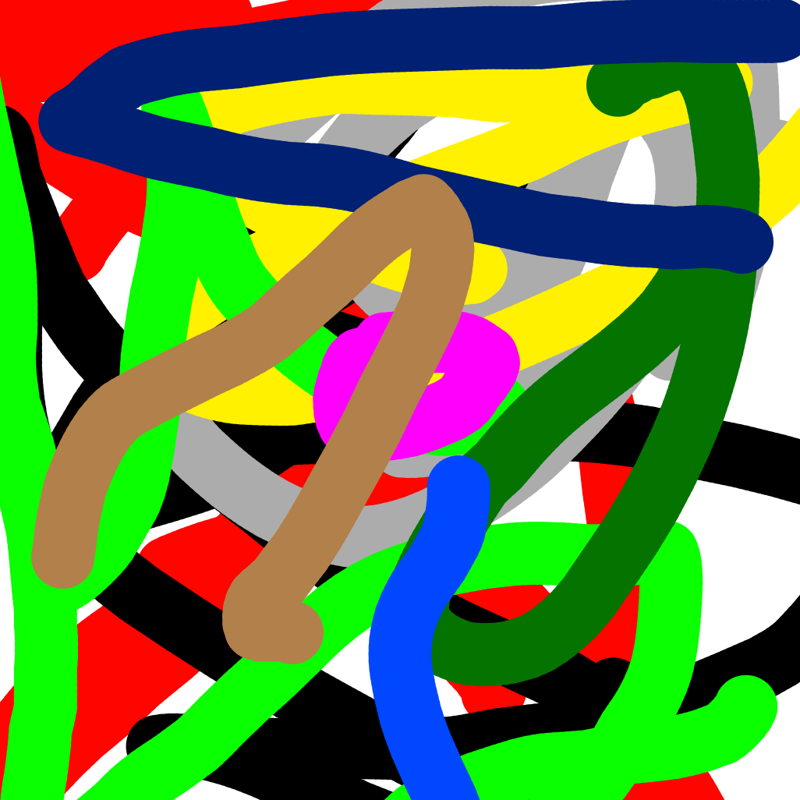
Here's what that produces at 1.0:
I have to remark that this one is the clearest evidence thus far that 1.0 denoising is imperfect. Even unusual noise doesn't have nearly as much effect.
0.9:
0.85:
0.8:
Simple Shapes
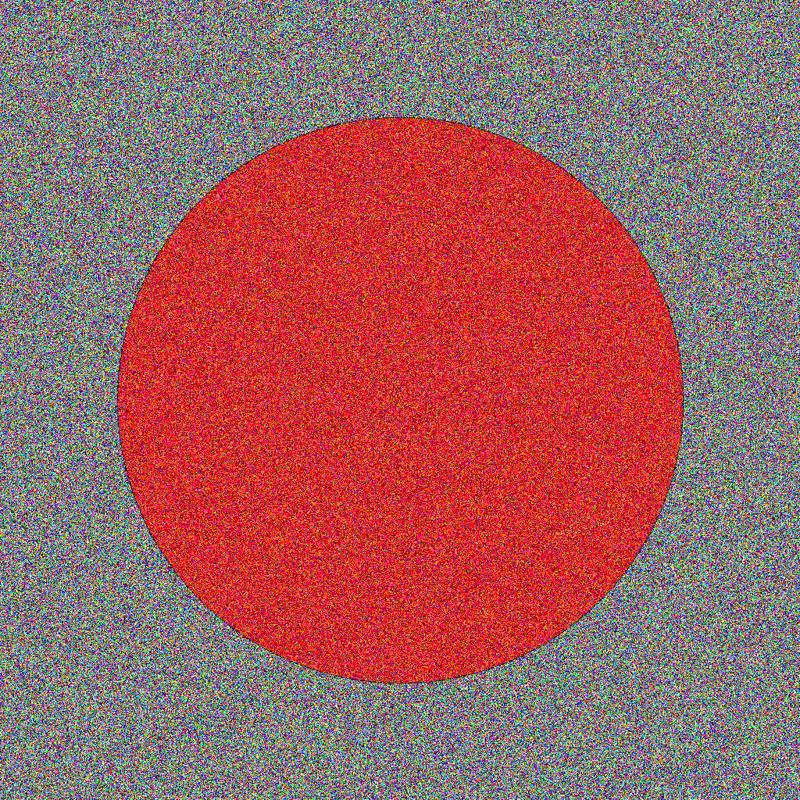
In contrast, here's a red circle:

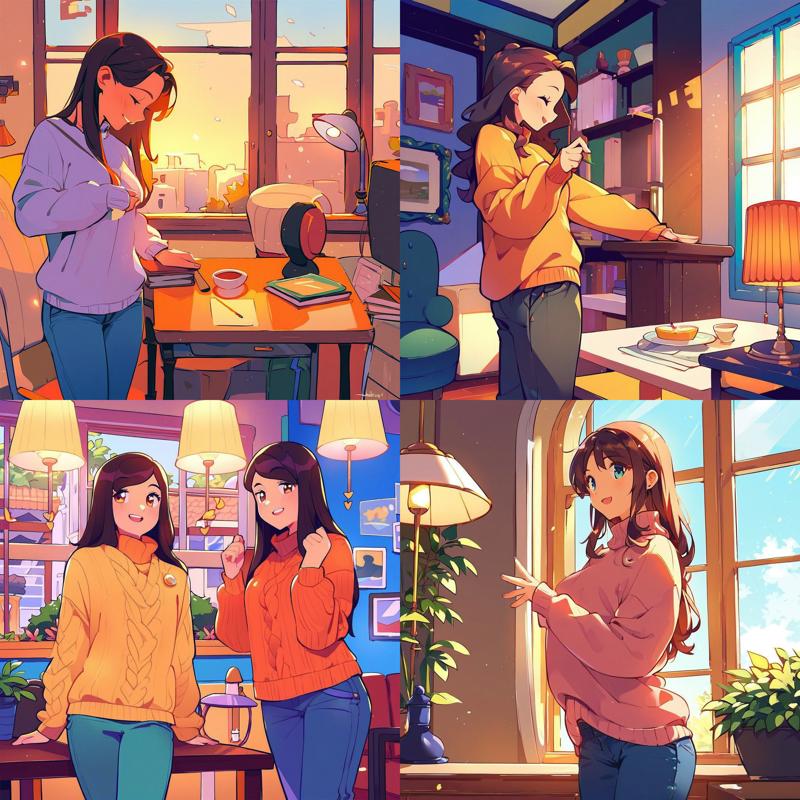
This one is so simple that it's difficult for models to break out, here's the results at 1.0:
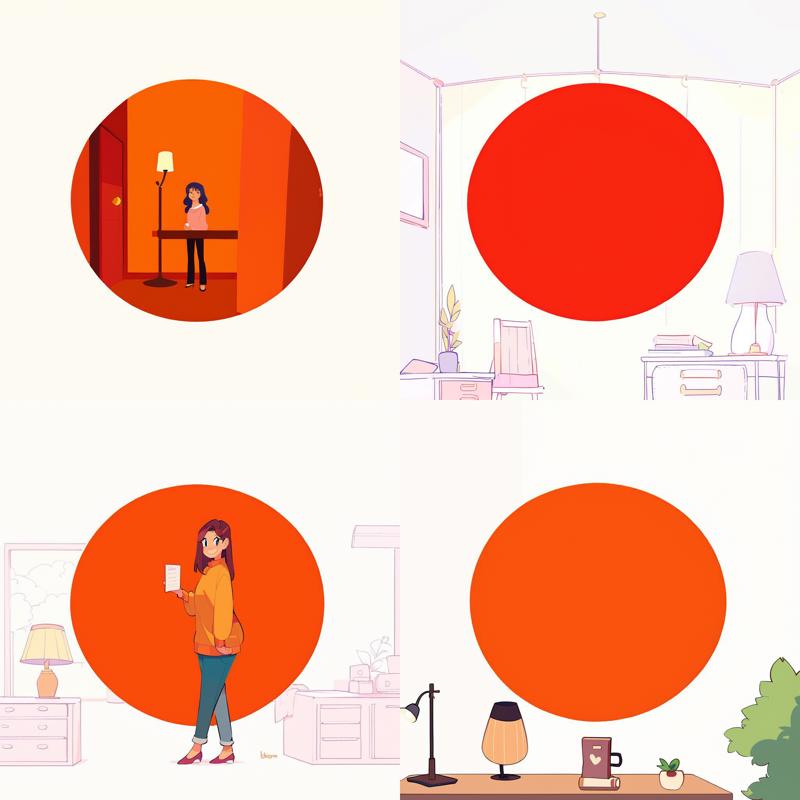
That said, even a simple element like a random colored circle can be useful.
Mixture of Elements
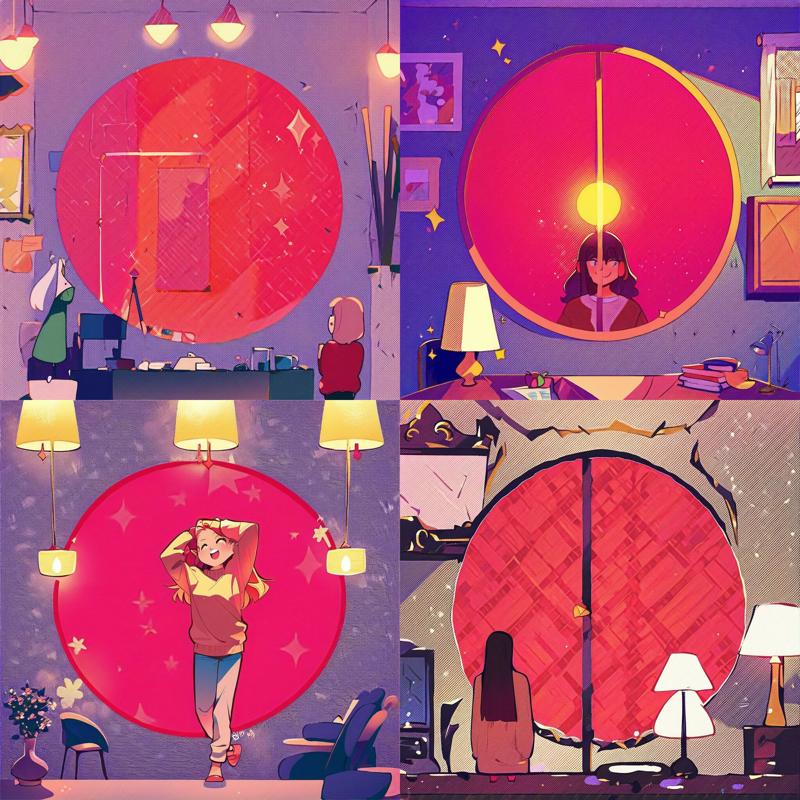
Don't forget that you can mix noise, simple potentially random elements, and deliberate edits. For instance, consider this initial image:
Here's the results at 1.0:
Here's a second iteration of the first one (top left) at 1.0:
It's unsurprising that it switched over to consistently making a woman in a blue sweater because this model is trained to converge on this kind of image with this prompt, and after the first generation at a strength of 1.0 it's close enough now to get over the hill keeping it out.
At lower strengths it's still too far away and so makes a window instead.
0.9:
0.8:
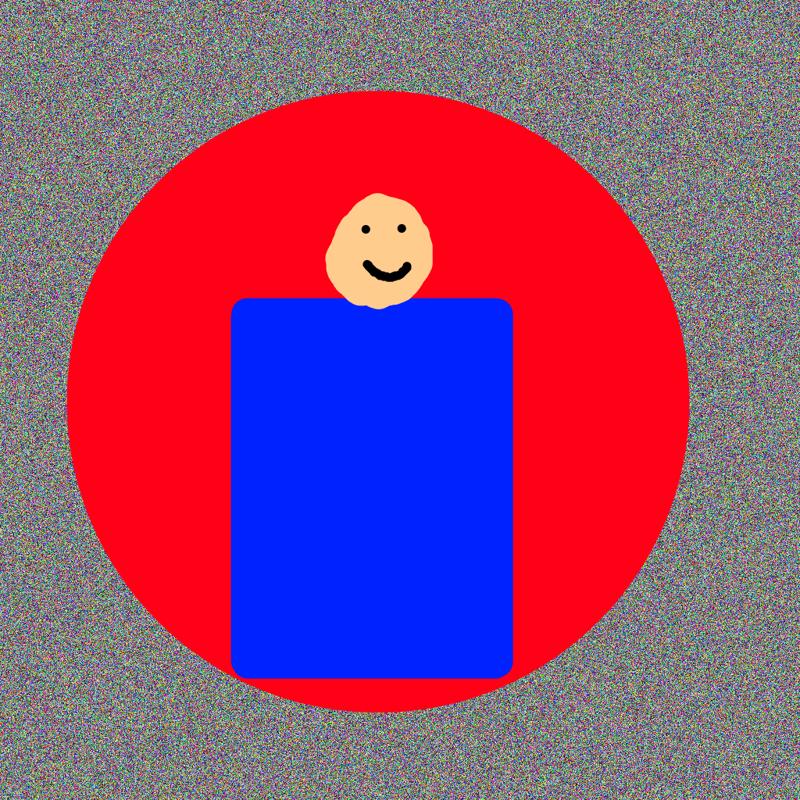
Adding Noise To Elements
As I was wrapping up this article, I tried out adding noise to the red circle and got some great results, so if some element is too stubborn you can soften it by adding noise over it.
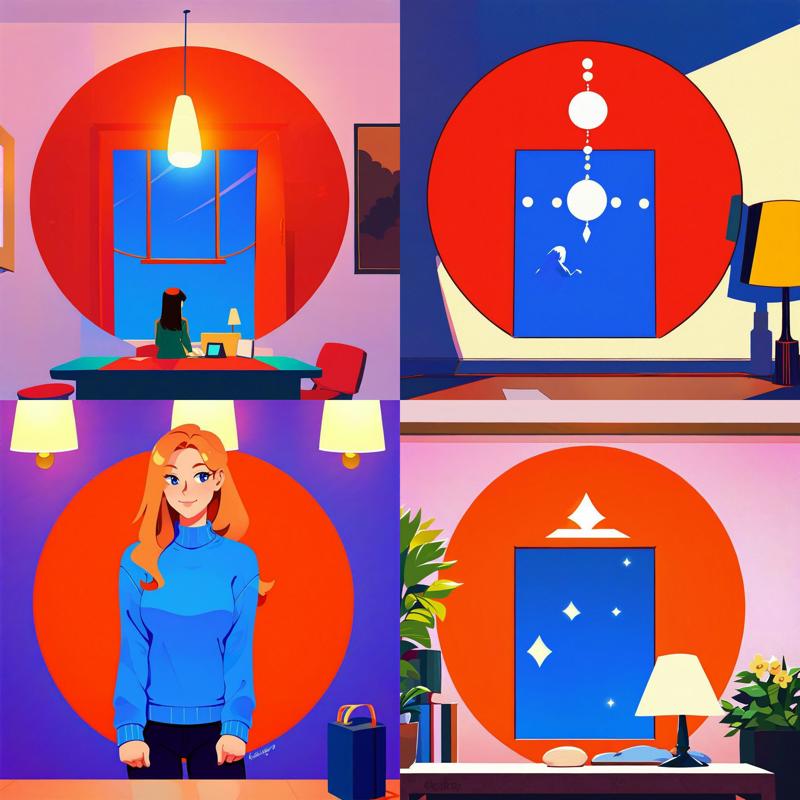
Here's the results at 1.0:
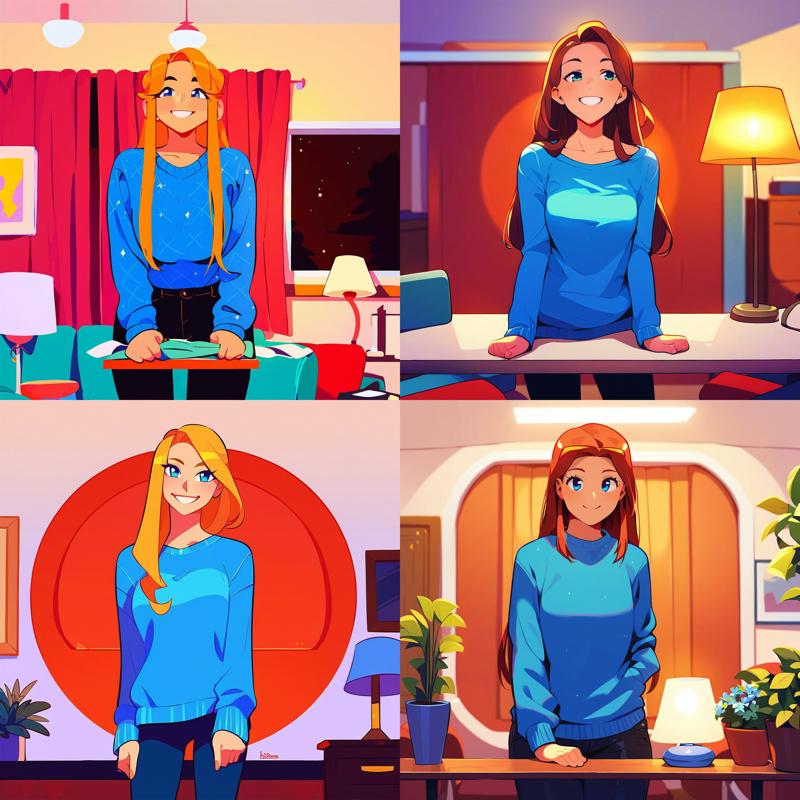
0.9:
0.85:
Automation of Random Processes
I made these examples by hand, and you should absolutely do this too, especially to inject stuff you want in addition to randomness.
However, an interesting possibility is programming a computer system to randomly perform these processes. Adding random shapes, colors, gradients, strokes, snippets of images from a bank (or AI generated from random prompts), and noise is definitely something that can be done by a simple computer program.
Here's the ImageMagick commands that made the noised-over red circle:
# convert -size 1024x1024 canvas: +noise Random full_noise.png
# convert -stroke black -fill red -draw "circle 512,512 768,768" full_noise.png noise_red_circle.png
# convert +noise Uniform -attenuate 100.0 noise_red_circle.png noise_red_circle_plus_noise.png
(Semi-)Random Chaining of Iterations
Lastly, instead of doing iterations of the same prompt and model/LoRAs, you can change things up between iterations to increase the randomness. Using prompts for part of the process and then dropping, changing them, or even introducing a conflicting prompt is especially valuable here. You might also try out switching between a few different styles to make something that blends elements from them. Also, as your generations become more coherent and less noisy, you can switch to much lower denoising strengths and/or inpainting.
Example
We'll start with this one from earlier:
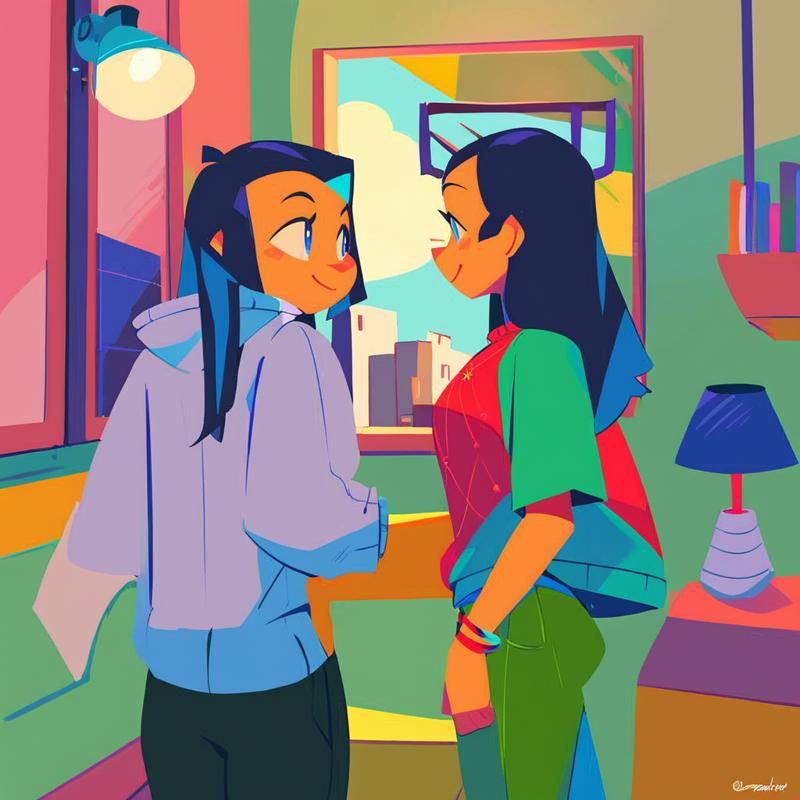
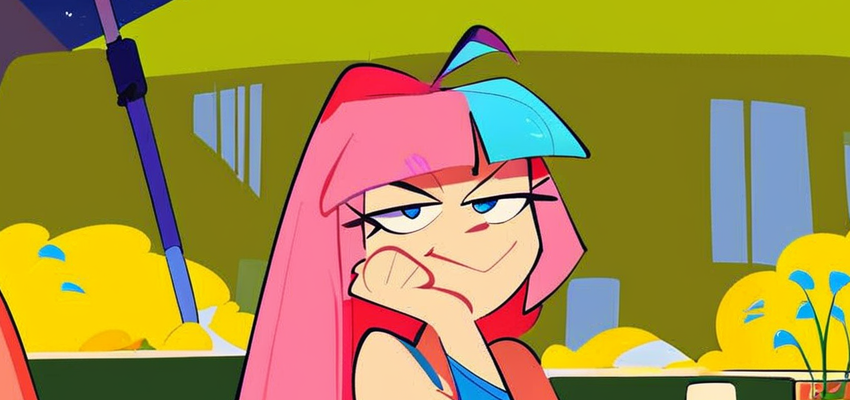
Let's make it an outdoor scene with a new prompt and the Visual Novel LoRA at denoising strength 0.75
score_9, score_8_up, score_7_up, woman, jacket, pants, boots, red hair, outdoors, sunny, trees, water, flowers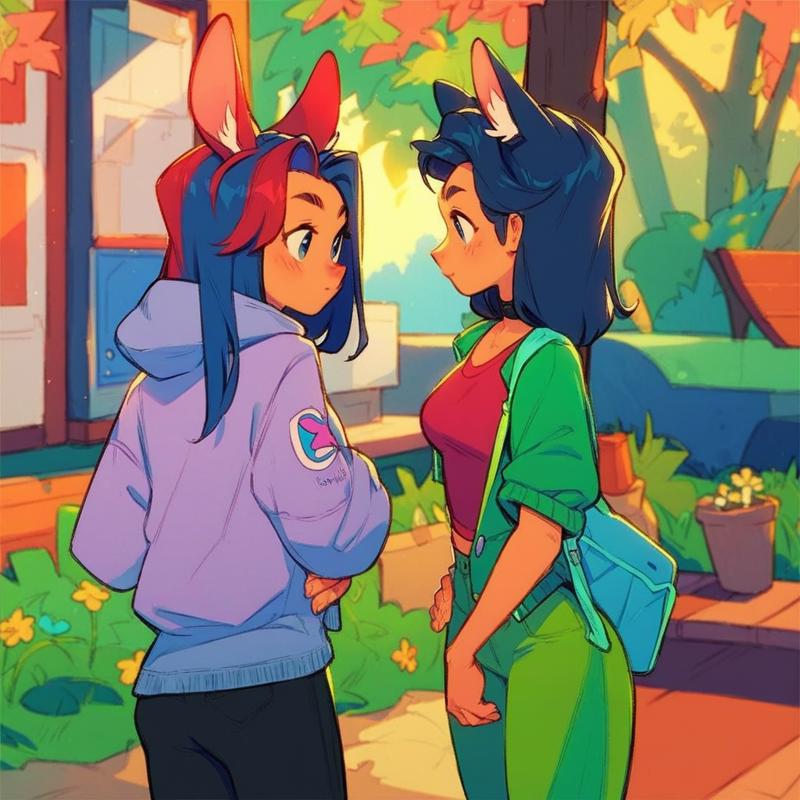
Next lets use my Oatd model and make it more farm-y with this prompt at denoising strength 0.65
score_9, score_8_up, score_7_up, woman, jacket, pants, outdoors, farm, smile, basket, flowers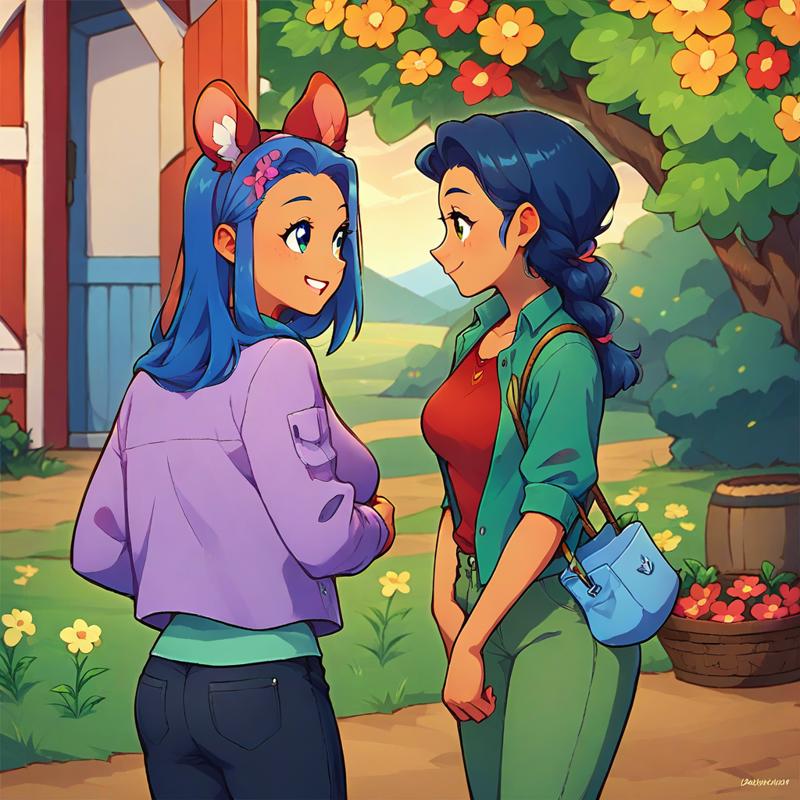
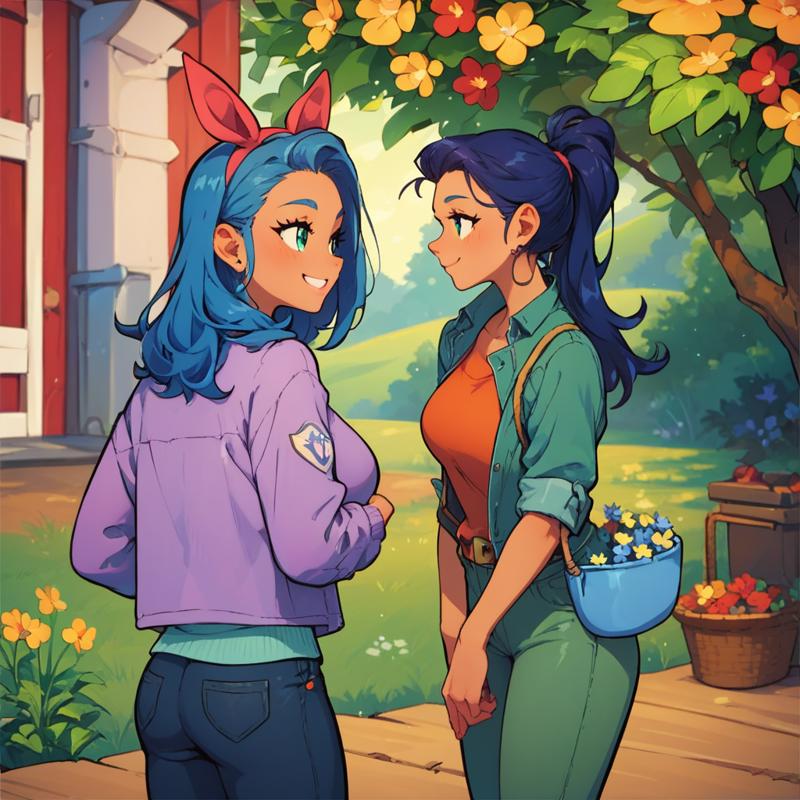
Lastly, lets keep the prompt and denoising strength of 0.65 and make it more detailed with my Galena model
Why Does This Work?
Generative AI produces images over a series of scheduled steps that start at pure noise and reduce noise at each step until reaching a complete image. img2img injects your image in the middle of this process, specifically as determined by the denoising strength parameter, and adds enough noise to your image to simulate being at that step. So, if you have 20 steps then a strength of 0.8 (80%) will start at step 4 (20% of the way in) and apply 80% noise to your image, and there will only be 16 steps performed to complete the image.
This is different from only performing 16 steps, because if you set it to 16 steps then each step will be larger and remove more noise. By starting four steps in to 20 steps, you skip the first four steps entirely and simply give the answer in the form of your input image. Your image can be anything, including things that would never occur without your intervention, such as pure noise continuing to persist or an image that severely clashes with the prompt.
These techniques inject (higher-order) noise and randomness at later stages than they would otherwise occur, causing the model to make more interesting generations. It only works at relatively early stages because if the image is too random too late then the model doesn't have enough power to impose order on the chaos (or has missed steps that introduce key structure, I'm not sure which is more accurate).
Another way to look at it is that the model is trained to produce high probability results with high probability, but high probability results are boring. However, the model is also trained to be accurate for a given noised image, so once it has information on the image it will tend to be right for that image. By injecting some structure you are steering it in a more interesting direction, and it doesn't have to be a full, accurate sketch.
If you think about things from the perspective of the model in the early stages of generation, it really does not have anything to go on starting with perfect noise, so it only has its biases to work with. If you ask for a woman in a sweater on a sunny day, it'll make pixels around the center more beige, pixels near the top bluer, and create an arc of more yellow pixels around where the sun is likely to occur. It's only after it leaves this early stage that the real work begins. Thus this stage is almost entirely responsible for the general boringness of txt2img generated images.
Iterative Convergence
The iterative approach works due to an effect I'm calling convergence that I'm writing another, longer article on (stay tuned!). The short version is as follows.
As you run a model iteratively on strings of generations from a source image with the same prompt, it will converge on producing similar results to what the model will produce with that prompt in txt2img (though crucially, it will not return completely, at least without extremely high numbers of iterations). How quickly it converges and how close it returns to normalcy is determined by the denoising strength. It also depends on how far away from the model's normal output the input image was, so for instance it'll already have converged completely without any iterations if the input image was generated from txt2img with the same model/prompt.
In the context of this article, we were using convergence to add a contribution from several different models and prompts over several different iterations, so we would have more interesting results. The reducing of the denoising strength helps preserve early contributions, which would otherwise be less likely to survive than late contributions. Also, it was converging towards a generally more polished looking image, moving it away from the original noise (the random scribble in the example from this article, which is hardly noticeable in the final iteration).
End Cap
Follow me on Civitai and AI Pub (Mastodon). I post new material to both locations from time to time, so if you're interested in seeing my progress on later articles or my artwork then definitely check it out.
Also go check out my other articles, they're similar to this one in terms of research depth. You'll probably learn something useful.
Thank you for reading my article!