This is an update of "Tutorial: konyconi-style LoRA", (finaly published as an article).
Updated parts are highlighted for easier navigation.
This tutorial showcases the typical process I follow for creating most of my LoRAs.
TLDR version: I utilize generated images; I incorporate simplistic illustrations into the training data; I employ basic captioning: [triggerword] [concept], and I use a simple Python script to create the caption files.
STEP 1: Find an idea (style / feature) and check that SD with your favorite checkpoint can't do it. Let's say, the boho-style.
Dear revAnimated, please generate a "boho tank" for me:
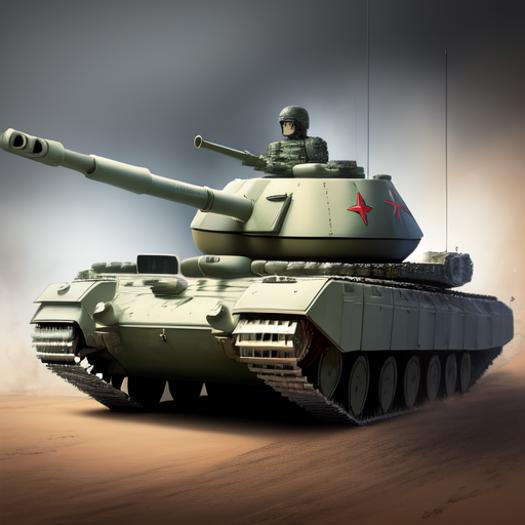
OK, the boho-style seems a good idea to try,
STEP 2: Check other image generators.
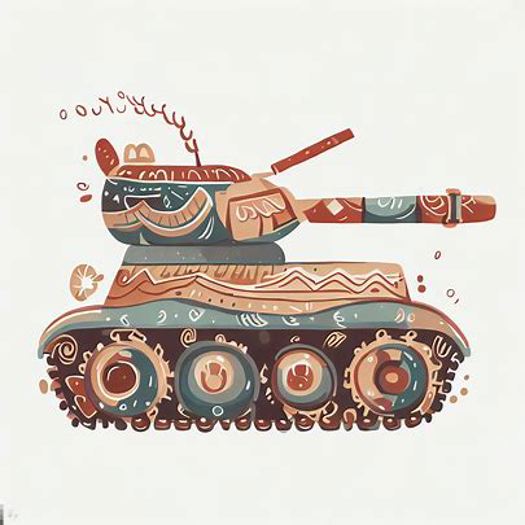
Dear Bing, please generate a "boho tank" for me:
prompt: illustration of battle tank in boho-style
Dear DALEE-2, please generate a "boho tank" for me:
prompt: battle tank in boho style, illustration
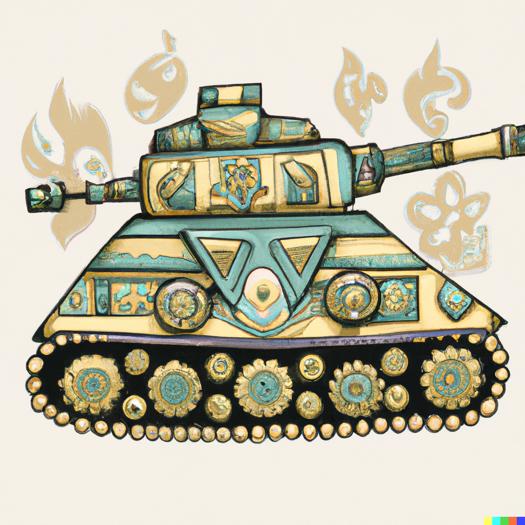
OK, we can see that these pictures somewhat capture the boho-style. Therefore ....
STEP 3: Generate the training set using an image generator which can understand the boho-style.
Some of my LoRAs use no generated images in the training set, while others incorporate a portion of generated images. Notably, my most recent LoRAs rely exclusively on generated pictures.
For example, generate "boho tank," "boho computer," "boho village," "boho dirigible," "boho submarine," etc. Aim for 1-6 images per concept, totaling 50-100 images.
I use Bing and Midjourney to generate the training data.
When you generate such uncommon things, like "boho tank" you might come across images such the ones shown in STEP 2. Don't worry about including these images in the training data; they're often better than (semi-)realistic pictures. For instance, my training data for BohoAI only contains the following examples of dirigibles:
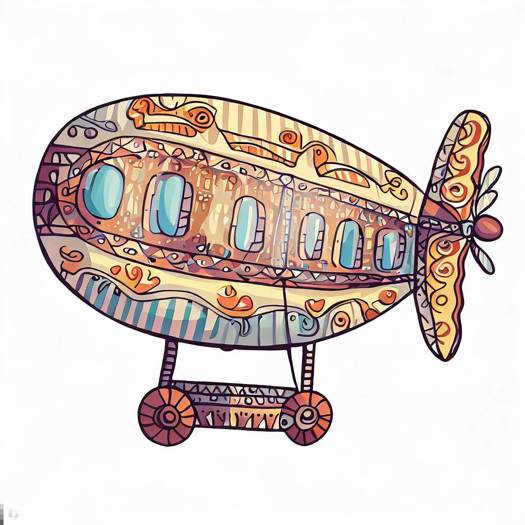
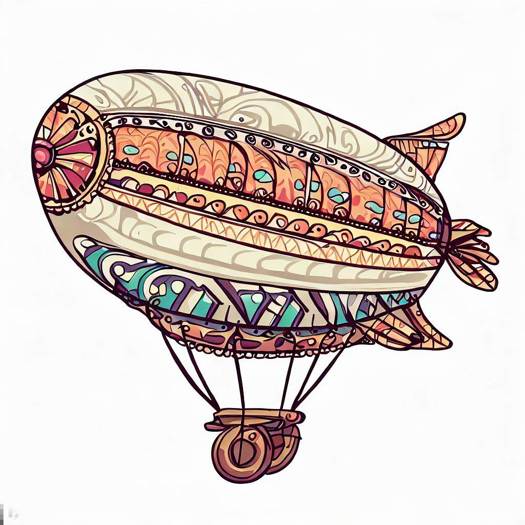
Yet, the final model produces this:
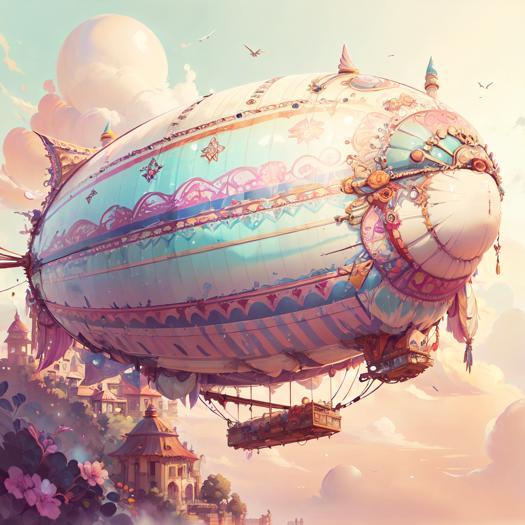
Why? The model actually learns the simplistic pictures and you could generate them if you used SD1.5 with prompt "bohoAI dirigible". But nobody does that. Everyone uses a finetuned checkpoint and richer prompt, usually with textual embeddings (like easynegative) to obtain a beautiful result.
Include also some (semi-)realistic pictures. They should not be problem to generate for some concepts, like "boho living room".
STEP 4: Clean up the images by removing logos, generated author signatures, and other similar elements. Also remove unwanted artefacts, like the extra cannon on the tank tower.
The removal can be quite crude: just place other part of the picture over the unwanted part.
Do not resize the picture.
Tip: you can remove logos from Bing pictures using automated tools: https://civitai.com/models/58610/konyconis-mass-logo-removal-gui-utility-tool
STEP 5: Captioning.
Use very basic captions, like "BohoAI dirigible."
To expedite the process, try this trick: save the images in a folder named after the concept. So, all dirigible pictures will be in a folder named "dirigible."
Once you have all images organized in their respective folders, execute the Python procedure I provide in attached files. It recursively travels through folders, and for each .jpg file creates .txt containing a given triggerword and the folder name.
question: Should I put all the filles to one folder, like "10_boho", or should I have one folder for each concept, like "10_tank", "10_dirigible"?
answer: It does not matter. The learning algorithm shuffles the contents of the folders anyway.
STEP 6: We are good to go. Train the LoRA.
I think that you cannot go wrong with your usual setting.After some experimenting, it seems that rank 128 and alpha 128 are needed to get the desired result. I'm going to make a deeper study later.
I'm sharing the config for kohya ss, but please take it with a grain of salt. I often change it and experiment blindly. BohoAI was trained with this config using 10 repetitions.
The LoRA encapsulates boho-style, adeptly applying it to untrained concepts.
Check dajusha's review picture (there are no pictures of any animals in my dataset.): https://civitai.com/images/616301?period=Week&periodMode=published&sort=Most+Reactions&view=categories&modelVersionId=56427&modelId=51966&postId=172873
STEP 7: Select an epoch
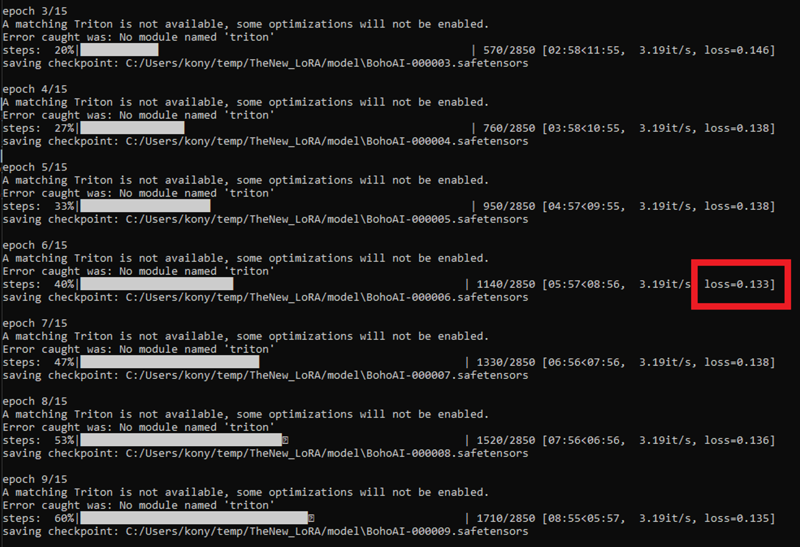
The attached config is set to 15 epochs. I usually go with the last one. Sometimes I check the epochs that correspond to dips in the loss function (see the picture below):
STEP 8: Resize the LoRA (I'm lazy and skip this step)
Kohya ss enables us to resize the LoRA.
If I don't skip this, I use the default setting and set desired dimension to 128 (yes, the same dimension as it already is). It is actually the maximal dimension of the result. The reduction algorithms tries to minimize it.
Usually it reduces the size of the LoRA from 140MB to 25MB.
I kindly ask you to consider supporting me with a coffee through these links:
