Objective
Installing ComfyUI on windows
Files
https://github.com/comfyanonymous/ComfyUI?tab=readme-ov-file
Default installation procedure here:
https://github.com/comfyanonymous/ComfyUI?tab=readme-ov-file#installing
I will follow the steps in this article adding some images and personal settings.
Git
You need to have a github account and git (https://git-scm.com/downloads/win ) installed on your computer
Installation
1° Download the last release from https://github.com/comfyanonymous/ComfyUI/releases

Download the ComfyUI_windows_portable_nvidia.7z
2° Unzip the file with 7zip in a folder, in my case c:\ ComfyUI

If you run_nvidia_gpu.bat and you are ready to start with the default configuration, nothing will work because you need models in your system.
3° Copy your models, you can download from Civitai.com and copy under the models\checkpoints
In my case C:\ComfyUI\ComfyUI\models\checkpoints i copied 1 model in the folder

Another suggestion, to get the last version run always a “git pull” to update the folder.
With CMD (windows command) go to your comfyUI folder C:\ComfyUI\ComfyUI and run git pull
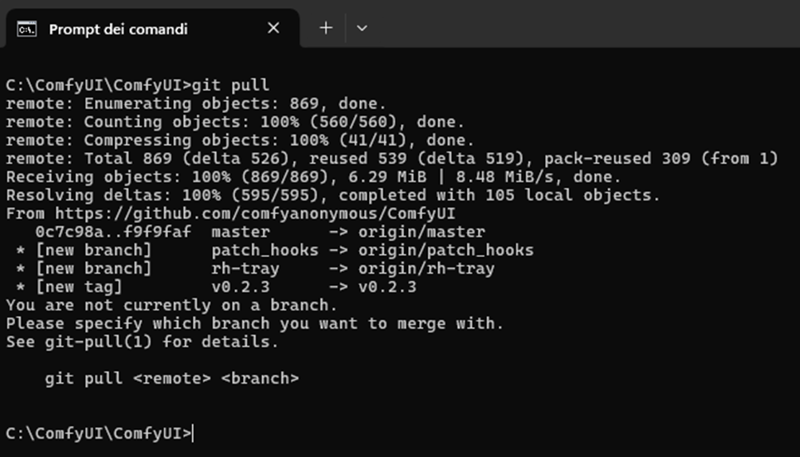
You will get the last version of the tool.
At this point we can run run_nvidia_gpu.bat
You wil see this screen :
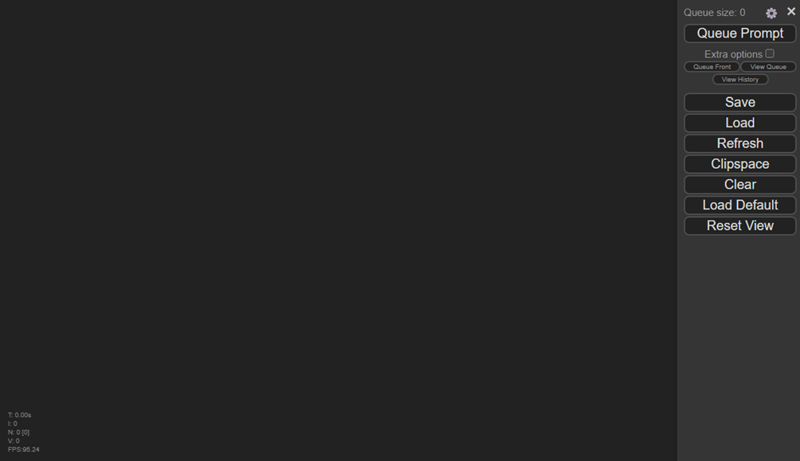
As a suggestion click the Settings button (Gear symbol) on top to access to the options and change the menù “Top”
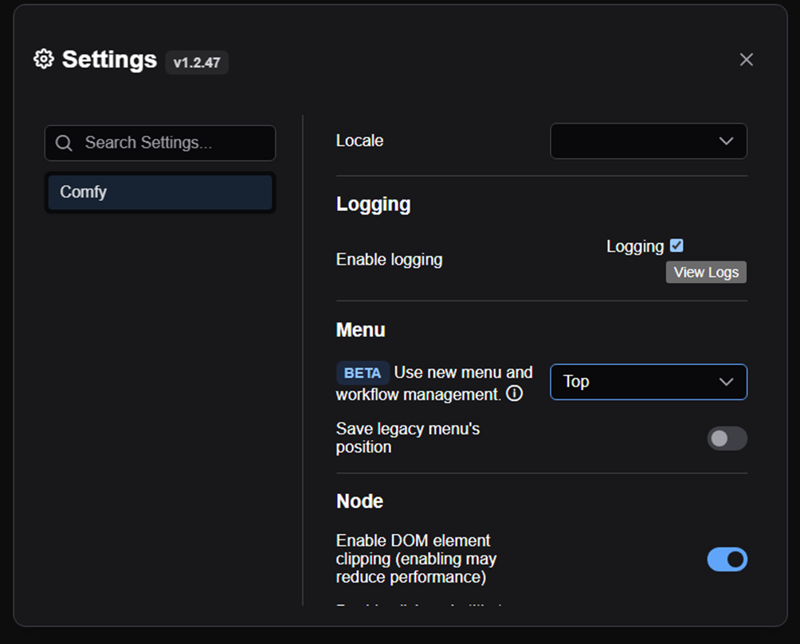
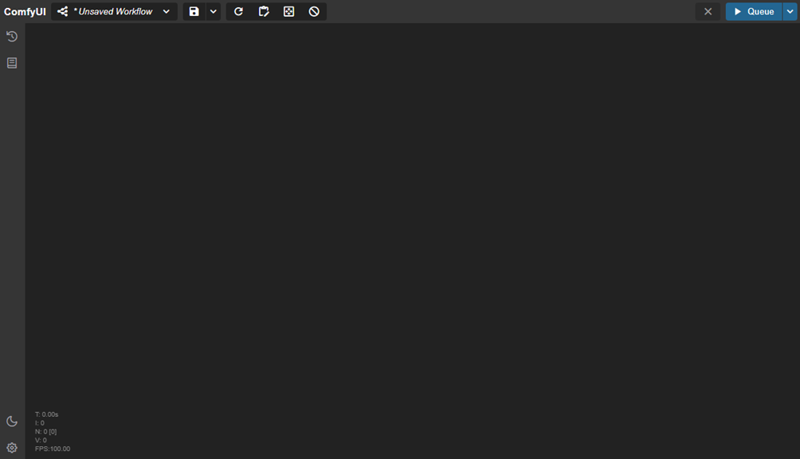
Now is much better, it is stil in beta but works great, you have :
Management of your worflow on top-left, top right the running button and on the left different option to see the queue, and the installed components.
Making an image
Let’s make the 1° checkpoint
Double click to add components, write "load ch" and select “Load Checkpoint”
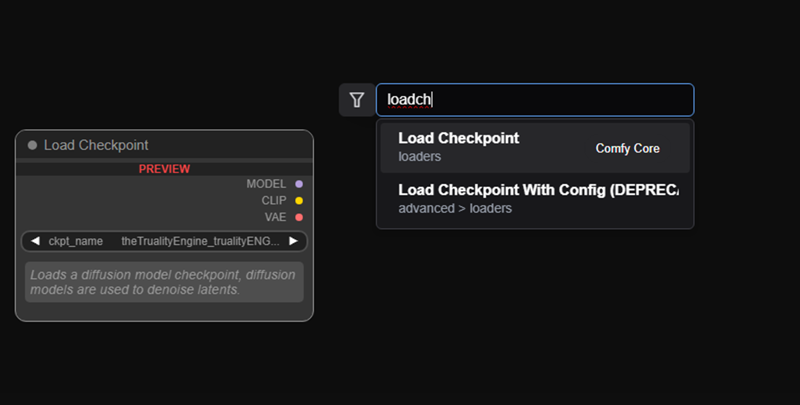
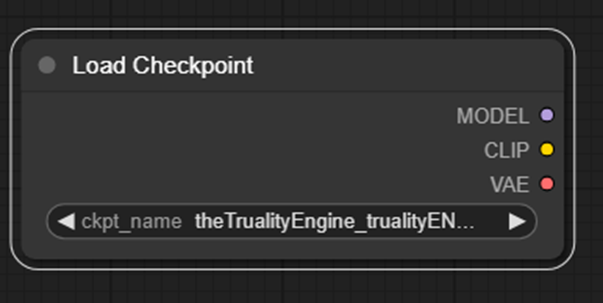
It will add a “load checkpoint” with your model, if you have more models you can change them.
Now let’s make the easier worklfow to generate an image
You need 2° “CLIP Text Encode (Prompt)” for positive and negative text, a “Empty Latent Image” for the size of the image, a KSampler that generate the image a “Vae Decoder” that convert the “latent data” to Image and a preview and save image .
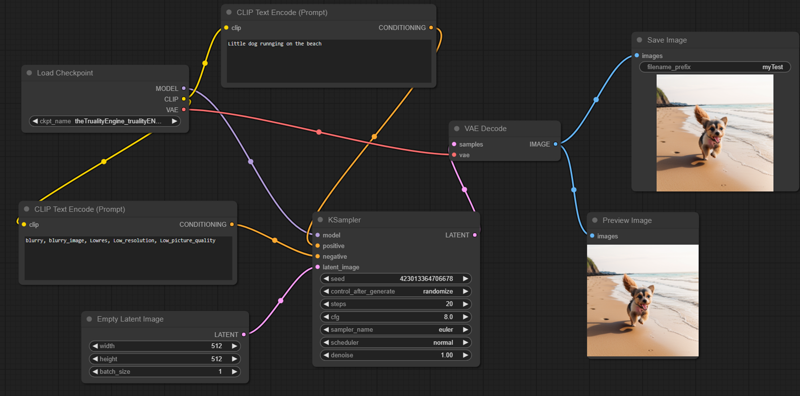
(Try to create it by yourself to learn how to add the components and connect them).
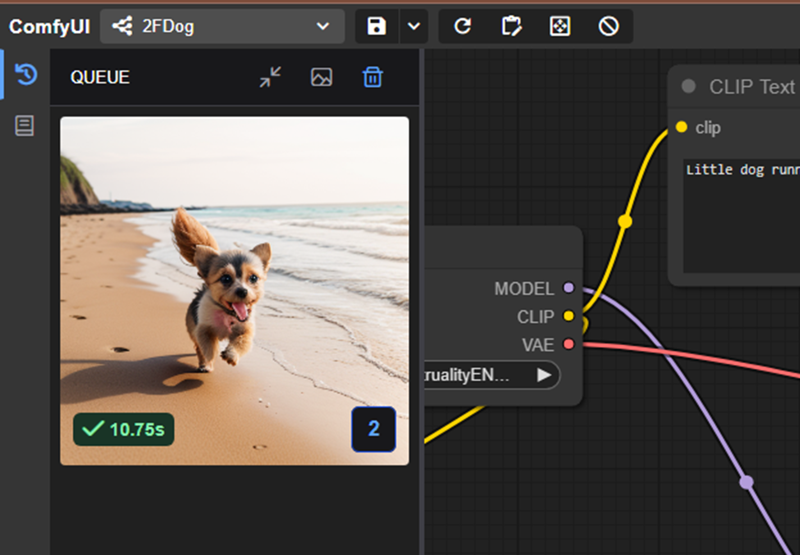
To run the generation press “Queue”, you can also click on the arrow to get more options, Number of images to generate and “Auto Queue”
Adding "Custom Nodes"
We need to install the https://github.com/ltdrdata/ComfyUI-Manager into the ComfyUI\custom_nodes\ folder
Run git clone https://github.com/ltdrdata/ComfyUI-Manager

If you restart Comfy-UI again .. now you will have the “Manager”
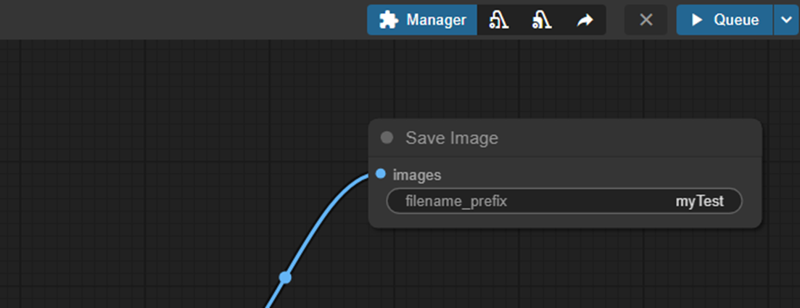
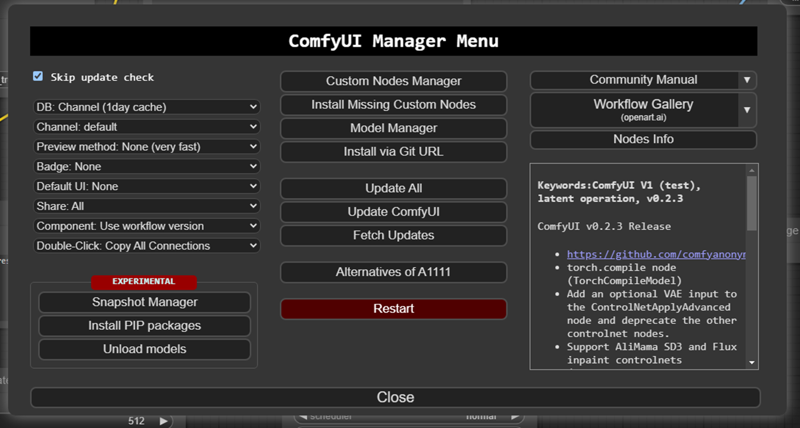
With this option now you can install models, nodes and update comfyui and components with one click.
I will write more articles in the future about COMFYUI.
I hope that this one will help you to learn the basics.


