Preface
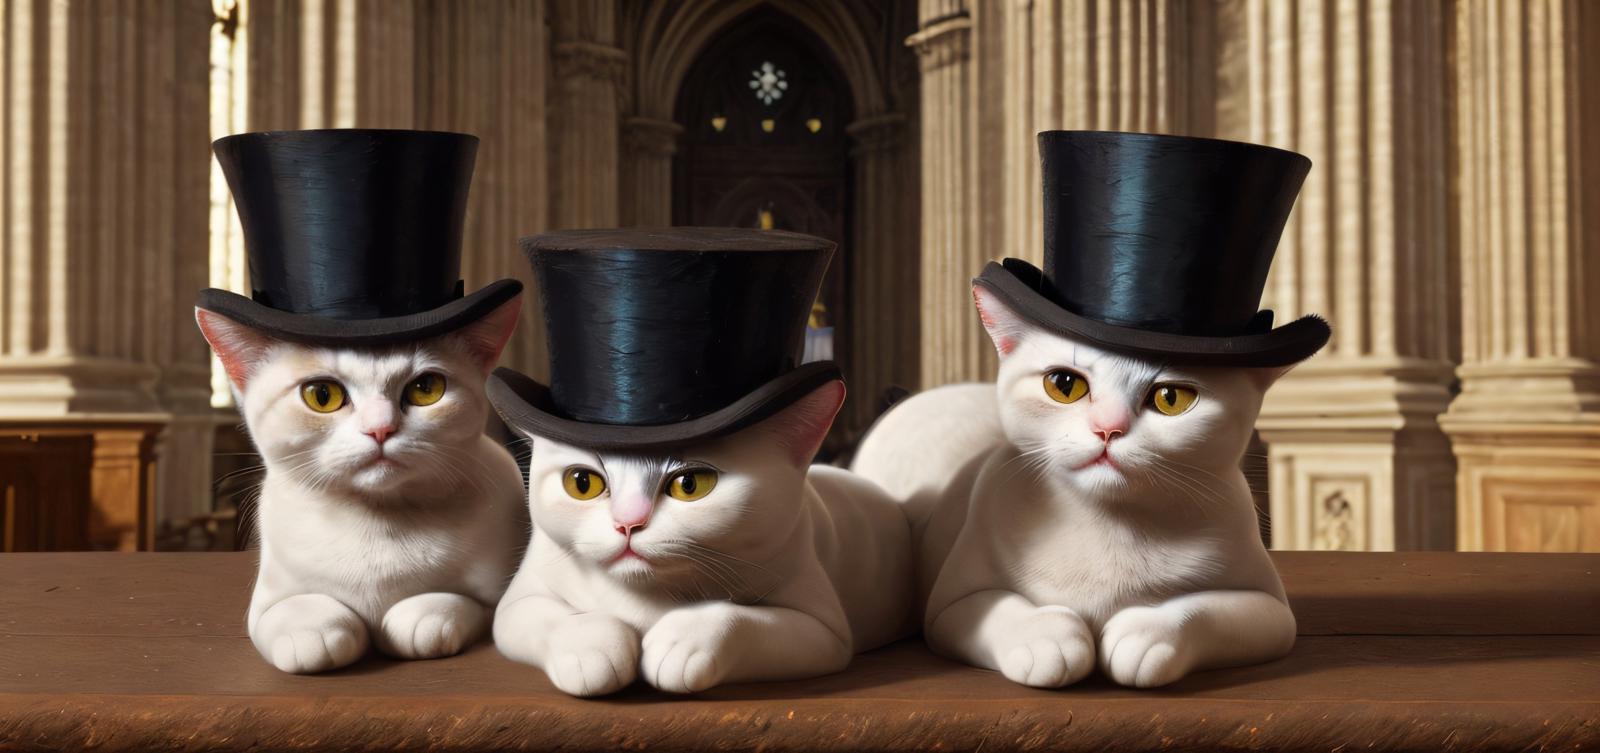
After writing my last article I played around with the images from yesterday with the intention to improve some malformed faces of some photos with the topic cat with top hat.
I learned (what I actually knew) that it is a little bit more complicated to fix faces and eyes for an arbitrary given image. But the steps are easy to get restored eyes and faces which I will demonstrate.
I will give two good references next to the explanation of my current example as I did before. These references explain better and in more detail what I am demonstrating here. So I do not have to reinvent the wheel again and again.
Assumptions
In the context of this article, I assume that the web UI AUTOMATIC1111 is installed. Furthermore the Extension ADetailer should be available. ADetailer is not needed for the presented example but it is needed to work with examples from the references and for my last example.
Example Image
I had to create some image for a CIVITAI post to show how my new LoRA model works. For this purpose I wanted to use a cat with top hat. Most of the images created were frustrating as the ADetailer did not work as desired, even though the image was suitable apart from the face. Figure 1 shows one of the created bad images. This was good enough for demonstration purposes but not for more.
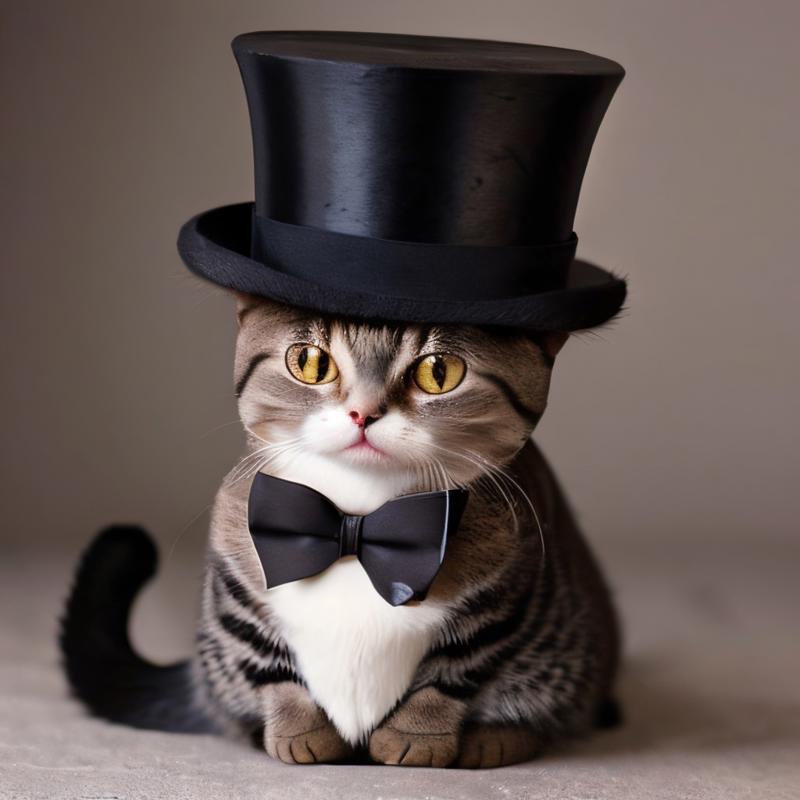
Figure 1: Cat with malformed eye
As one can see one eye of the cat are friendly spoken ugly and unreal. In the next section I explain how one can fix this.
How to Fix the Face
I decided to use an approach for fixing the faces without using ADetailer. This can be done by using Inpainting.
Go to img2img and Inpaint to use Inpainting. I used copy and paste to put the image to the Inpainting tab.
With the following setting
Mask mode: Inpaint masked
Masked content: Original
Inpaint area: Only masked
Denoising strength: 0.7
one will get fast and good results for the malformed face.
The masked area I used can be seen in Figure 2.
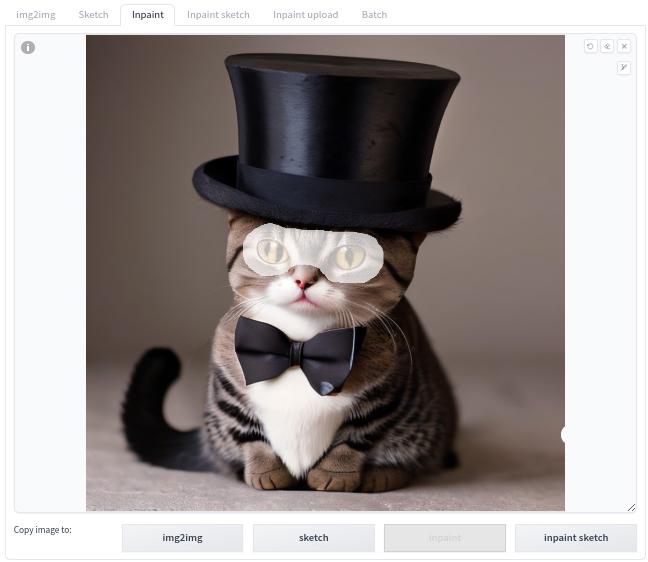
Figure 2: Image of the cat with masked area
I used following Prompt
beautiful cat eyes, highly detailed eyes, realistic eyesand Negative Prompt
ugly eyes, imperfect eyes, deformed pupils, deformed irisKeep in mind that you have to paint the mask over the face as accurate as possible. Then the results out of the box quite good.
See [1,2] for more information how to fix faces.
Resulting Images
Figure 3, Figure 4 and Figure 5 are three images out of a set of 27 images with the desired result. The first 27 images were more or less for learning purposes how to get good results.
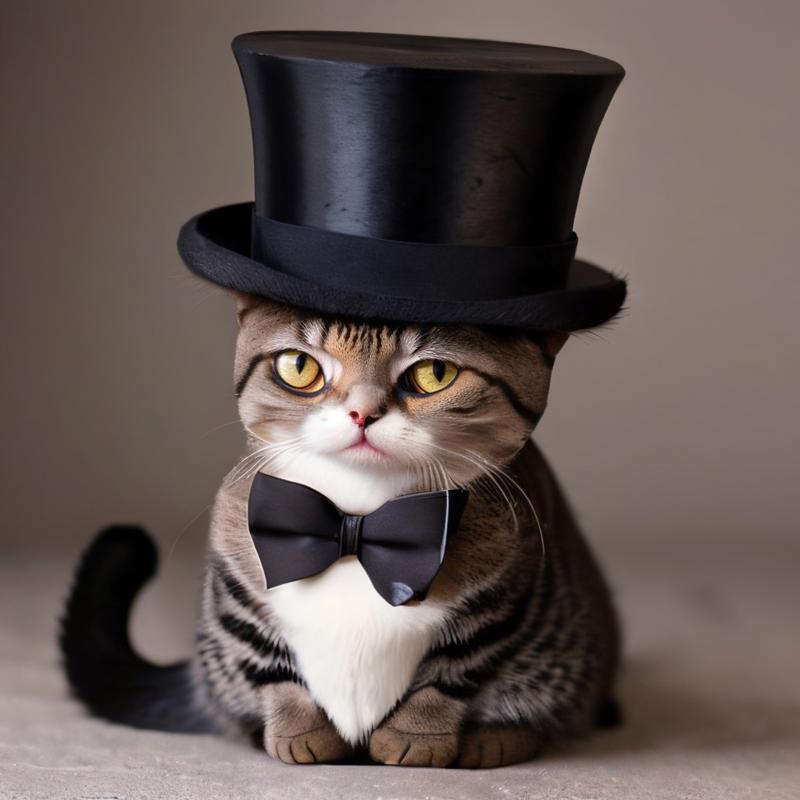
Figure 3: Cat with fixed face
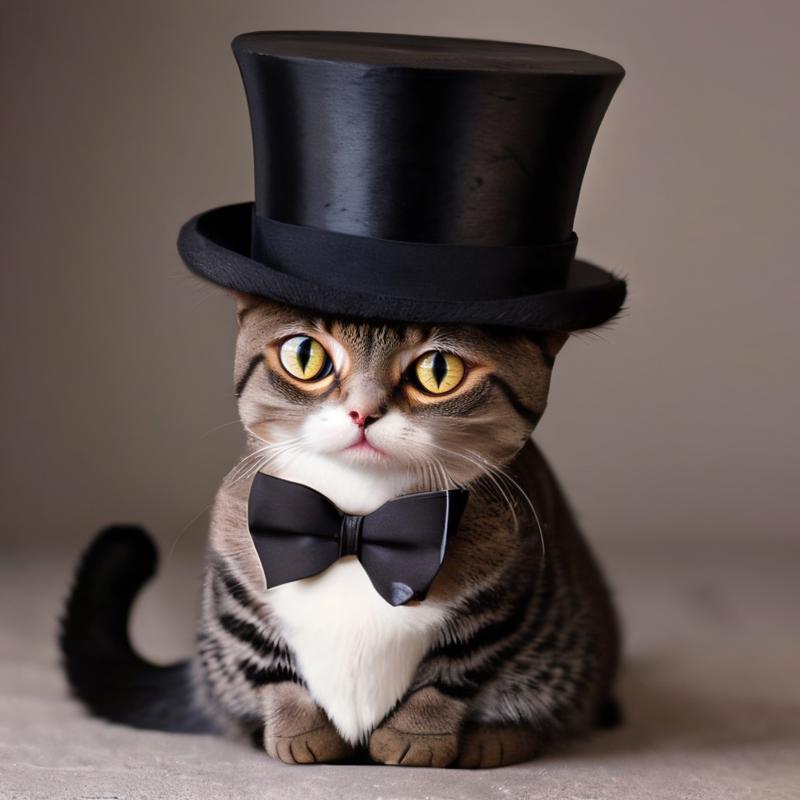
Figure 4: Cat with fixed face
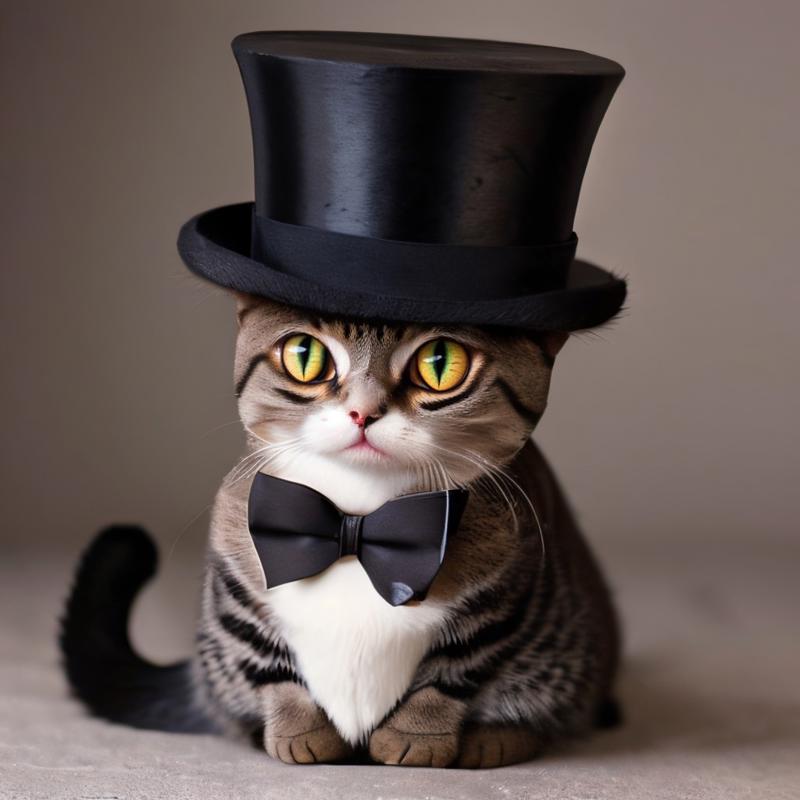
Figure 5: Cat with fixed face
It is up to the viewer to decide which Image of the last three is the best.
No Prompt and ADetailer
Last but not least I am presenting my example using ADetailer. For this I did not use a Prompt and Negative Prompt and I changed one setting:
Inpaint area: Whole picture
The result of this operation can be seen in Figure 6.
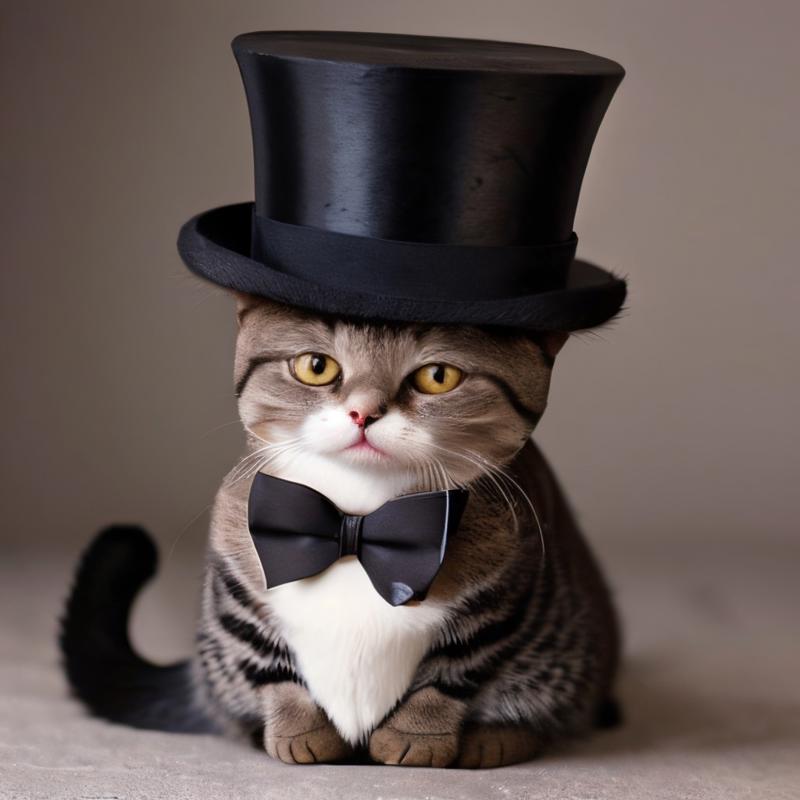
Figure 6: Cat with fixed face
I prefer the prior made images. These are more expressive.
Conclusion
It could be demonstrated that an ugly face with malformed eyes can be improved in a way that a less unusable image is usable after applying Inpainting.
Final Words
I love the existing technology for AI image generation. Have a nice day. Have fun. Be inspired!


