
The Traditional Path: Starting with A1111
PolyPhaze | Generate reality @ PolyPhaze | Patreon
Like many generative AI enthusiasts, I started my journey with A1111. I don’t recall the exact version, but it was just before the transition from Stable Diffusion 1.5 to SDXL—around a year and a half ago. Back then, most tutorials focused on A1111 and its variants, such as Fooocus and Forge, which were emerging alongside it.
Whenever I watched tutorials featuring ComfyUI, it looked intimidating—like a maze of wires, nodes, and modular connections. For a long time, it seemed like an overwhelming programming tool rather than something approachable. I imagine a lot of users felt the same way. But now, after nearly two years of experimenting, ComfyUI has become my primary tool for generative work, bringing a renewed sense of fun and creativity back into the process. Rediscovering these creative techniques has reminded me how exciting it can be to push boundaries and try new things.
Why I Made the Switch to ComfyUI
My initial motivation to try ComfyUI was video creation. I was exploring prompt schedulers, vid2vid, Animatediff, SVD, and more, and A1111 began to feel limiting. Through tutorials, I gradually realized that ComfyUI was the tool that best suited my needs, especially for more advanced video and multimedia applications.
That’s not to say that any one tool is “better” than the others. Every tool has its strengths, and my goal here isn’t to convince anyone to use just one tool like it’s a one-size-fits-all solution. Instead, I want to spark curiosity about different methods and approaches. By diversifying the ways we create, we can elevate our art beyond just prompts, checkpoints, and Loras.
Rediscovering Forgotten Techniques to Boost Quality
Over time, we tend to rely on familiar workflows. But I've found it rewarding to revisit earlier techniques that can significantly enhance quality. In this guide, I'll share some of these methods that might take you back to the basics or introduce new possibilities for your creations. Many of them can be adapted to any tool—whether you're using A1111, Forge, or Fooocus—though some techniques are best realized with ComfyUI.
Using Color Gradient to Guide Lighting
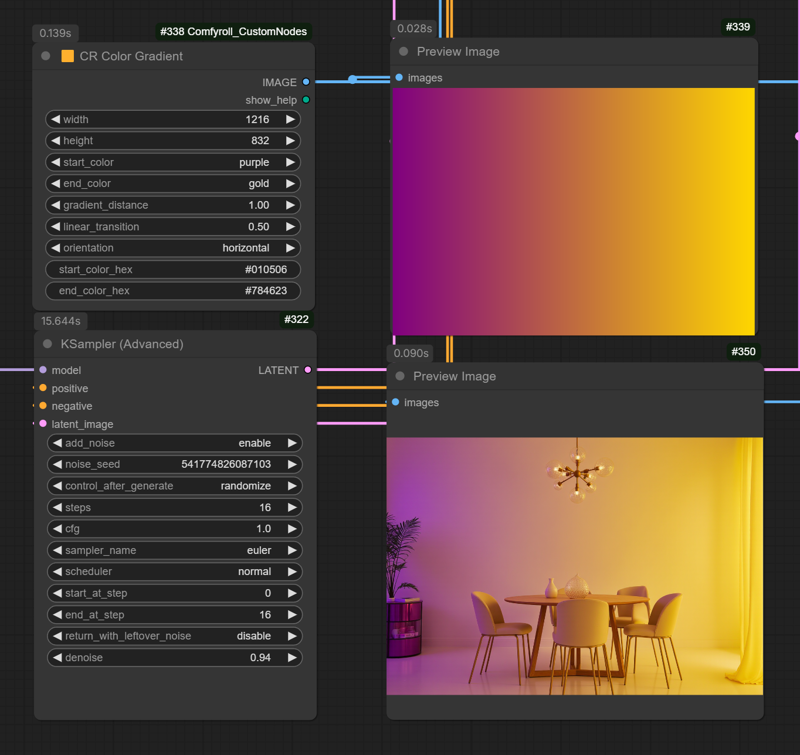
In the image above, you’ll notice a unique lighting effect created with a simple color gradient generator. I "injected" this gradient during the initial stages of KSampler (Advanced), which is part of a cascade of samplers utilizing the Super Flux technique. This approach opens up unconventional possibilities for lighting by applying varied colors and subtle transitions early in the sampling process.
By experimenting with gradients in different colors, angles, and shapes, you can guide lighting in ways that feel fresh and dynamic. It’s a technique that adds depth and ambiance, elevating the visual mood of your compositions.
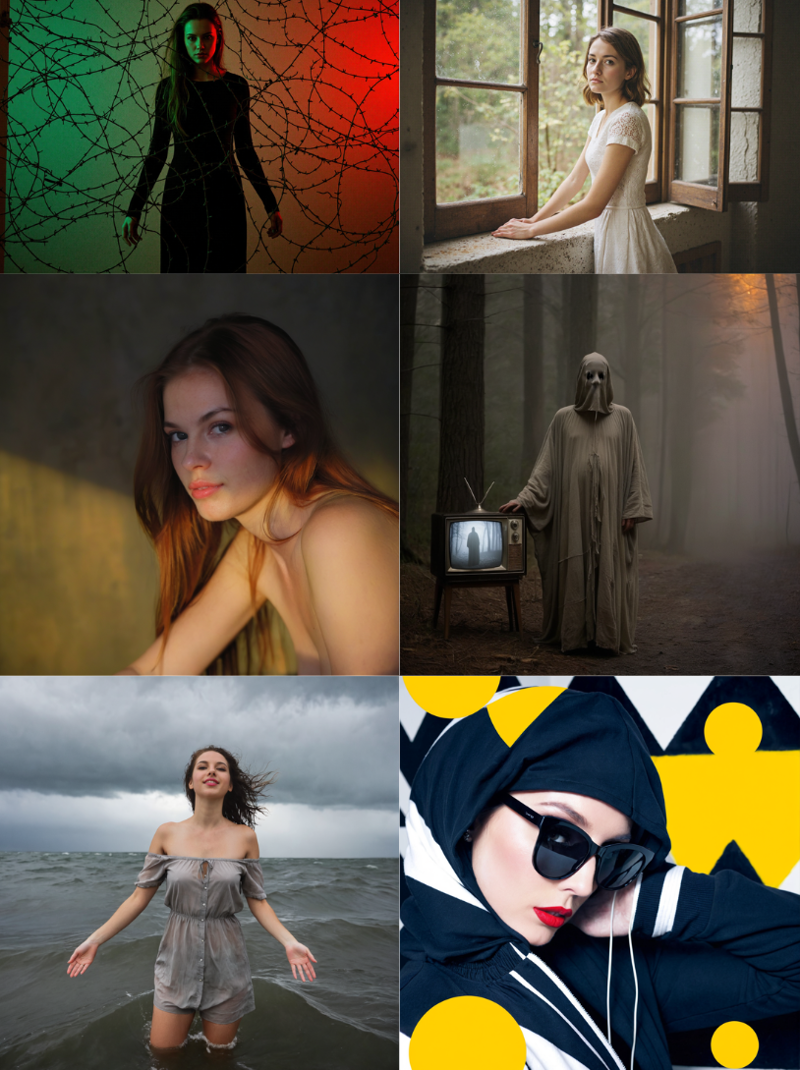
Examples:
Using Images to Guide Image
Building on the previous technique, the next step was to use an existing image to "inject" its lighting and shapes into a new generated image. In this process, the guiding image primarily serves to capture its lighting characteristics and overall mood.
For best results, I recommend using abstract images with distinctive lighting features or strong focal points, like in the example below. This method can add depth and a unique atmosphere to your creations by transferring the essence of one image’s lighting onto another.
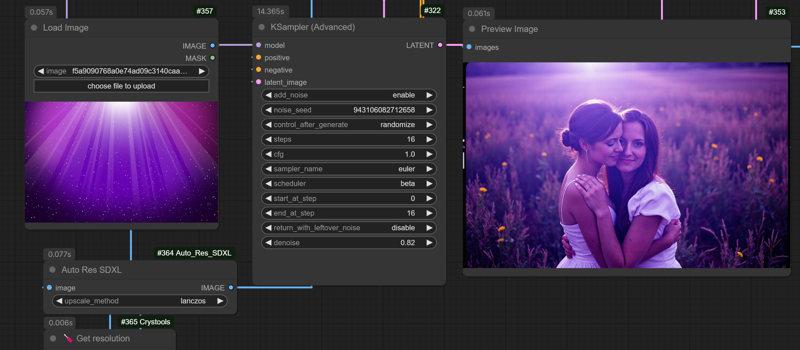
The goal here isn’t to replicate the guiding image exactly but rather to emulate how the light is distributed and how it influences the generated image’s mood and depth.
To achieve this effect, I modified KSampler (Advanced) to include a denoise option, as previously only start and end steps were adjustable. I also created a custom node called Auto Res SDXL, which automatically converts any image to SDXL-compatible aspect ratios, based on its parameters. This node is also adaptable for other models, including Flux, SD3, and SD3.5, ensuring seamless integration across different workflows.
Conclusion?
I hope this article inspires you to explore new and creative approaches in your AI generations. Rediscovering techniques like these has brought a lot of fun back into my process, reminding me that experimentation is as rewarding as the final result. If you’d like to learn more about the methods I use and dive deeper into advanced techniques, consider following my Patreon. There, you’ll gain access to exclusive insights, tutorials, new tools, Loras, and checkpoints that our team is constantly developing to support your creative journey.
PolyPhaze | Generate reality @ PolyPhaze | Patreon

List of tools used
Loras:
Fujifilm Pro 400H (Patreon version)
Fujifilm Pro 400H (Patreon version)
Cinematic (Patreon version)
Workflow and Nodes: