

Step-by-Step Guide Series:
ComfyUI - OUTPAINT Workflow
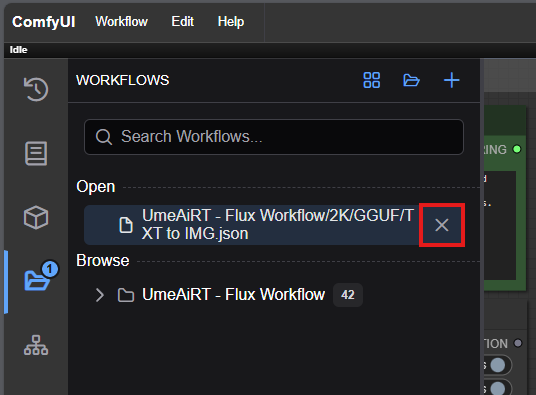
This article accompanies this workflow: link
Workflow description :
The aim of this workflow is to generate an extended images from another one and a text in a simple window.
Prerequisites :
📂Files for "base" version :
Fill model : flux1-fill-dev-x.safetensors
in ComfyUI\models\unet
VAE : ae.safetensors
in \ComfyUI\models\vae
CLIP : t5xxl_fp8_e4m3fn.safetensors and clip_l.safetensors
in \ComfyUI\models\clip
📂Files for GGUF version :
Recommendation :
24 gb Vram: Q8_0
16 gb Vram: Q5_K_S
<12 gb Vram: Q4_K_S
Fill_GGUF_Model : flux1-fill-dev-QX_0.gguf
in ComfyUI\models\unet
GGUF_clip : t5-v1_1-xxl-encoder-QX_0.gguf
in \ComfyUI\models\clip
Text encoder : ViT-L-14-TEXT-detail-improved-hiT-GmP-TE-only-HF.safetensors
in \ComfyUI\models\clip
VAE : ae.safetensors
in \ComfyUI\models\vae
ANY upscale model :
Realistic : RealESRGAN_x4plus.pth
Anime : RealESRGAN_x4plus_anime_6B.pth
in models/upscale_models
📦Custom Nodes :
Don't forget to close the workflow and open it again once the nodes have been installed.
Usage :
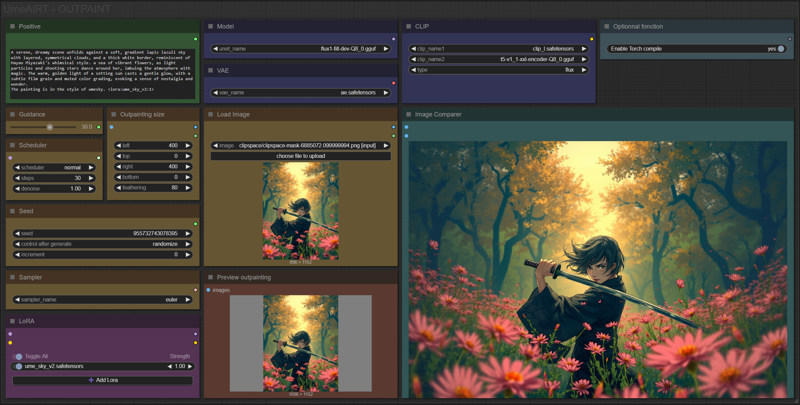
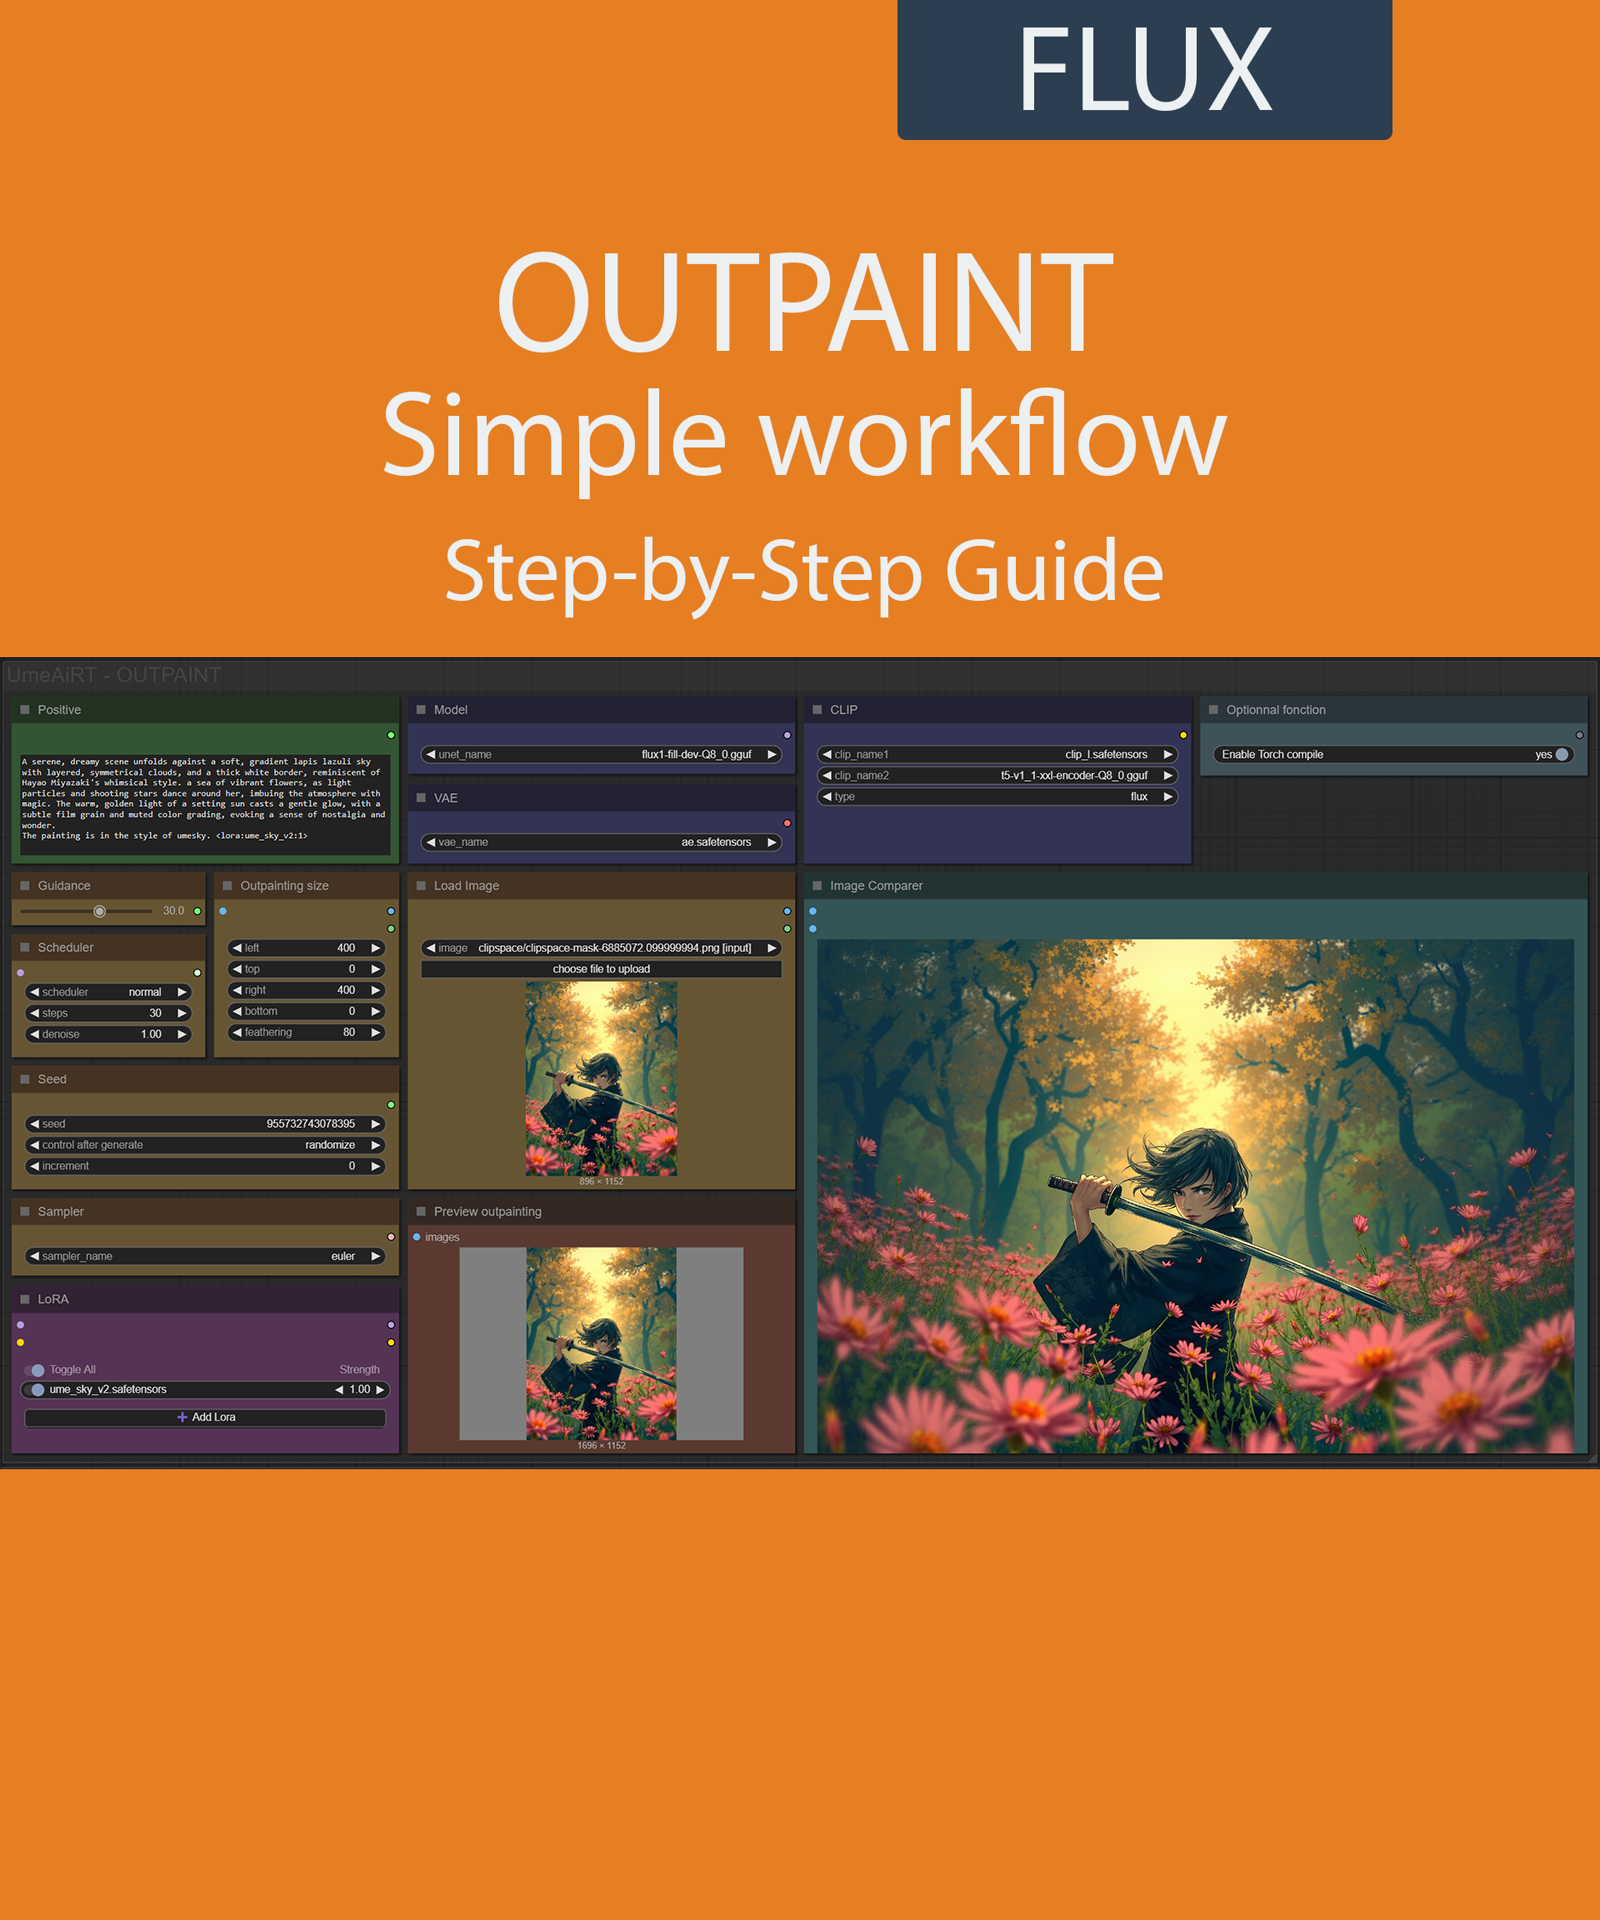
In this new version of the workflow everything is organized by color:
Green is what you want to create, also called prompt,
Yellow is all the parameters to adjust the video,
Blue are the model files used by the workflow,
Purple is for LoRA.
We will now see how to use each node:
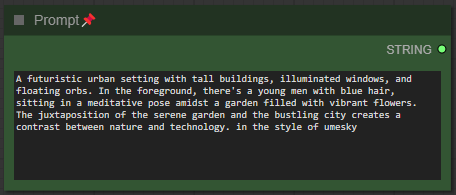
Write what you want in the “Prompt” node :
Choose the guidance level :

I recommend 30. The lower the number, the freer you leave the model. The higher the number, the more the image will resemble what you “strictly” asked for.
Choose a scheduler and number of steps :
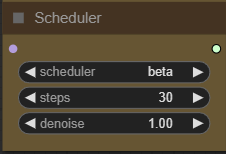
I recommend normal or beta and between 20 and 30. The higher the number, the better the quality, but the longer it takes to get an image.
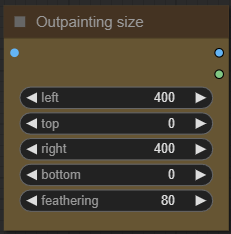
Choose how much you want to enlarge your image:
Choose a sampler :
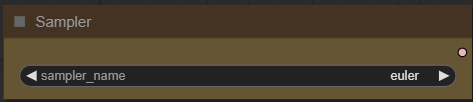
I recommend euler.
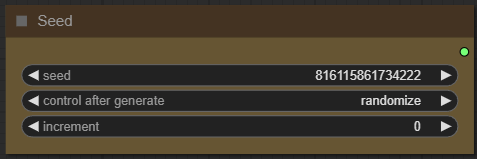
Define a seed or let comfy generate one:
Add how many LoRA you want to use, and define it :

If you dont know what is LoRA just dont active any.
Load your base image :
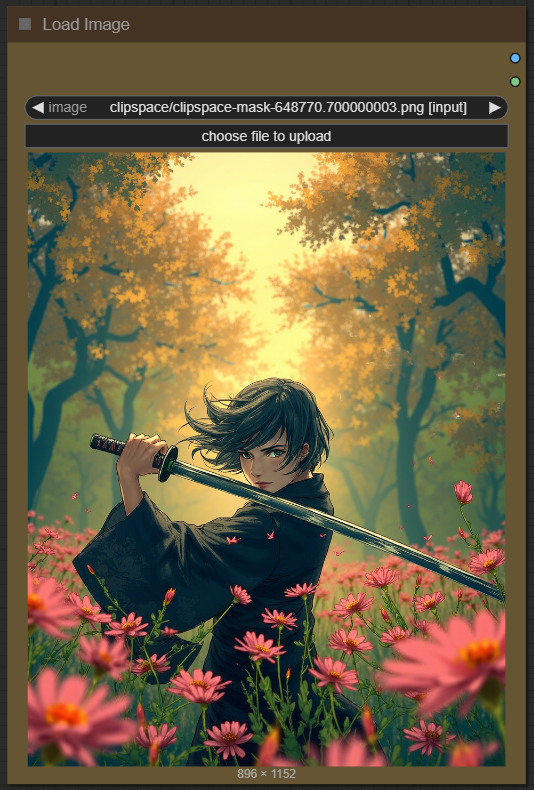
The new image size of the original image increases by your settings. So be careful not to make it too big, or the generation will be very slow.
Choose your model:
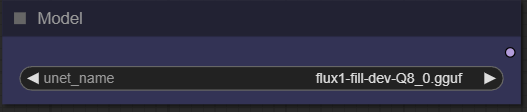
Depending on whether you've chosen basic or gguf workflow, this setting changes. I personally use the gguf Q8_0 version.
Choose a FLUX clip encoder and a text encoder :
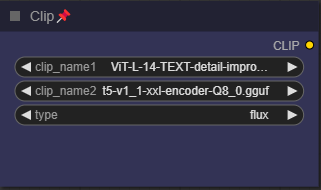
I personally use the GGUF Q8_0 encoder and the text encoder ViT-L-14-TEXT-detail-improved-hiT-GmP-TE-only-HF.
Now you're ready to create your image.
Just click on the “Queue” button to start:

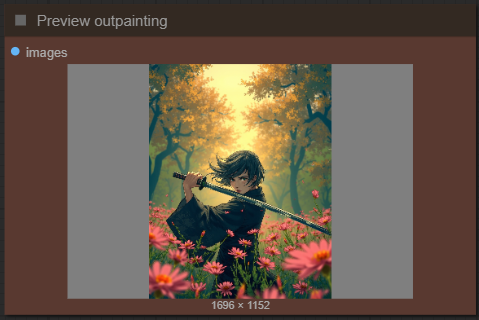
You will see a preview of the areas added to your image:
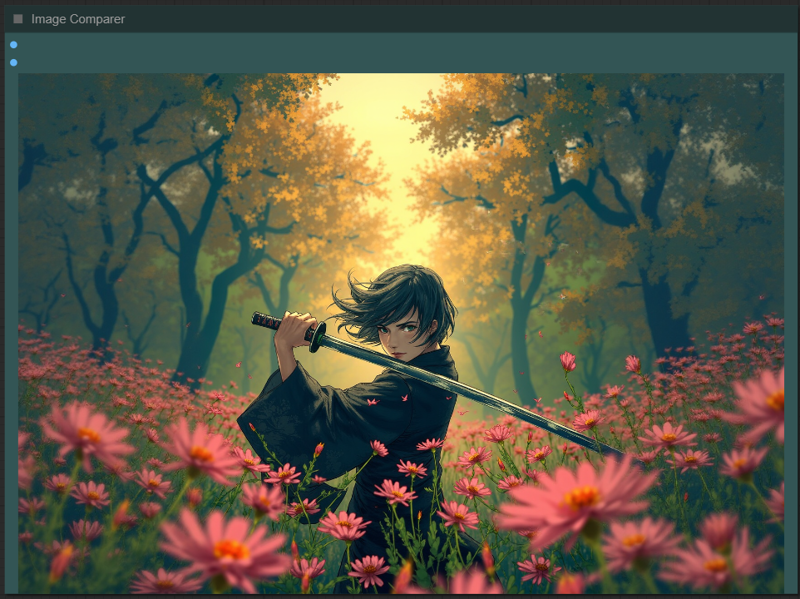
Once rendering is complete, the image appears in the “image viewer” node.
Hovering the mouse over the image allows you to see the before and after.
This guide is now complete. If you have any questions or suggestions, don't hesitate to post a comment.
