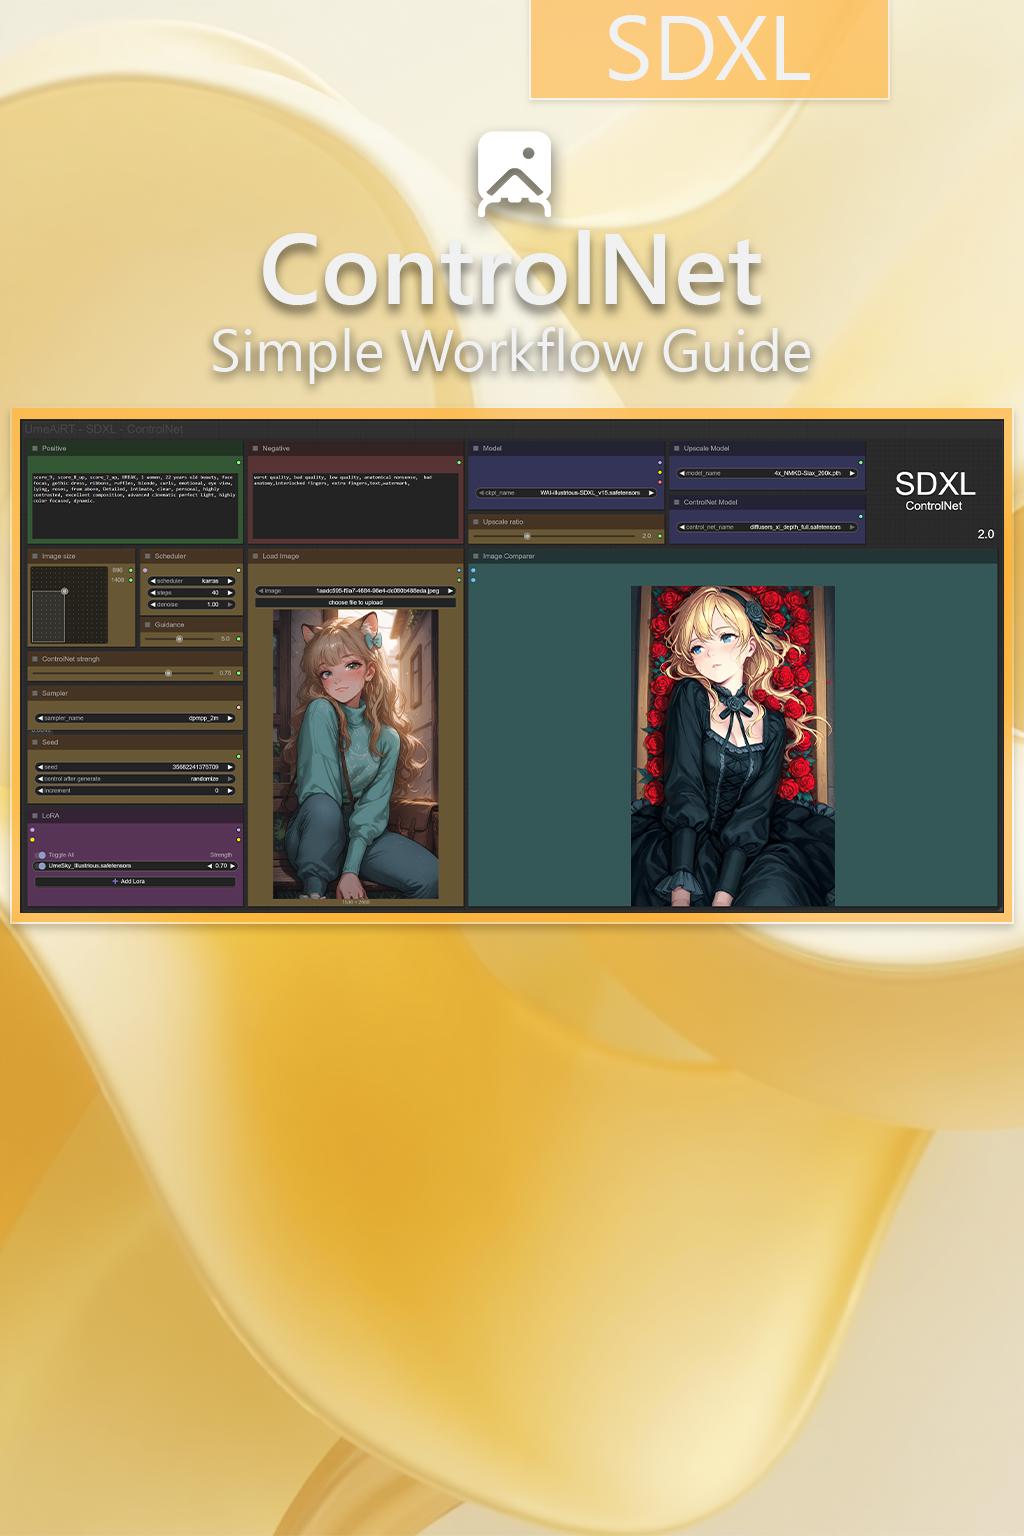
Step-by-Step Guide Series:
SDXL - IMG to IMG Workflow
This article accompanies this workflow: link
This guide is intended to be as simple as possible, and certain terms will be simplified.
Workflow description :
This workflow allows you to generate images from text inspired by an existing image using a ControlNet processor. It is optimized to integrate all metadata for simplified online publishing.
Prerequisites :
📂Files :
An SDXL model : like this one
in ComfyUI/models/checkpoints/As many LoRAs as you like : like this one
in ComfyUI/models/loras/A ControlNet model :
📦Custom Nodes :
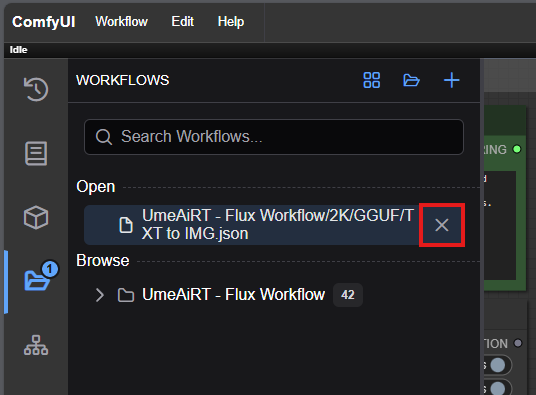
Don't forget to close the workflow and open it again once the nodes have been installed.
Usage :
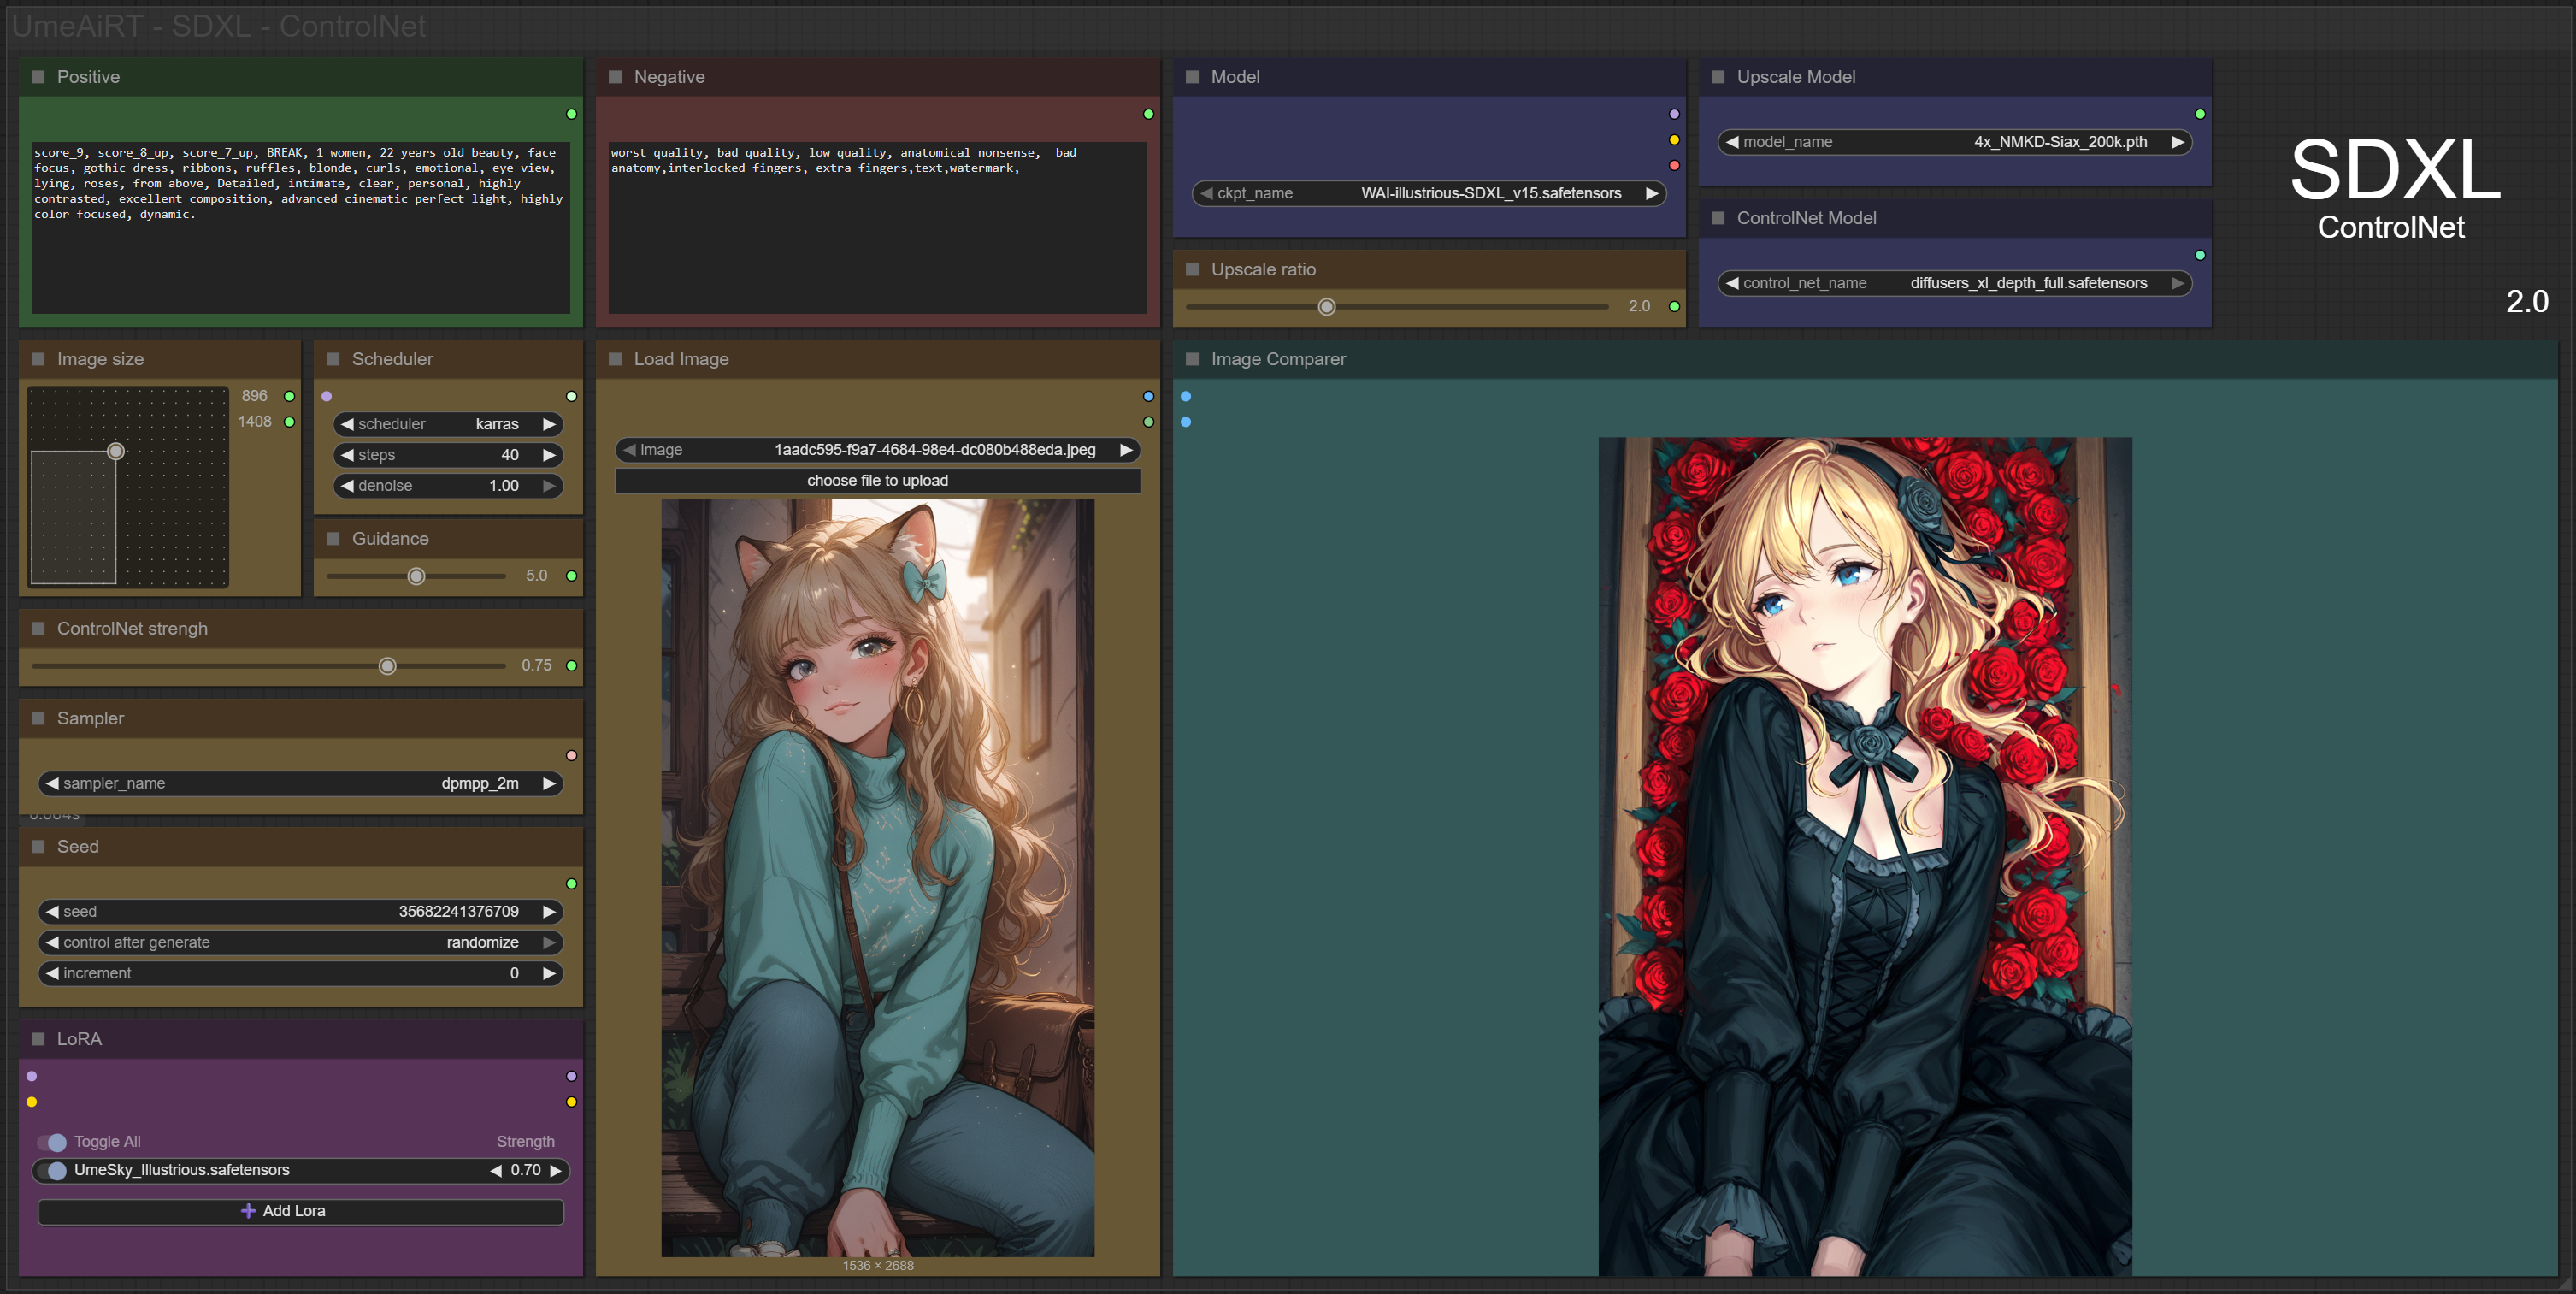
In this new version of the workflow everything is organized by color:
Green is what you want to create, also called prompt,
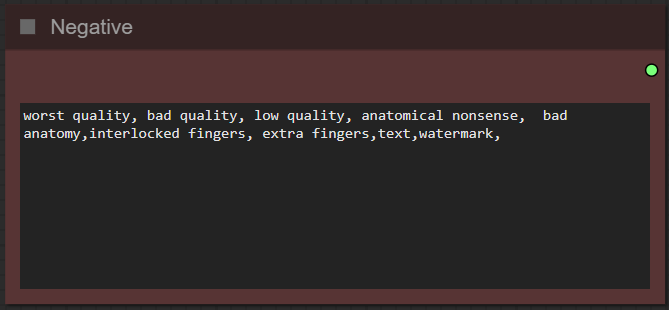
Red is what you dont want,
Yellow is all the parameters to adjust the image,
Blue are the model files used by the workflow,
Purple is for LoRA.
We will now see how to use each node:
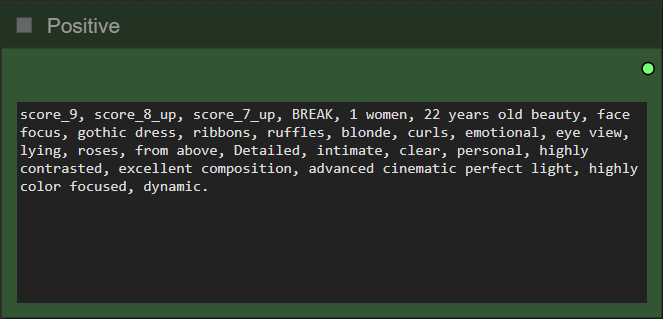
Write what you want in the “Positive” node :
Write what you dont want in the “Negative” node :
Select base image :
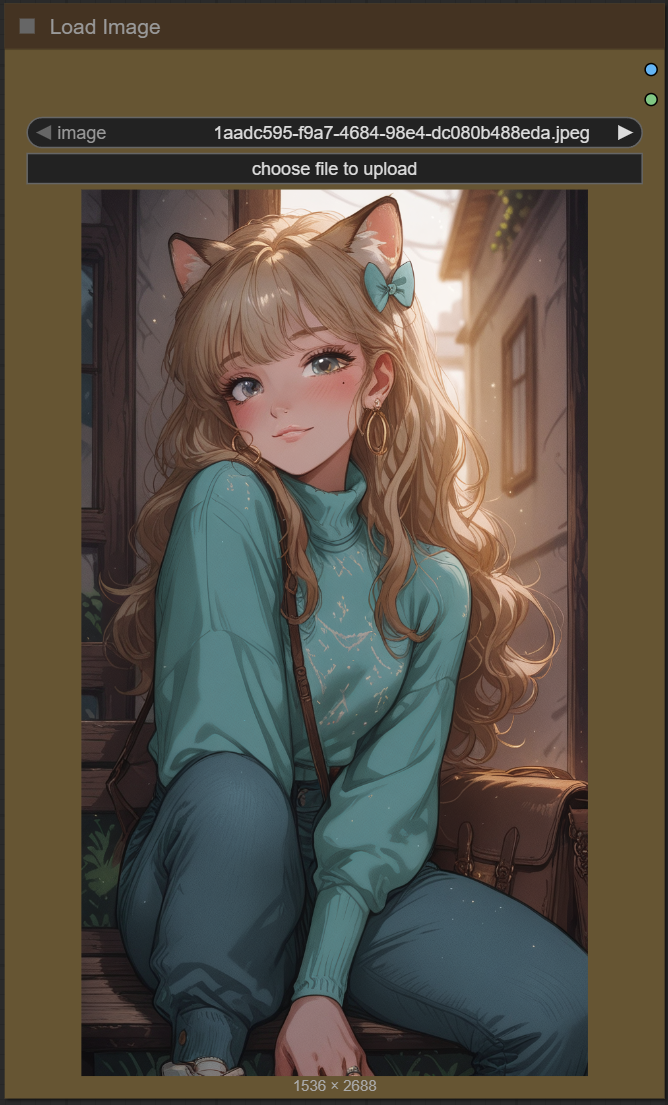
The most important thing here is to use an image with a ratio as close as possible to that of the image you want to generate.
Select image format :
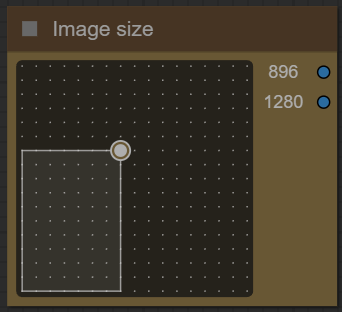
For SDXL it is recommended to start at 1024x1024. Dimensions too far apart can cause problems.
Choose a scheduler and number of steps :

I recommend normal or karras and between 30 and 50. The higher the number, the better the quality, but the longer it takes to get an image.
Denoise is very important, it is to what extent your base image will be used to generate the new one. 0 and you will get exactly the same image (no point), 1 your image will be ignored.
Choose the guidance level :

I recommend to start at 5. The lower the number, the freer you leave the model. The higher the number, the more the image will resemble what you “strictly” asked for.
Choose ControlNet strengh :

The larger this number, the more the controlnet processor will influence the generated image.
Choose a sampler :

I recommend euler or dpmpp_2m. Usually, model designers recommend a sampler in their descriptions.
Define a seed or let comfy generate one:

The seed is the unique identification number of the random starting point of an image. With exactly the same settings (prompt, step, etc.) changing the seed allows you to obtain a new image and not exactly the same one.
Add how many LoRA you want to use, and define it :
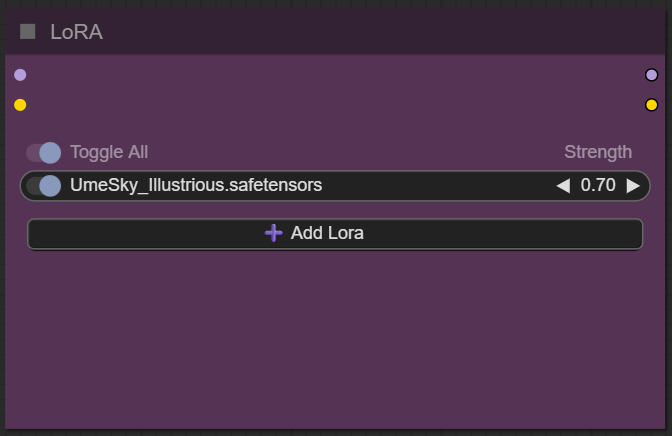
LoRAs are sort of "mini models" that are added to a base model. They can be used to create certain characters or styles. If you dont know what is LoRA just dont active any.
Choose your model:
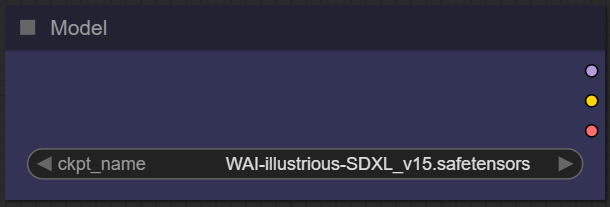
There are many models available on Civitai. Choose the one that best suits what you want to generate.
Activate optional functions : (optional)
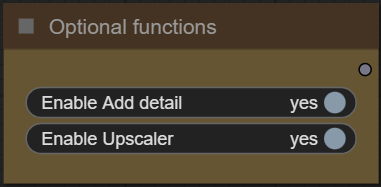
Select an upscaler model : (optional)

I personally use RealESRGAN_x4plus.pth.
Select upscale ratio : (optional)

This is how much the resolution of your base image will be multiplied by. Keep in mind that the higher this ratio, the greater the risk of quality loss.
Now you're ready to create your image.
Just click on the “Queue” button to start:

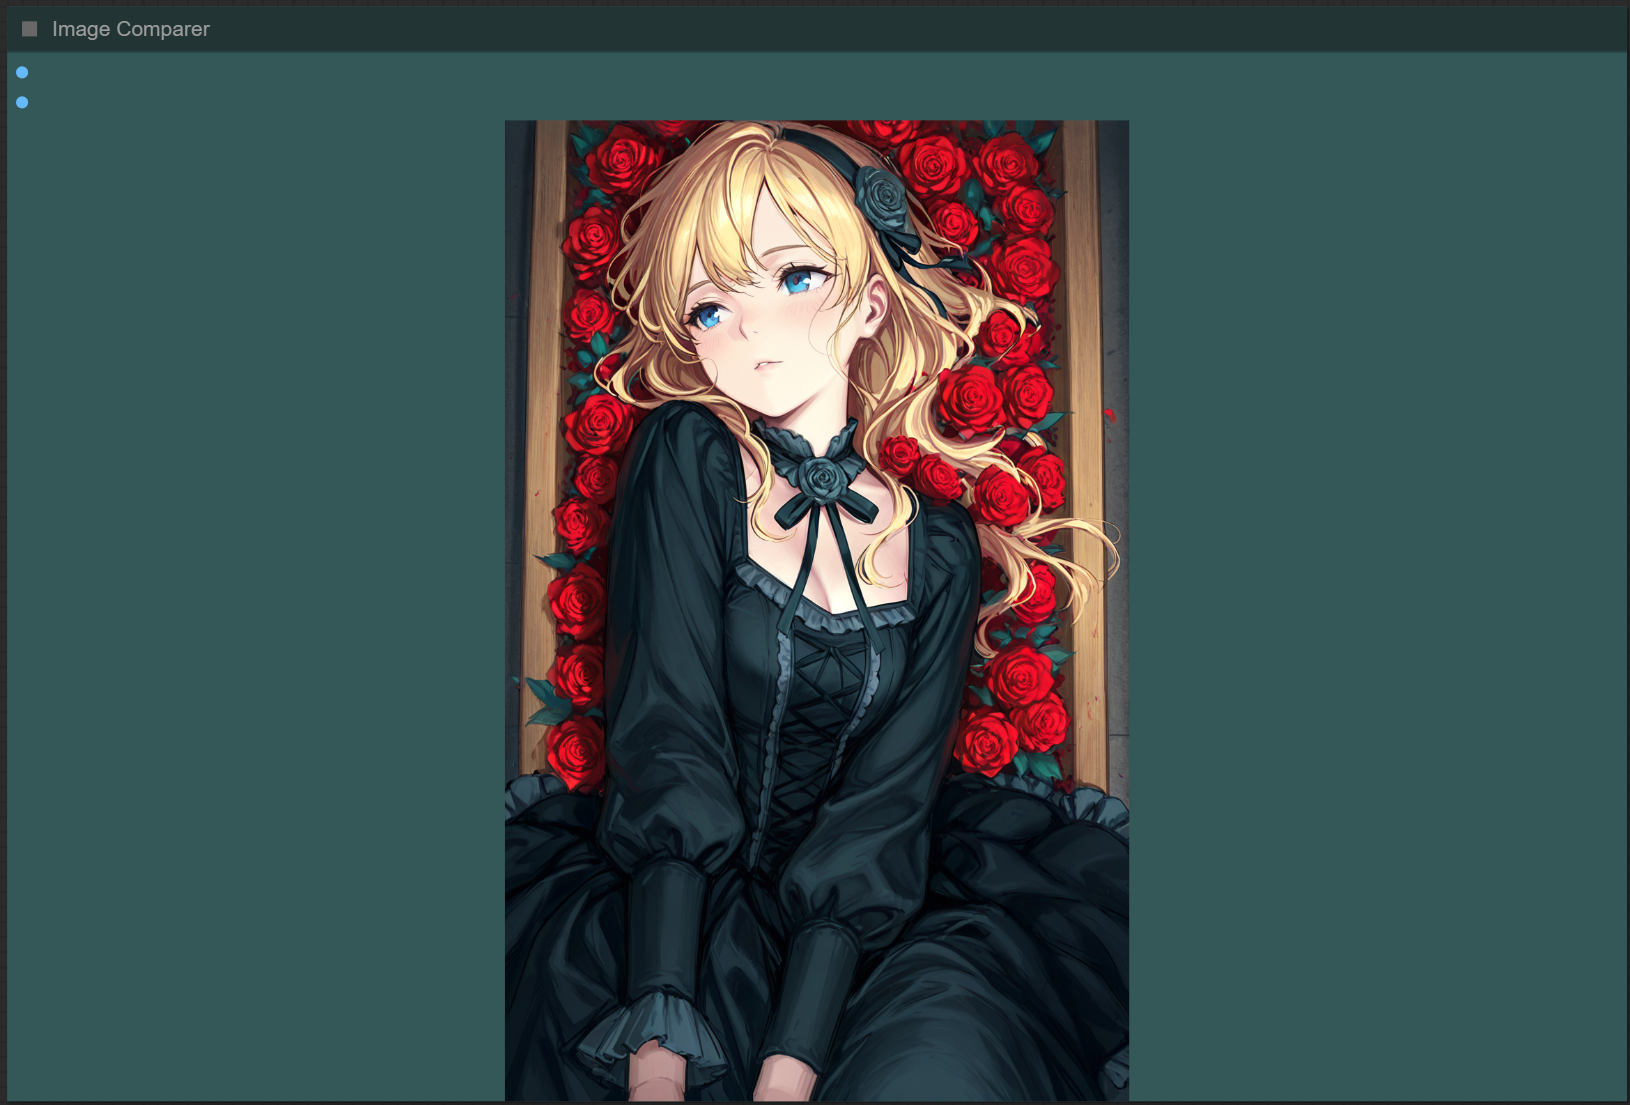
Once rendering is complete, the image appears in the “image viewer” node.
If you have enabled upscaling, a slider will show the base image and the upscaled version.
Some additional information:
Organization of recordings:
All generated files are stored in comfyui/output/SDXL/YYYY-MM-DD.
Depending on the options chosen you will find:
"YYYY-MM-DD-HH-MM_XXXXXXXXXX_Original" the basic file,
"YYYY-MM-DD-HH-MM_XXXXXXXXXX_Upscale" the upscaled.
This guide is now complete. If you have any questions or suggestions, don't hesitate to post a comment.


