Preface
I create my AI images with the AUTOMATIC1111 web user interface. Since I was not satisfied with the upscaling options, I wrote my own tool. To clarify, I have to say that AUTOMATIC1111 works well for upscaling images, no question about it. If you choose the parameters correctly and use a good model, it works really well. My criticism was that subsequent upscaling was tiring and time-consuming, at least for me. Another point of criticism was the time and power consumption during upscaling.
Introduction
With my tool in the last experimental version I can compare numerical interpolation methods, with approaches using pretrained models from Machine Learning as well as upscaling using Stable Diffusion.
All of the implemented methods are working well and the results are impressive. The question arose how to quantify the result of the small and the enlarged image.
I added a feature which can visualise the difference between two images. Is such an image is at the end pure white, both images are matching perfectly. If there arise a contour in the image, this contour is the difference between the images.
One has to keep in mind, doing this, I am upscaling an image from 512 x 512 pixel up to e.g. 2024 x 2024 pixel, which I have to resize back to 512 x 512 pixel for comparison purposes. In principle we have doing this two times a loss in quality.
Long story short, here's an example.
Test Image
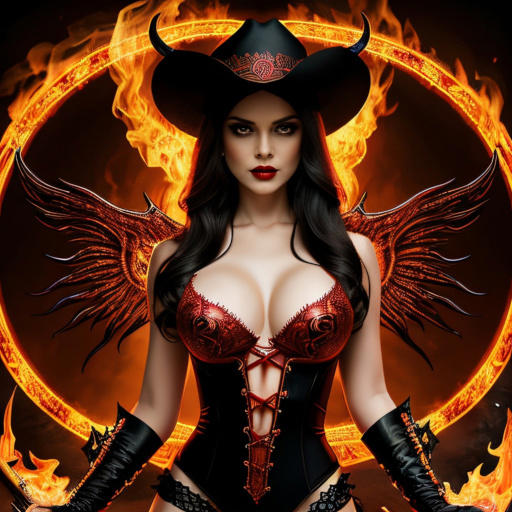
I used for testing purposes following image with a resolution of 512 x 512 pixel.
Upscaled Image and Visual Result
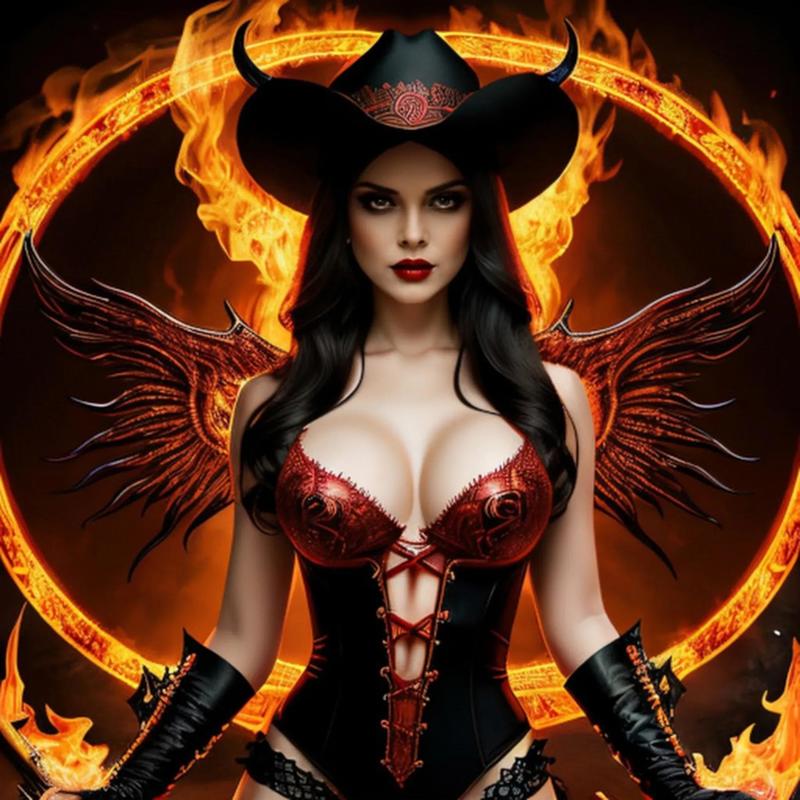
I scaled this image up to 2048 x 2048 pixel without applying special steps, which looks like:
The visual comparison of both images looks like:
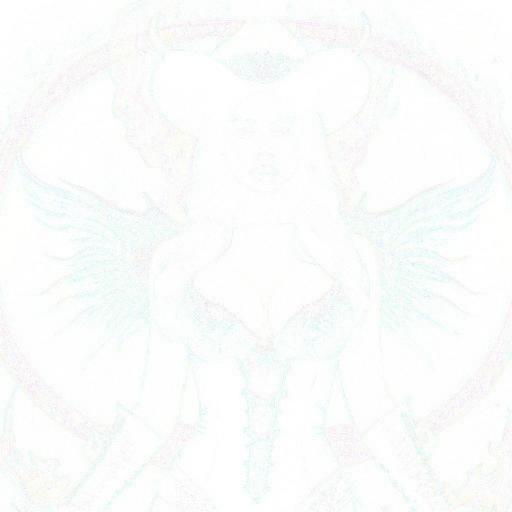
They see virtually nothing the as an implied weak contour in the picture, and now they can see why they see nothing.
I applied to the upscaled image more contrast. Which looks like.
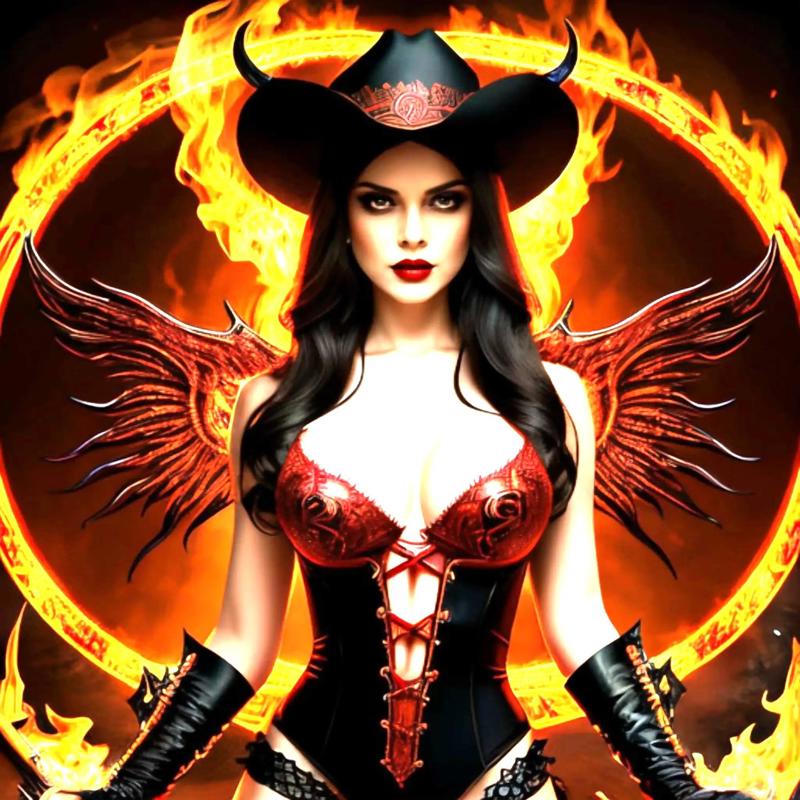
And now, I am presenting the comparison in image form:
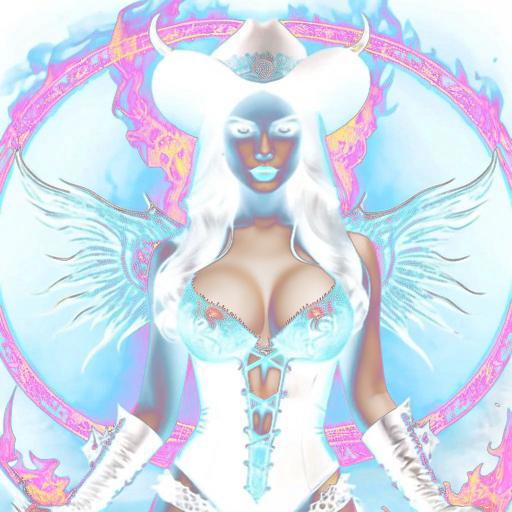
By applying the contrast, the image changes and the difference comes out more clearly.
Structural Similarity of two Images
Test Image
Images can be compared by the so-called structural similarity. For this reasons I compared all implemented algorithm using following image:
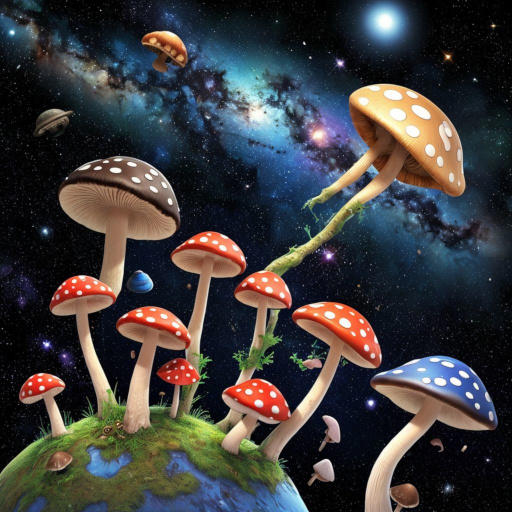
Structural Similarity
The score can be calculated after upscaling from 512 x 512 pixel up to 2048 x 2048 pixel to:
Stable Diffusion (AI) → 0.8762210252377353
Super Image (ML) → 0.9806519936946225
Super Resolution (ML) → 0.9353781926747363
PIL (Lanczos) → 0.9585774846421794
OpenCV (Lanczos) → 0.967876321009299
The values correspond to the visual comparison. From optical feeling the Stable Diffusion Upscaler was the worst in all images.
I used all the time OpenCV and Super Image. The calculated values confirm that feeling.
Taking into account that a compression quality of 95% while saving for the jpg images is used, these values look quite good.
Time Consumption
The time consumption of the example was:
1. Stable Diffusion (AI)
→ 165.27 sec (GPU throttled max power 125W)
→ 160.98 sec (GPU unthrottled maxpower 185W)
2. Super Image (ML) → 1.00 sec
3. Super Resolution (ML) → 0.51 sec
4. PIL (Lanczos) → 0.10 sec
5. OpenCV (Lanczos) → 0.03 sec
Taking the power consumption in account, the performance of Stable Diffusion is worst. Takes to long and needs to much power.
Conclusion
I compared all implemented methods this way. It came out, that the differences in the results are quite small. This behaviour changes, when I am upscaling let's say up to 8192 x 8192 pixel. Then one sees zooming up, that the image was upscaled.
Final Words
Have a nice day. Happy AI image generation. Be inspired!


