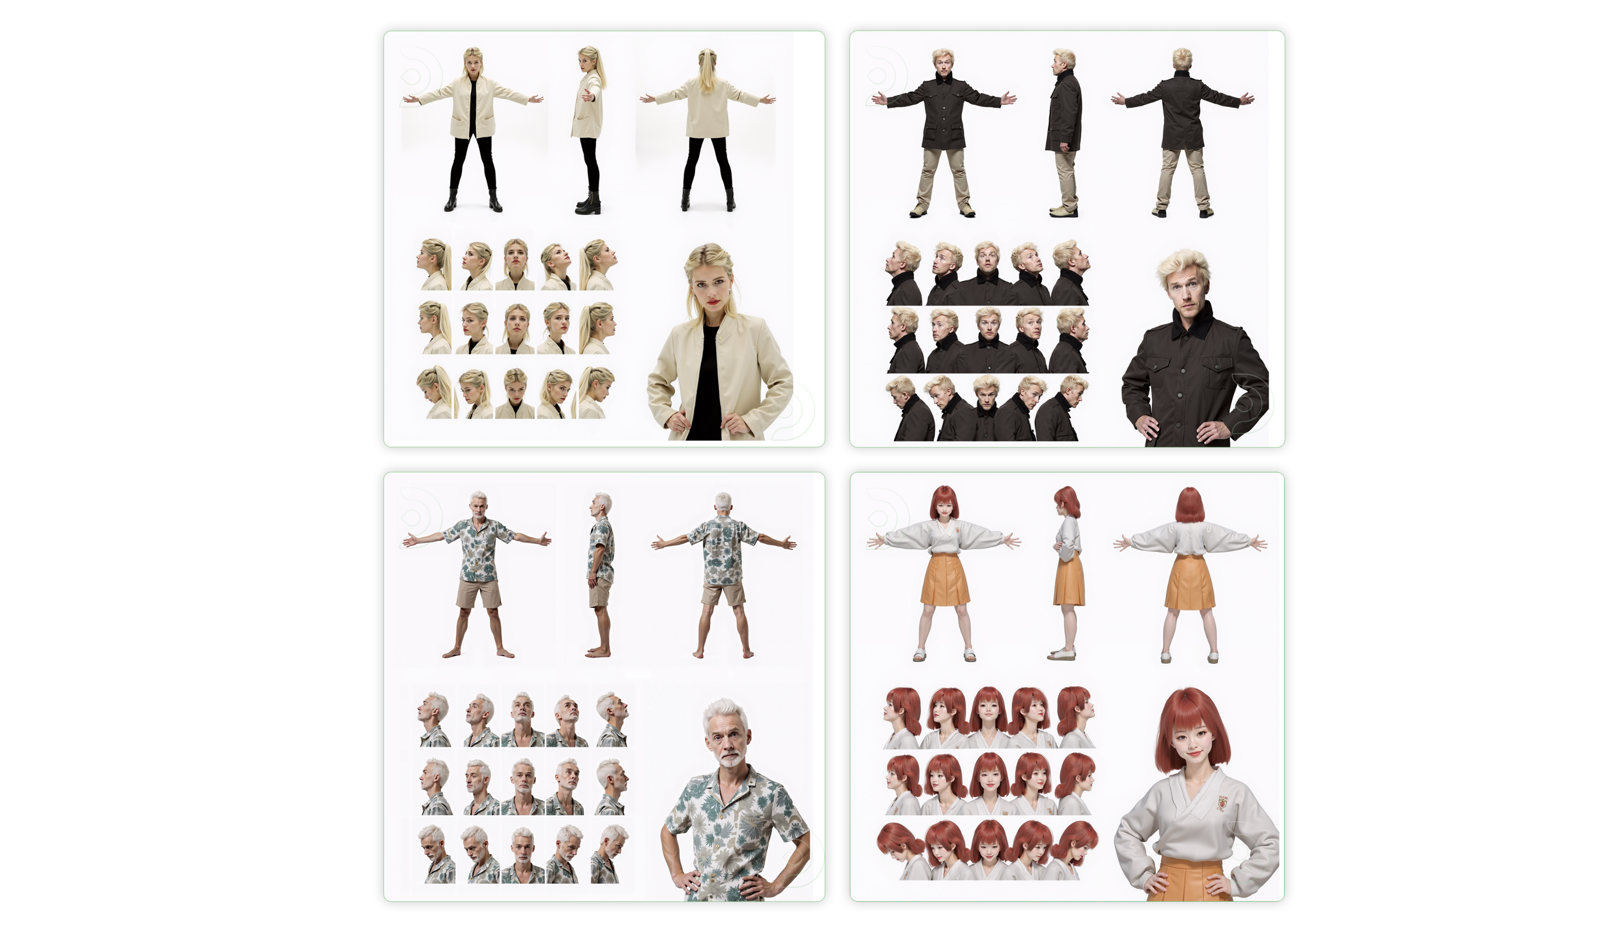
Do you ever struggle to keep your characters consistent across different projects? You’re not alone! Maintaining a uniform appearance for your characters is essential for a cohesive and engaging story.
This guide will show you how to maintain consistency by using a workflow in ComfyUI. You can save time and focus more on the creative aspects.
Let's explore how these resources can elevate your designs to the next level, bringing your ideas to life with consistency and flair. We'd like to credit Mickmumpitz for his outstanding work in the development of this workflow.
How to Use
One-Time Setup
ThinkDiffusion_Character_Consistency_Flux
ThinkDiffusion_Character_Consistency_Flux.json
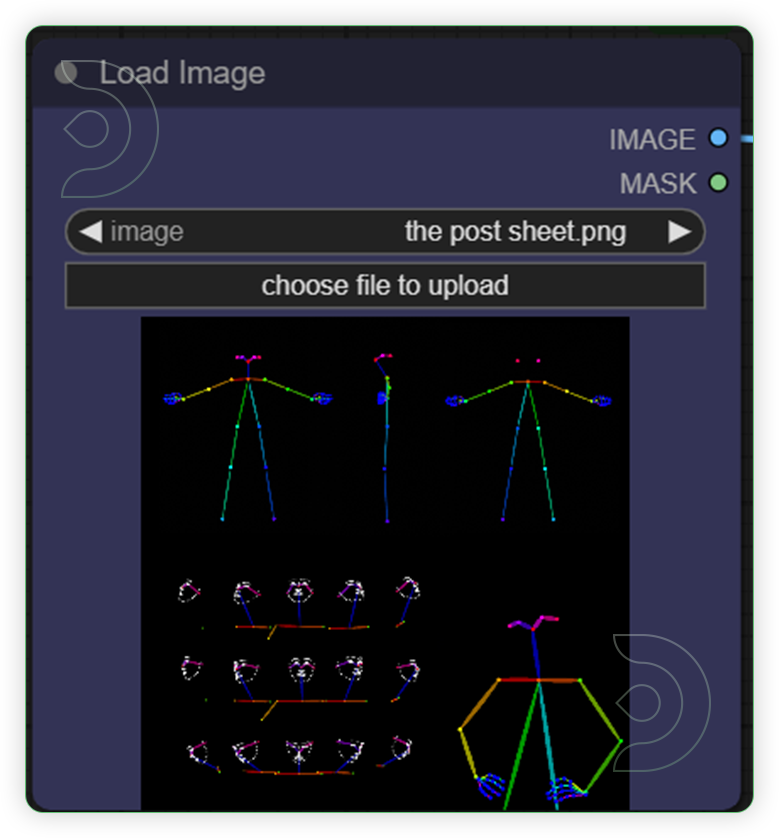
Use this official pose pattern.
💡
Download the workflow and drag & drop it into your ComfyUI window, whether locally or on ThinkDiffusion. If you're using ThinkDiffusion, it's necessary to use at minimum the Turbo 24gb machine, but we do recommend the Ultra 48gb machine.
Custom Node
If there are red nodes in the workflow, it means that the workflow lacks the certain required nodes. Install the custom nodes in order for the workflow to work.
Go to ComfyUI Manager > Click Install Missing Custom Nodes
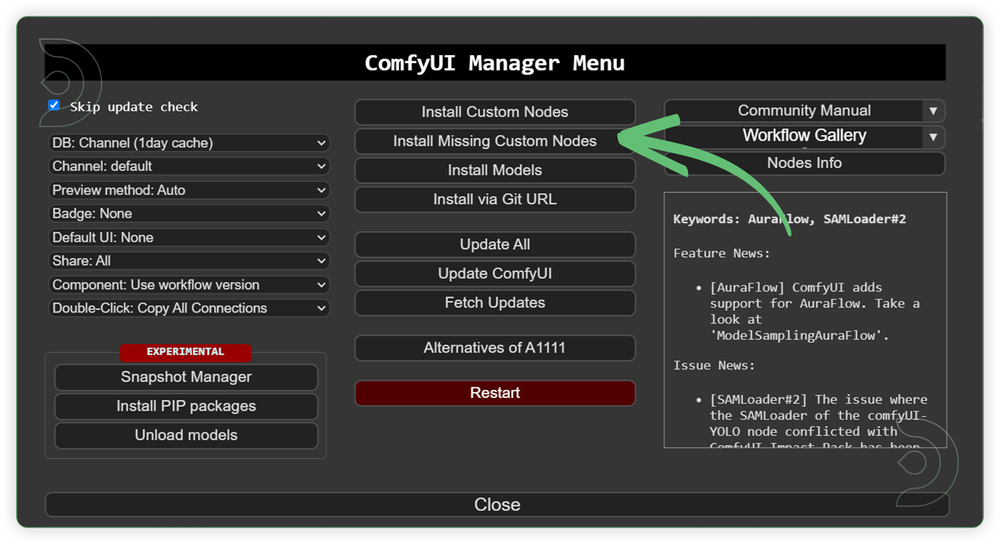
Check the list below if there's a list of custom nodes that needs to be installed and click the install.

Models
Download the recommended models (see list below) using the ComfyUI manager and go to Install models. Refresh or restart the machine after the files have downloaded.
Go to ComfyUI Manager > Click Install Models
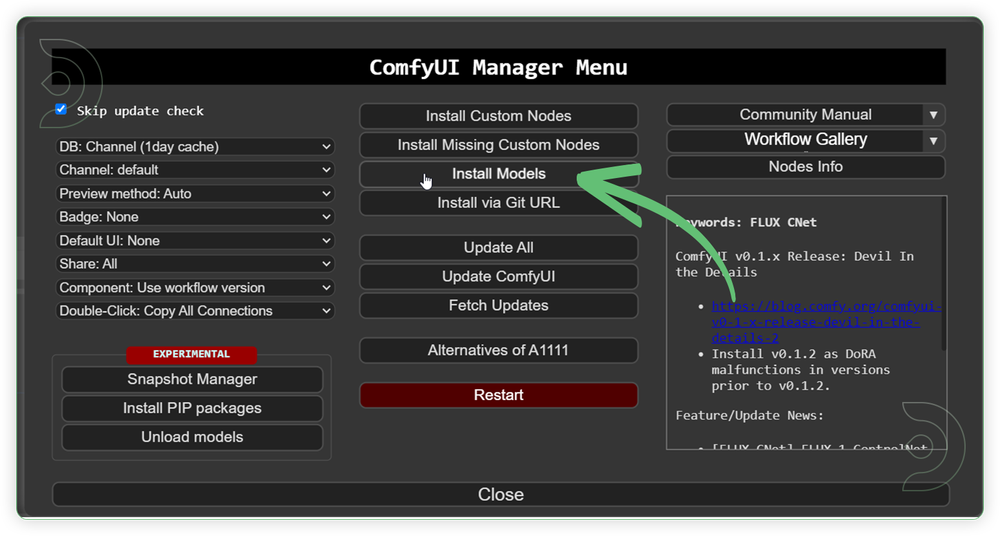
2. When you find the exact model that you're looking for, click install and make sure to press refresh when you are finished.
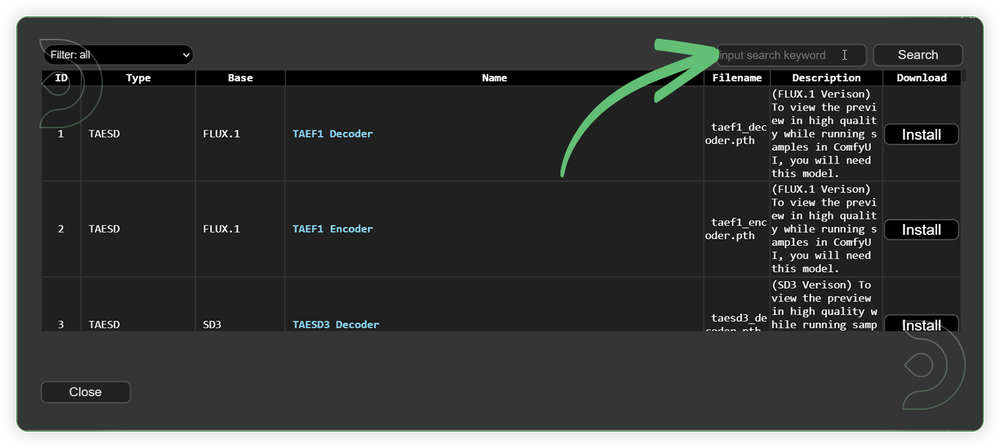
Model Path Source
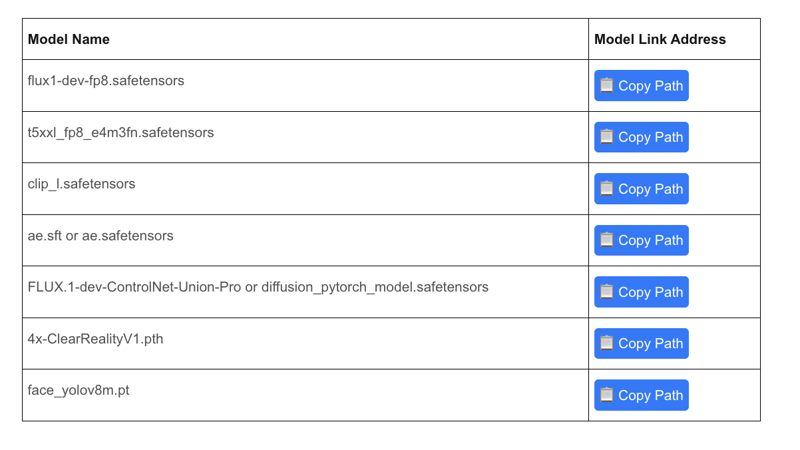
Guide Table for Upload
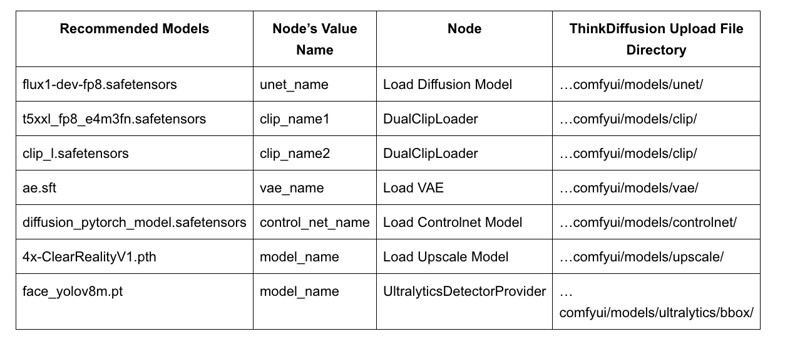
Procedures
StepsDefault NodeLoad the pose sheet image (find the pose sheet image above next to the workflow)
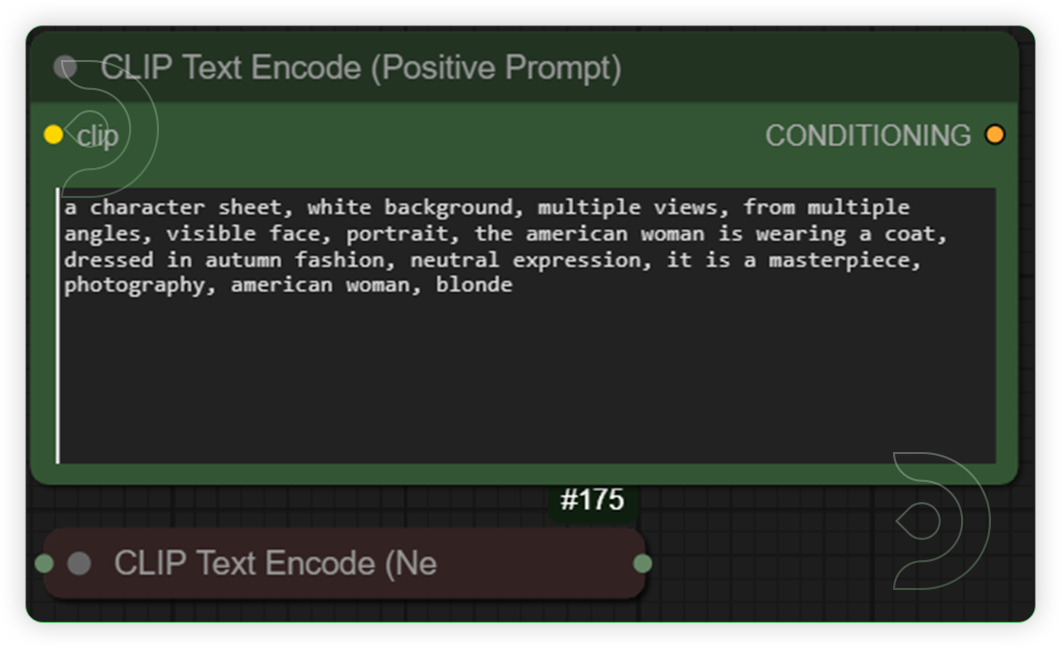
Write a Prompt
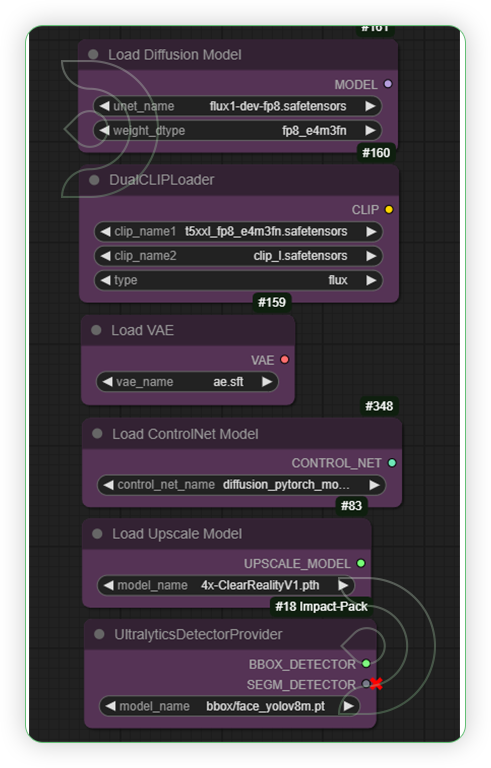
Set the Models
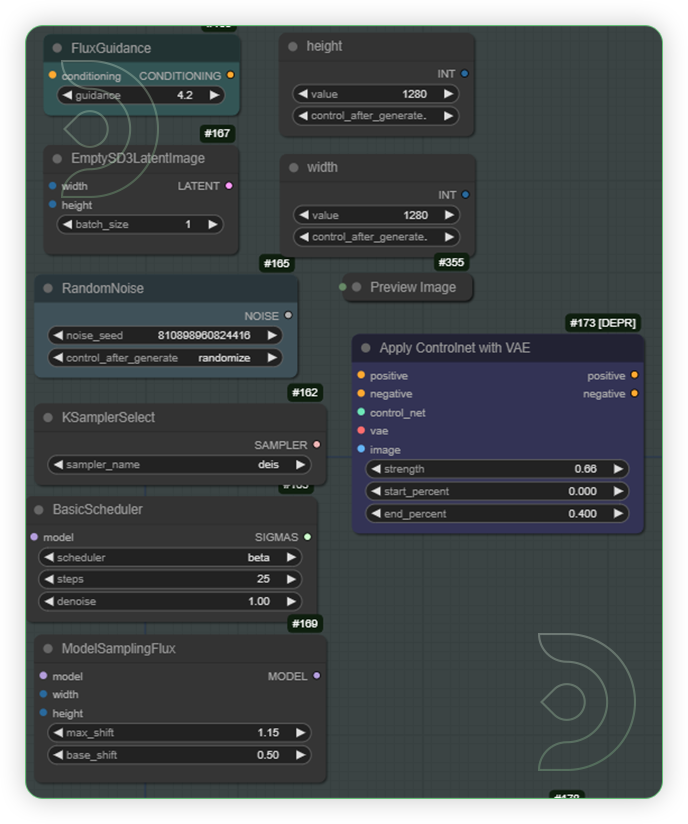
Check the Generation Settings
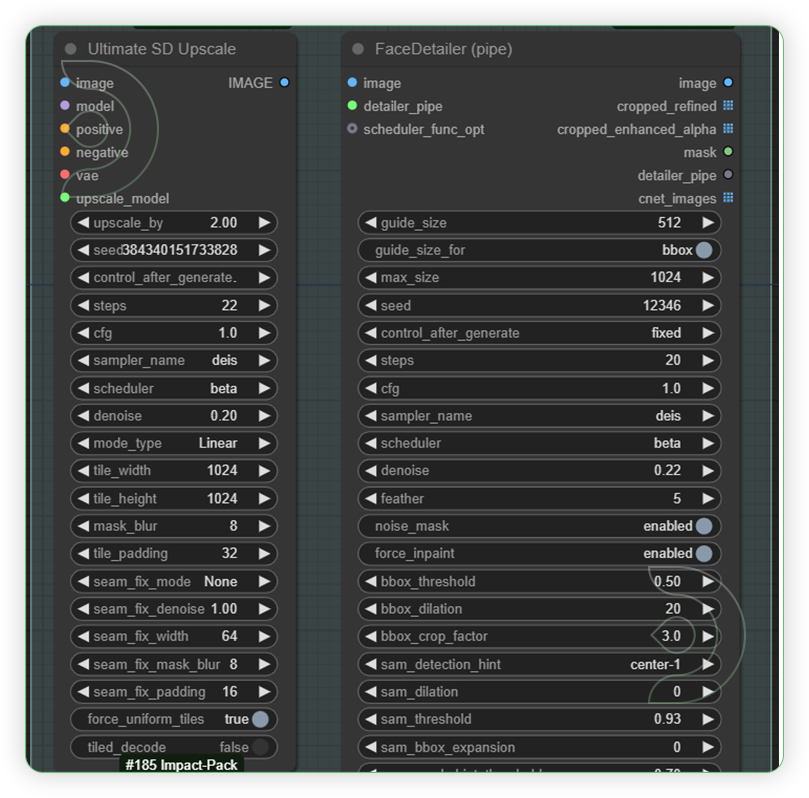
Check the Default Settings for Image Enlargement and Face Repair
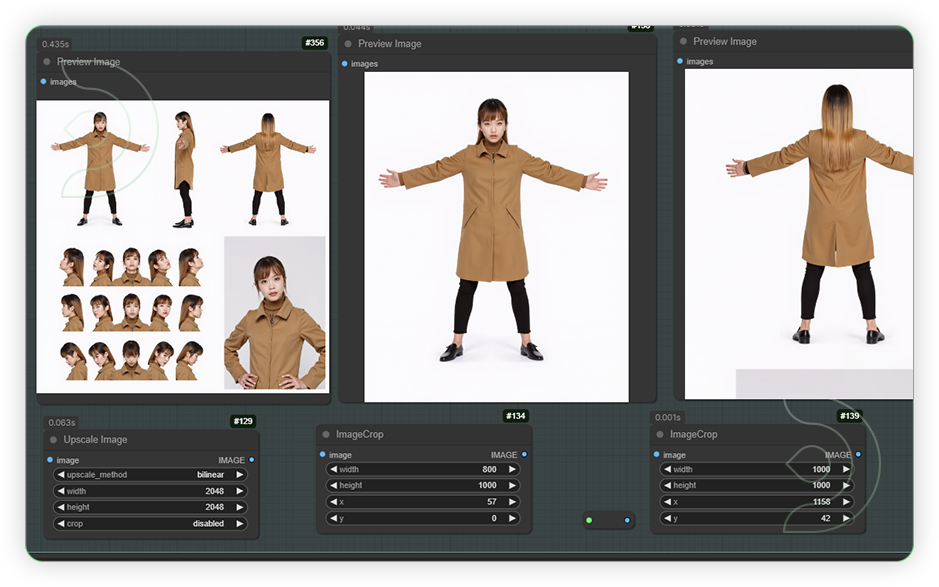
Check the Generated Image and its Poses
💡
When using the workflow, just stick to the settings as seen on the image in Procedures.
💡
RandomNoise can be used using random seed but in Upscale and Face Detailer needs to be on Fixed. Otherwise, it may have effect consistency.
Examples
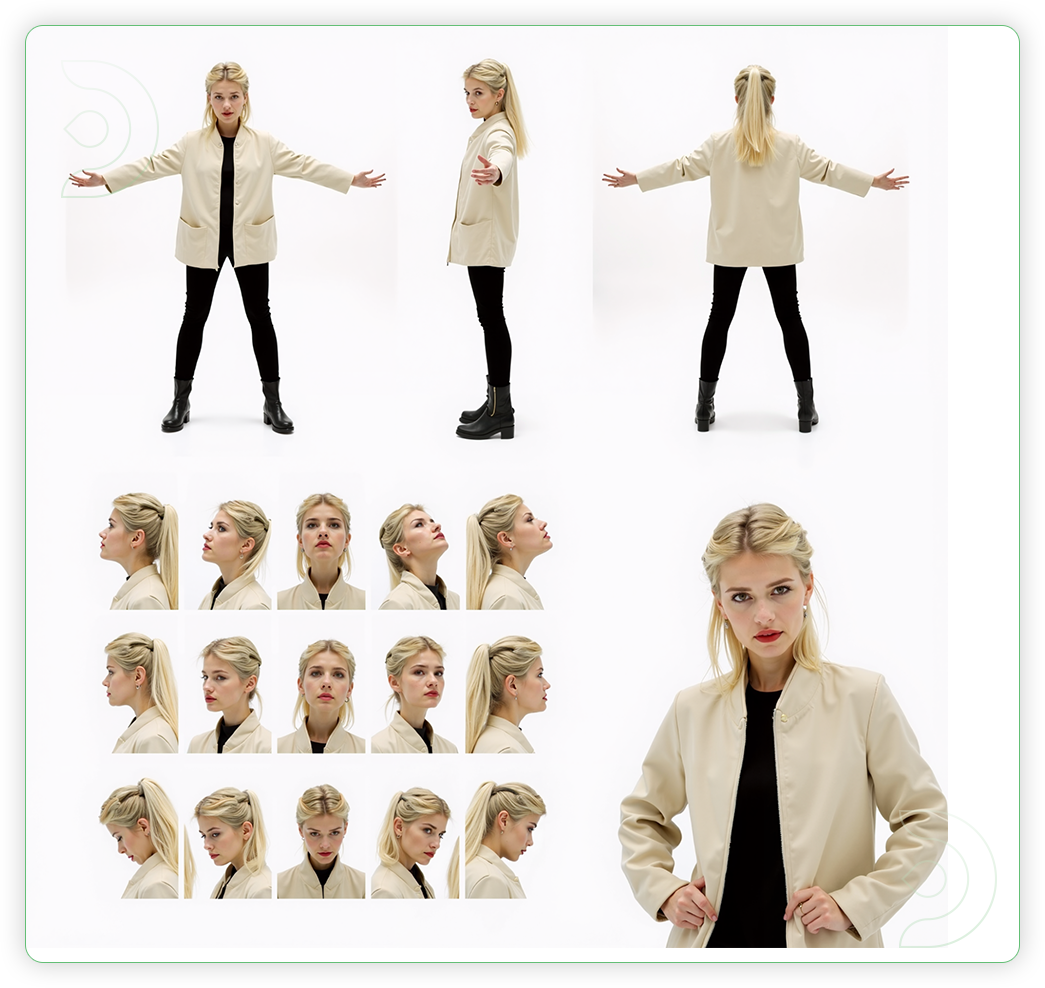
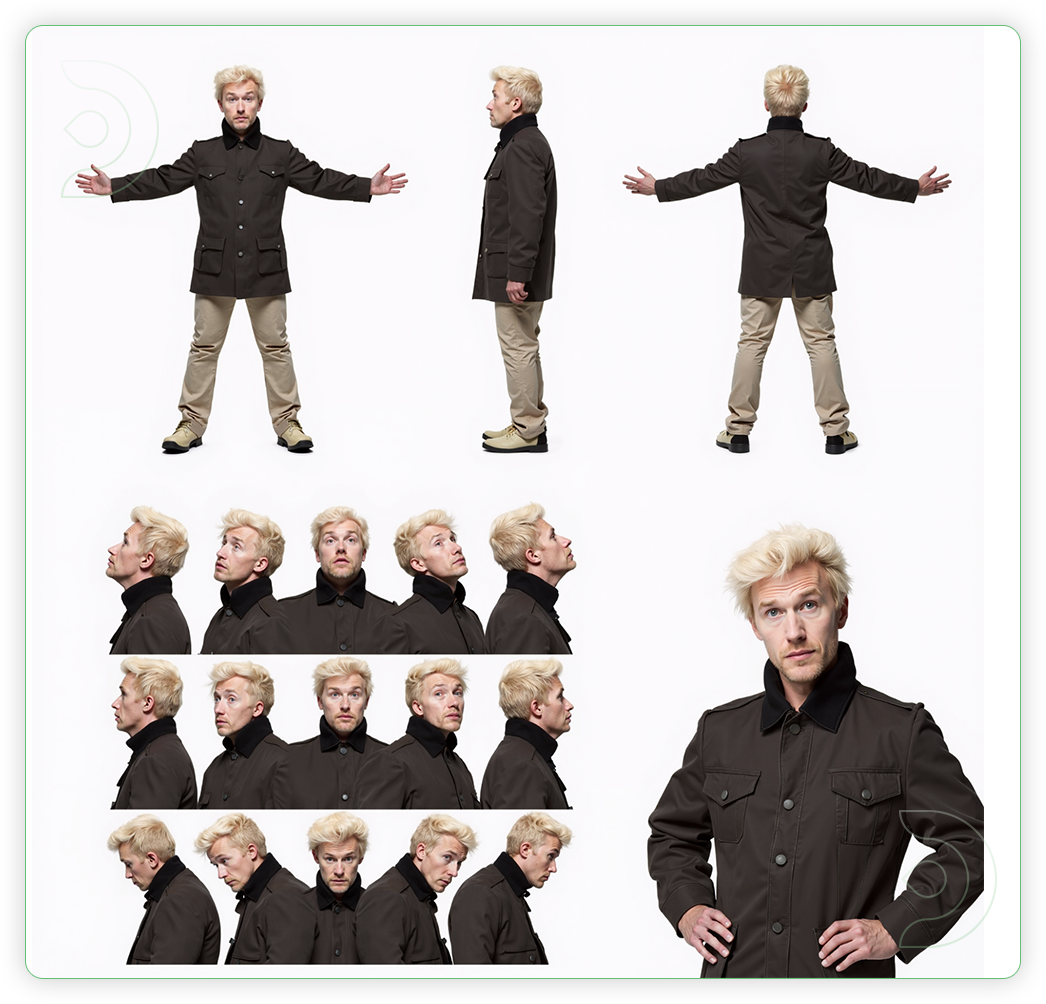
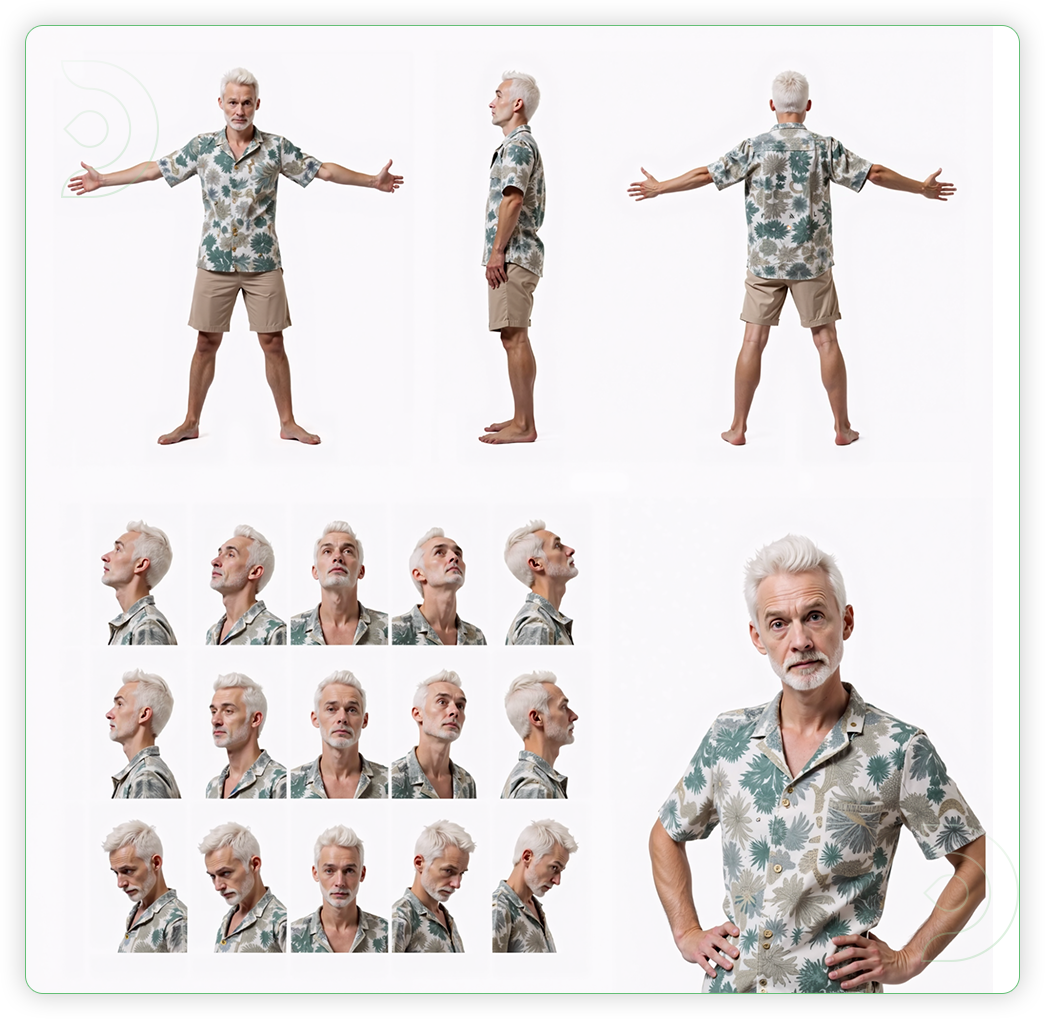
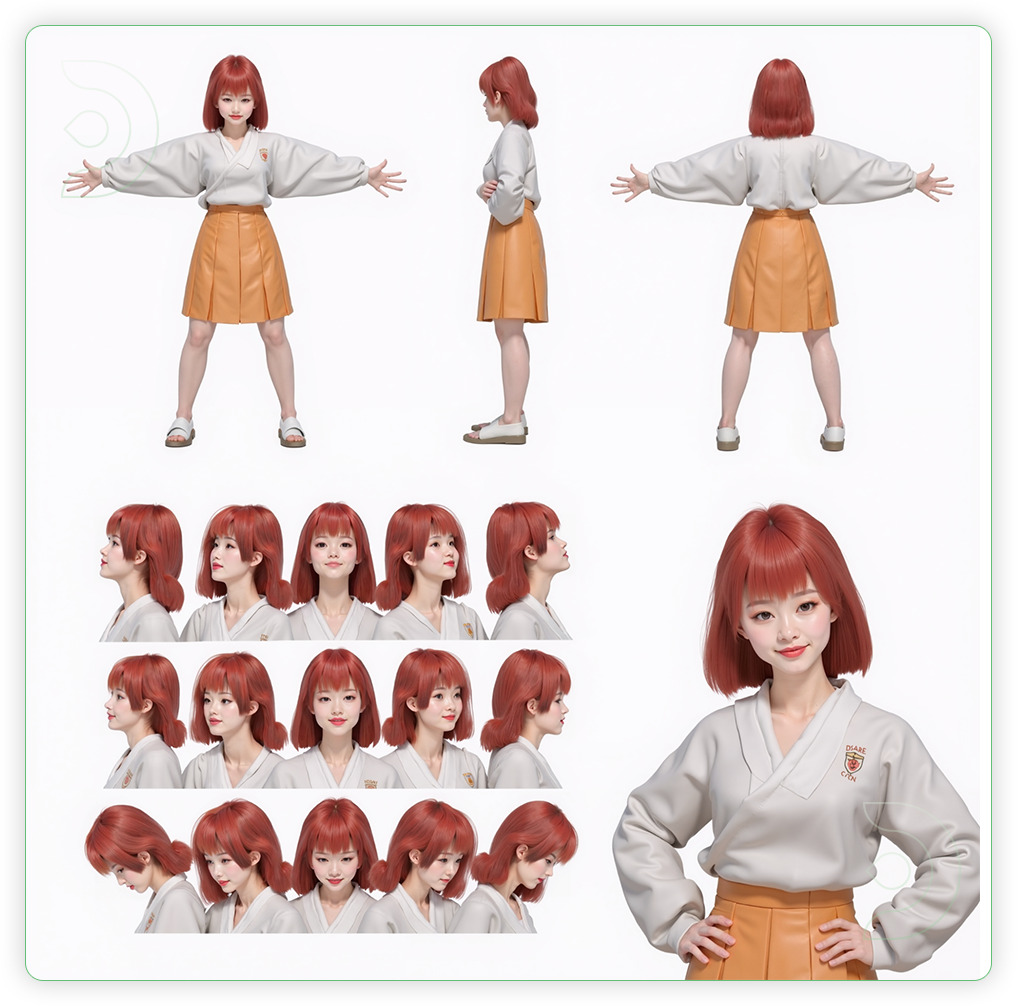
Prompt Settings
Image Source - Use the provided pose sheet file
Prompt - Write a prompt that describe what character you want to be
Base model - flux1-dev-fp8.safetensors
Clip model - t5xxl_fp8_e4m3fn.safetensors, clip_l.safetensors
VAE model - ae.safetensors or ae.sft
Controlnet Model - FLUX.1-dev-ControlNet-Union-Pro or diffusion_pytorch_model.safetensors
Upscale Model - 4x-ClearRealityV1.pth
Face Model - face_yolov8m.pt
💡
We're using the same settings through out the examples provided. The only difference is the prompt that are used are need to be changed according to the character you want to be.
Original article can be found here: https://civitai.com/articles/create


