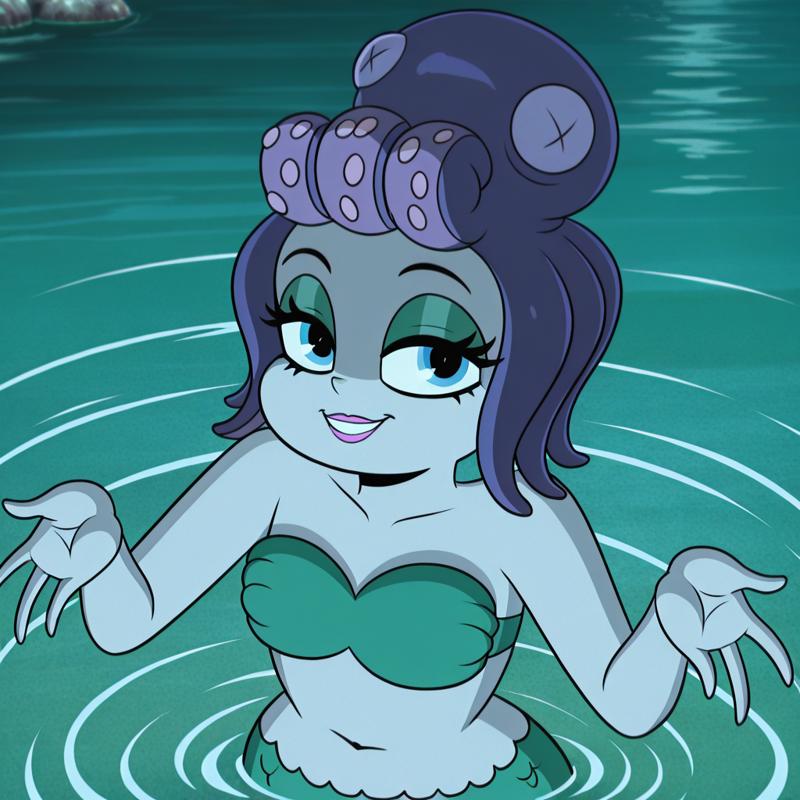
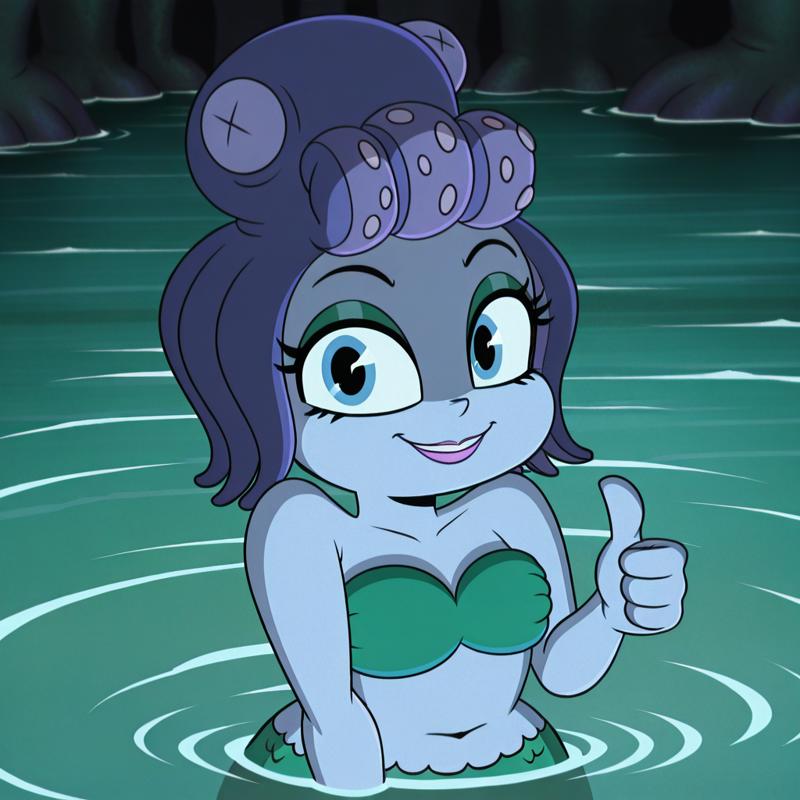
This article is inspired by randomizer89's LoRa guide Here.
With this article, you'd be able to make a model for less than $1 (Probably more if you made mistakes)
I want to dive in a little more in depth than randomizer89's article.
Like what randomizer89 said about a lot of creators here, they use 32 network dim resulting in ~220mb file!
Unless you are training with 20 to 50 clothes/characters or hyper-realistic images, I suggest you to stay out of this default since it is unnecessary and a waste of storage space. I like to think of it like this example:
WHITE SPACE IS UNUSED SPACE! WHAT A WASTE!
THATS LIKE HAVING 2TB OF STORAGE AND ONLY HAVE MINECRAFT INSTALLED!
FOR SOMEONE WHO TRAINS LOCALLY, THIS PUTS A HEAVY TOLL ON MY STORAGE SPACE!
After searching around for the best LoRa settings, asking few A.I. chatbots, and from personal experience, this might be the most informative guide I have to offer.
With this guide, your model will probably better if not superb than 80% of the model you come across Civitai.
You can probably use these same settings in Kohya.
For this tutorial, I want to make it not too complex but doable and descriptive.
I'm training with illustrious for this tutorial. This works for SDXL, Pony, and maybe SD 1.5
For characters, have 10 -20 images. I usually go for a little more because I wanted to capture the style too. (For simple concept/style, go for 20-50)
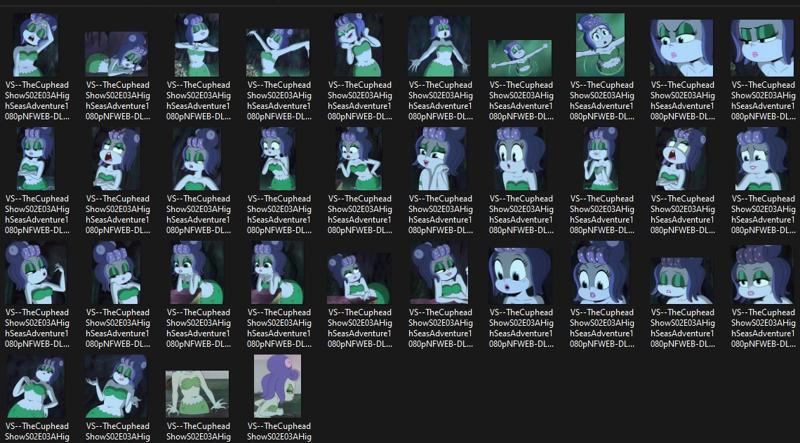
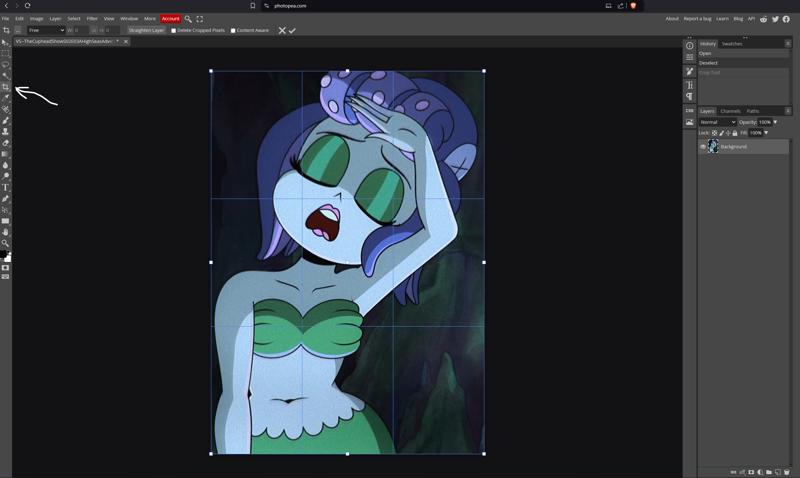
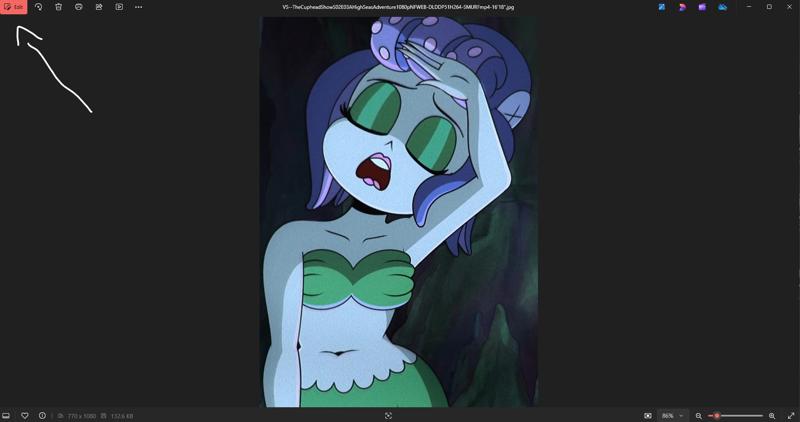
Do make sure that your images are cropped so it focuses on what you're trying to capture. (You can use Photopea to crop your photos. Or use Windows' built in editing tool in photos). On top of that, make sure it has different poses, angle, and facial expression. (I personally thinks it learns better).
Photopea:
Windows' photo:
When ready:
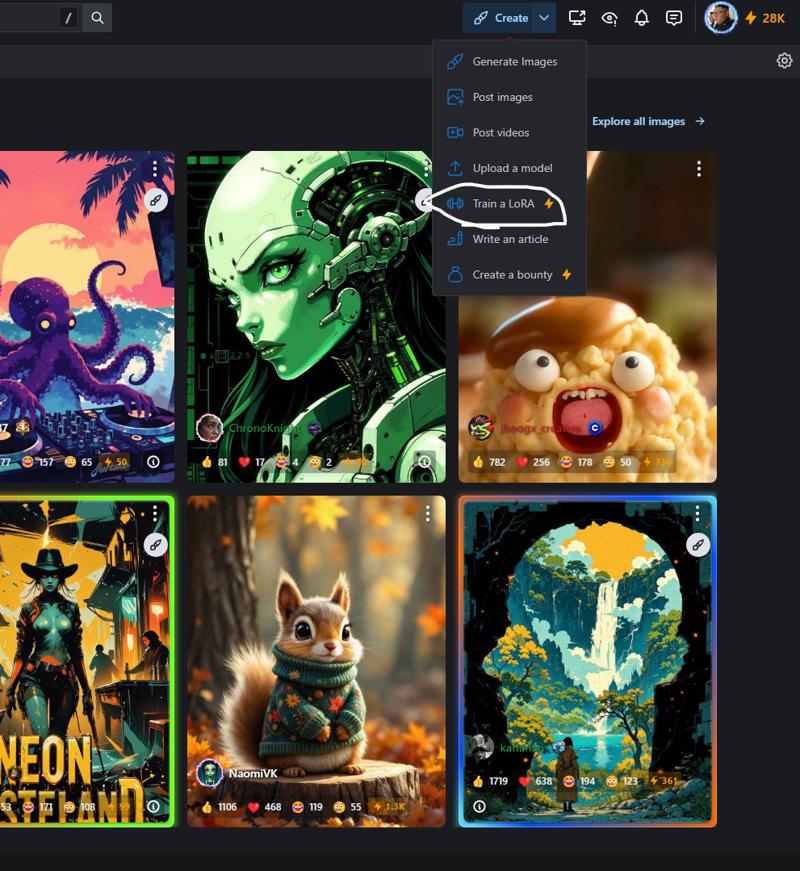
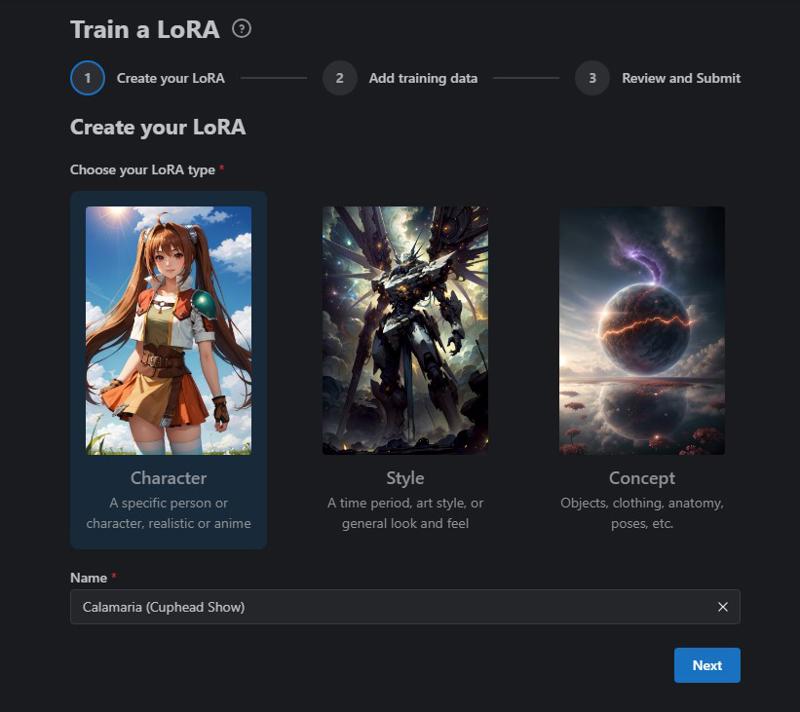
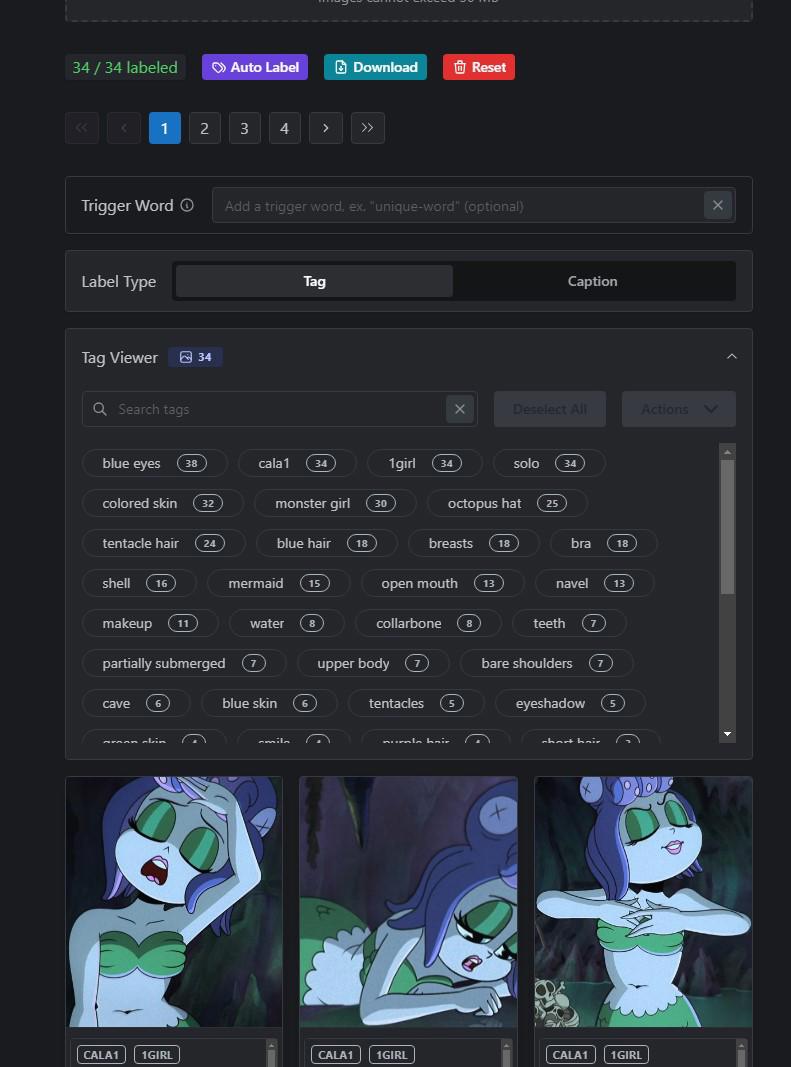
Drag all images to the training and click auto label
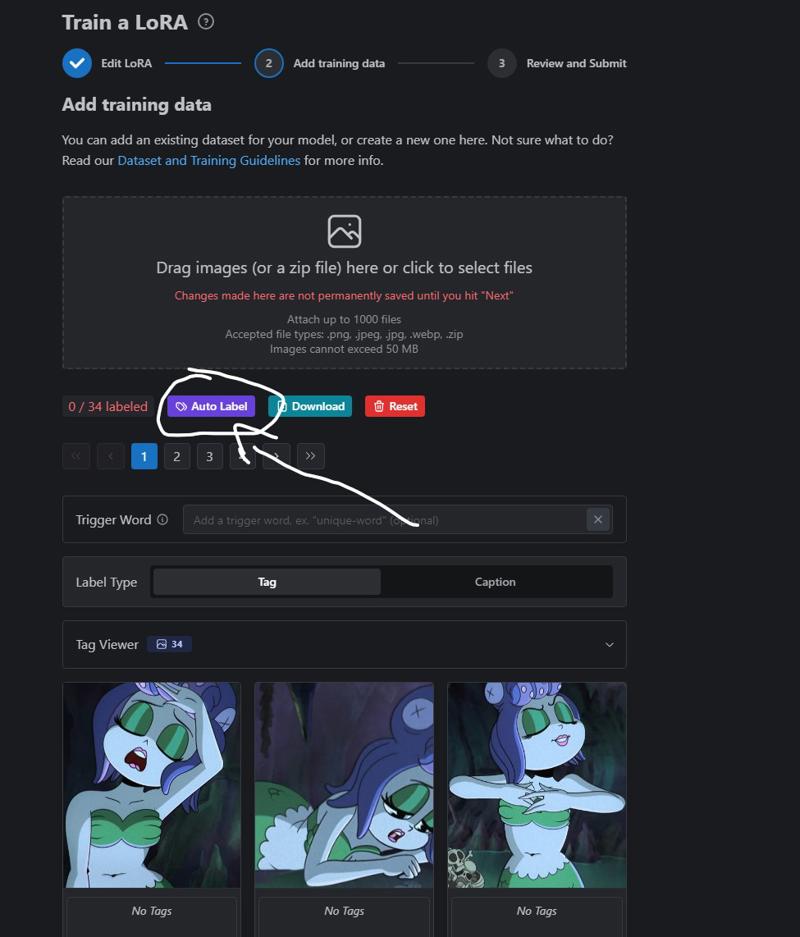
Put Max tag to it's maximum (might capture unnecessary details but I like to tag with what's in the picture because I want to make it more flexible. This is helpful to me when putting unwanted things to negative prompt)
For Prepend tags, this should be your trigger word/s. Put something gibberish. I like to put a number towards the end. This make sure you're not tagging with known Booru tag unless you're training with style or concept. You can put more prepend tags. Just make sure to separate with comma space (Ex. cala1, flat color, ...) (Only have a max trigger words of 3 because of Civitai limitation)
(When it comes to concepts, it does understand natural language or unknown Booru tag sometimes).
If you're adding 2 or more characters, make sure you separate the images with it's own trigger word. (Ex. Pictures that have red dress, I'll add the trigger word "rd1." 20 pictures of same person "ps1." Different person "ps2." You get the idea.
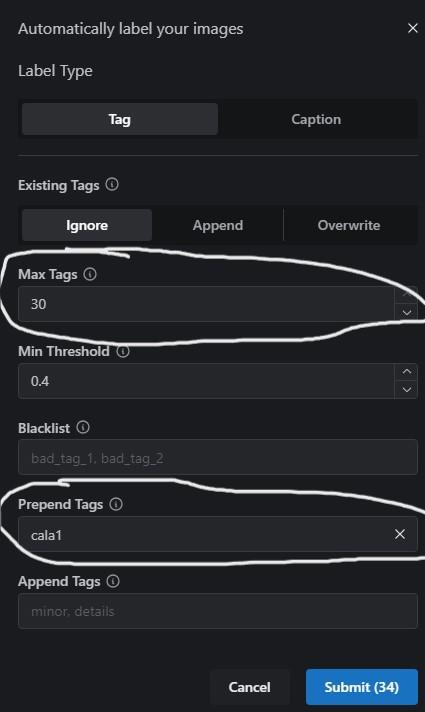
After submitting you get this:
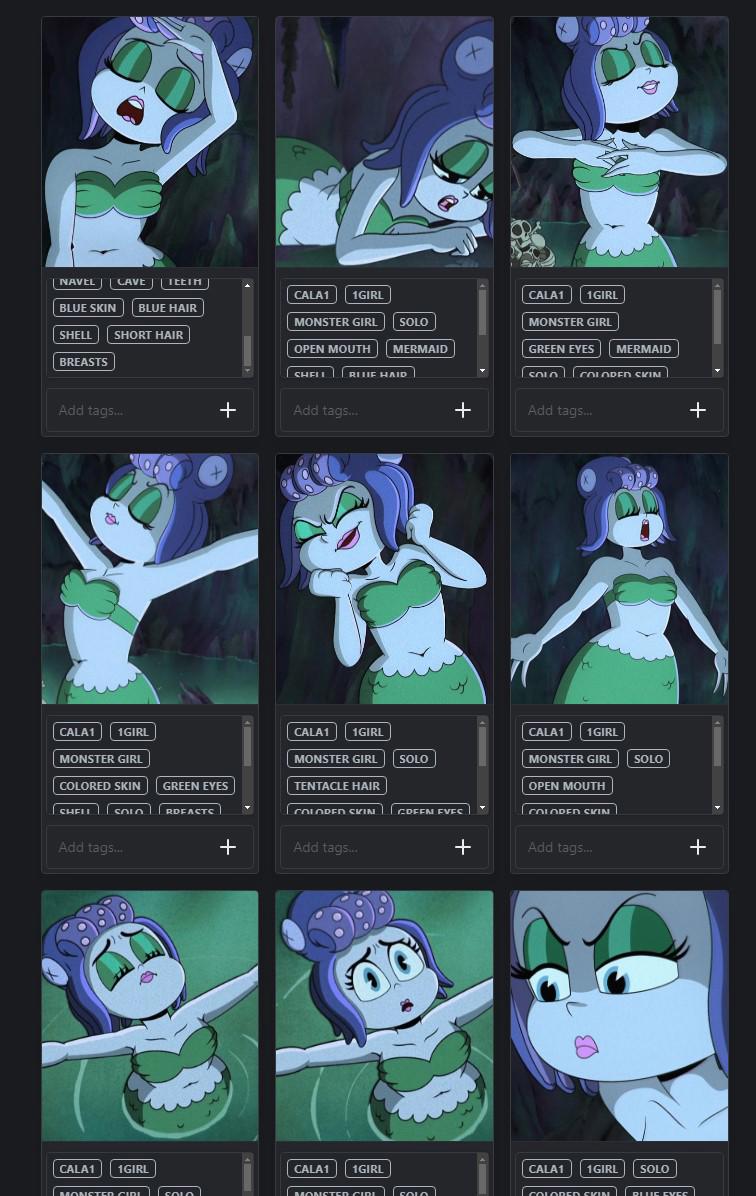
When tagging, the more you capture the characteristics of the person or the overall picture, the more flexible it is.
Example: If I don't include "red lips" or "lips" in the images containing it, the training will assume that it's part of their body.


I trained this model with "red lips" tag. I was confused why it wasn't generating Wonder Woman with lips. I then remember that I added "red lips" to every single image that it showed. So now I have to include "red lips" to the prompt if I want to generate a picture of her with lips.
My advice? Leave any small detail so you don't have to put like "red lips" in the prompt unless you want flexibility.
If your image/s has subtitles, texts, or watermarks, definitely include those tags.
In addition, if the person is wearing boots, earrings, or whatever, and you include those tag, the training will automatically understand the shape, details, color of them. So really you don't have to put "yellow footwear", "black shirt", or "white dress". Adding "shirt", "dress", or "shoes" tag is enough. (Though sometimes, there are going to be times where you have to add the color of the clothing to the prompt).
Though when it comes to training a character with "short hair", "blue eyes", "black hair", or etc. I would say go ahead and include it since it will learn the shape, hue, and size.
Does it have bangs? Does it have sidelocks? Detached sleeves? Choker? You can include if you want flexibility.
If you are unsure which Booru tags exists, visit Danbooru or Gelbooru.
In conclusion, it is up to you how flexible you want the model to be.
There will be times when you train 3D/realistic, you have to put "3d / realistic" to the prompt. You don't have to have put those tags in your images.
For this training, I want to capture Calamaria's octopus hat and bra. I also went ahead and added "blue eyes" to the images that it appeared on.
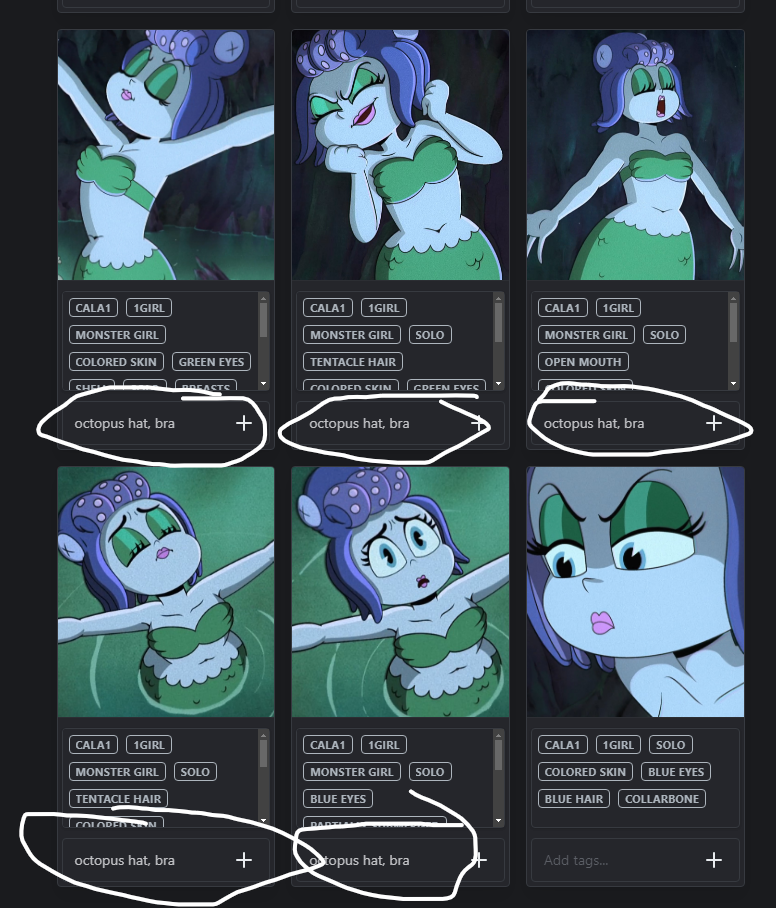
You can use "tag viewer" tab to see which tags are used for all images and make some changes to it. (I saw "green eyes" and removed it)
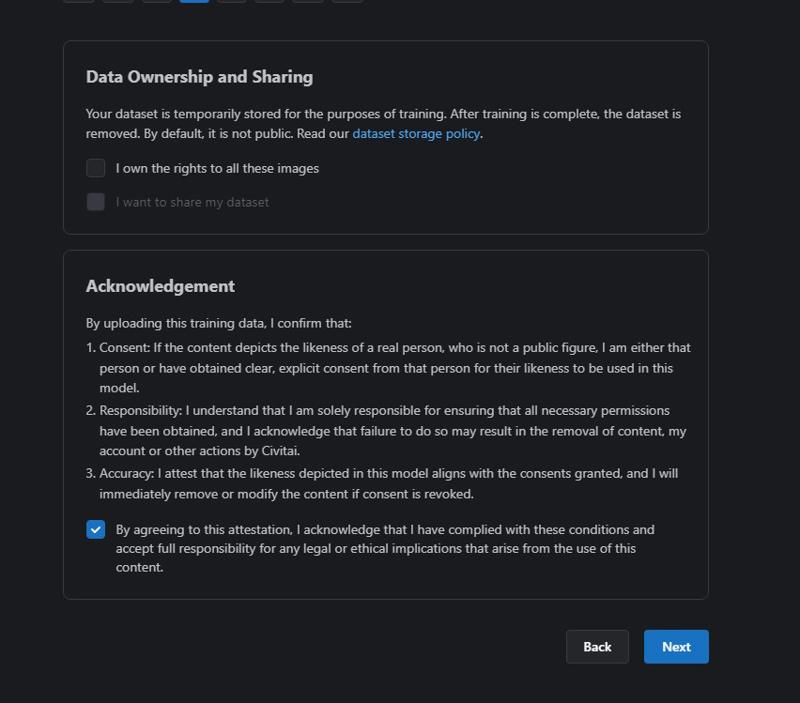
Read terms and condition then hit next
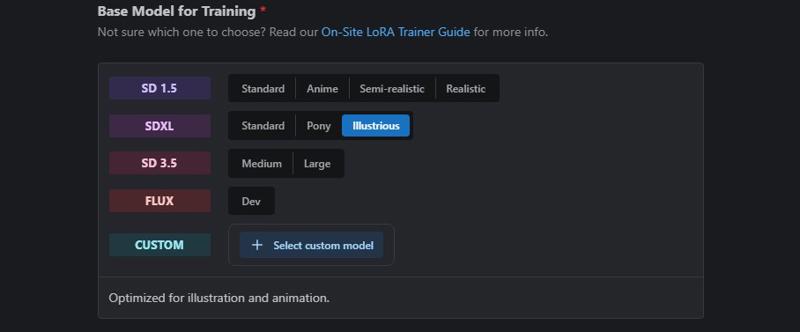
Select base model. For mine, illustrious.
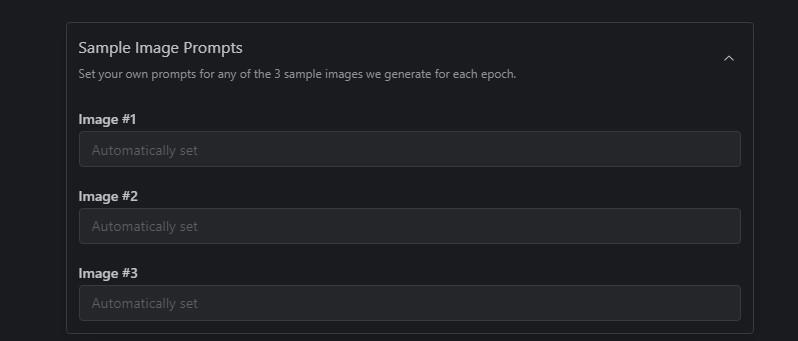
For sample prompts, you can leave it blank. The trainer will automatically put random prompts
Lets go over which parameters to focus on the most here (This is the fun part!)
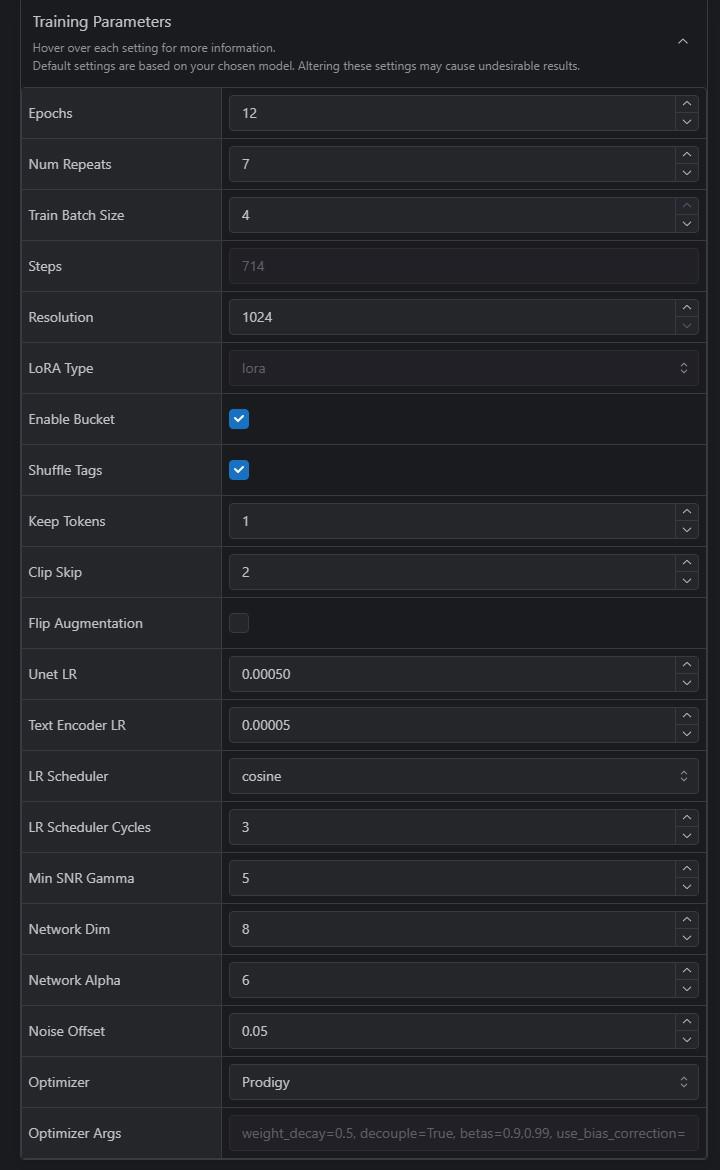
Epochs: Think of it as sessions of learning how to draw. We're using 20 pictures of a same cat as a reference to draw.
1st Epoch: You look at all the pictures and try your best to copy the cat. It’s not perfect, but you’re starting to learn.
2nd Epoch: You go through the same pictures again. This time, you notice details you missed before, like the shape of the ears or the stripes on the tail.
3rd Epoch: Now you’re improving even more. Each time you practice, your cat drawings get better and closer to what a real cat looks like.
With more epochs, you'll have enough to see at which point in training starts producing overtrained epochs.
With this, stick between 10-15 (I go with 10 or 12)
There will be times that you will have 12 more epochs but still undertrained. This issue will come from REPEATS!
Repeats: How many times the training will go through the images. You have 4 repeats? The training will look at all images 4 times. It then produces 1 epoch. This part will determine whether your model will be undertrain/overtrain.
With repeats, I had some help from Chatgpt:
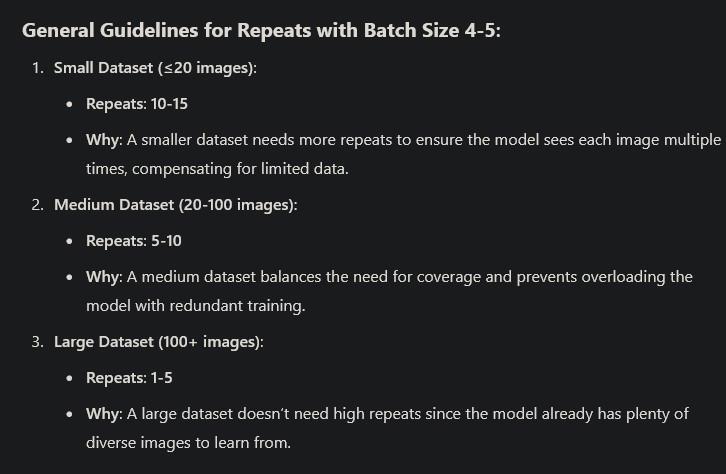
I'd go 6 here (I have 34 images)
I have been using this chart lately and been getting good results.
Though Chatgpt gave me different answer from time to time with this, I just go between 5-8 repeats. Don't jump to max repeats! First, try doing the minimum or up by 1 of what Chatgpt stated. See where that goes.
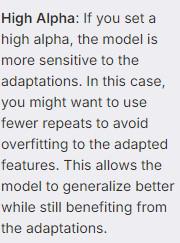
The higher you go up, the more you're model is going to look like your provided images. There is a risk of overtraining!
There will be times you have to go 10+ if you think the result is undertrained.
I'd say experiment. If you think the last epoch is undertrained, repeat the process and go a little more.
When training characters, if you want the model to look closely like the images you collected, 7+ repeats is recommended. When it comes to 3D characters, I tend to go 8+ repeats. It tends to capture the shape of face and body composition very well. Otherwise, 5-7 is good.
When it comes to training concepts, 4-6 repeats is a good range (You're not trying to capture the character or the style). (3-5 for 100+ images)
With styles, 6-7 repeats (4-5 repeats for 100+ images)
I remember during my early years of LoRa making, I was using Kohya to train. I have the repeats set to 20 for every single model I train. Sure, it nailed the character and the outfit but it was overfitted. It wasn't very flexible when it comes to posing and wearing different clothes. It tends to generate the same poses and clothes tend to morph every time I prompt it otherwise.
Training batch size: How many images it will train simultaneously. (Keep it at maximum)
Don't worry about steps. I've read forums and posts that when training with Prodigy, keep it between 500-800 steps. I find it vague because I think that repeats matter more than steps. I had a model that I was training for styles with 200+ images. (It's a bit too much but the training images were 3D and diverse). I was already at 700 steps with 1 repeat. I increase epoch to around 14, and steps was already at ~1000. Results? Very undertrained.
Shuffle tags: Keep it on since it will shuffle tags hence improves learning.
Keep Tokens: When set to 1, it will make sure the first tag in each image isn't shuffled. I suggest this to be your trigger word/s. Civitai limits it to 3.
Clip Skip: 1 for universal; 2 for anime/cartoon style
Flip Augmentation: Unless you're training a concept where you don't want it fixed/biased on one side, this flips/mirrors images occasionally.
Skip Unet LR And Text Encoder LR since we will be using Prodigy. When using Prodigy as an optimizer, Civitai automatically sets the Unet and Text Encoder to 1. Don't have to mess with those.
Can confirm that it does

LR Scheduler: Cosine
LR Scheduler Cycles: Ignore it.
MIN SNR GAMMA: Ignore it. When training with Prodigy, Civitai automatically sets it back to 5 even when you change it.
Network Dim: 4 (~28mb), 6 (~41mb), 8 (~54mb) is more than enough for characters, styles and concepts. I even found someone's model use 8 dim with 5 characters. I also trained detailed 3D characters with this. (Even 4 or 6 is enough if you are training something simple as a sketched style / one outfit character). This is a storage friendly size for people like me who trains locally.
Network Alpha:
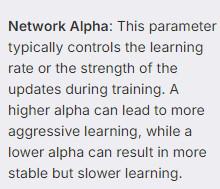
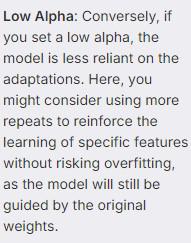
This is as important as repeats. Think of Network Dim as a size of the canvas to paint on. The Network Alpha serves as a size of paint brush.
If you have a big canvas (high Dim) and a small brush (low Alpha), you can create intricate, detailed work but need more time and effort to cover the whole canvas.
If you have a small canvas (low Dim) and a big brush (high Alpha), your strokes might overpower the canvas, leading to messy or exaggerated results.
Use either half, 75%, or equal to Network Dim. I personally go 75% or equal. For this instance, I'm using 6.
8 or more repeats, I suggest going half the Dim.
5 or less repeats, equal it to Dim
When training styles, 75% or equal to Dim.
Noise offset: Adds noise to the training images.
This part is very important especially when training 3D/realistic. I've tried 0.05 or less when I trained for realism and it did not do very well when it comes to capturing details of hair, clothes, shadow, etc.
For this training I'm going to use 0.05
I'd say when It comes to flat anime/cartoon, go between 0-0.05. (Lower makes lines sharper) If the anime you're training contains shadows and light area like Sakimichan's art, go between 0.04-0.07
When training 3D, 0.06-0.1
When it comes to detailed 3D or Realism, 0.1-0.15 is a good middle ground. It'll add noise to see the dark and light areas on the image.
Landscape/hyper-realistic, 0.15-0.2
Optimizer: Prodigy
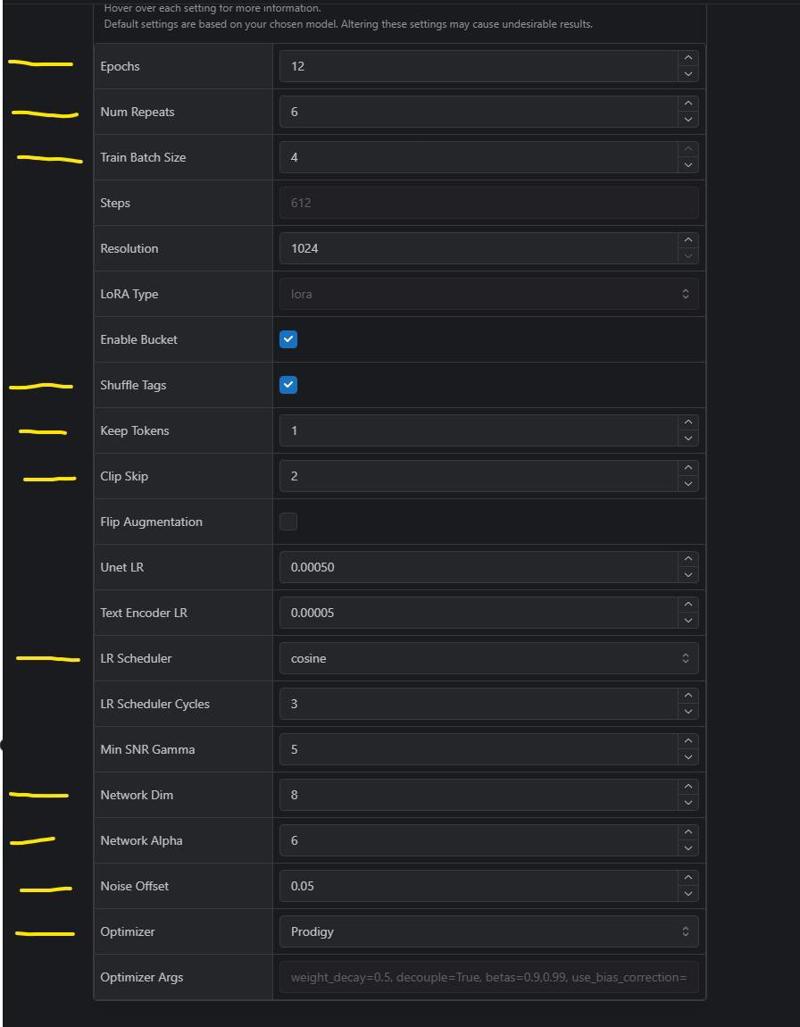
Basically just change these settings:
I usually ignore the last 2 epoch after training. I only look at them if I think the ones before it are undertrained. I select from 6-10 epoch.
Here are the results: Calamaria
