Writing this guide because there seems to be very sparse information on the web about these new kind (variety/ flavor?) of LoRAs and especially on how to train them on photos/individuals. There are videos and articles, but they all seem to give limited, often conflicting, and sometimes incorrect information.
Disclaimers:
My suggestions below are based on my brute force experimentation. I ran 20+ permutations of settings, to finally land on something half decent. If you came here looking for science and math behind the algos, there is suggested reading embedded in this post, but this is not the article for you.
Like with many things Kohya_SS related, the scripts work well, but are terribly documented. So take what I say below with a grain of salt.
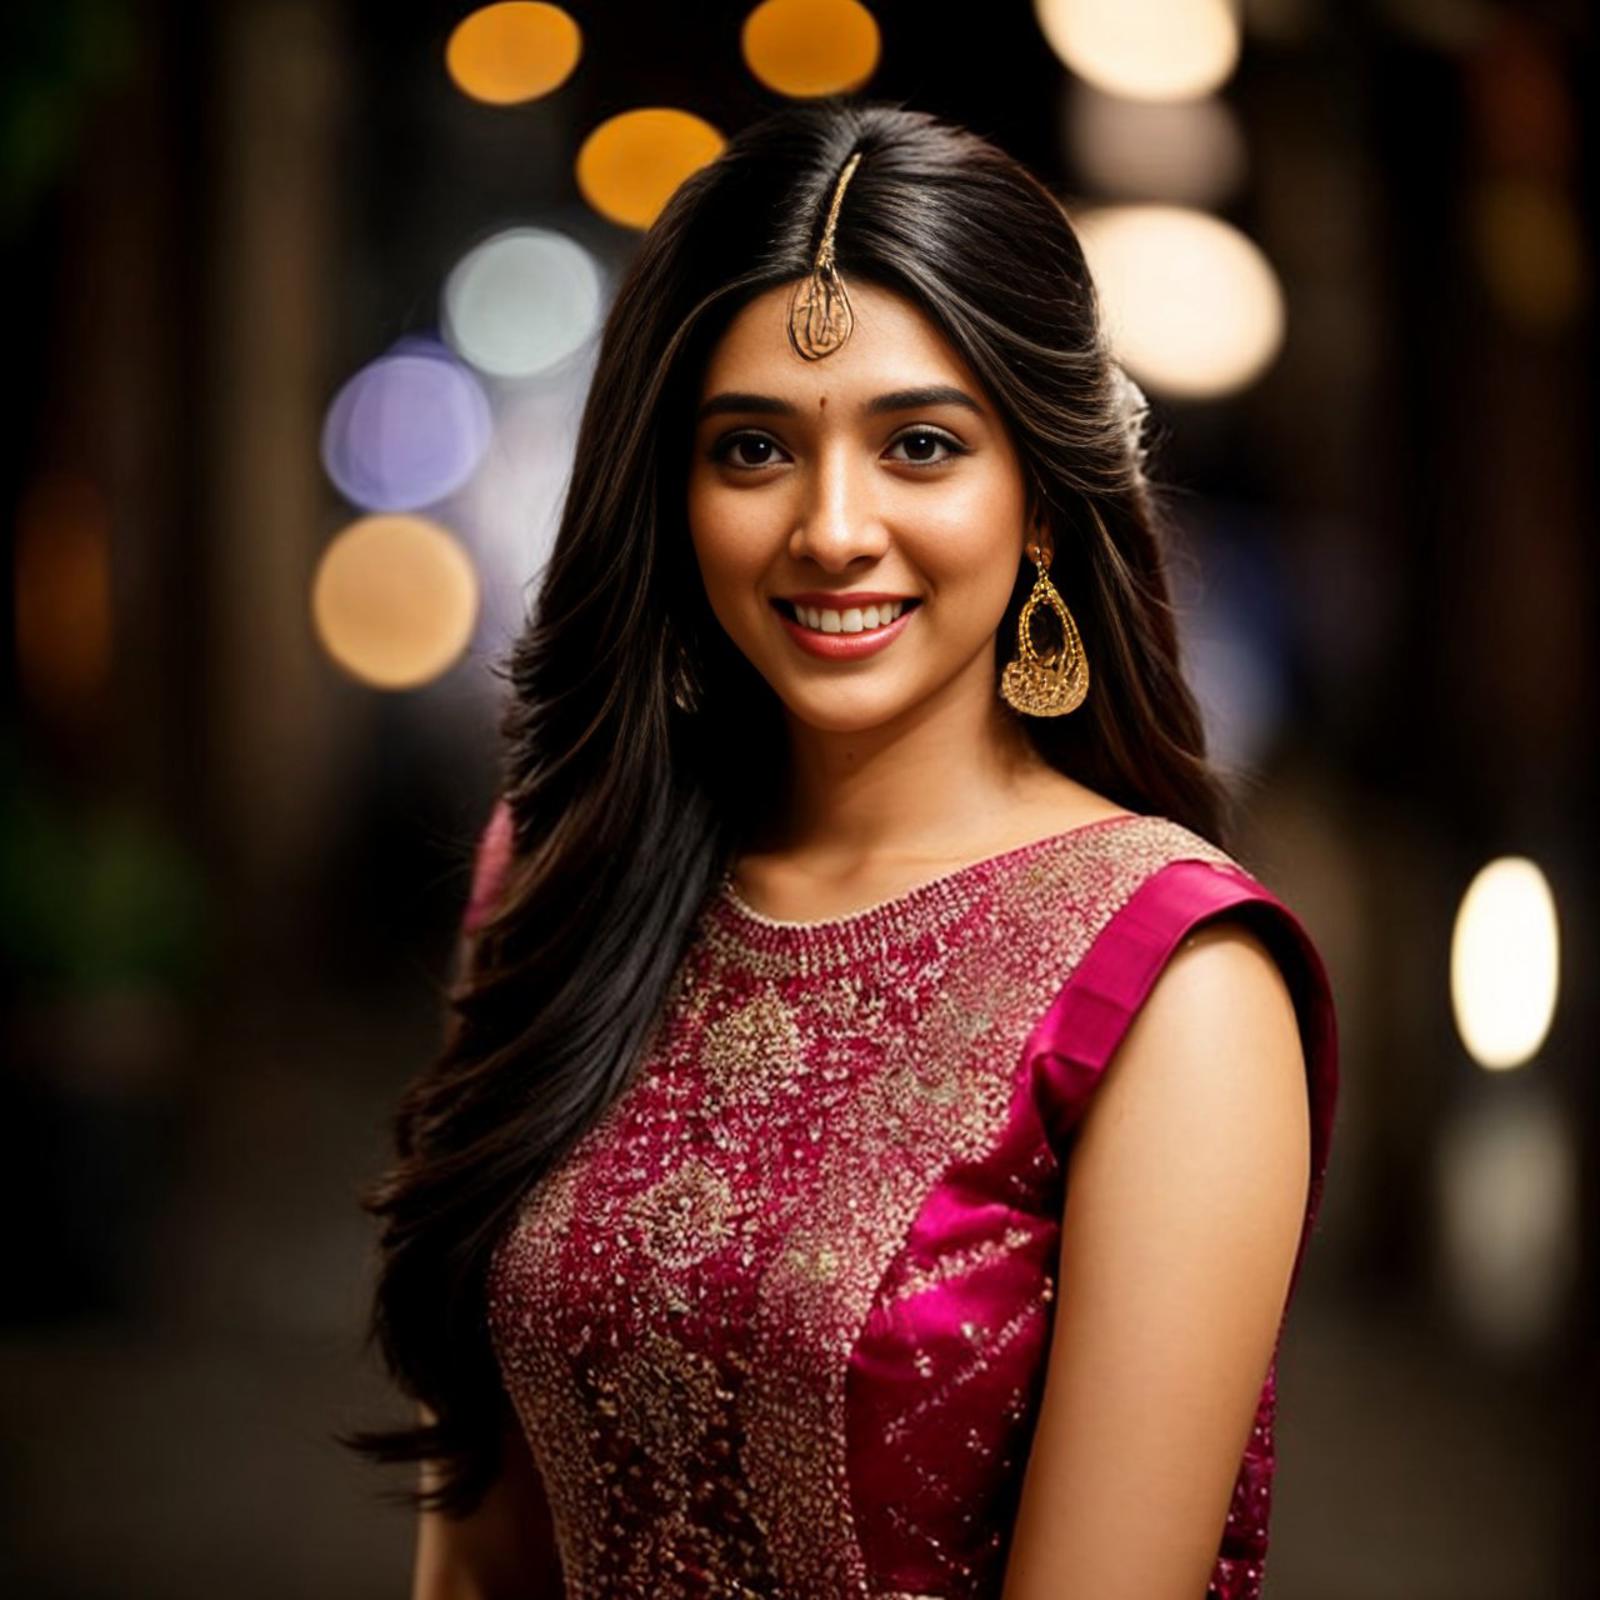
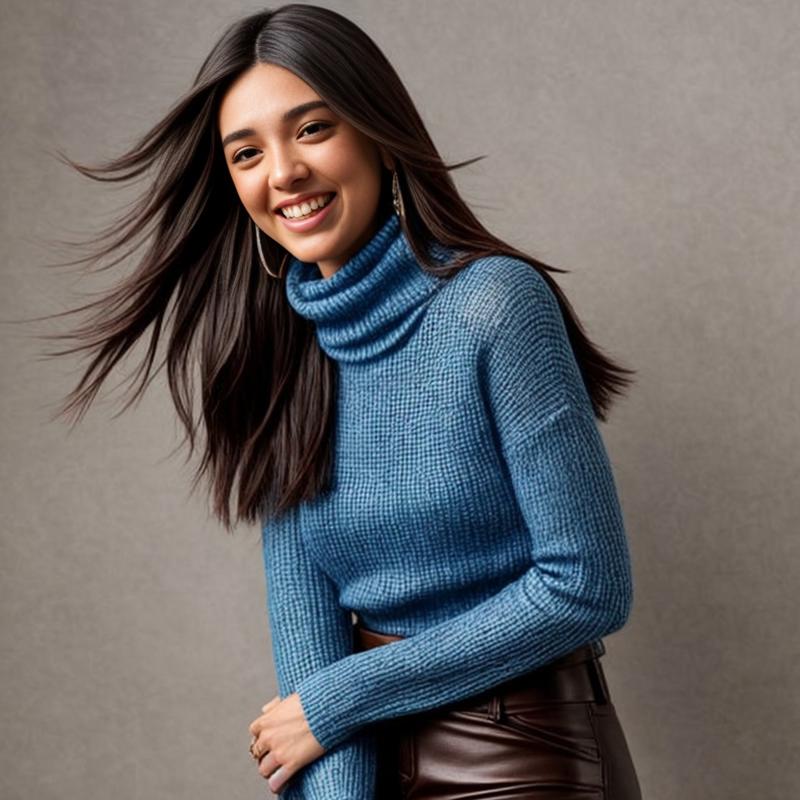
I have used the pictures of a celeb (Pranali Rathod) for continuity and so I can compare it against the LoRA output which my other tutorial (https://civitai.com/articles/391/tutorial-dreambooth-lora-training-using-kohyass) is on. If this ticks someone off - please let me know, and I'll take down the images.
I will reference my LoRA article for things like folder setup, so I recommend reading that first.
I will update this tutorial periodically, as I learn more.
Why bother?
LoCon files are much smaller (~20%) of the size of LoRAs, for similar output. For comparison, the LoRA for the same celeb (posted here) is 108MB, where as the LoCon is just 20MB.
Its fun to learn something new, no?
Comparative Output
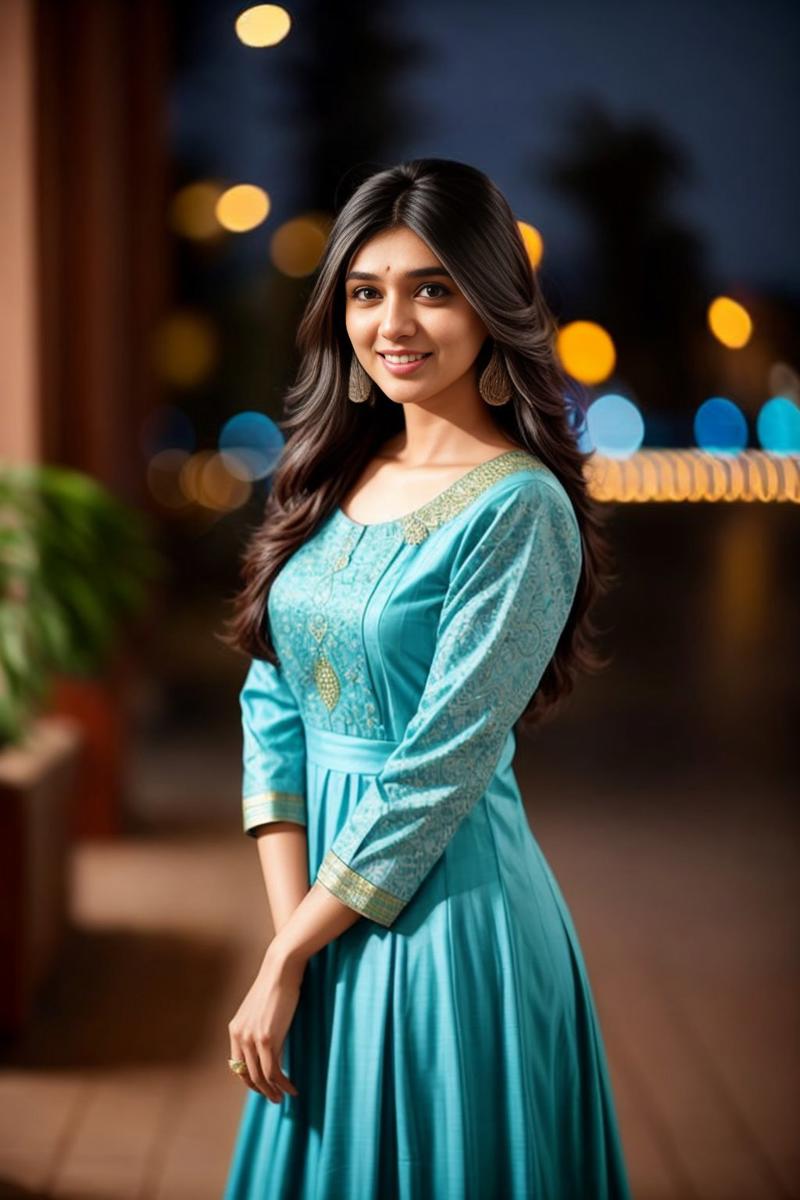
For the same prompt and neg prompt.
LoRA:
LoCon
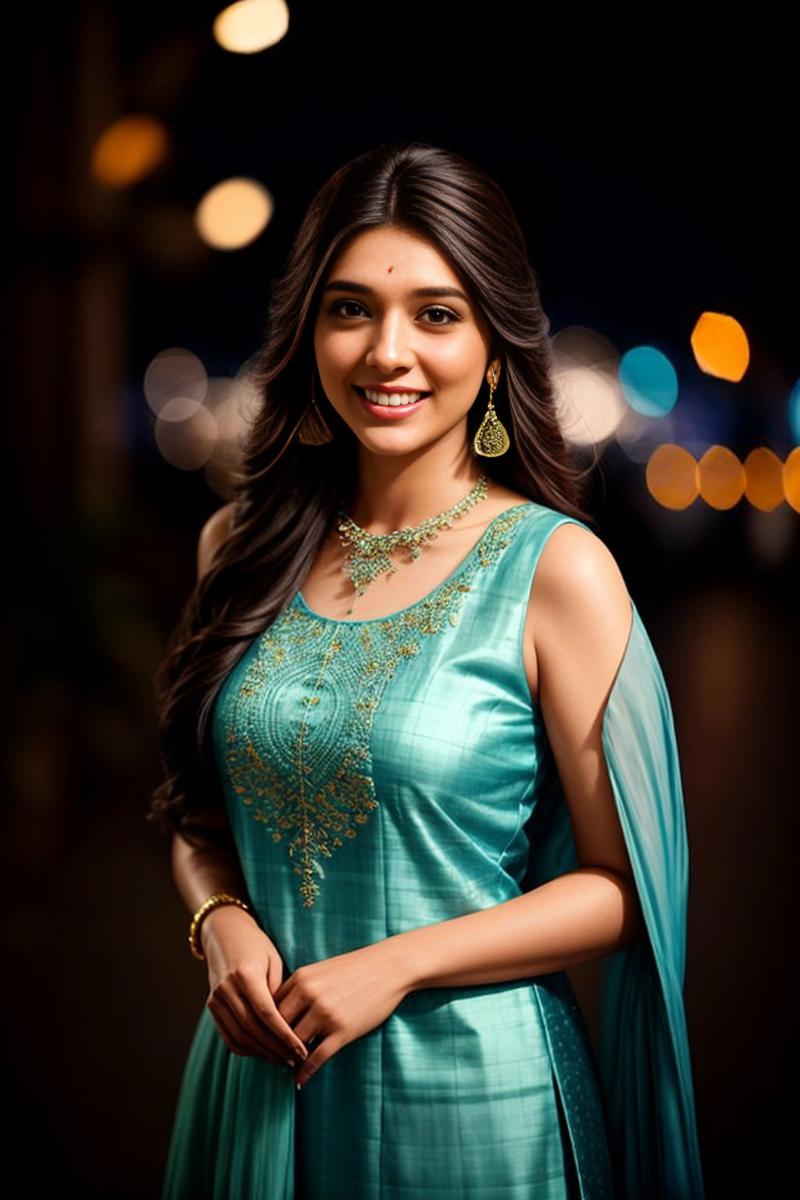
The quality is about comparable, but the LoCon does tend to bake a little more, but is controllable using different settings.
TL; DR
I used this repo for the training: https://github.com/bmaltais/kohya_ss
Prepare folders like for LoRA, but don't include captions. Do use regularization images
In Kohya_SS GUI use Dreambooth LoRA tab > LyCORIS/LoCon
Use multiple epochs, LR, TE LR, and U-Net LR of 0.0001
Use the square-root of your typical Dimensions and Alphas for Network and Convolution. In this case have used Dimensions=8, Alphas=4
Ensure enable buckets is checked, if images are of different sizes
If using images with different sizes, use Noise Offset Type: Multires, Multires noise iterations = 10, Multires noise discount = 0.1
Training Steps
Step 1: Dataset Preparation
This training uses the same dataset that was used for training the LoRA, to make sure that the results can be compared. Differences noted in sub-steps below:
No need to resize images - the algo will bucket them in any case. Selecting good images is important. Choose images with different aspect ratios and a combination of distance from camera, poses, backgrounds, and clothing.
If your data is pre-tagged/ captioned - delete the caption files. In my experiments, captions affected the training very negatively.
For number of steps, the training seems to learn quite quickly, so drop the repeats to a number roughly half of your data set or 30 whichever is higher. In my case, I used 20, with the folder name following the Kohya convention of nn_triggerword class. In this case I used 30_pralyco woman. (See the LoRA article for more details on naming conventions etc.)
Do use regularization images.
Final folder structure used:
img > 30_pralyco woman
model
reg > 1_woman
Did not use a log folder
Step 2: Settings
a. Ensure you're on the Dreambooth LoRA tab
b. Source Model
I always use the base SD 1.5 model for training my LoRAs, since other models seem to bake very quickly. It is also the most versatile. Unless there is a strong reason for you to use something else, recommend that you continue with default.
c. Folders
Use folder structure outlined above.
Leave a comment in the Training Comment for the trigger word (in our case: pralyco)
d. Training Parameters
Many of these carry over from my LoRA training, so I'm not going to get into the explanation of why unless it's something changed/ different. The settings changed/ different are highlighted in green.
LoRA Type: LyCORIS/LoCon
I did try out LoHa training, but other than the size being somewhat lower, didn't see a big difference in the training process, and the output wasn't as good as the LoRA
Train batch size: 3
This will be determined by your VRAM size. I have 3060 with 12GB of VRAM, so this works
Epoch: 4
For LoCon/ LoHa trainings, it is suggested that a larger number of epochs than the default (1) be run. Keep in mind, however, that the way that Kohya calculates steps is to divide the total number of steps by the number of epochs. Batch size is also a 'divisor'. So this number should be kept relatively small.
Mixed Precision, Save Precision: fp16
Learning rate: 0.0001
LR Scheduler: cosine
Cosine allows the LR to be high at the beginning of the training and then throttle back. Seems to work better with LoCon than constant learning rates.
Optimizer: AdamW
Text encoder rate: 0.0001
Because of the way that LoCon applies itself to a model, at a different layer than a traditional LoRA, as explained in this video (recommended watching), this setting takes more importance than a simple LoRA. I this is is part of the reason my LoCon is somewhat overbaked, so need to experiment with dialing this back further to 0.00005
Unet learning rate: 0.0001
(Important) Network Rank: 8
Basically the reason that the LoCon is so much smaller than an equivalent LoRA is because the algo effectively squares the dimensions - so this is expected to be low number. Please note that suggested max is 64: https://github.com/KohakuBlueleaf/Lycoris
(Important) Network Alpha: 4
Same logic as 10 above, but half the number of ranks. This needs to be experimented with since I have seen different settings suggested, where all the dimensions and alphas are the same number - somewhere between 8 and 20.
Need to experiment with setting at 1
(Important) Convultion Rank: 4
Additional setting. Am not anywhere nearly qualified to talk about what this means, but know that this is the Con in LoCon, LOL. Maybe someone can unpack what the math is here: https://github.com/KohakuBlueleaf/LyCORIS/blob/main/Algo.md
(Important) Convultion Rank: 4
Similar to 12 above.
Need to experiment with setting at 1
Enable buckets: This is necessary if you're using, as recommended, images with different aspect ratios
Gradient Accumulate Steps: 12
Additional setting. This seems to have some impact in balancing out images, especially if they are of different brightness/ contrast/ saturation.
Set this to the number of buckets you expect your images to fall into.
Noise offset type: Multires
Since our images are of different resolutions
Related settings: Multires noise iterations: 10
Multires noise discount: 0.1
Sample prompts: pralyco, photo of a woman
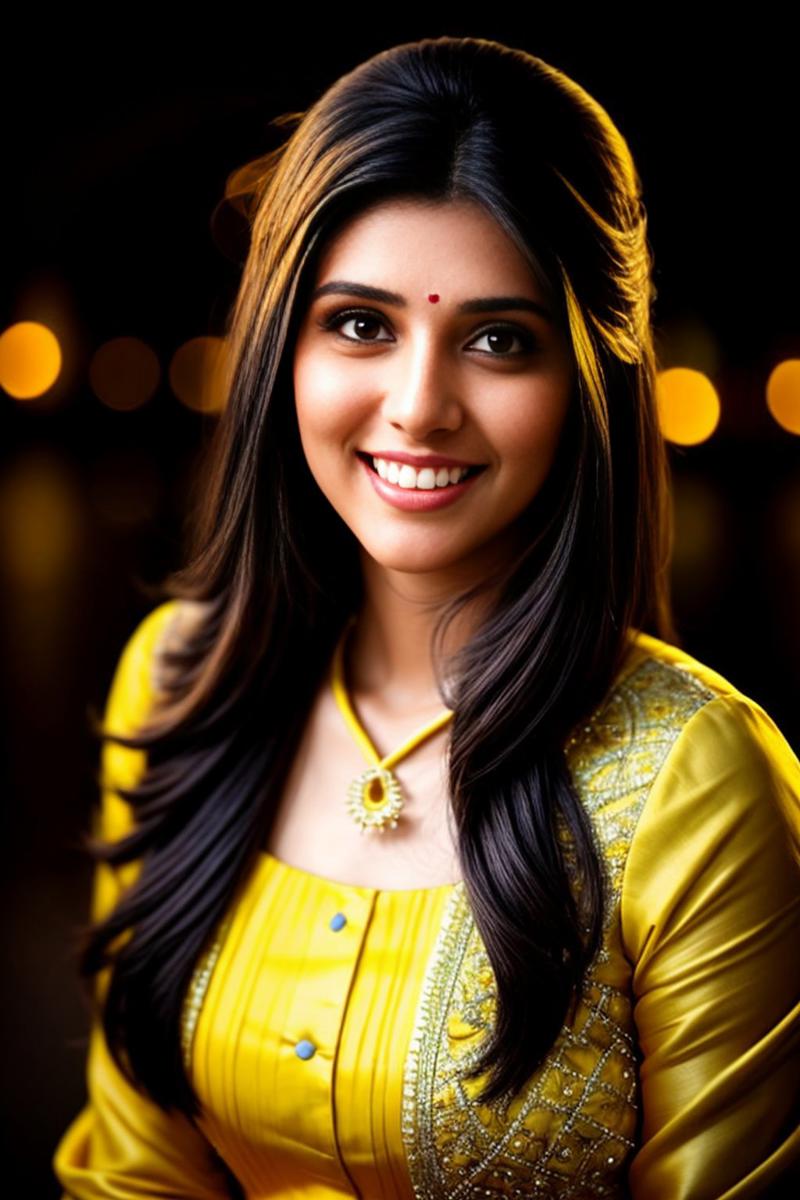
Outputs:
Model uploaded here: https://civitai.com/models/101257?modelVersionId=108402
Comments, Contributions, Questions
All discussions are welcome. Questions are also welcome, but I am learning, just as most of you are, so I may not have great answers!
Further Experimentation Needed
Trying other dimension/alpha sizes
Using lower Text Encoder Learning Rate
Using other Samplers - particularly DAdaptation


